One reason why I initially dismissed a Bluetooth speaker project as “too complicated” was, put simply, the Bluetooth part of it. At the time, I barely understood most conventional electronics, so the idea of getting involved with something as complicated as RF communication seemed completely out of my reach.
Looking back, I was absolutely right about that feeling – trying to design my own Bluetooth receiver would have been a bad idea. Even years later, at the time of writing, I’m not sure I could succeed at that task, unless I spent many more hours researching the topic – and even then, it would be quite a lot of work for a single person, due to the hardware and software complexity involved.
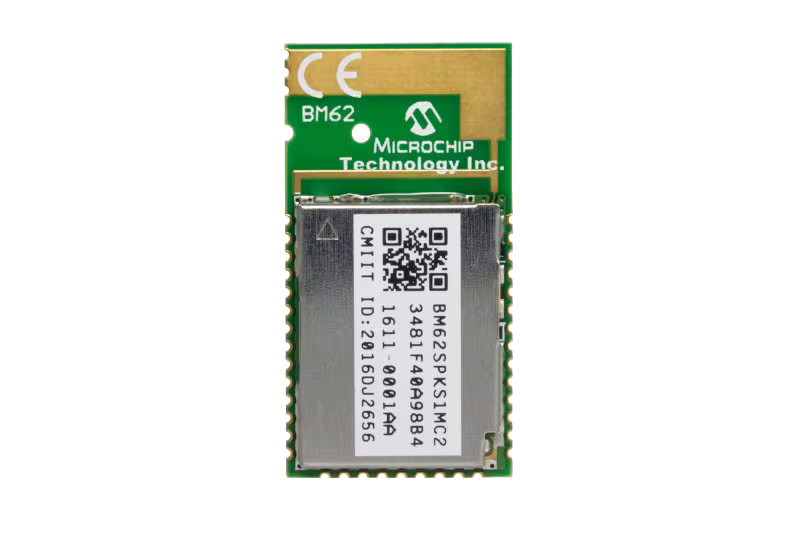
In light of this, there was only one thing that made me feel confident in pursuing this project anyway: Discovering the existence of Bluetooth audio modules – in particular, for this project, it was the Microchip BM62.

I found that such a module struck the perfect balance: It satisfied my desire to have the system be “designed by me” to an acceptable degree, while abstracting away the complicated task of maintaining Bluetooth links and sending/receiving wireless audio data, instead providing a relatively simple interface.
For simplicity, the module has an integrated digital-to-analog converter (DAC), directly outputting the raw audio signal. In my design, this signal would then pass through an analog pre-amplifier and filter circuit, conditioning the signal to the levels I wanted and implementing the driver cross-over (at around 5000Hz).
The last amplifier stage included trimmer potentiometers, allowing me to adjust the maximum output levels, in order to not overdrive and damage the speaker drivers.

Looking back at it, this was not a great design by any means – the op-amps I chose are quite noisy, I was using Class-2 ceramic capacitors (which cause distortion), the voltage supplies were not designed with noise reduction in mind at all (likely the biggest single mistake I made here), and so on. But, despite that, it did still work – which is all that mattered to me for this first design.
The pre-amp/filter stage was followed by a power amplifier – namely, the Texas Instruments TPA3255. It was configured in 2.1 channel mode, with two single-ended channels for the tweeters and a differential high-power channel for the bass/midrange driver.

Aside from the audio path, I needed a power supply. This was based on a large lithium battery (4s4p configuration), with corresponding battery protection, balancing, and charging ICs.

With the base battery/adapter voltage available, I now needed multiple voltage converters to generate the various system voltages (3.3V, 5V, 12V), as well as a high-power voltage rail for the power amplifier (52V, which turned out to be overkill for these drivers).
For the design of these converters, the Texas Instruments WEBENCH Power Designer proved invaluable, especially for a beginner without any switching power supply design knowledge.
For controlling the speaker, I again decided to go with the easiest option, letting the Bluetooth module’s integrated controller operate on its own, controlled using a set of buttons.
Aside from that, I just added a low-performance microcontroller (Microchip PIC18 K42 series), to handle auxiliary tasks like battery charge estimation, diagnostic display (using a text LCD), and controlling some RGB LEDs that I wanted to sync to the music.
Since I only had a soldering iron available (no hot air or reflow tools), I ended up being quite limited in terms of component selection. Thankfully, I was able to find everything I needed in “soldering-iron-friendly” packages, but it did mean choosing suboptimal components in many cases.
Some design work later, I placed and routed everything onto a single 12 x 12 cm PCB.

The full schematics and PCB design files (for Autodesk EAGLE) are available on GitHub here.
However, be aware that this design is NOT GOOD overall, containing many beginner mistakes, and the firmware code quality is likely bad for the same reason. Therefore, I do not recommend that anyone actually use these designs, but they may be useful for anyone who’s curious.
With the electronics designed, it was time to begin the actual build!
Leave a Reply