As I started my research into designing the BlockBox, I realised one thing: Speakers are really complicated.
So many speaker drivers to choose from, priced anywhere between affordable and astronomically expensive, with different sound profiles, efficiencies, features, and drawbacks.
And what the hell are “Thiele/Small Parameters”?!
Hours of research later, I figured out what most of these things mean, and found out that the final size (volume) of the speaker would play a major role in the low-frequency sound design. Since most commercial Bluetooth speakers are very small, I always imagined making one of a manageable size too – so that is what I decided on. It’d still be larger than the typical “handheld” mini-speakers, but small enough to fit in a backpack.
Finally, I decided on a set of speaker drivers to use for this project. I wanted my speaker to be loud, so driver efficiency was very important, and my budget was quite limited, of course.
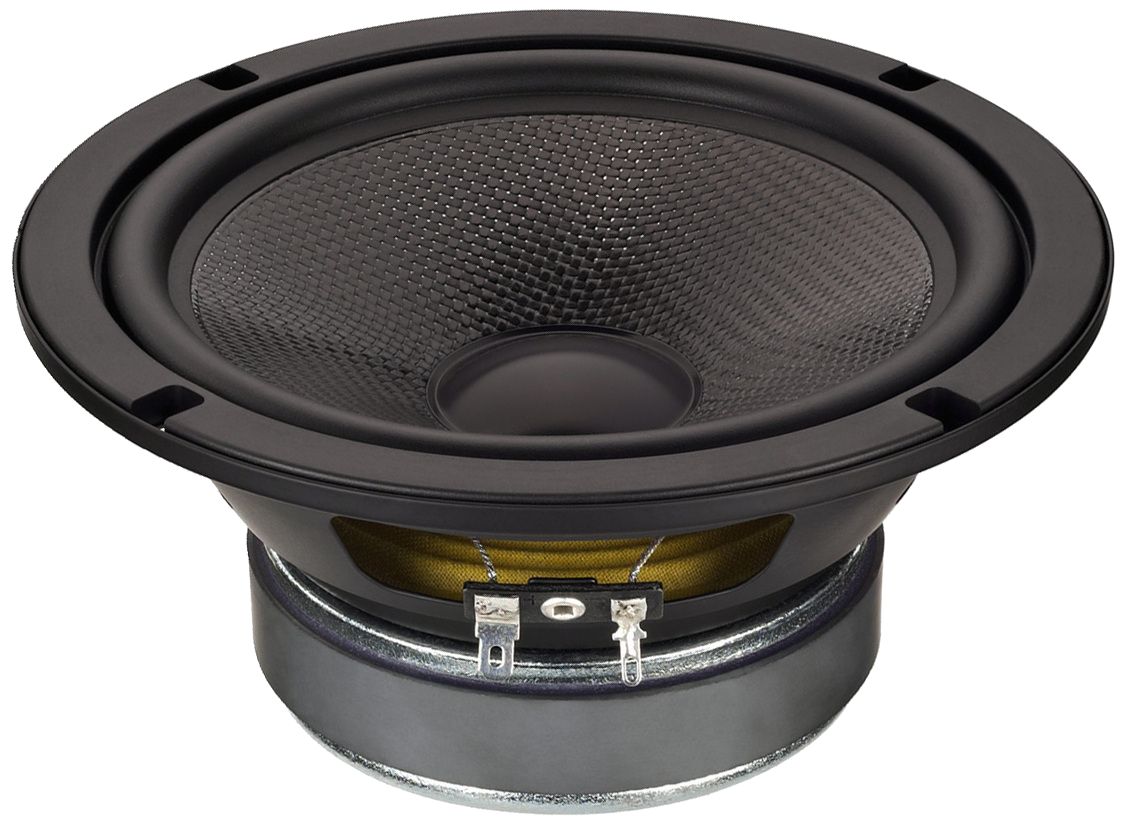
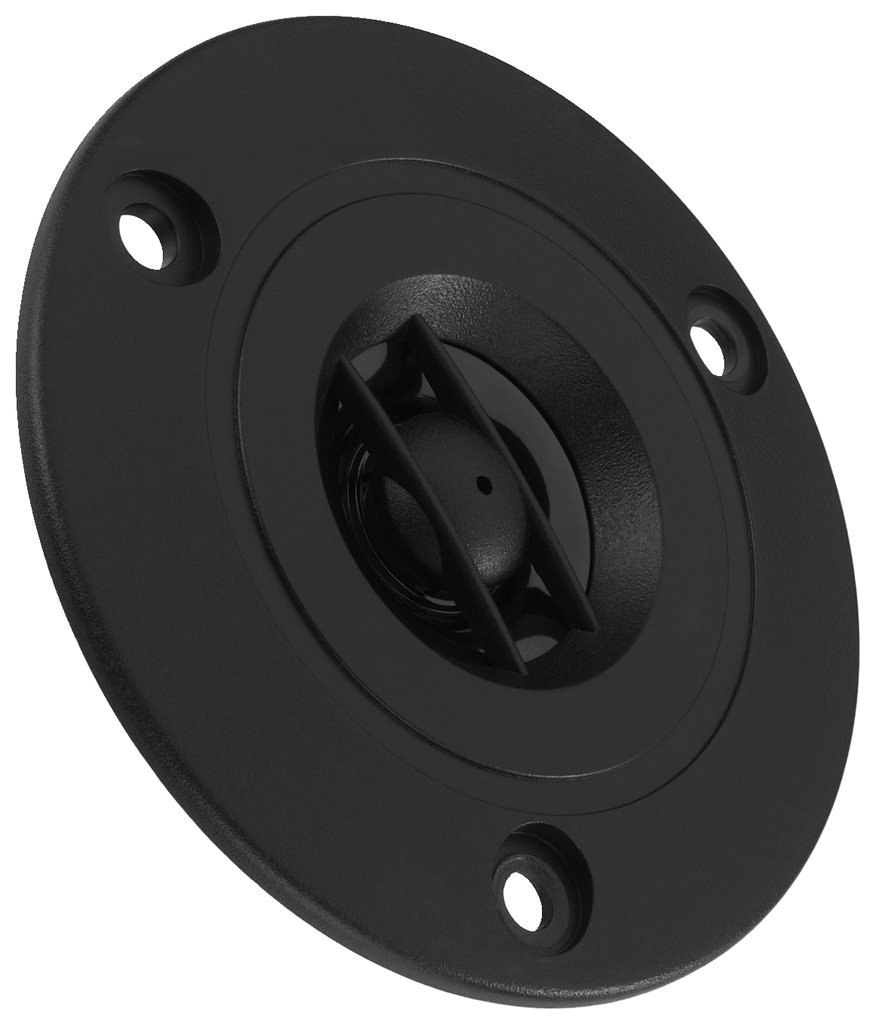
Therefore, I went for a two-way crossover speaker, using the 6.5″ Monacor SP-6/108PRO as a bass/midrange driver, and the Monacor DT-74/8 tweeter (or, in fact, two of them – mostly for the sake of symmetry, as you will see later).


In order to get the most out of these drivers, the design of the enclosure was quite important. Using SpeakerBoxLite, an incredibly useful free tool for speaker design, I determined that a vented enclosure with a volume of 8.7 litres would be perfect given these drivers and my size requirements.
Combined with a port resonator of the correct size (Monacor BR-50HP), this results in a 33 x 26 x 13 cm speaker enclosure with 10mm plywood walls.

According to the SpeakerBoxLite calculations, this should result in a flat frequency response down to 90Hz and a -3dB roll-off point of 72Hz. Not great, especially for fans of music with lots of bass (including myself), but not terrible either.
I’m sure it’s possible to do better within the constraints of this project, but all better options I found back then were too expensive, too inefficient, or just too complicated for me, as a beginner.
Based on this rough sketch, I created a more detailed enclosure design in Autodesk Fusion 360 – featuring all drivers, some translucent bars for LED lighting, a cutout for buttons to control the speaker, a side compartment to house a diagnostic display, the main power switch, and connectors for charging etc., and of course, enough space in the back for the battery and electronics.


With that out of the way, it was time to move on to the electronics design.
Leave a Reply