The first part of the BlockBox build process was the circuit board. Once my custom boards arrived, along with the components for them, I decided it would be best to build and test the power supply circuits first.
Because battery management is not trivial in itself, I would start with external adapter power – which I needed to get from somewhere. So, it was time to modify my laptop power supply, adding a compatible connector.
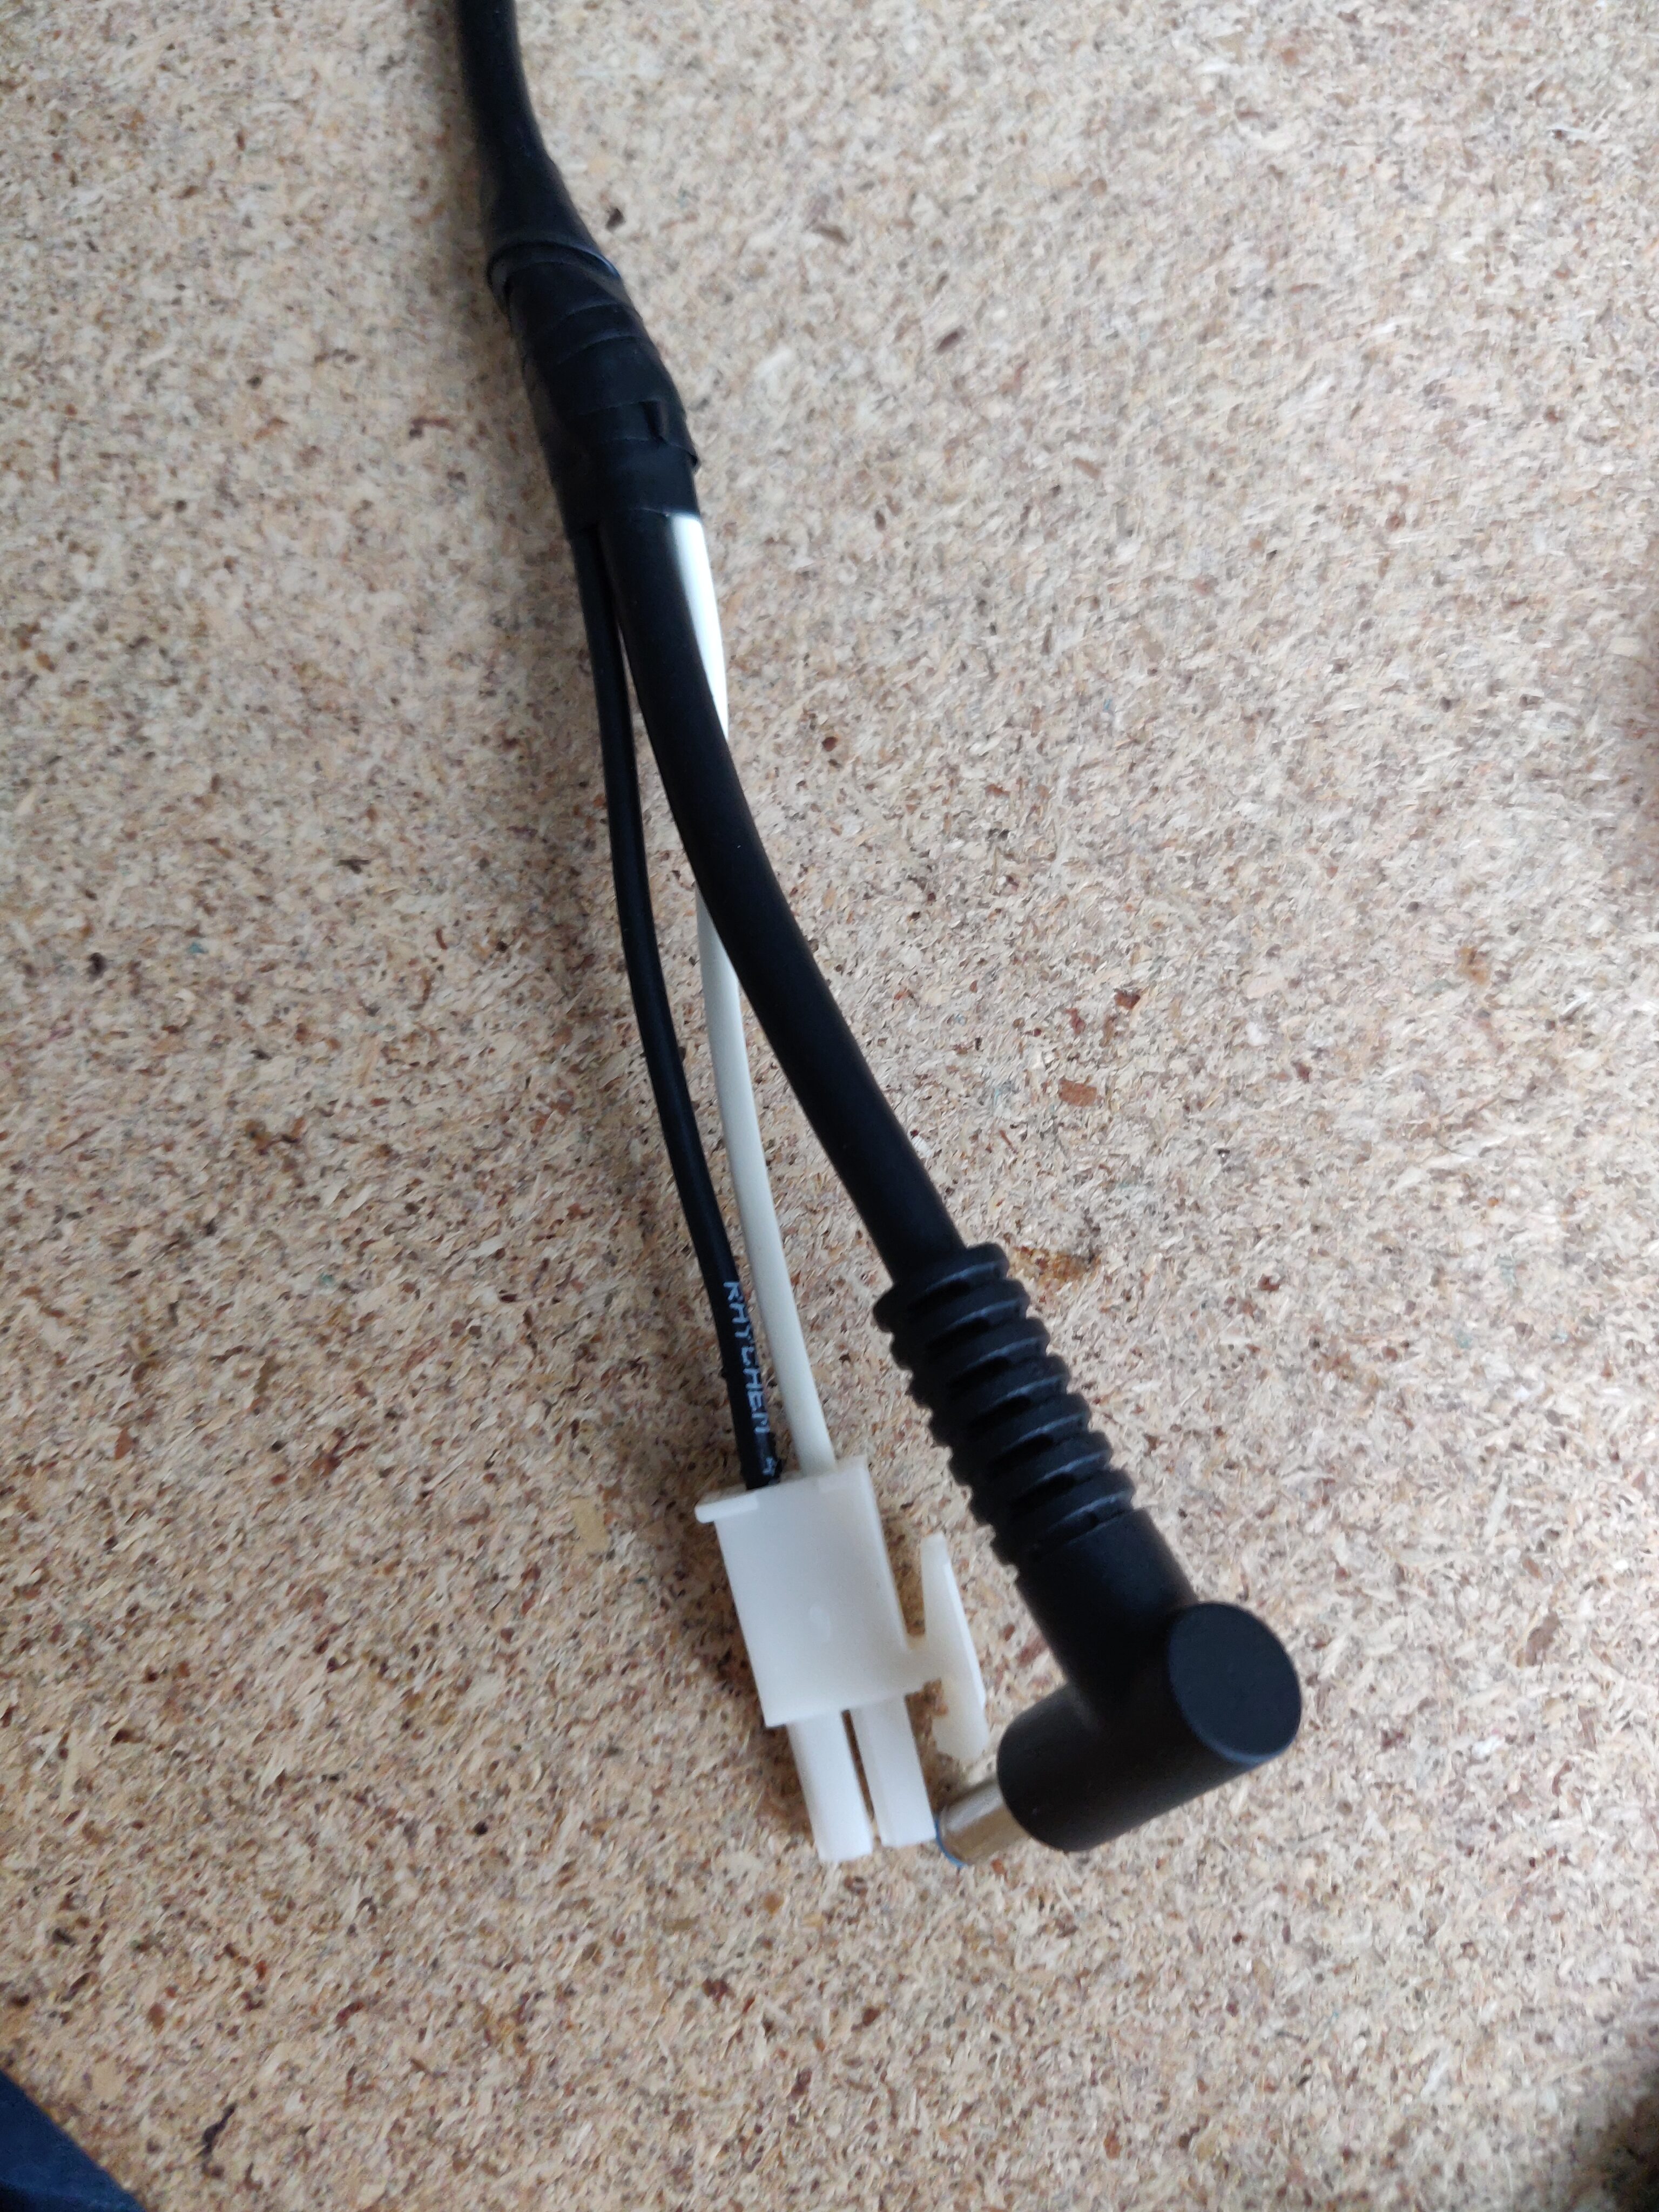
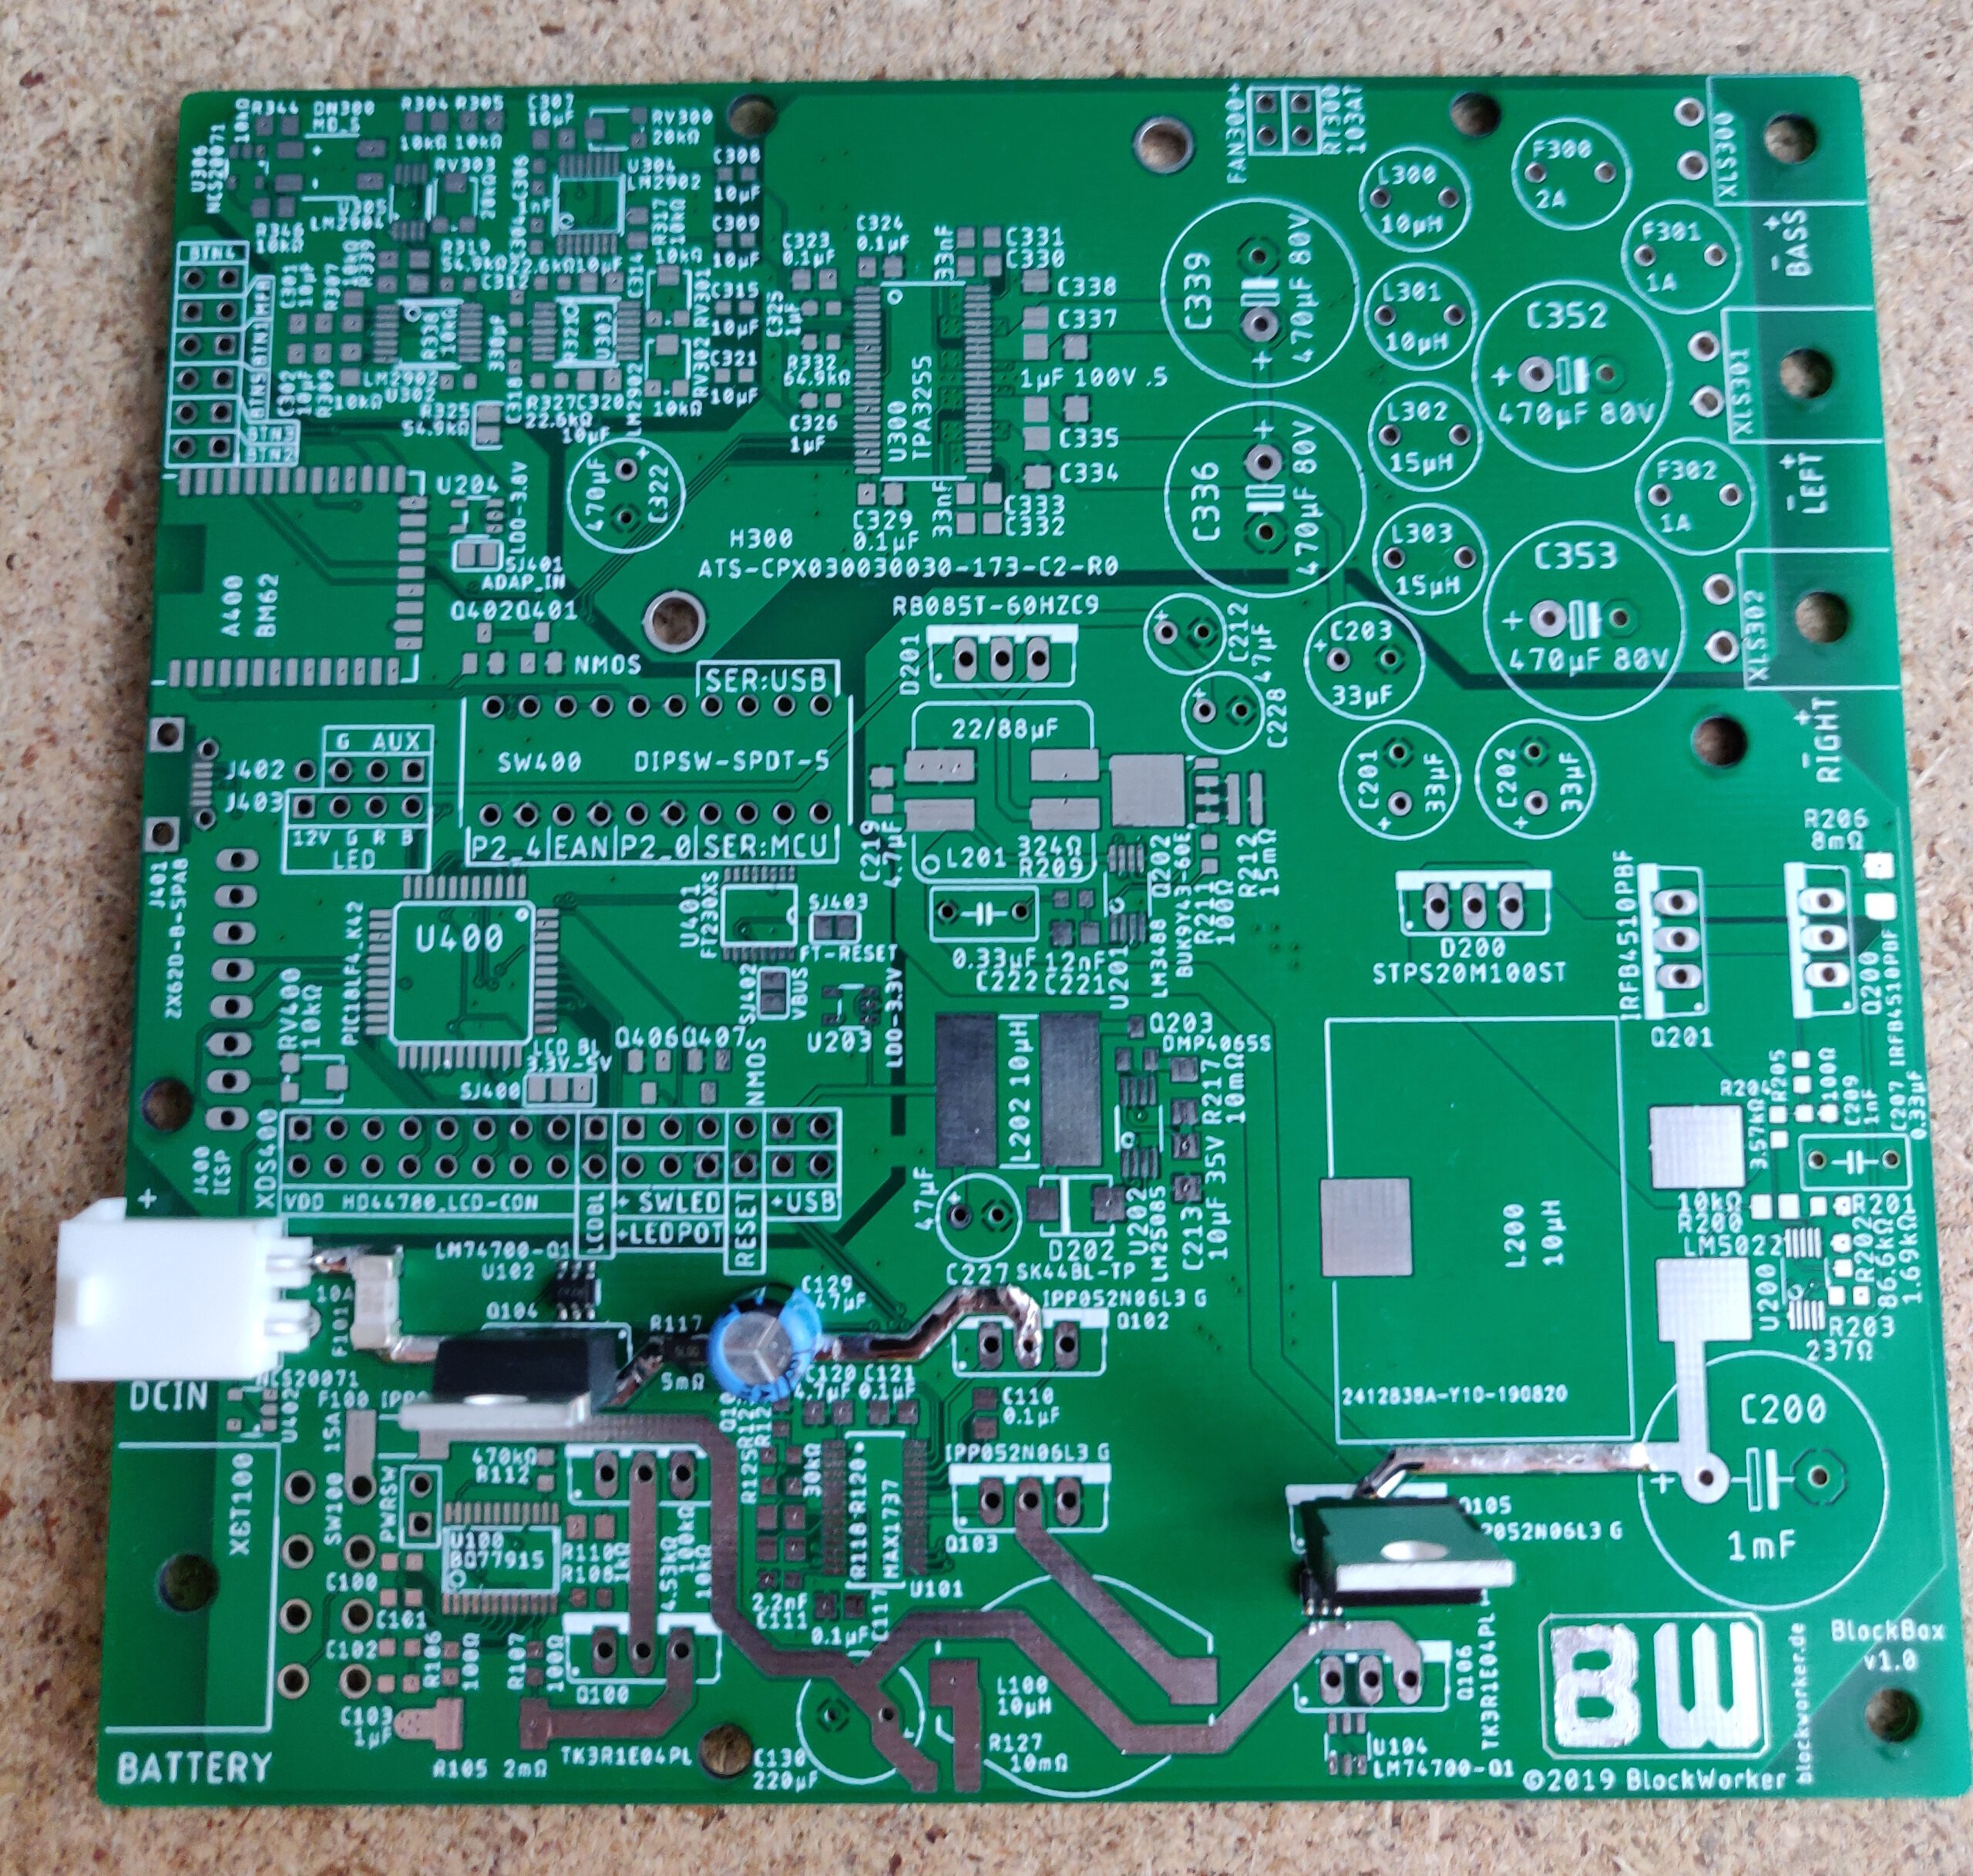
With that done, I could solder the necessary components for basic power path.
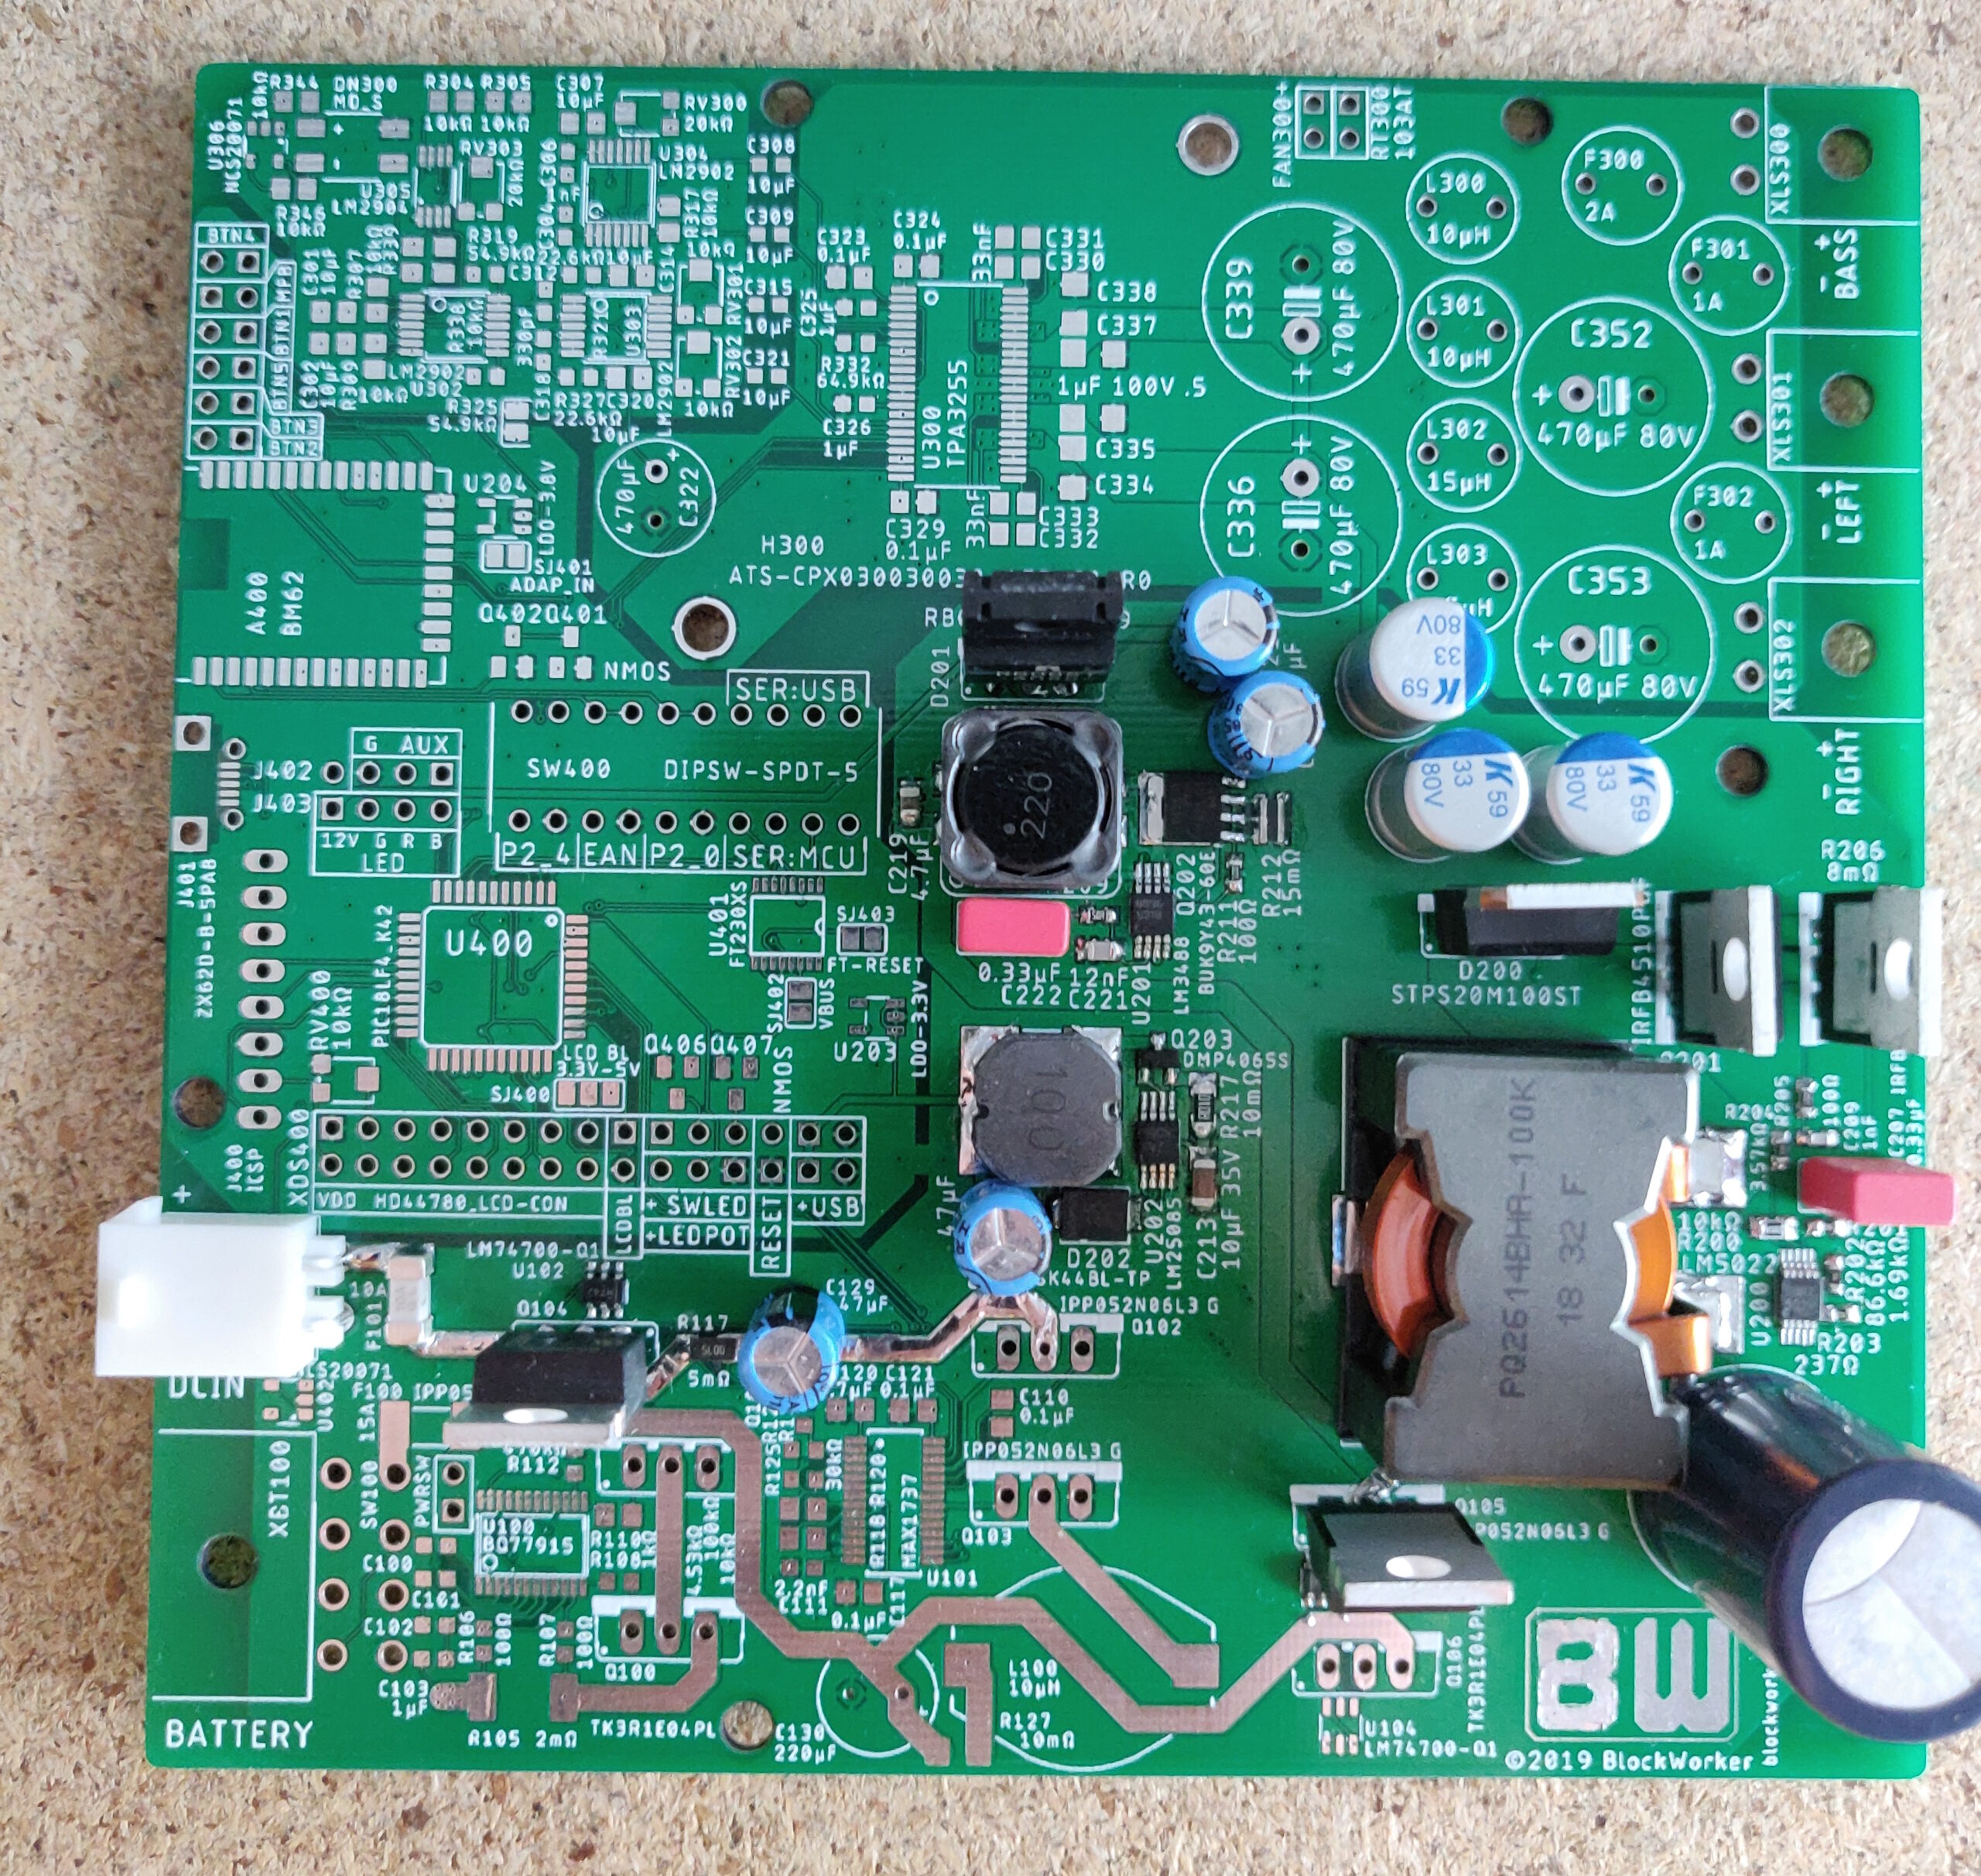
This was followed by constructing the main switching power supplies (52V, 12V, and 5V), allowing me to test that they work and produce the desired voltages.
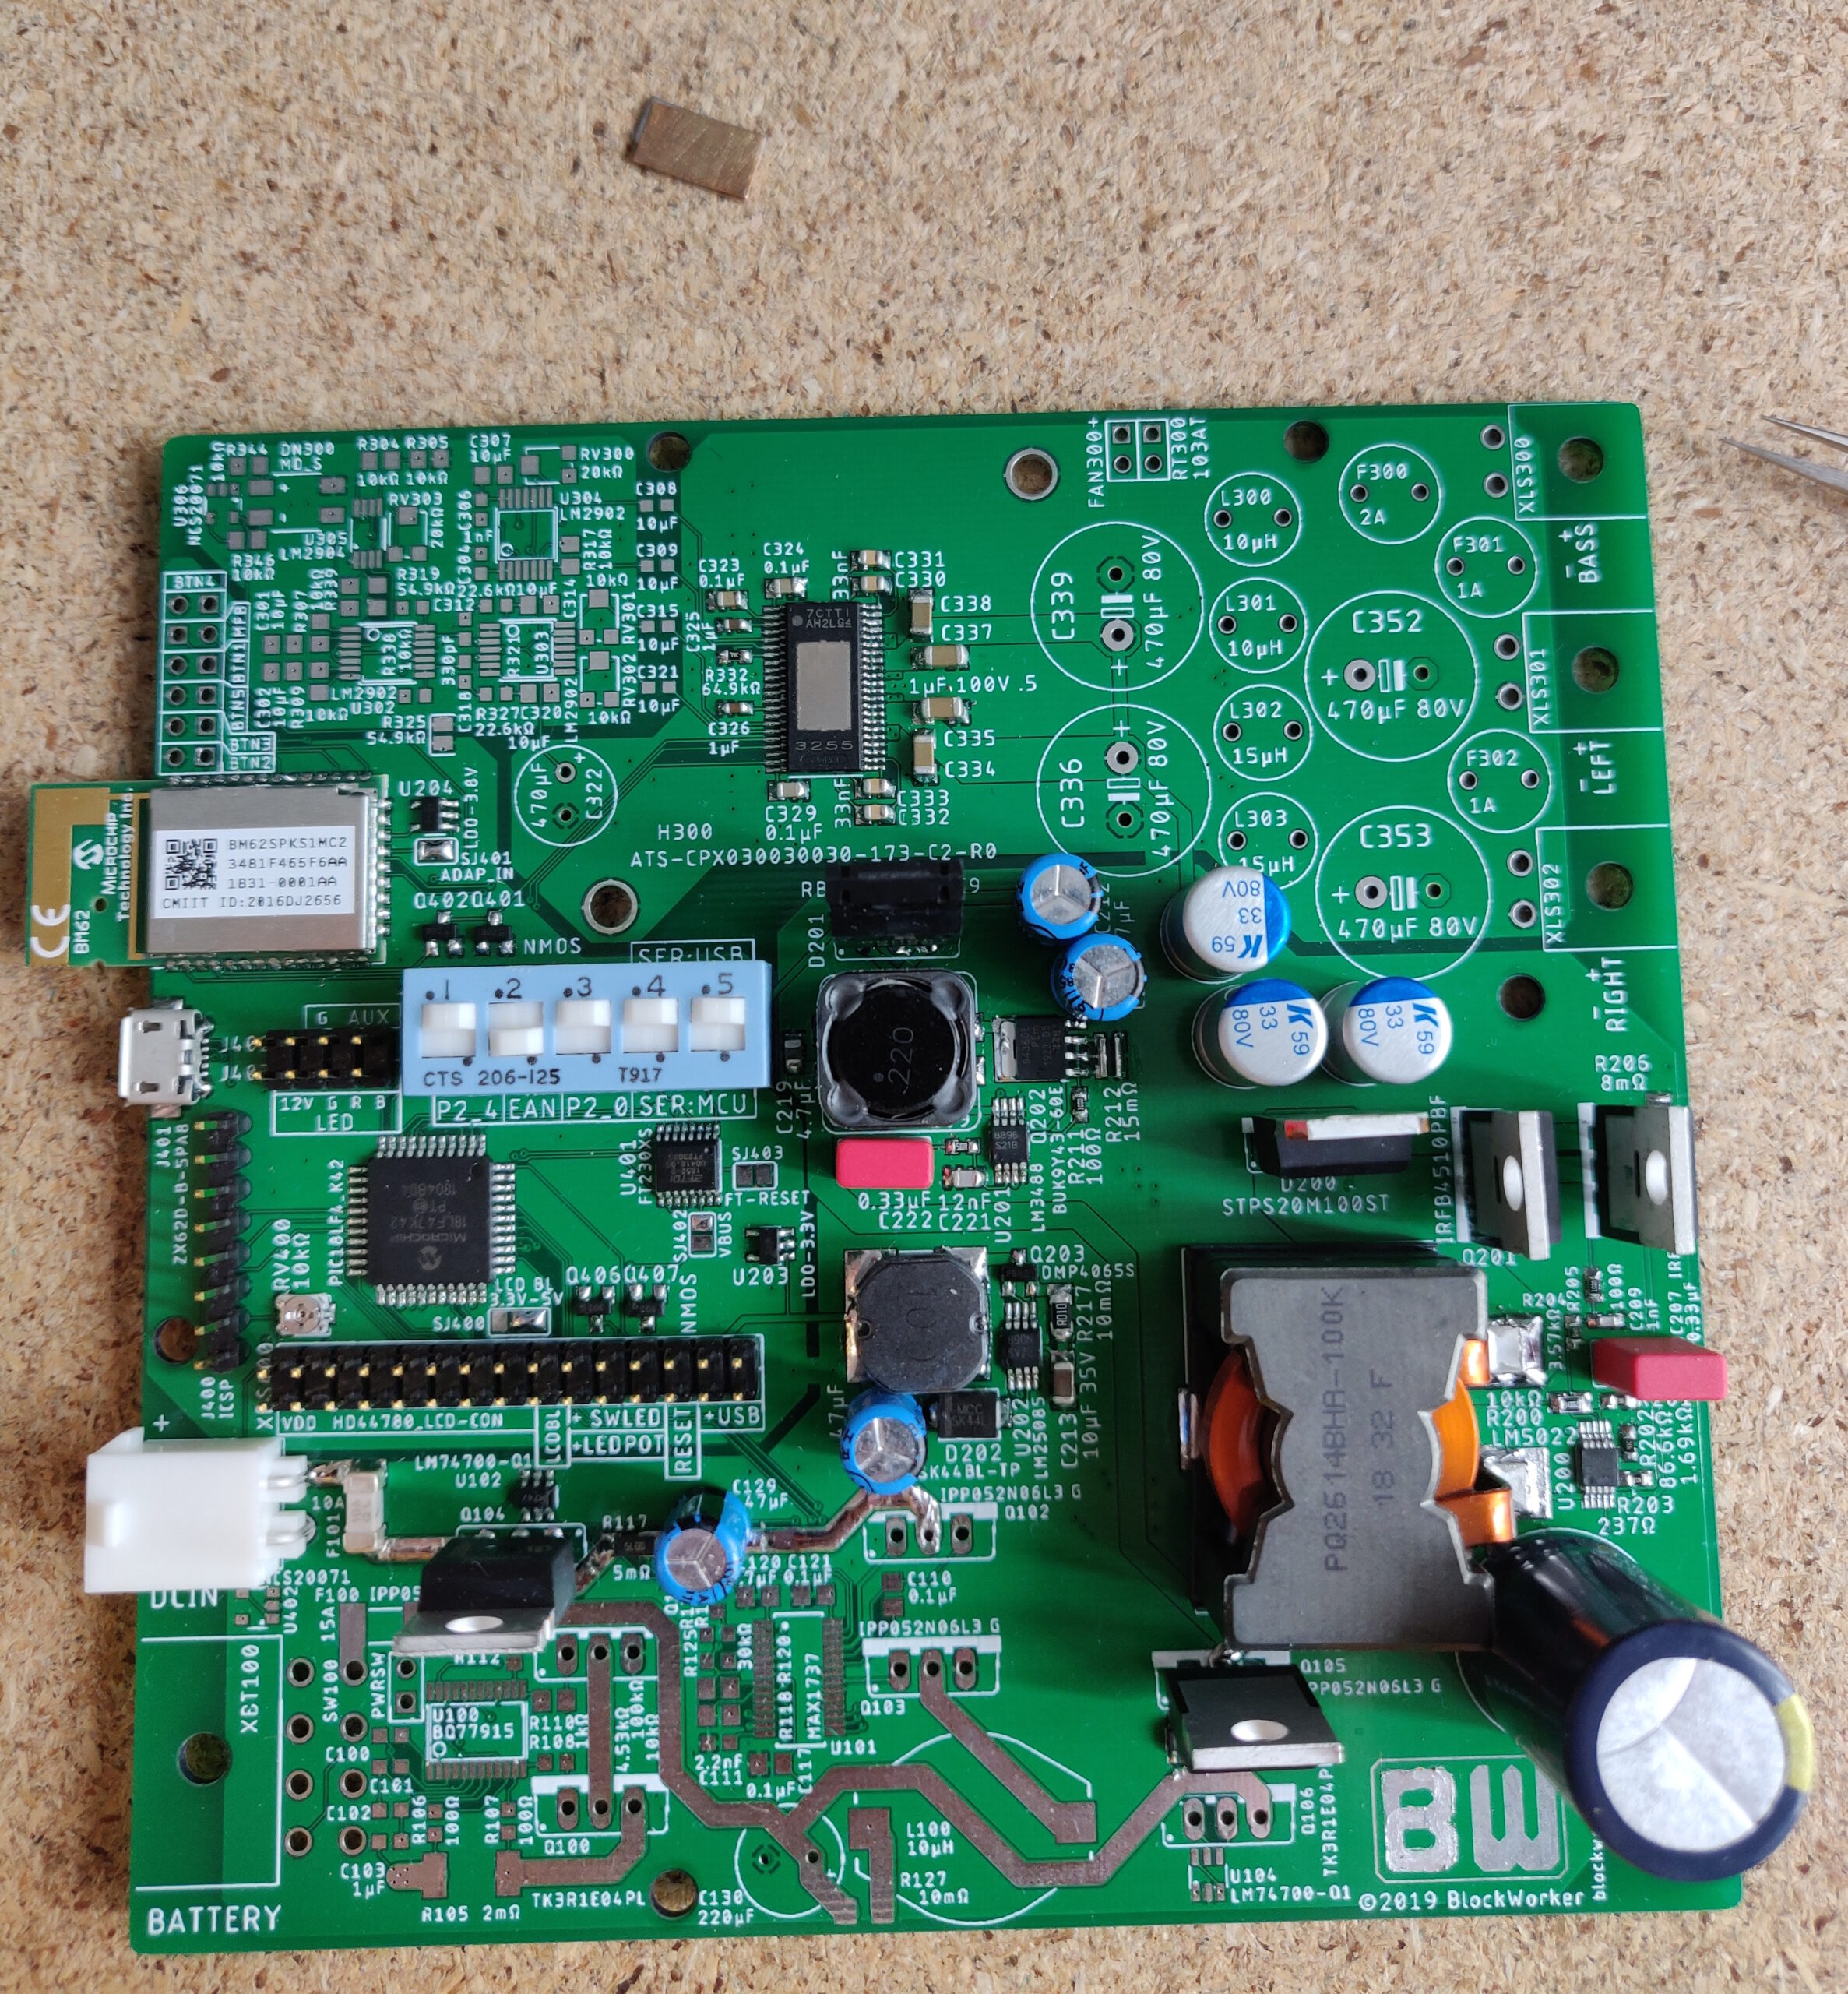
Next, I added the Bluetooth module and auxiliary controller, as well as the corresponding connectors and support components.
I also soldered the power amplifier chip, since its small pin pitch would make it annoying to solder with more components in the way later.
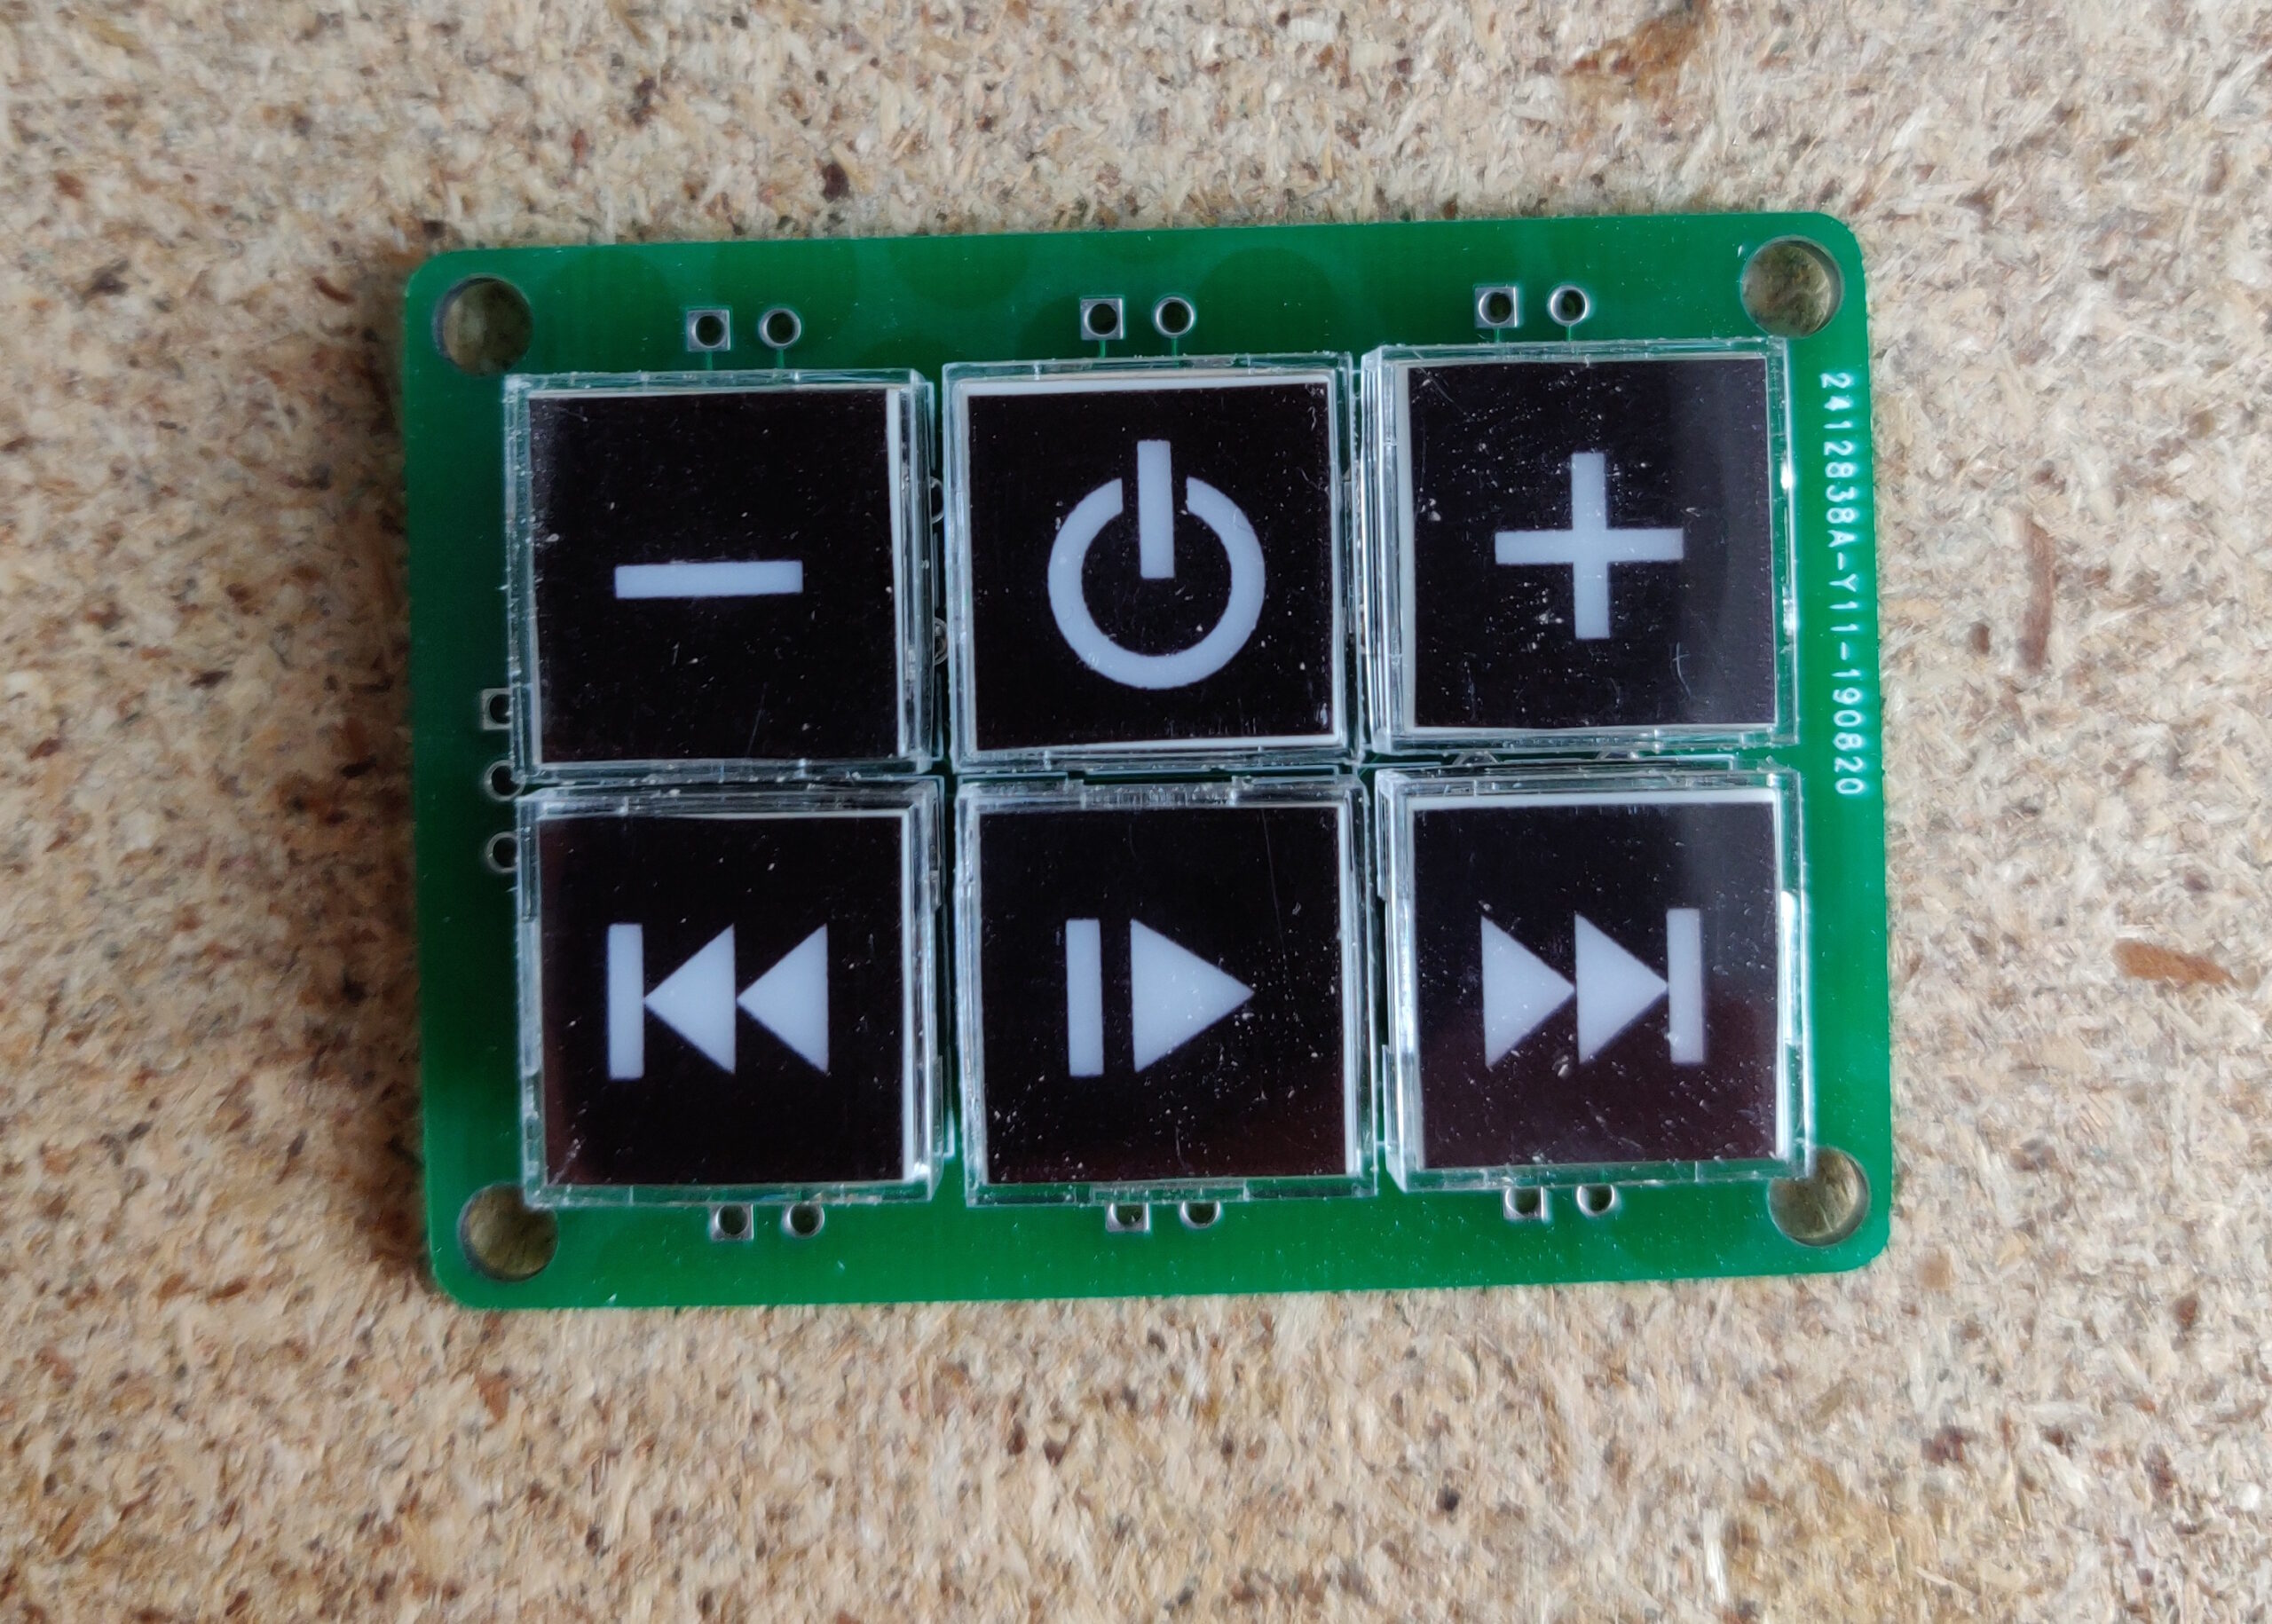
To do any real testing, I would also need the user buttons mentioned in the previous post. They were soldered on a separate little board, to be inserted into the enclosure later.
I chose some nice tactile buttons with LED backlights. They also support custom labels to be inserted into them, for which I took some printable transparent foil, resulting in presentable, self-explanatory buttons.
After adding the rest of the analog audio path and amplifier output stage, the circuit was ready for testing and firmware development.
And yes, some of the power amplifier output components (especially the inductors) were severely undersized in hindsight, leading to more distortion at high power.
As you can see, the amplifier also got a heat sink, along with a temperature sensor and a temperature-controlled fan, which worked quite well.
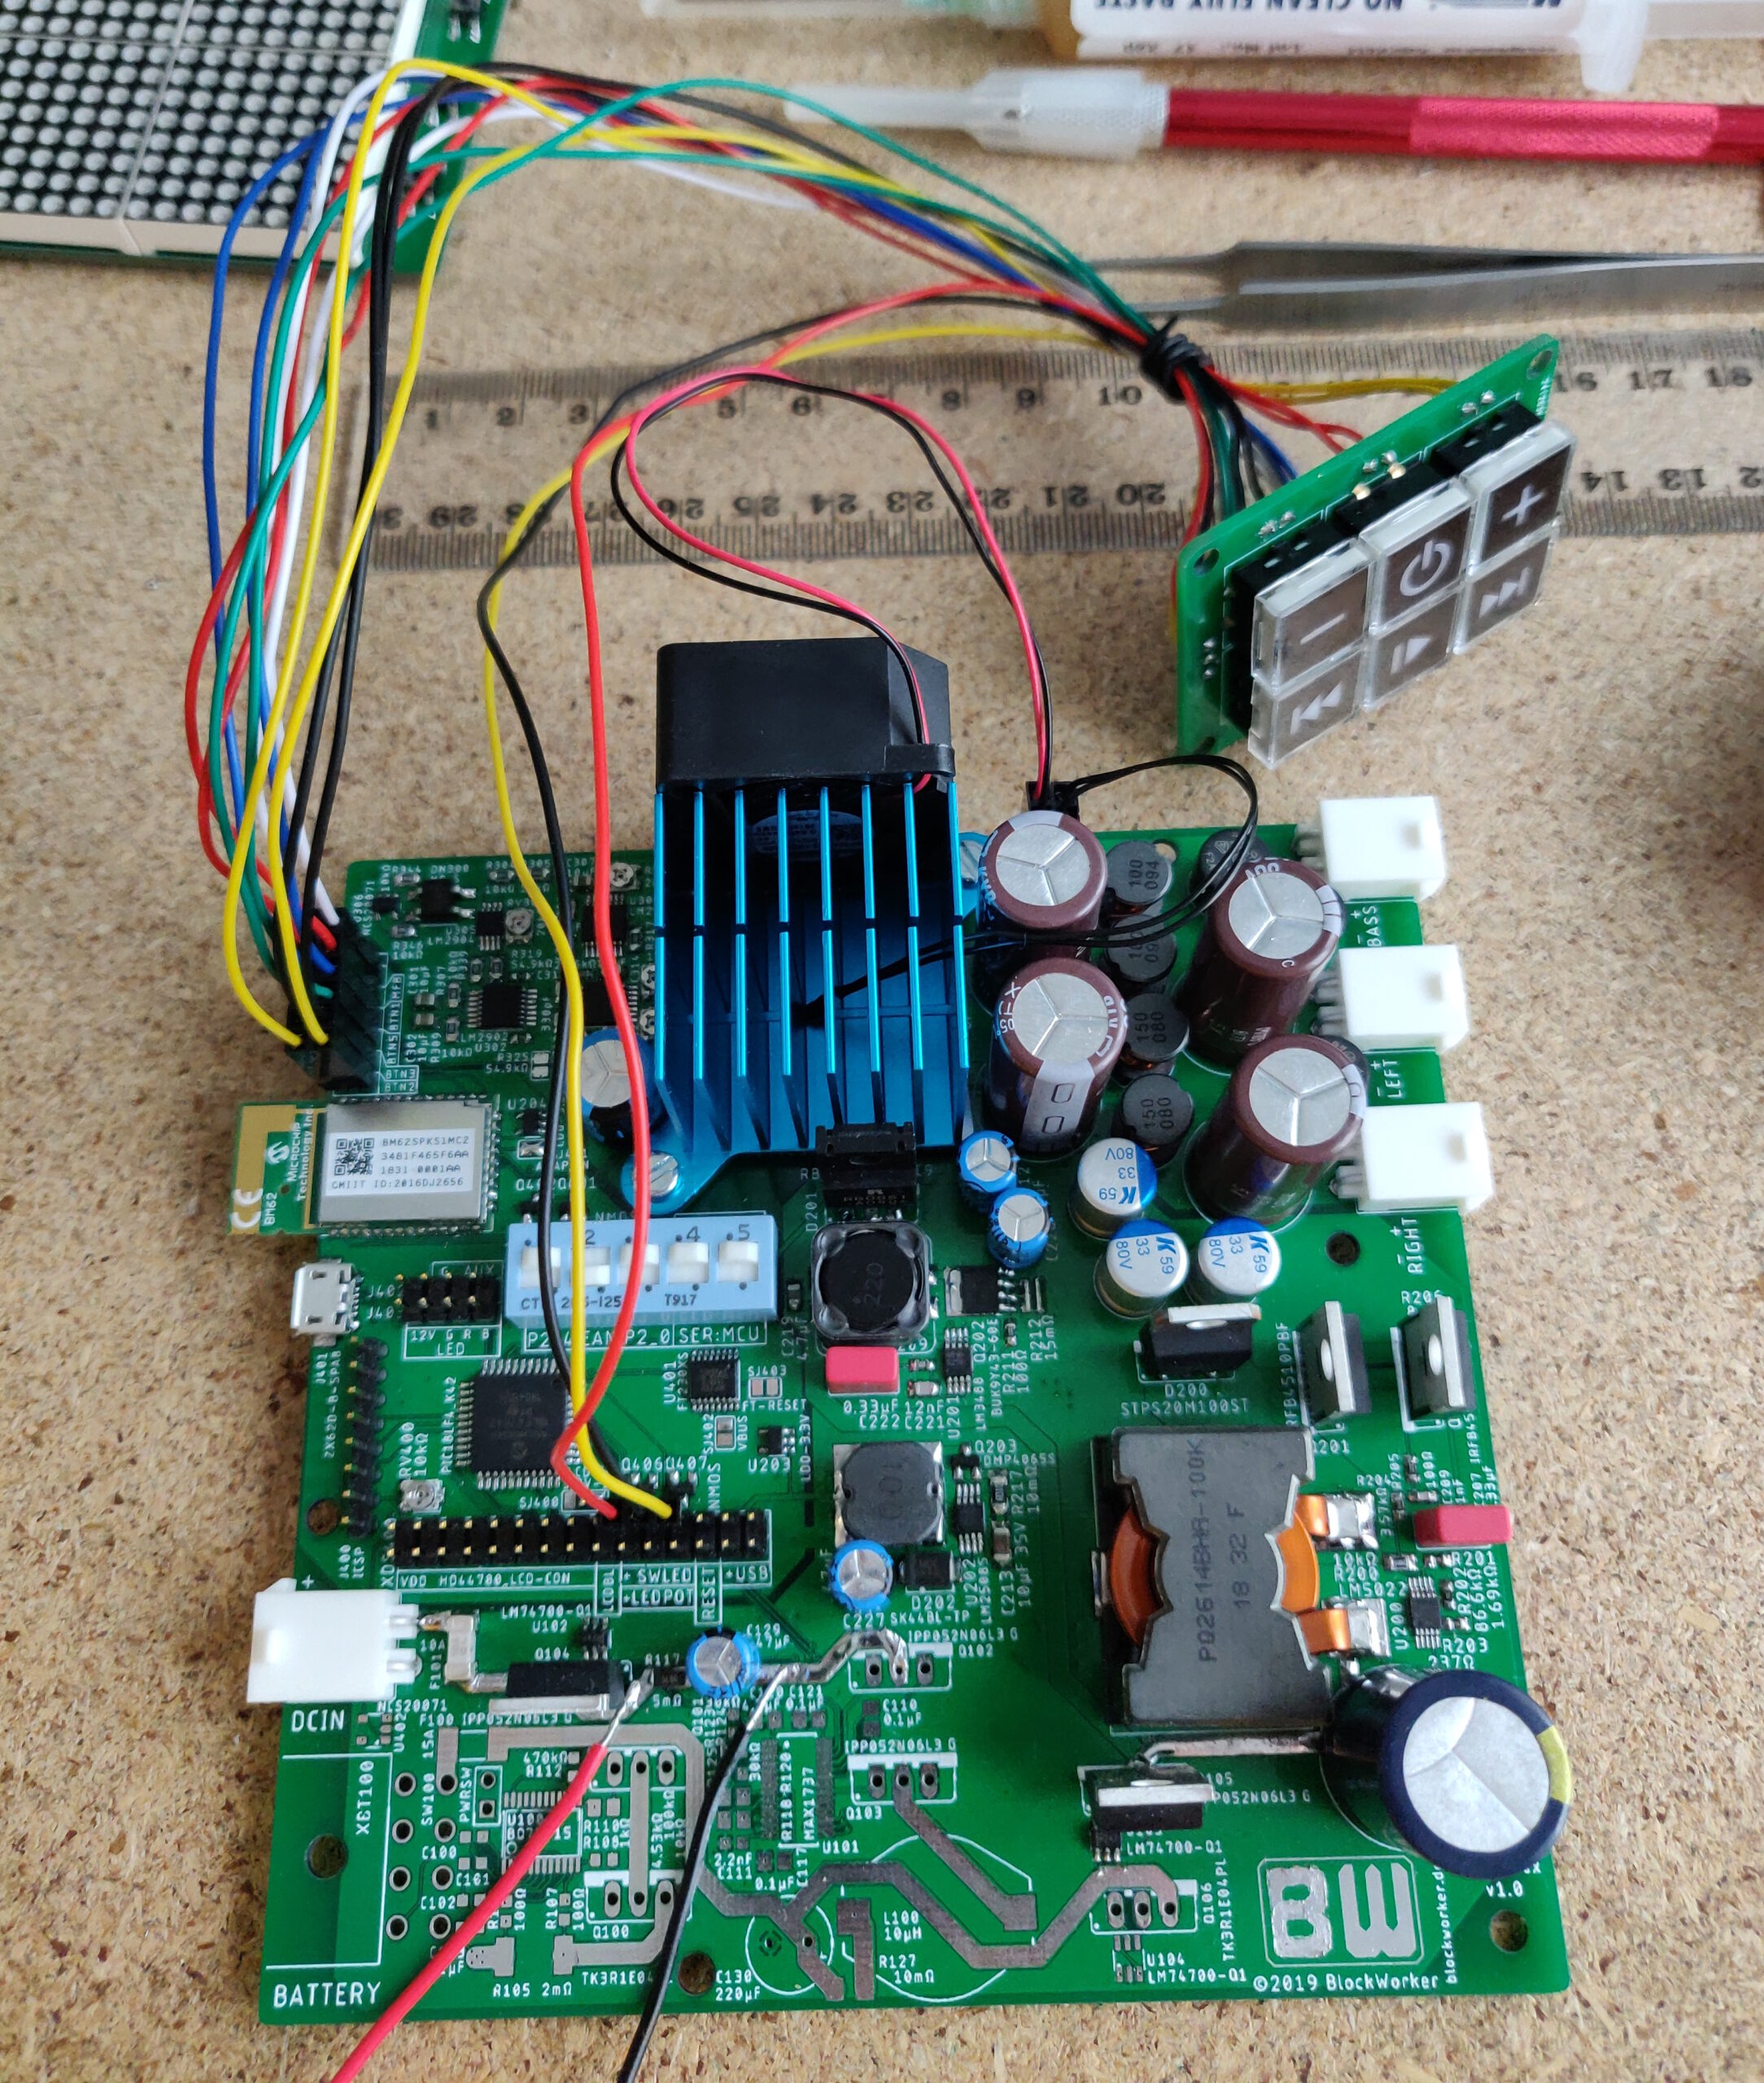
During firmware development, I also realised that my initial idea for LED music synchronisation didn’t work – so I had to work around it, and the results were quite mediocre, but still did work somewhat.
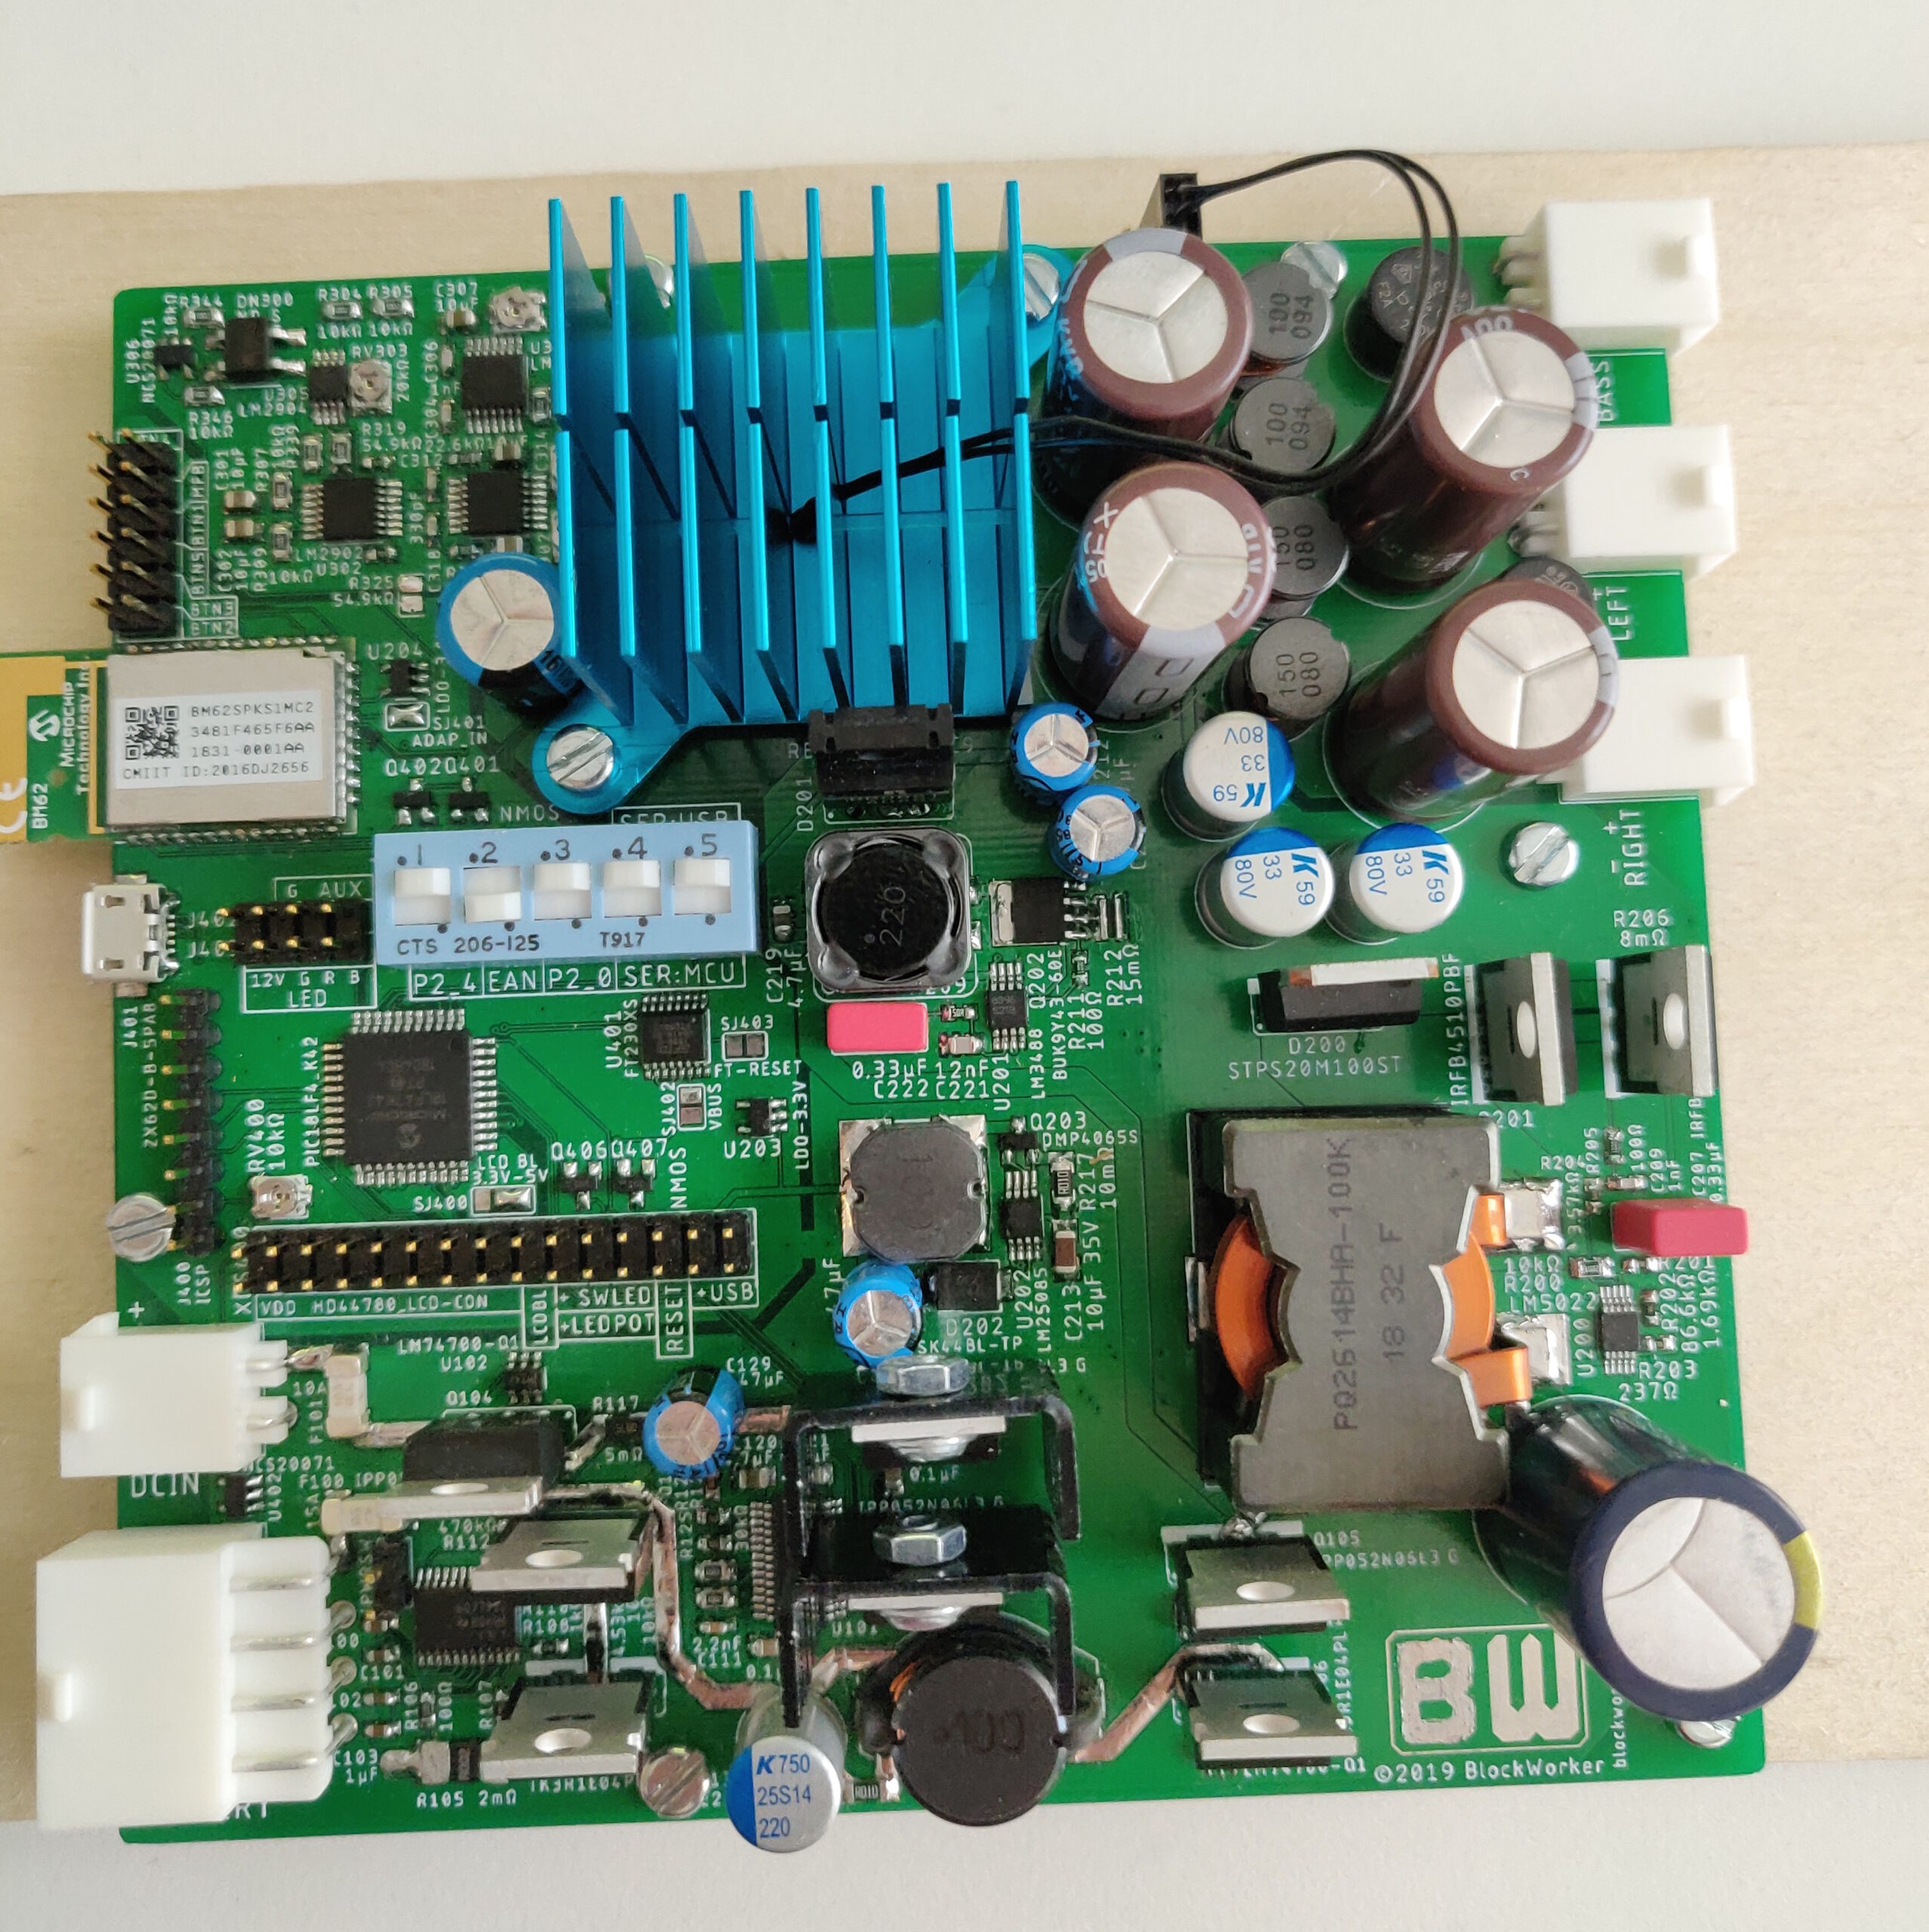
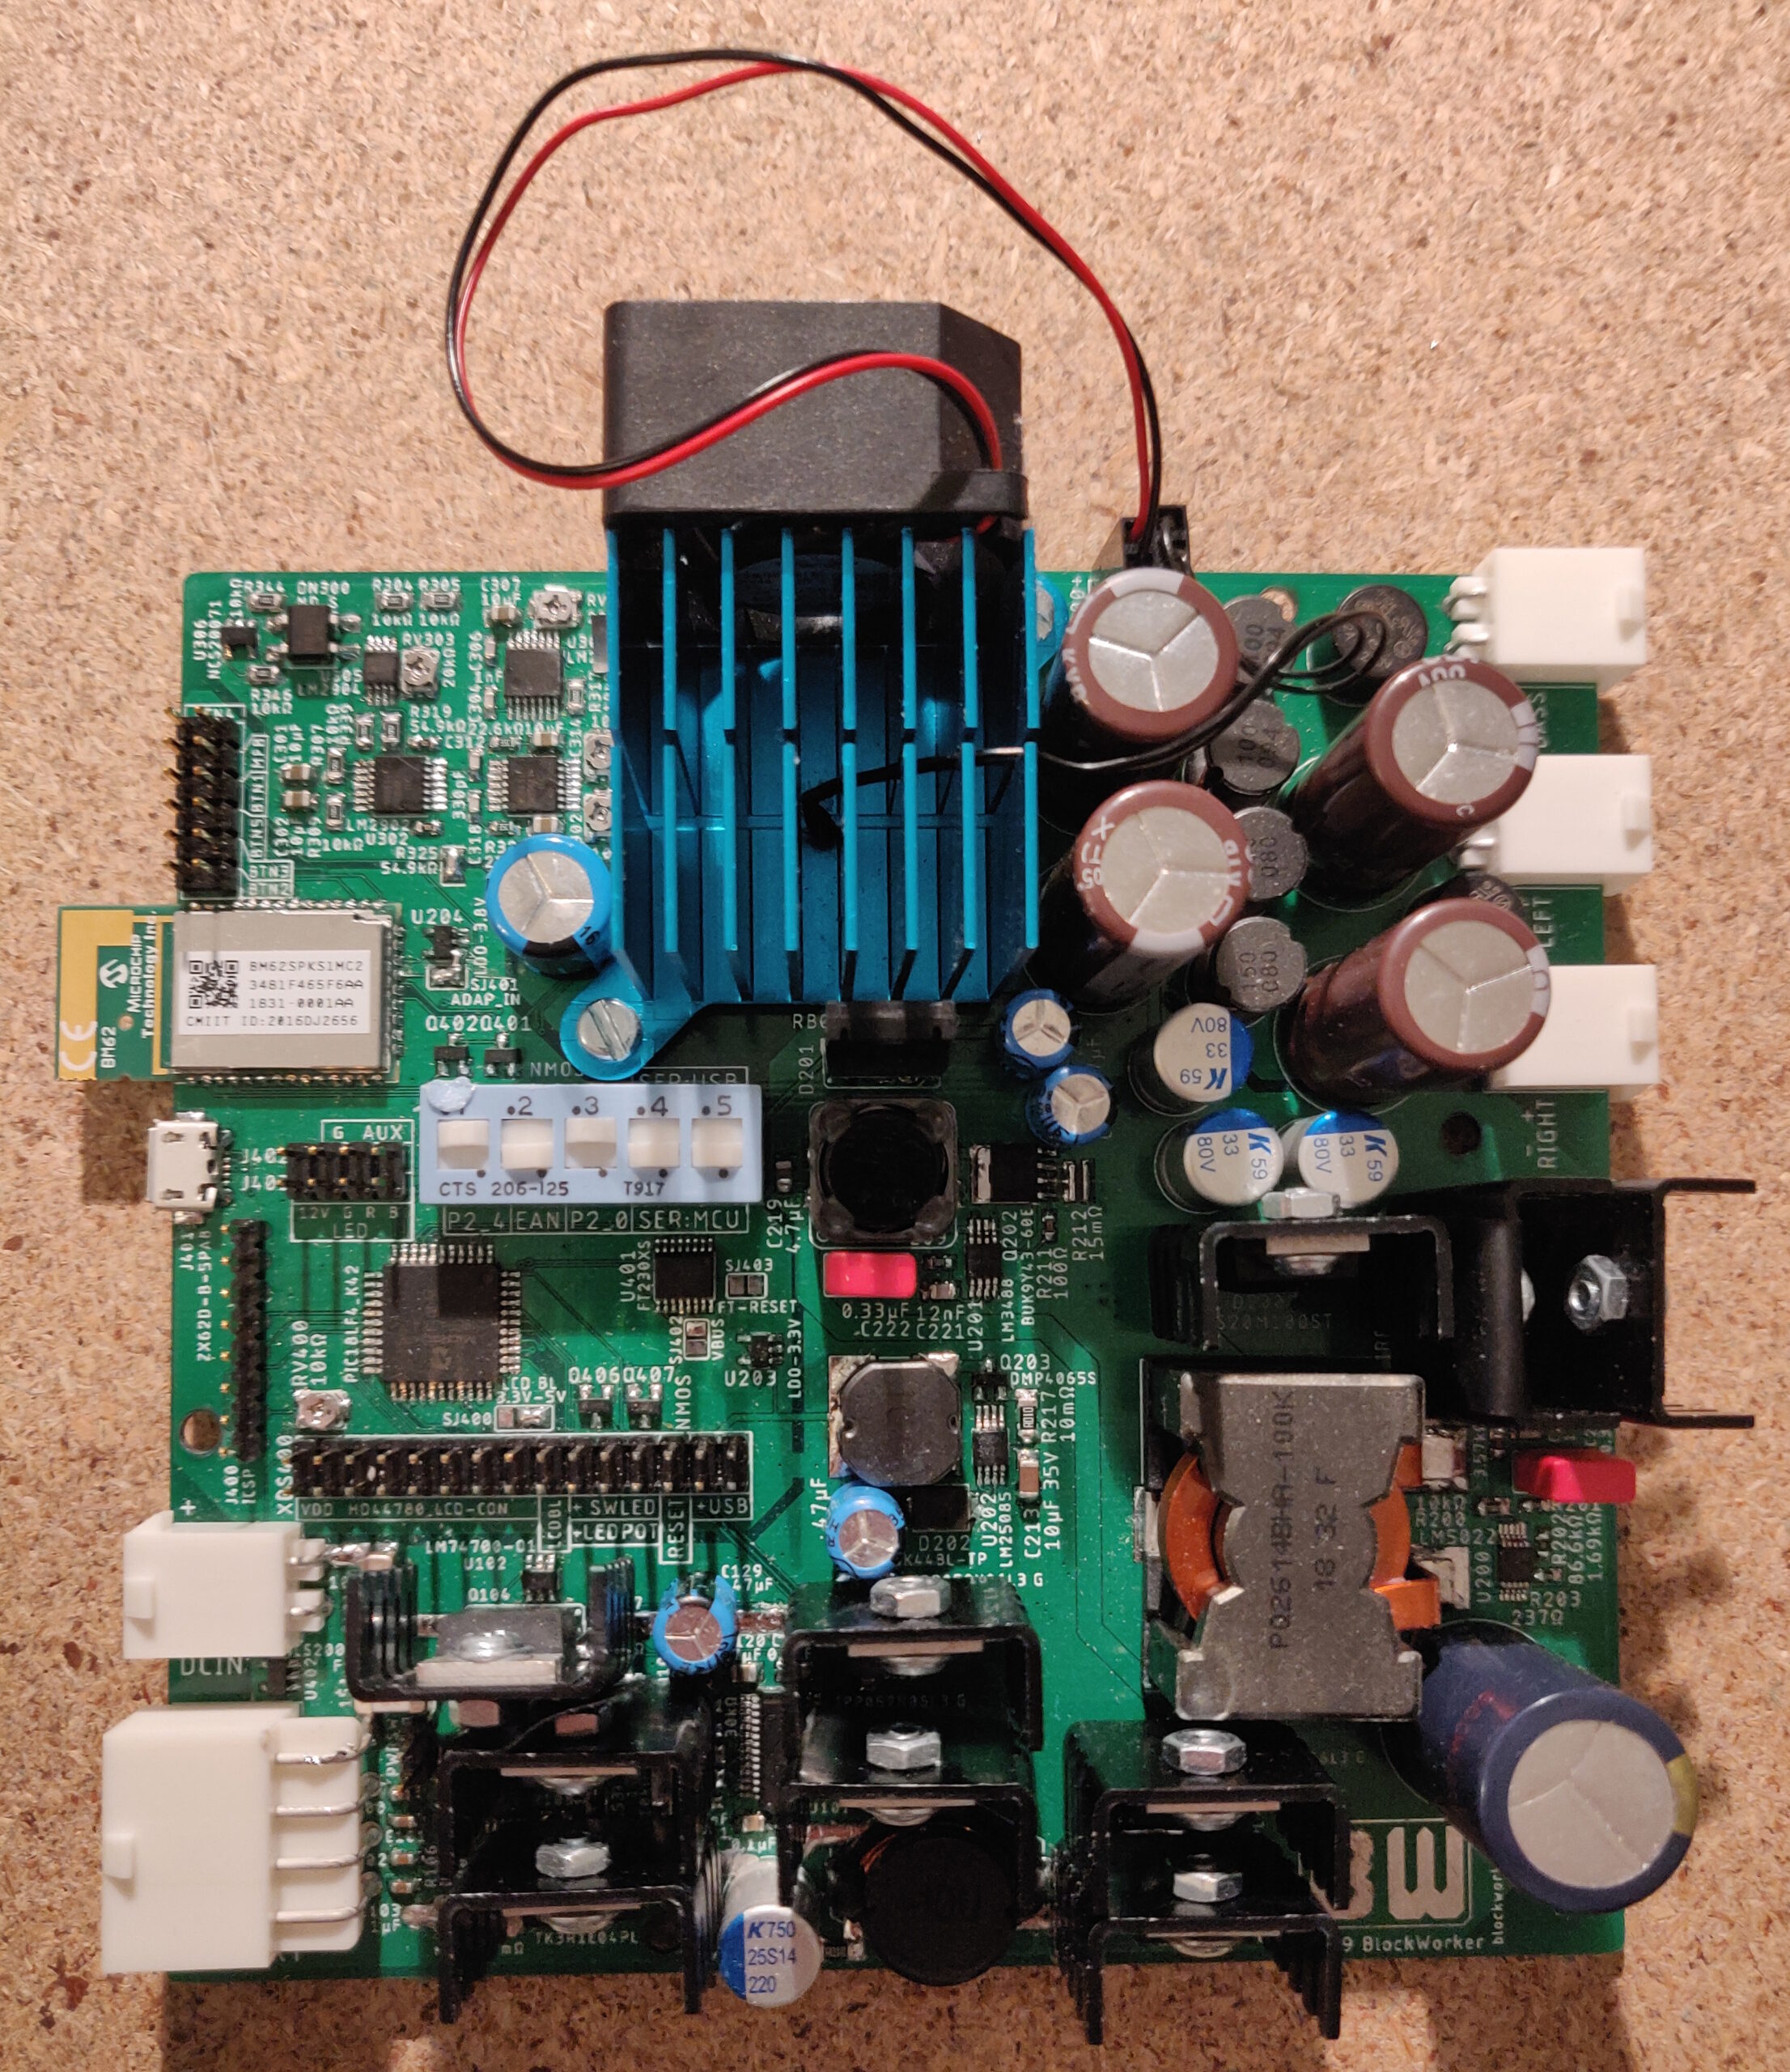
Finally, all that was left was the battery protection and charging circuit, as well as some transistor heat sinks, and we have a complete and working circuit board!
Speaking of the battery – that needed some assembly as well. I ordered 16 Li-ion cells (in the standard 18650 size) with pre-installed spot-welded nickel tabs. To keep them arranged nicely and safely, I also got some plastic cell spacers.
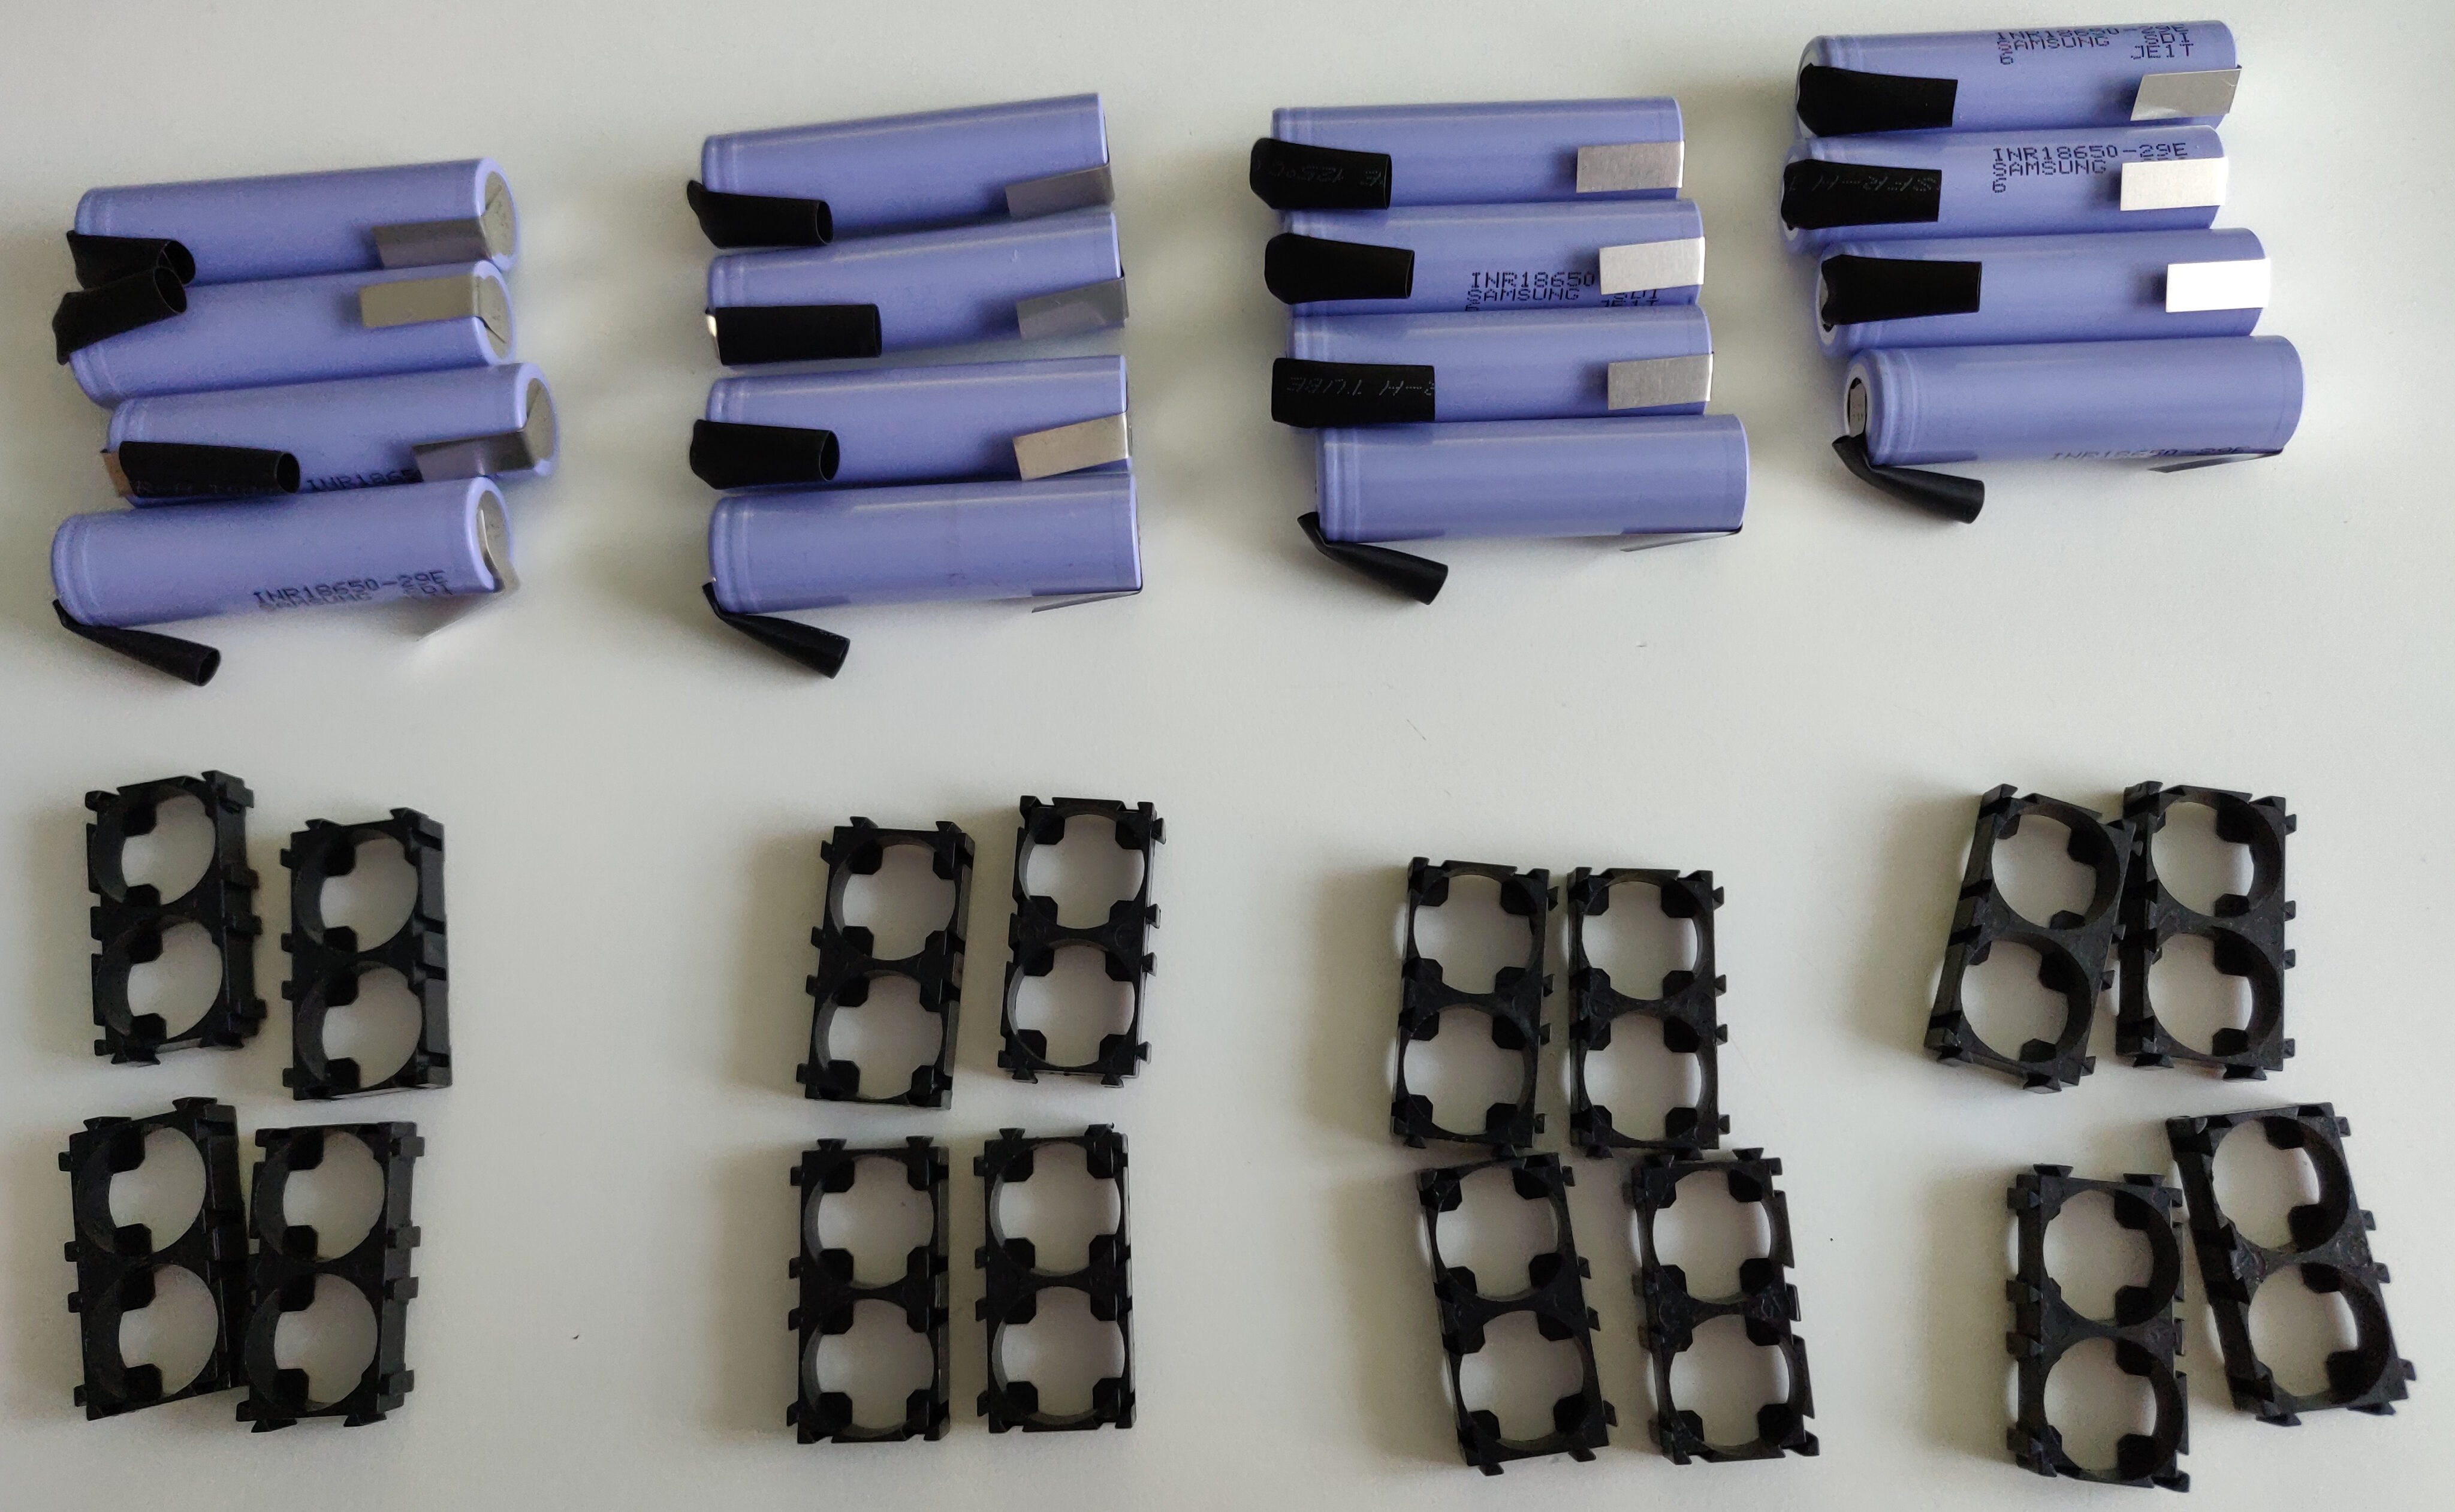
These cells were then arranged into four groups of four, creating the desired 4s4p (four series, four parallel) configuration.
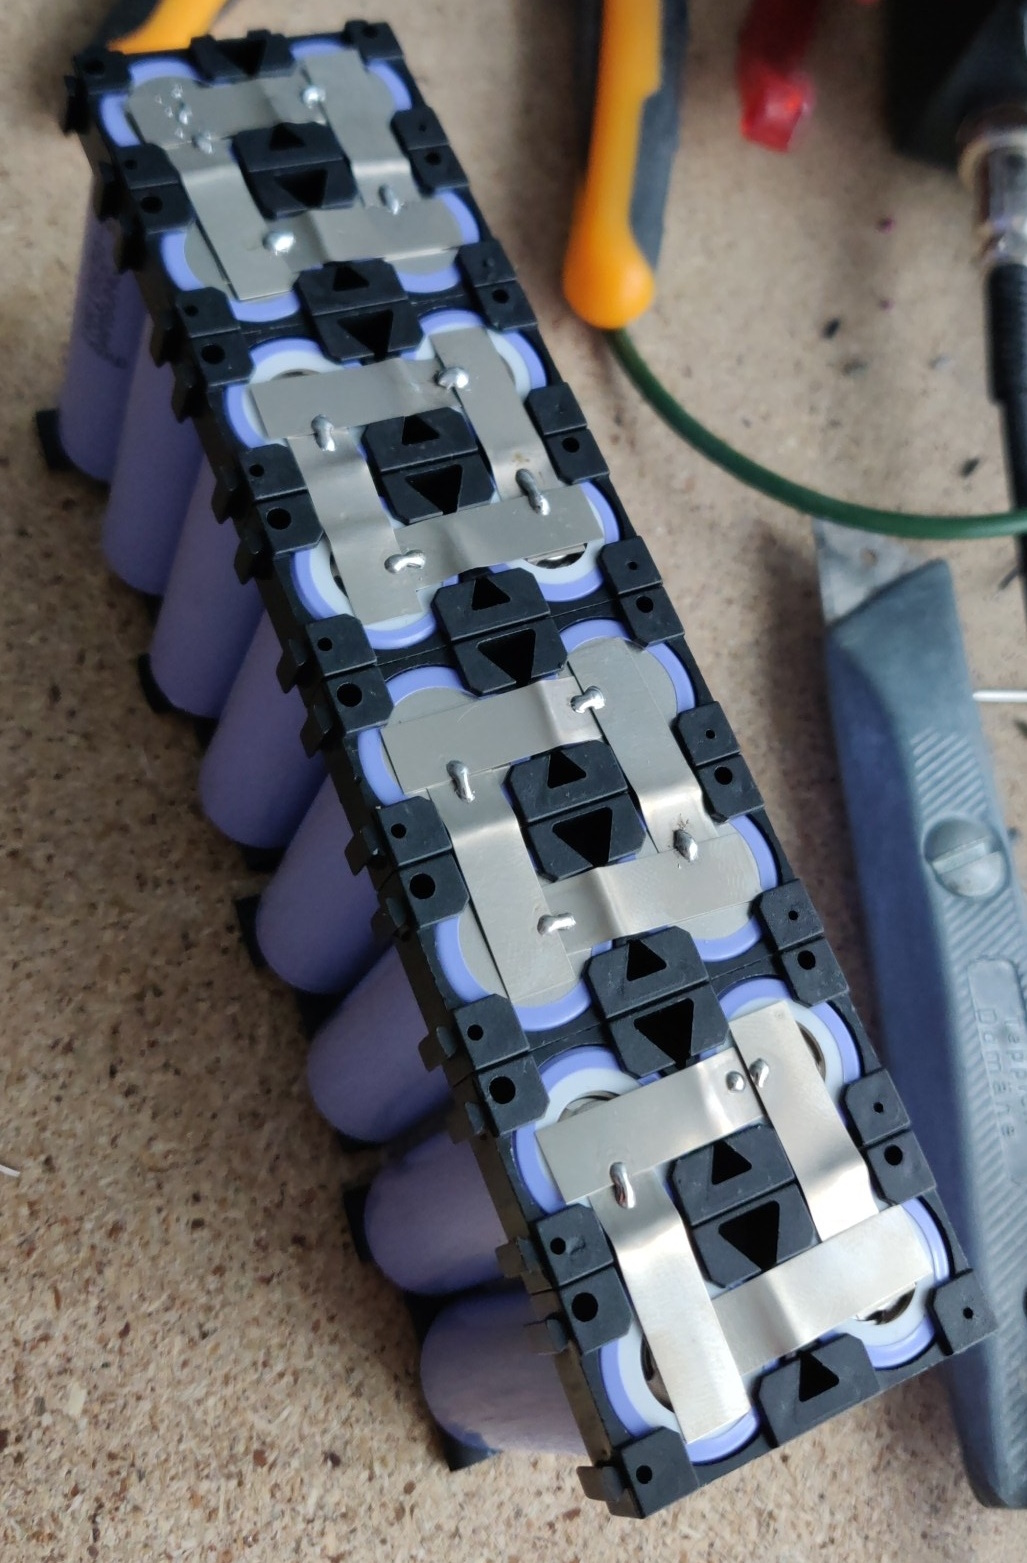
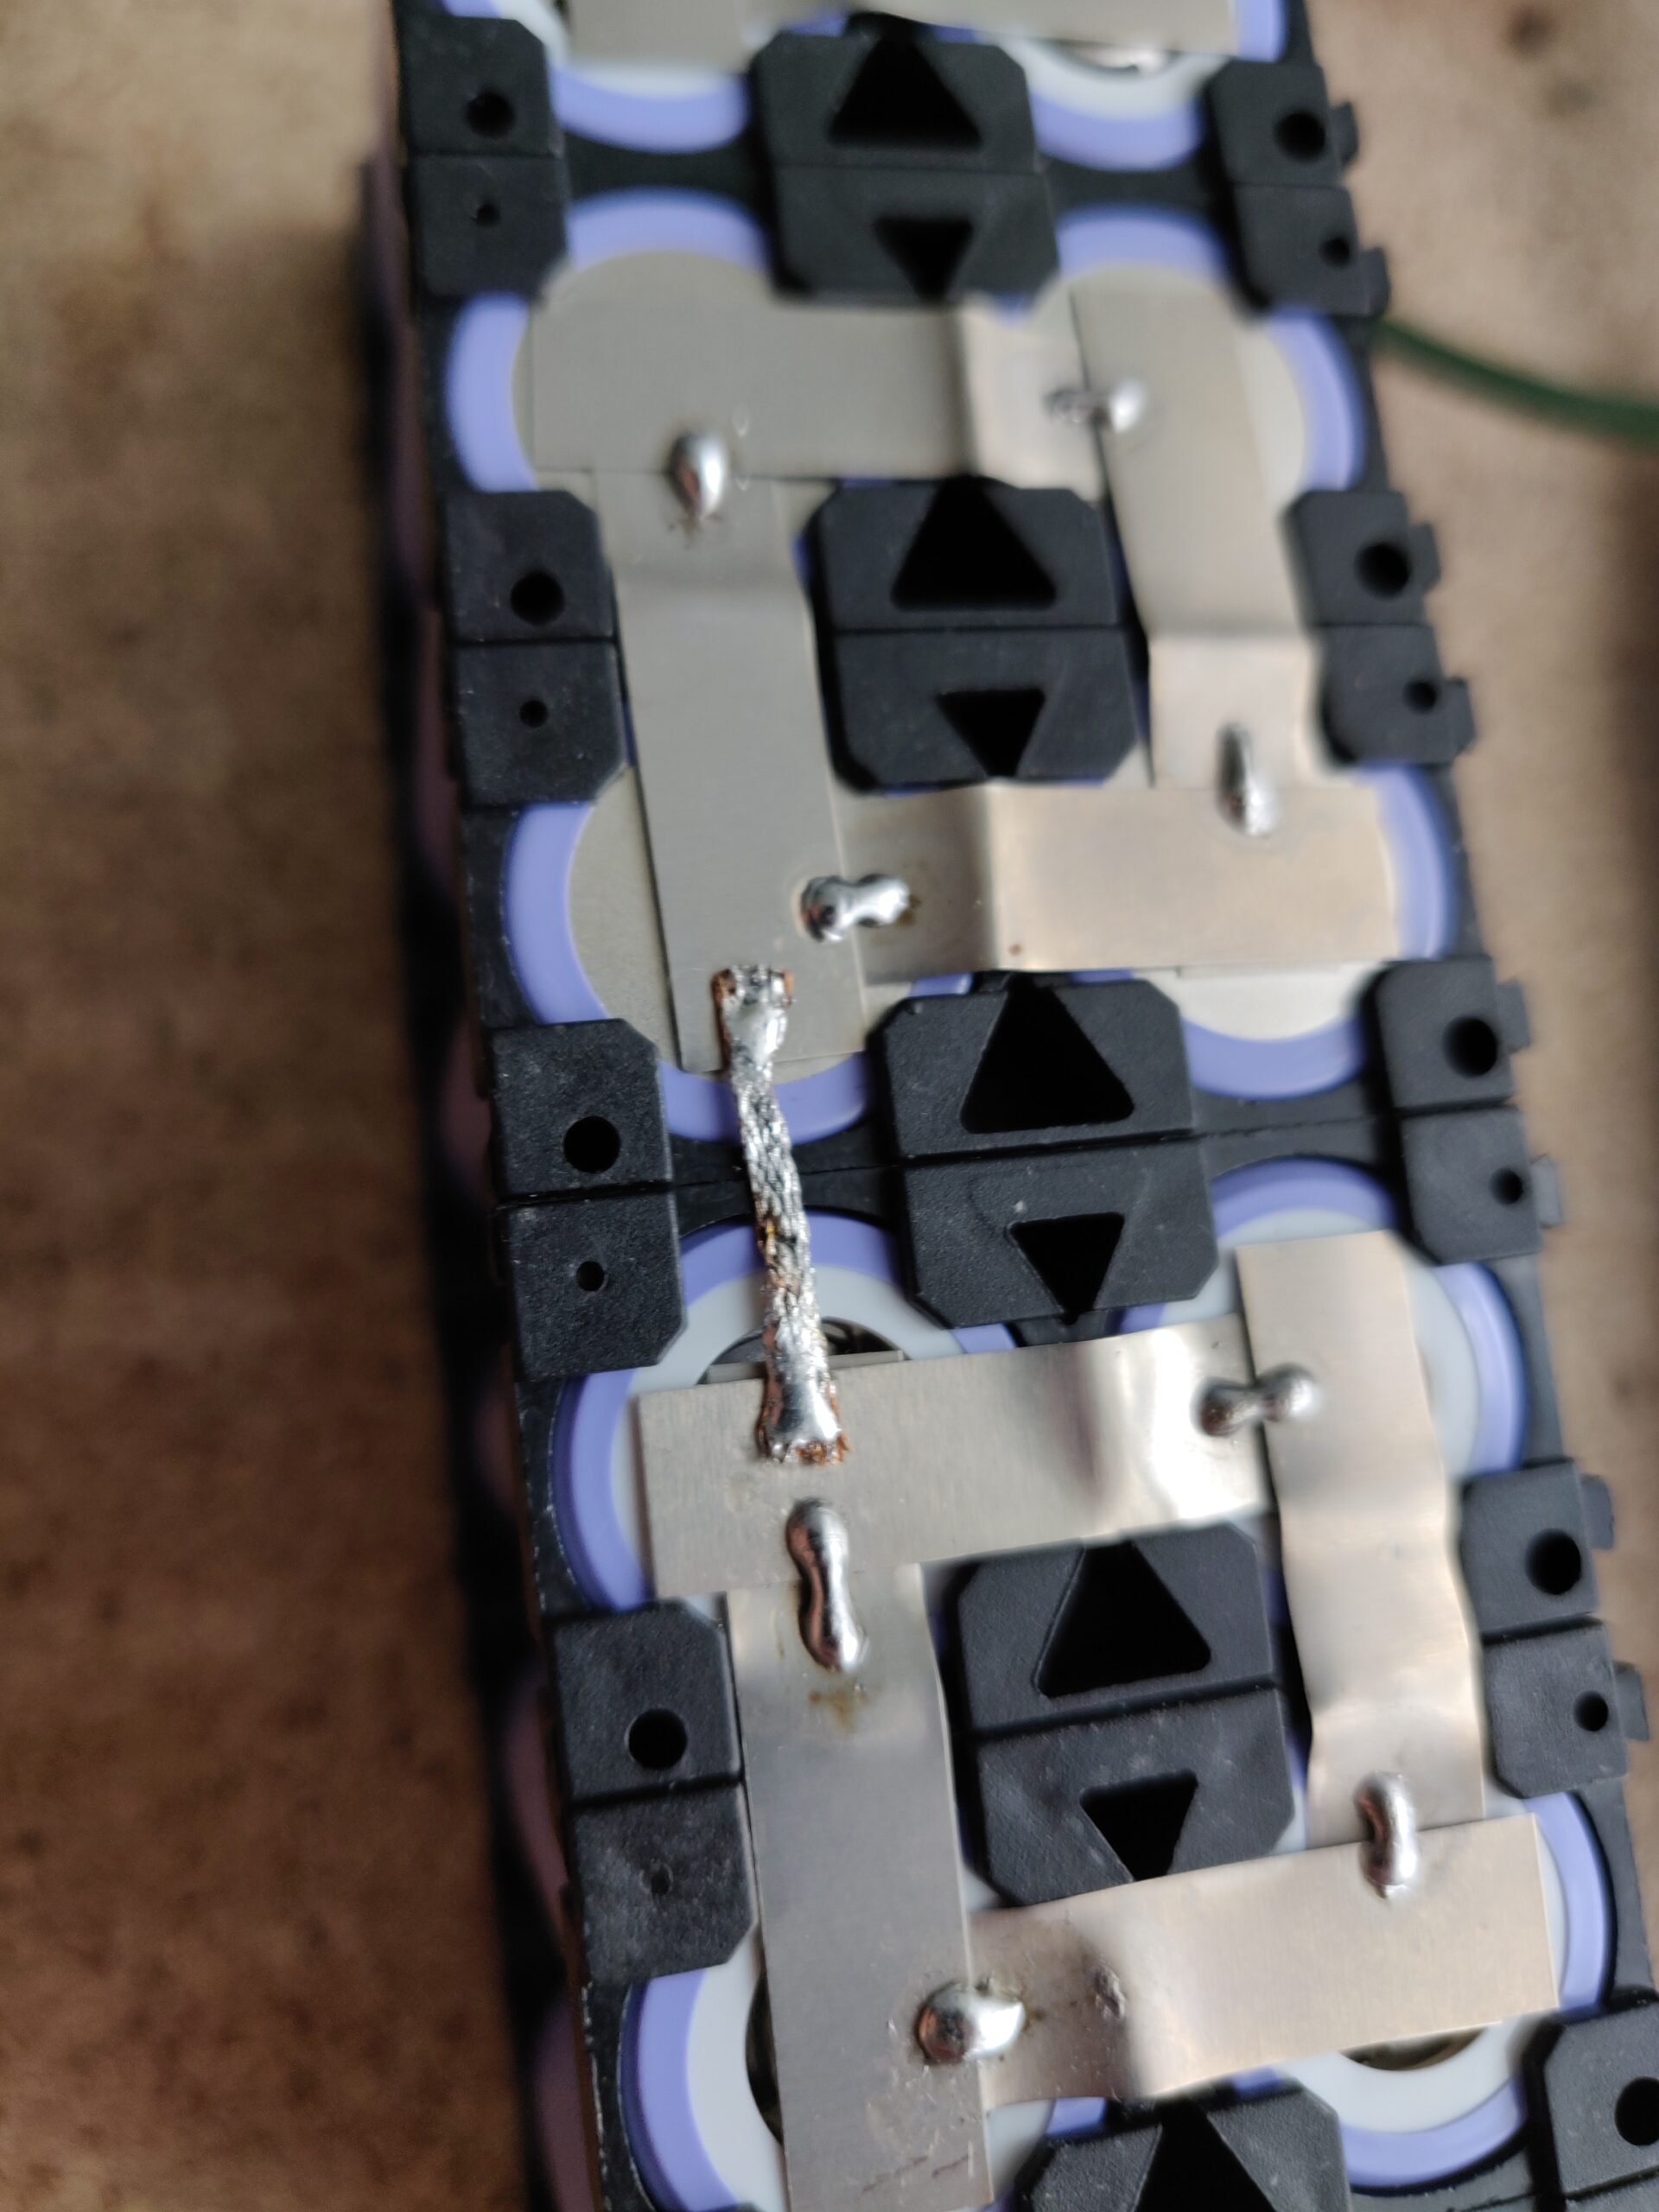
I soldered the four parallel groups together, before using some solder wick to connect them in series.
Soldering isn’t ideal, as it could overheat the cells – spot welding is the way to go, but needs tools I don’t have, so I just had to carefully solder the nickel strips – it ended up working out quite well.
Now I could get to the last piece of the puzzle: The enclosure.
I didn’t have access to the ideal tools for such a build (CNC mill, or at least woodworking power tools) – so I made everything by hand out of plywood stock, using a drill, various hand saws, files, and sandpaper. The resulting cuts were far from perfect, but good enough for this project.
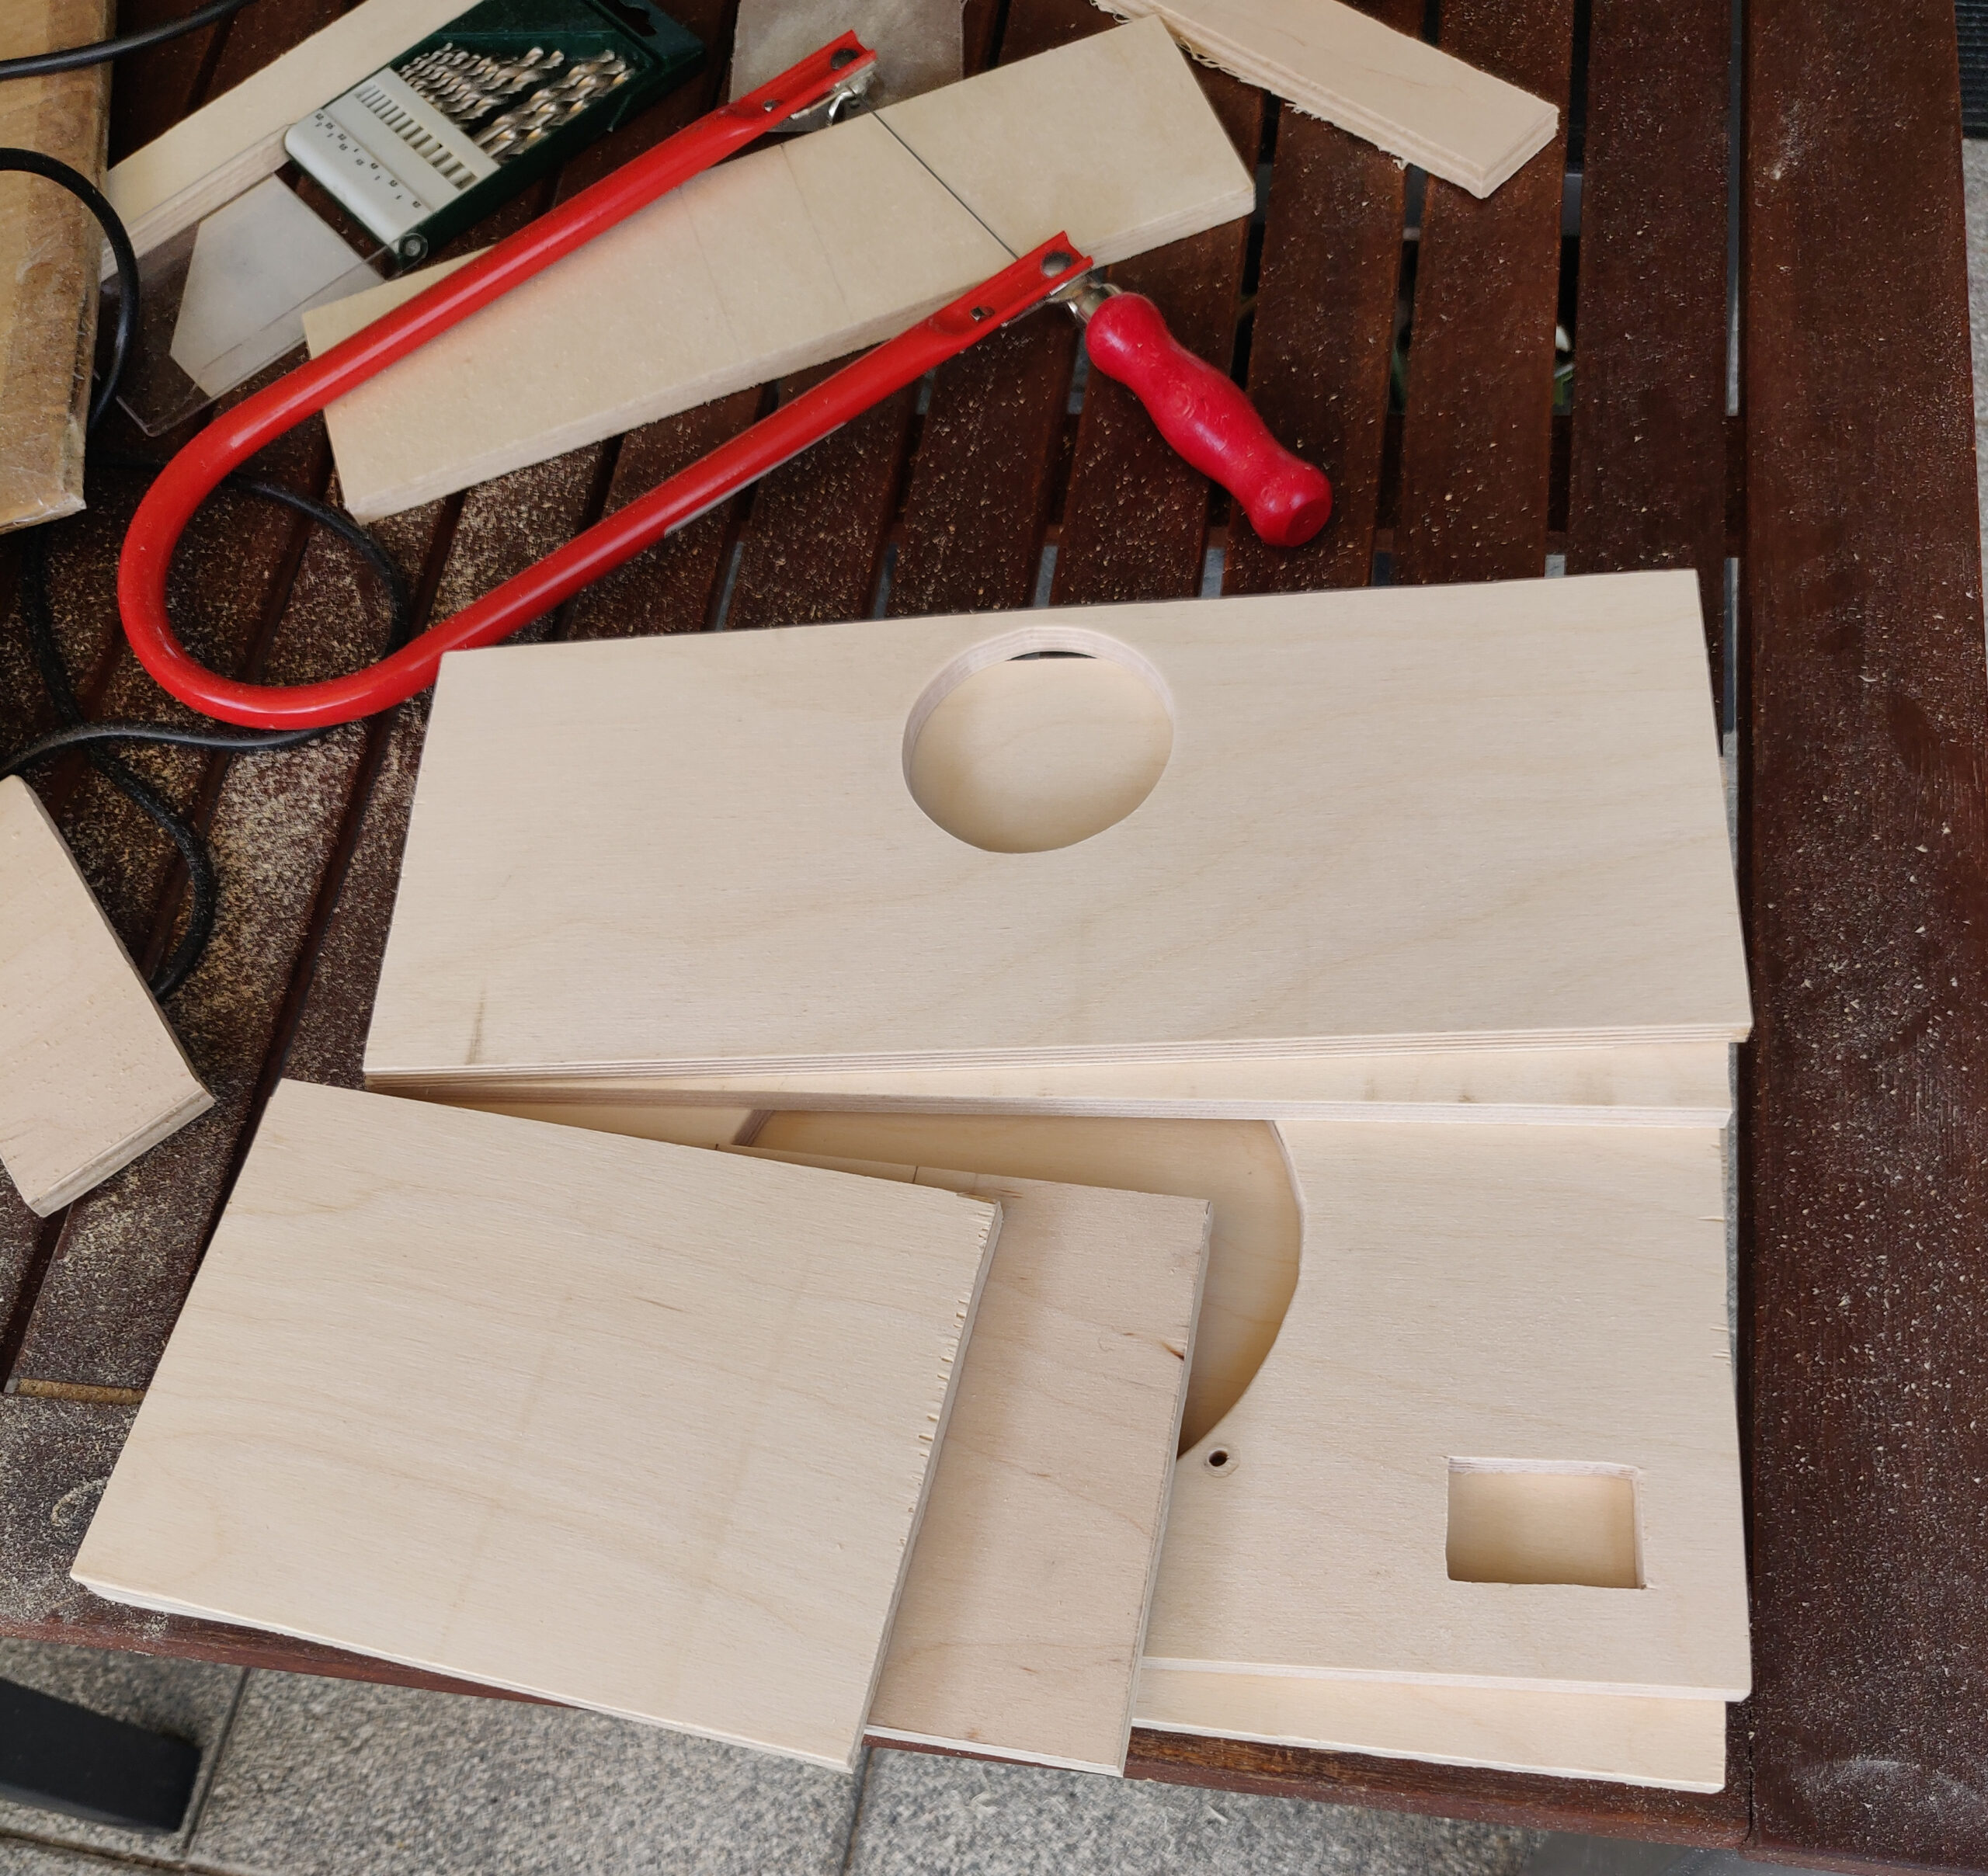
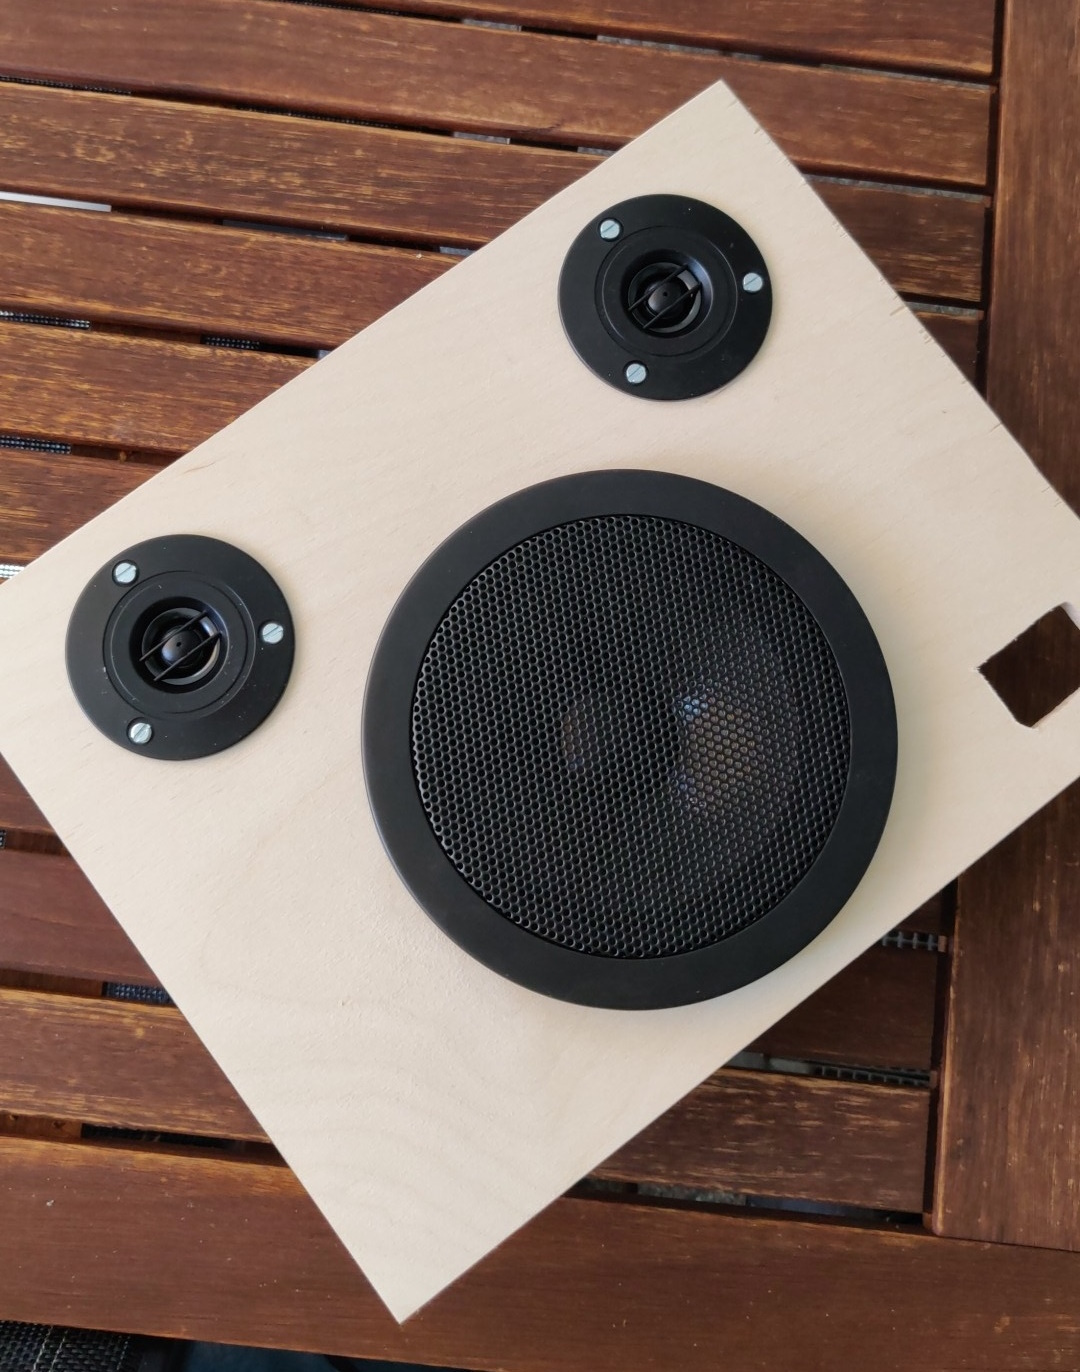
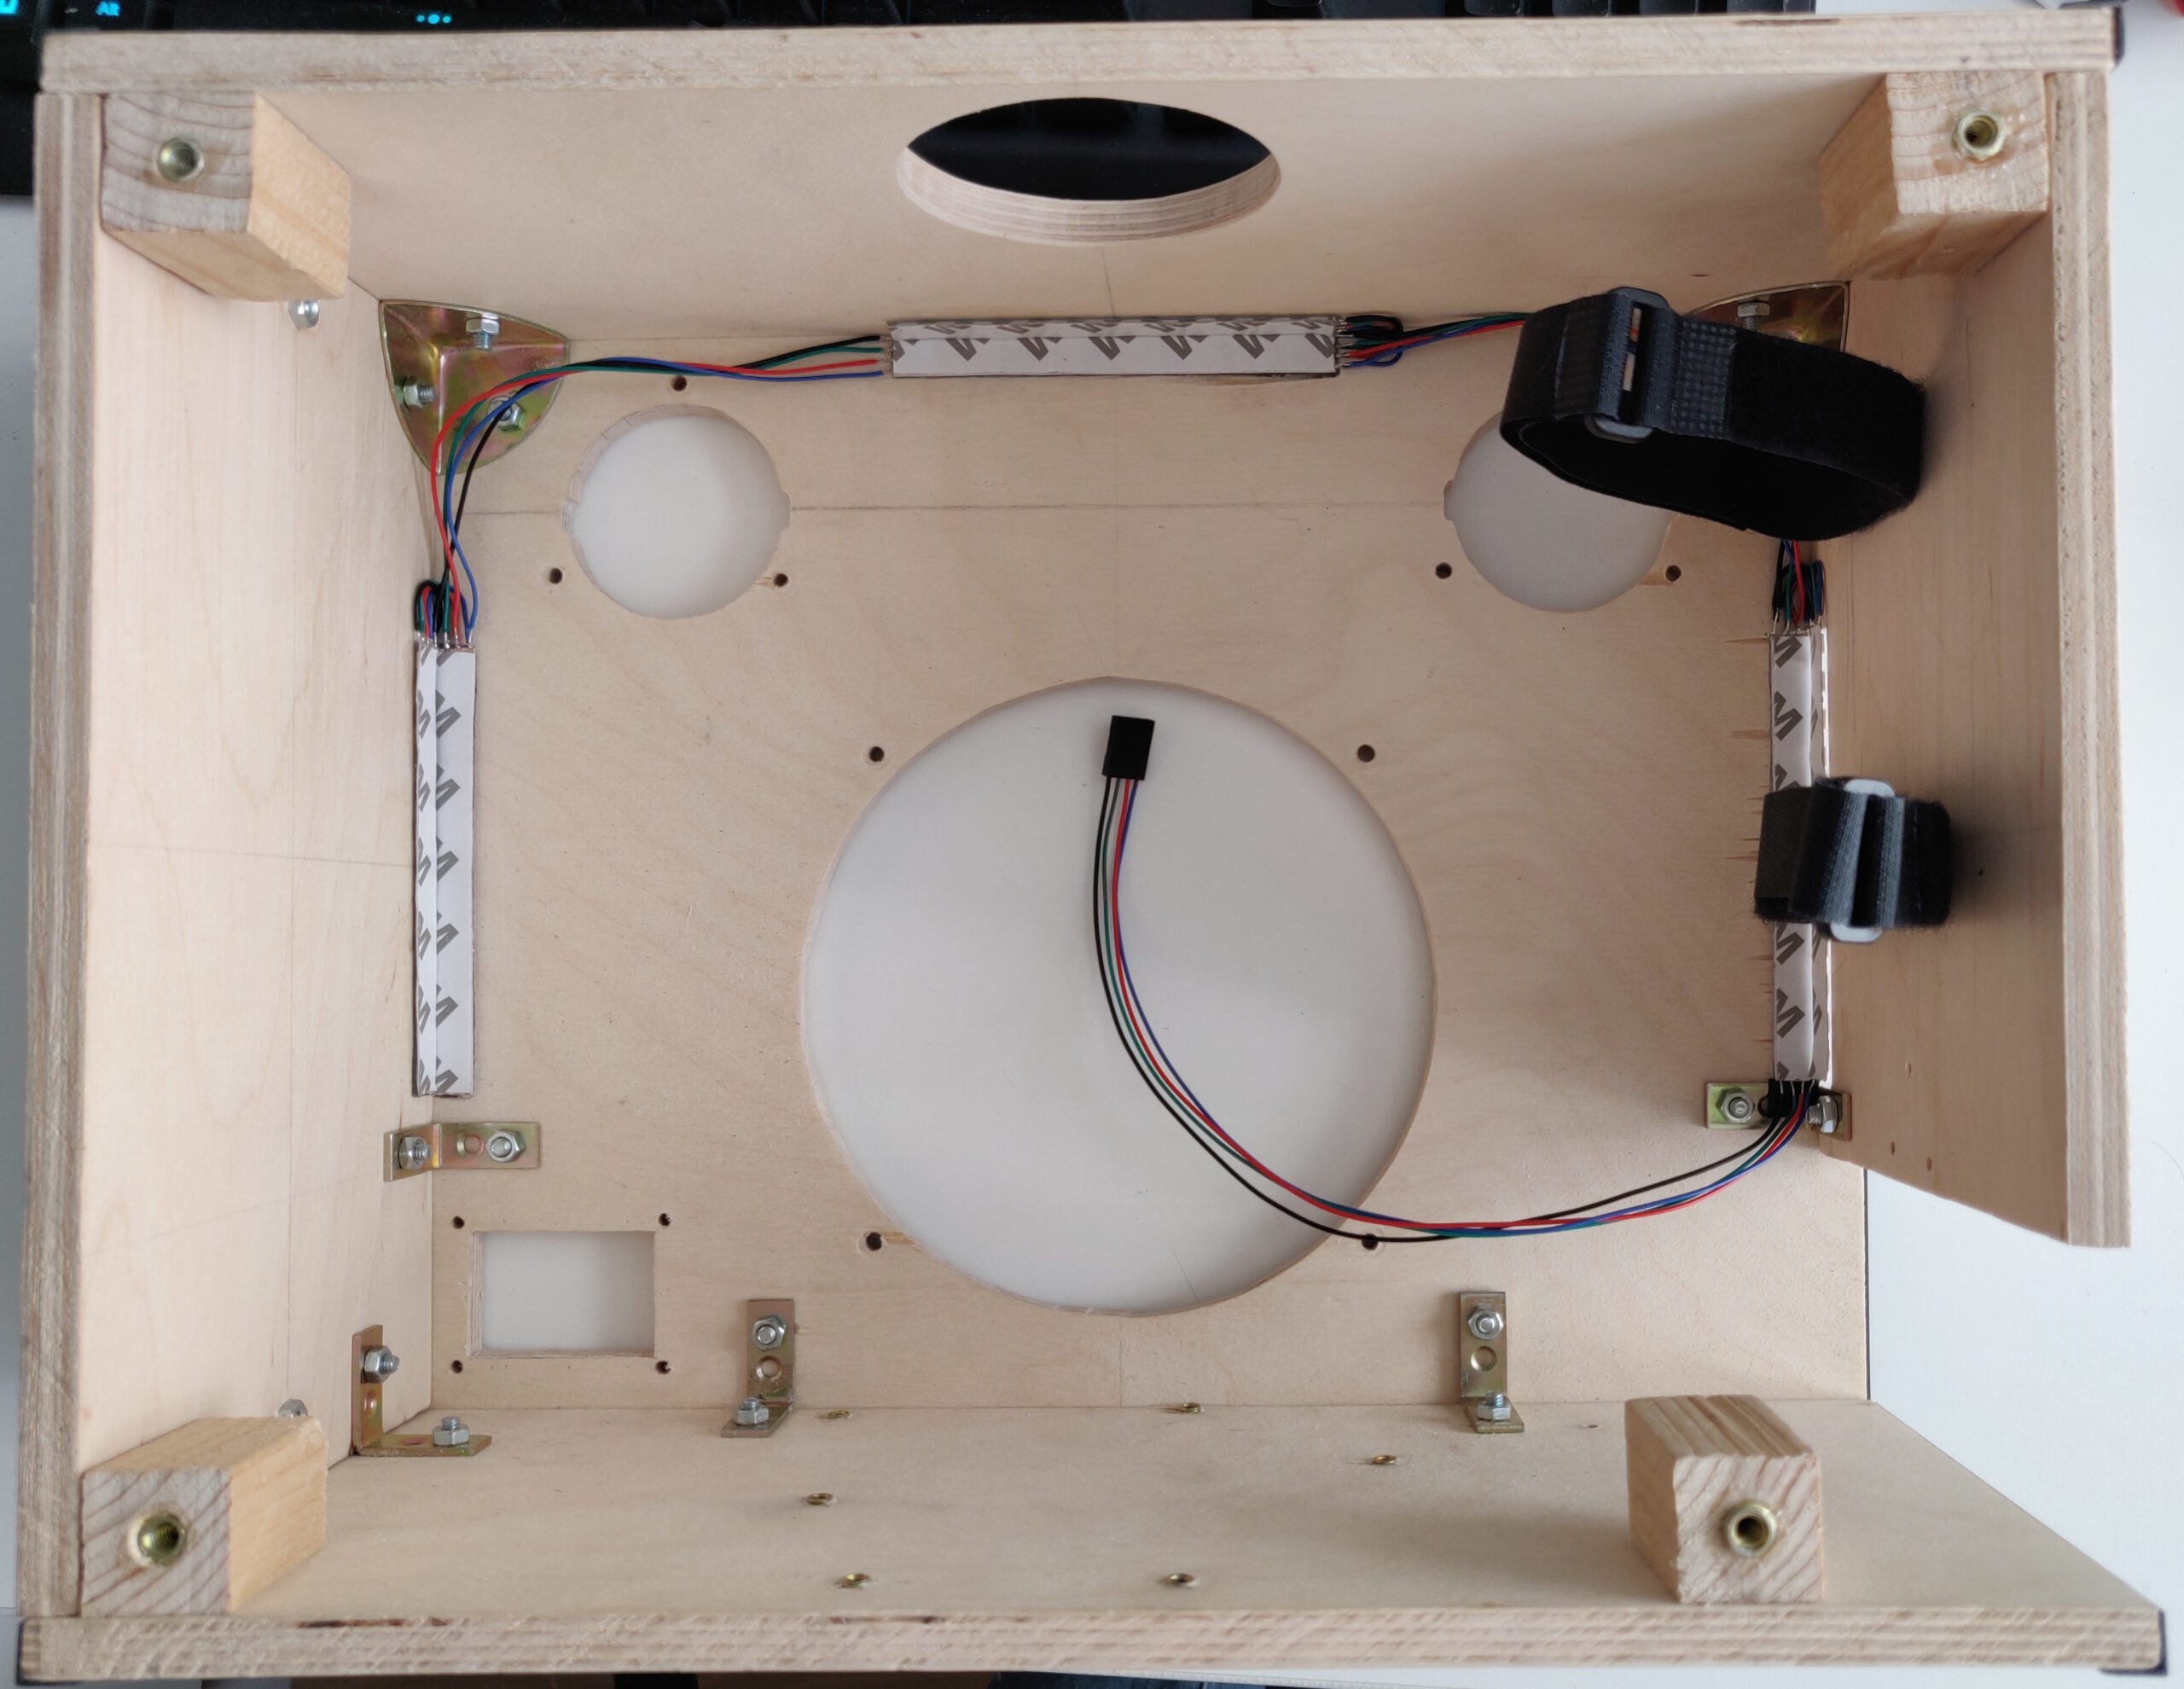
For the RGB lighting, I glued RGB LED strips to some acrylic rods, before gluing everything (except for the back wall) together to create the enclosure (just missing the side compartment in this image).
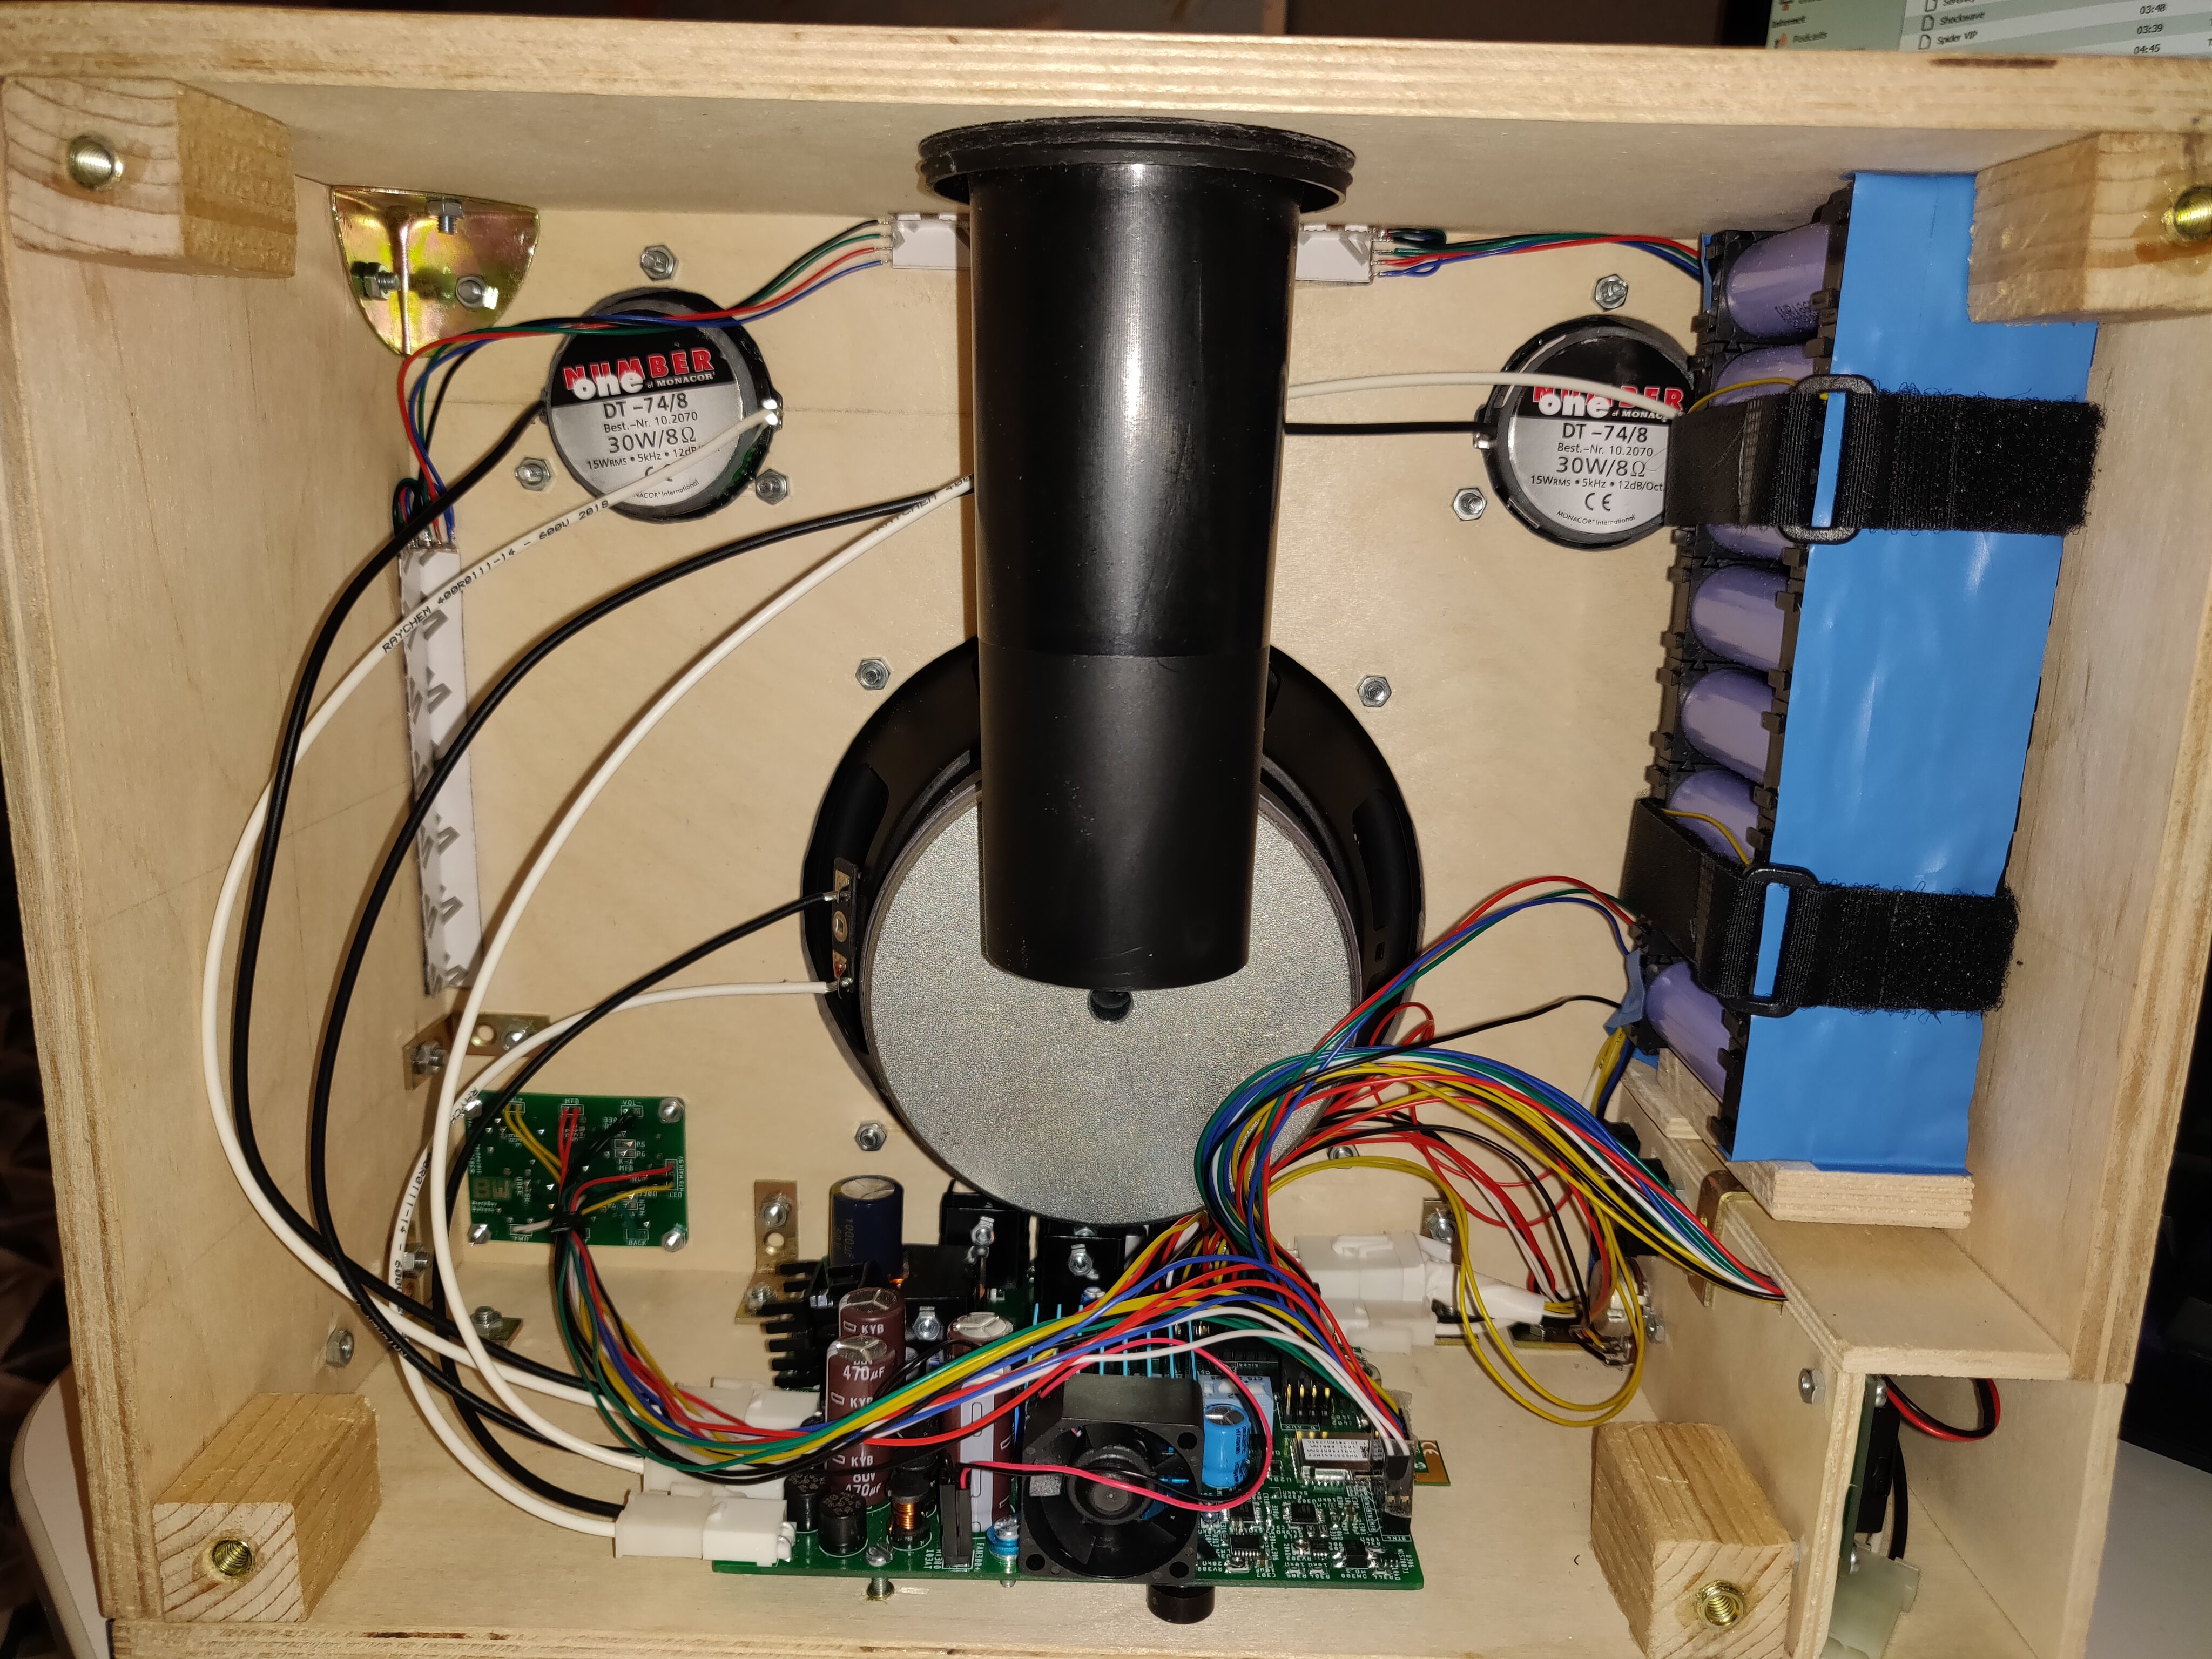
The only thing left to do now was to install all of the components inside it, and I had a complete BlockBox!

This would be the time to say something along the lines of, “That concludes the BlockBox project, thank you for reading”.
But… let’s not rush it.
Leave a Reply