Once I had the finished design, I ordered all of the parts for the case and cooling system. After spending a painful amount of money (for a student), and a bit of waiting, I had everything I needed.
The acrylic panels arrived covered in protective foil. I would have loved to leave that foil on them as much as possible, until the very end, but unfortunately, they had a very intense unpleasant smell from the factory – so I unwrapped them all and washed them thoroughly.
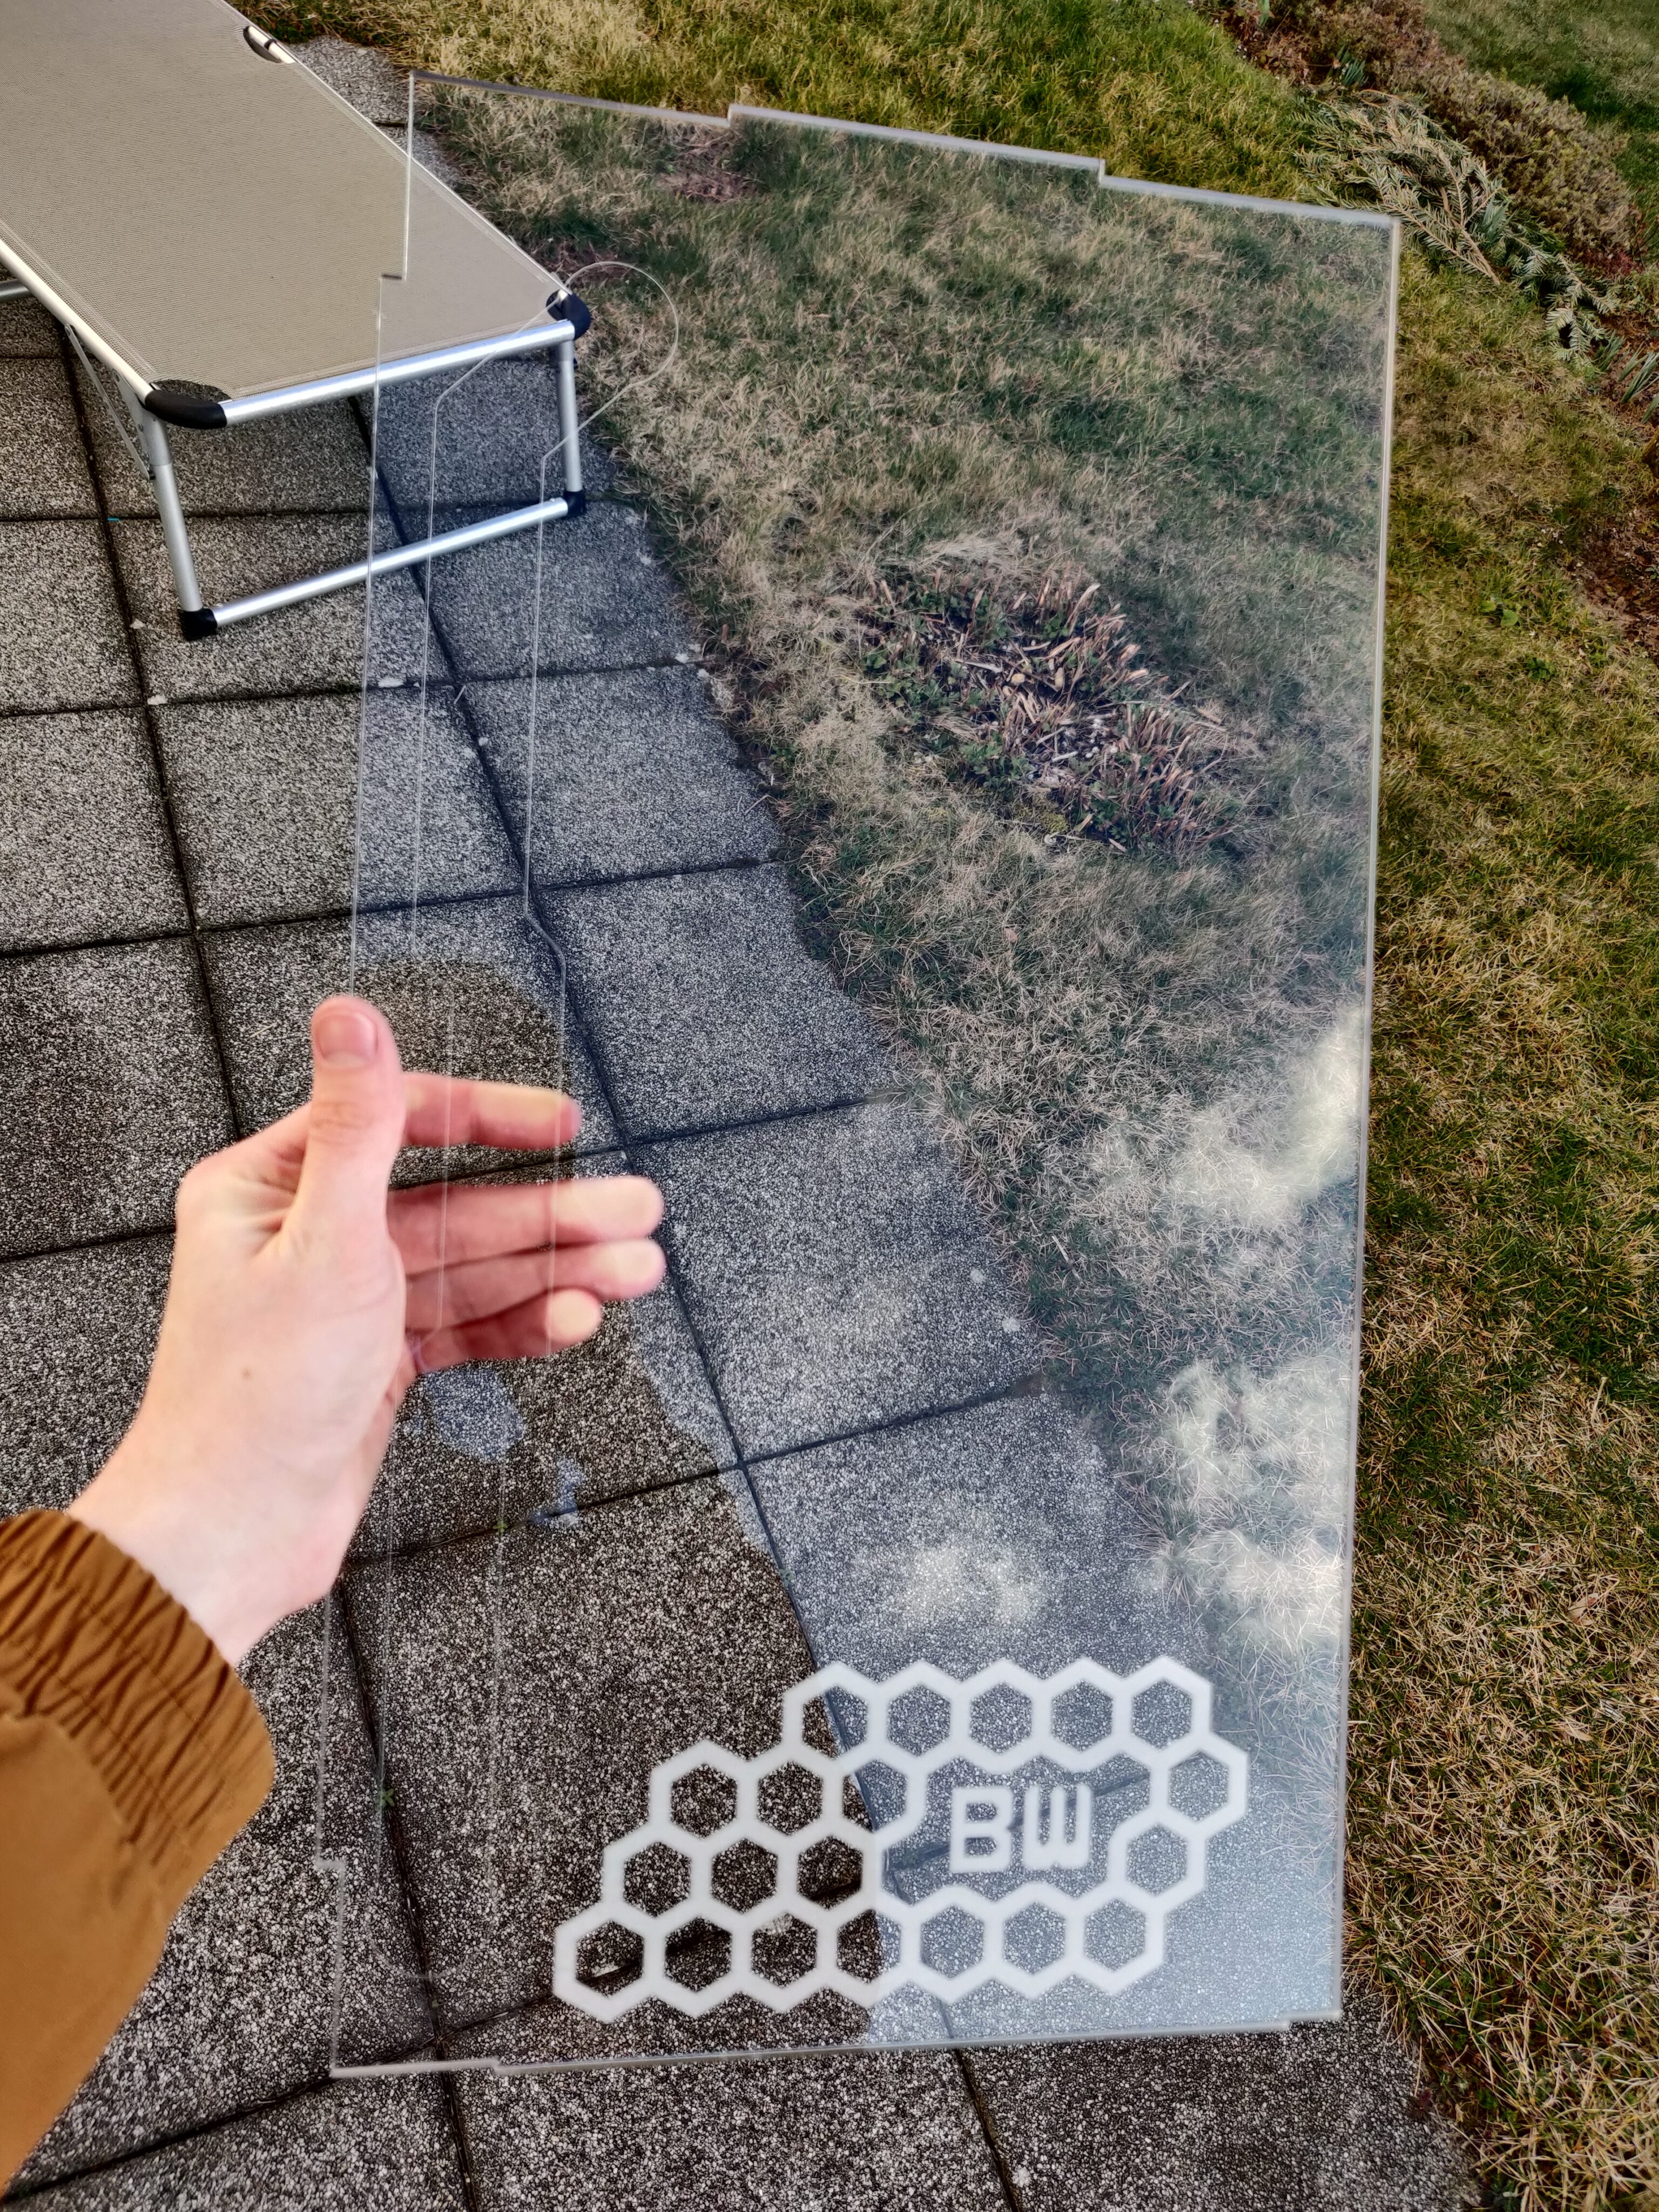
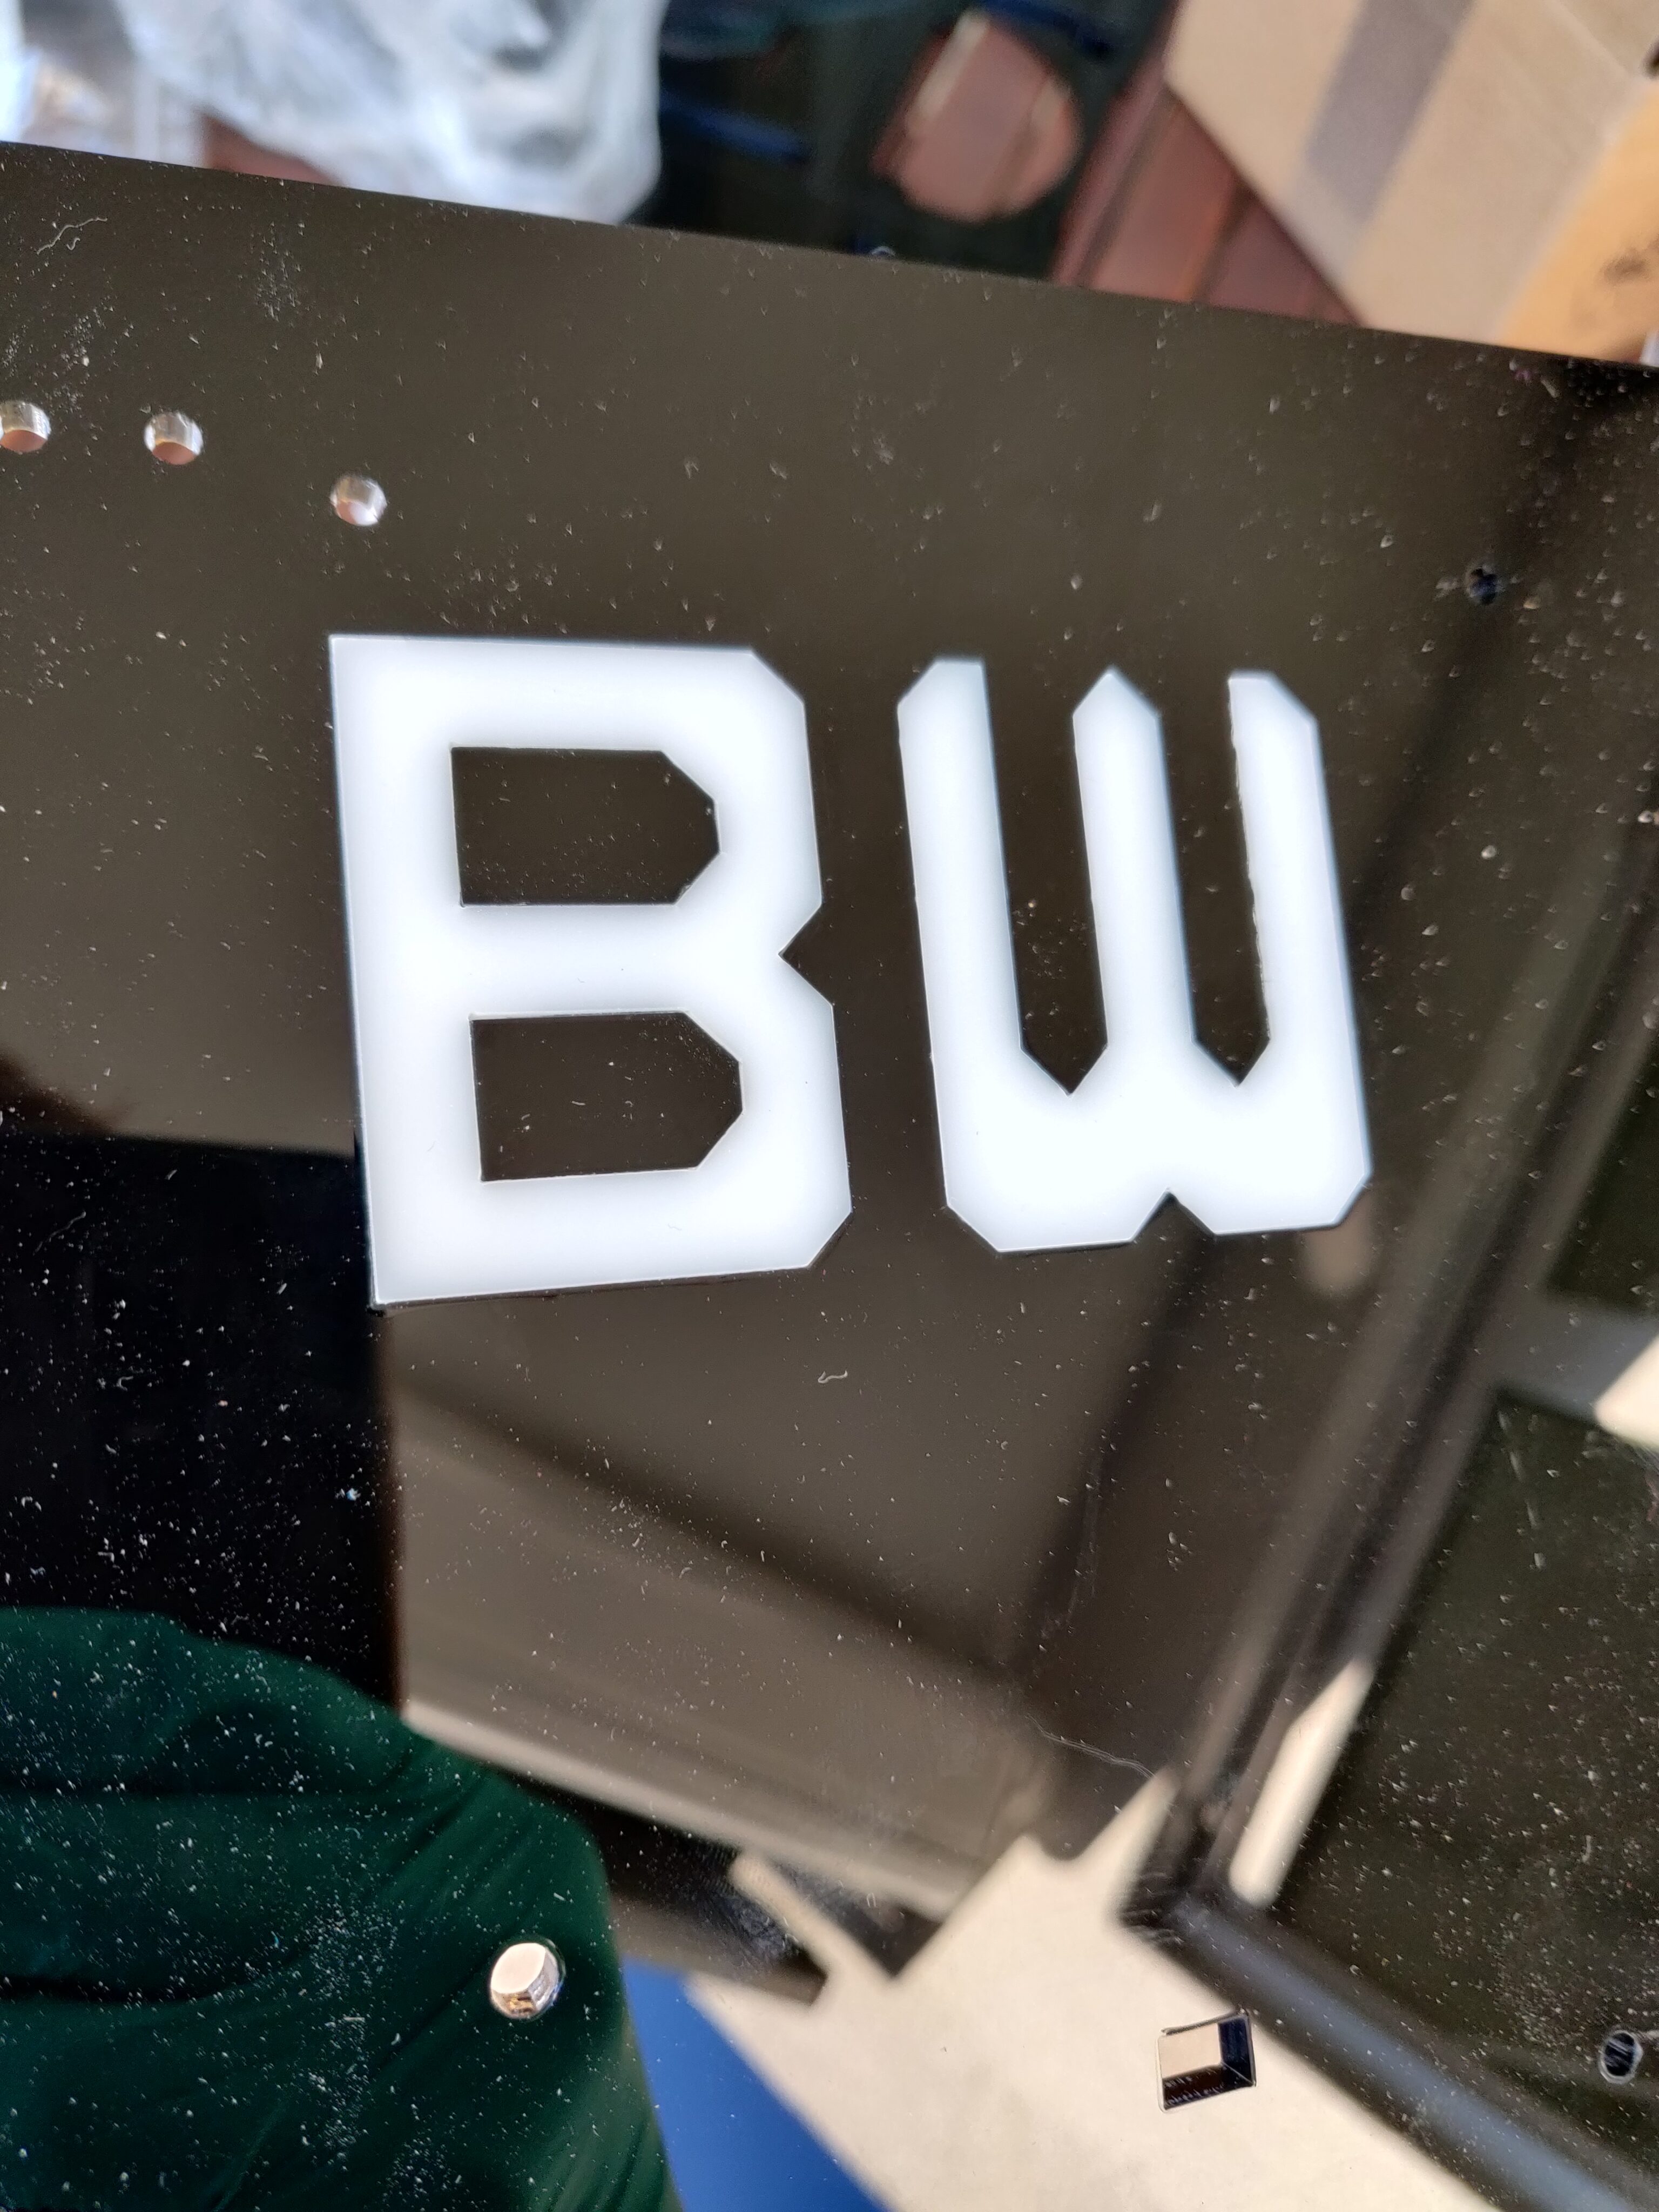
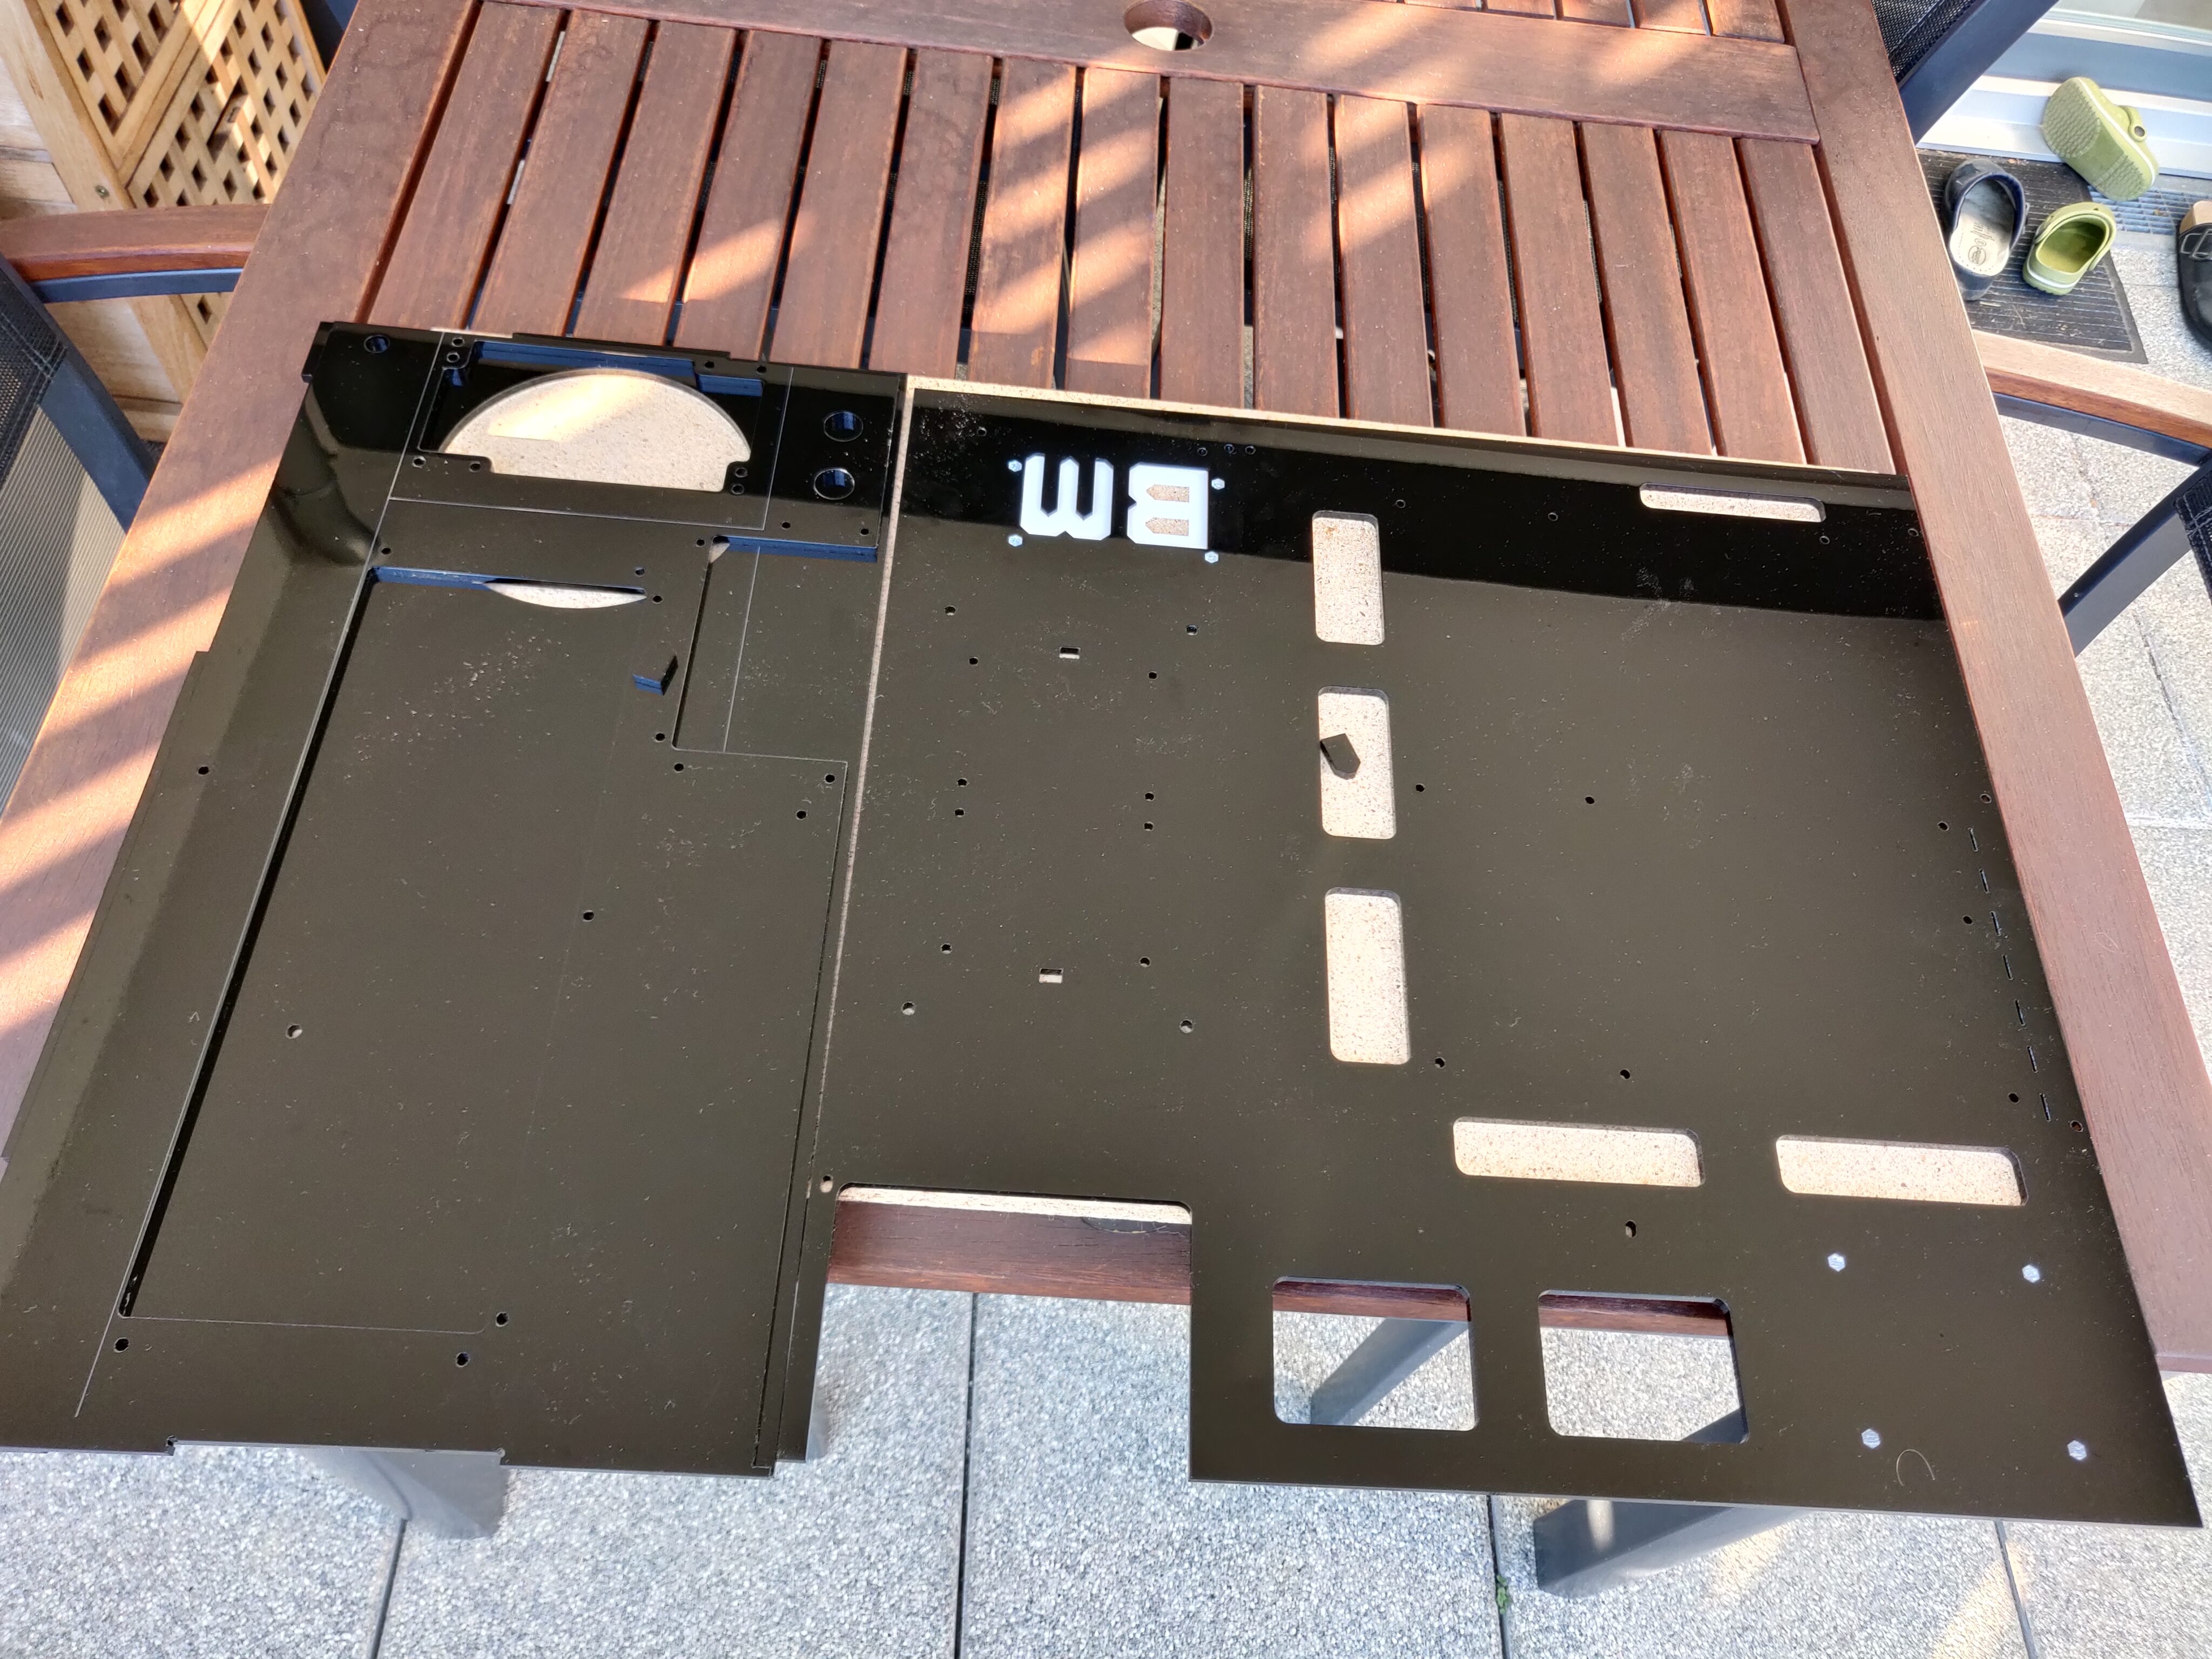
One of the first things I could do was to test fit the translucent logo in the inner wall – which worked perfectly, making me feel quite hopeful about the rest of the build.
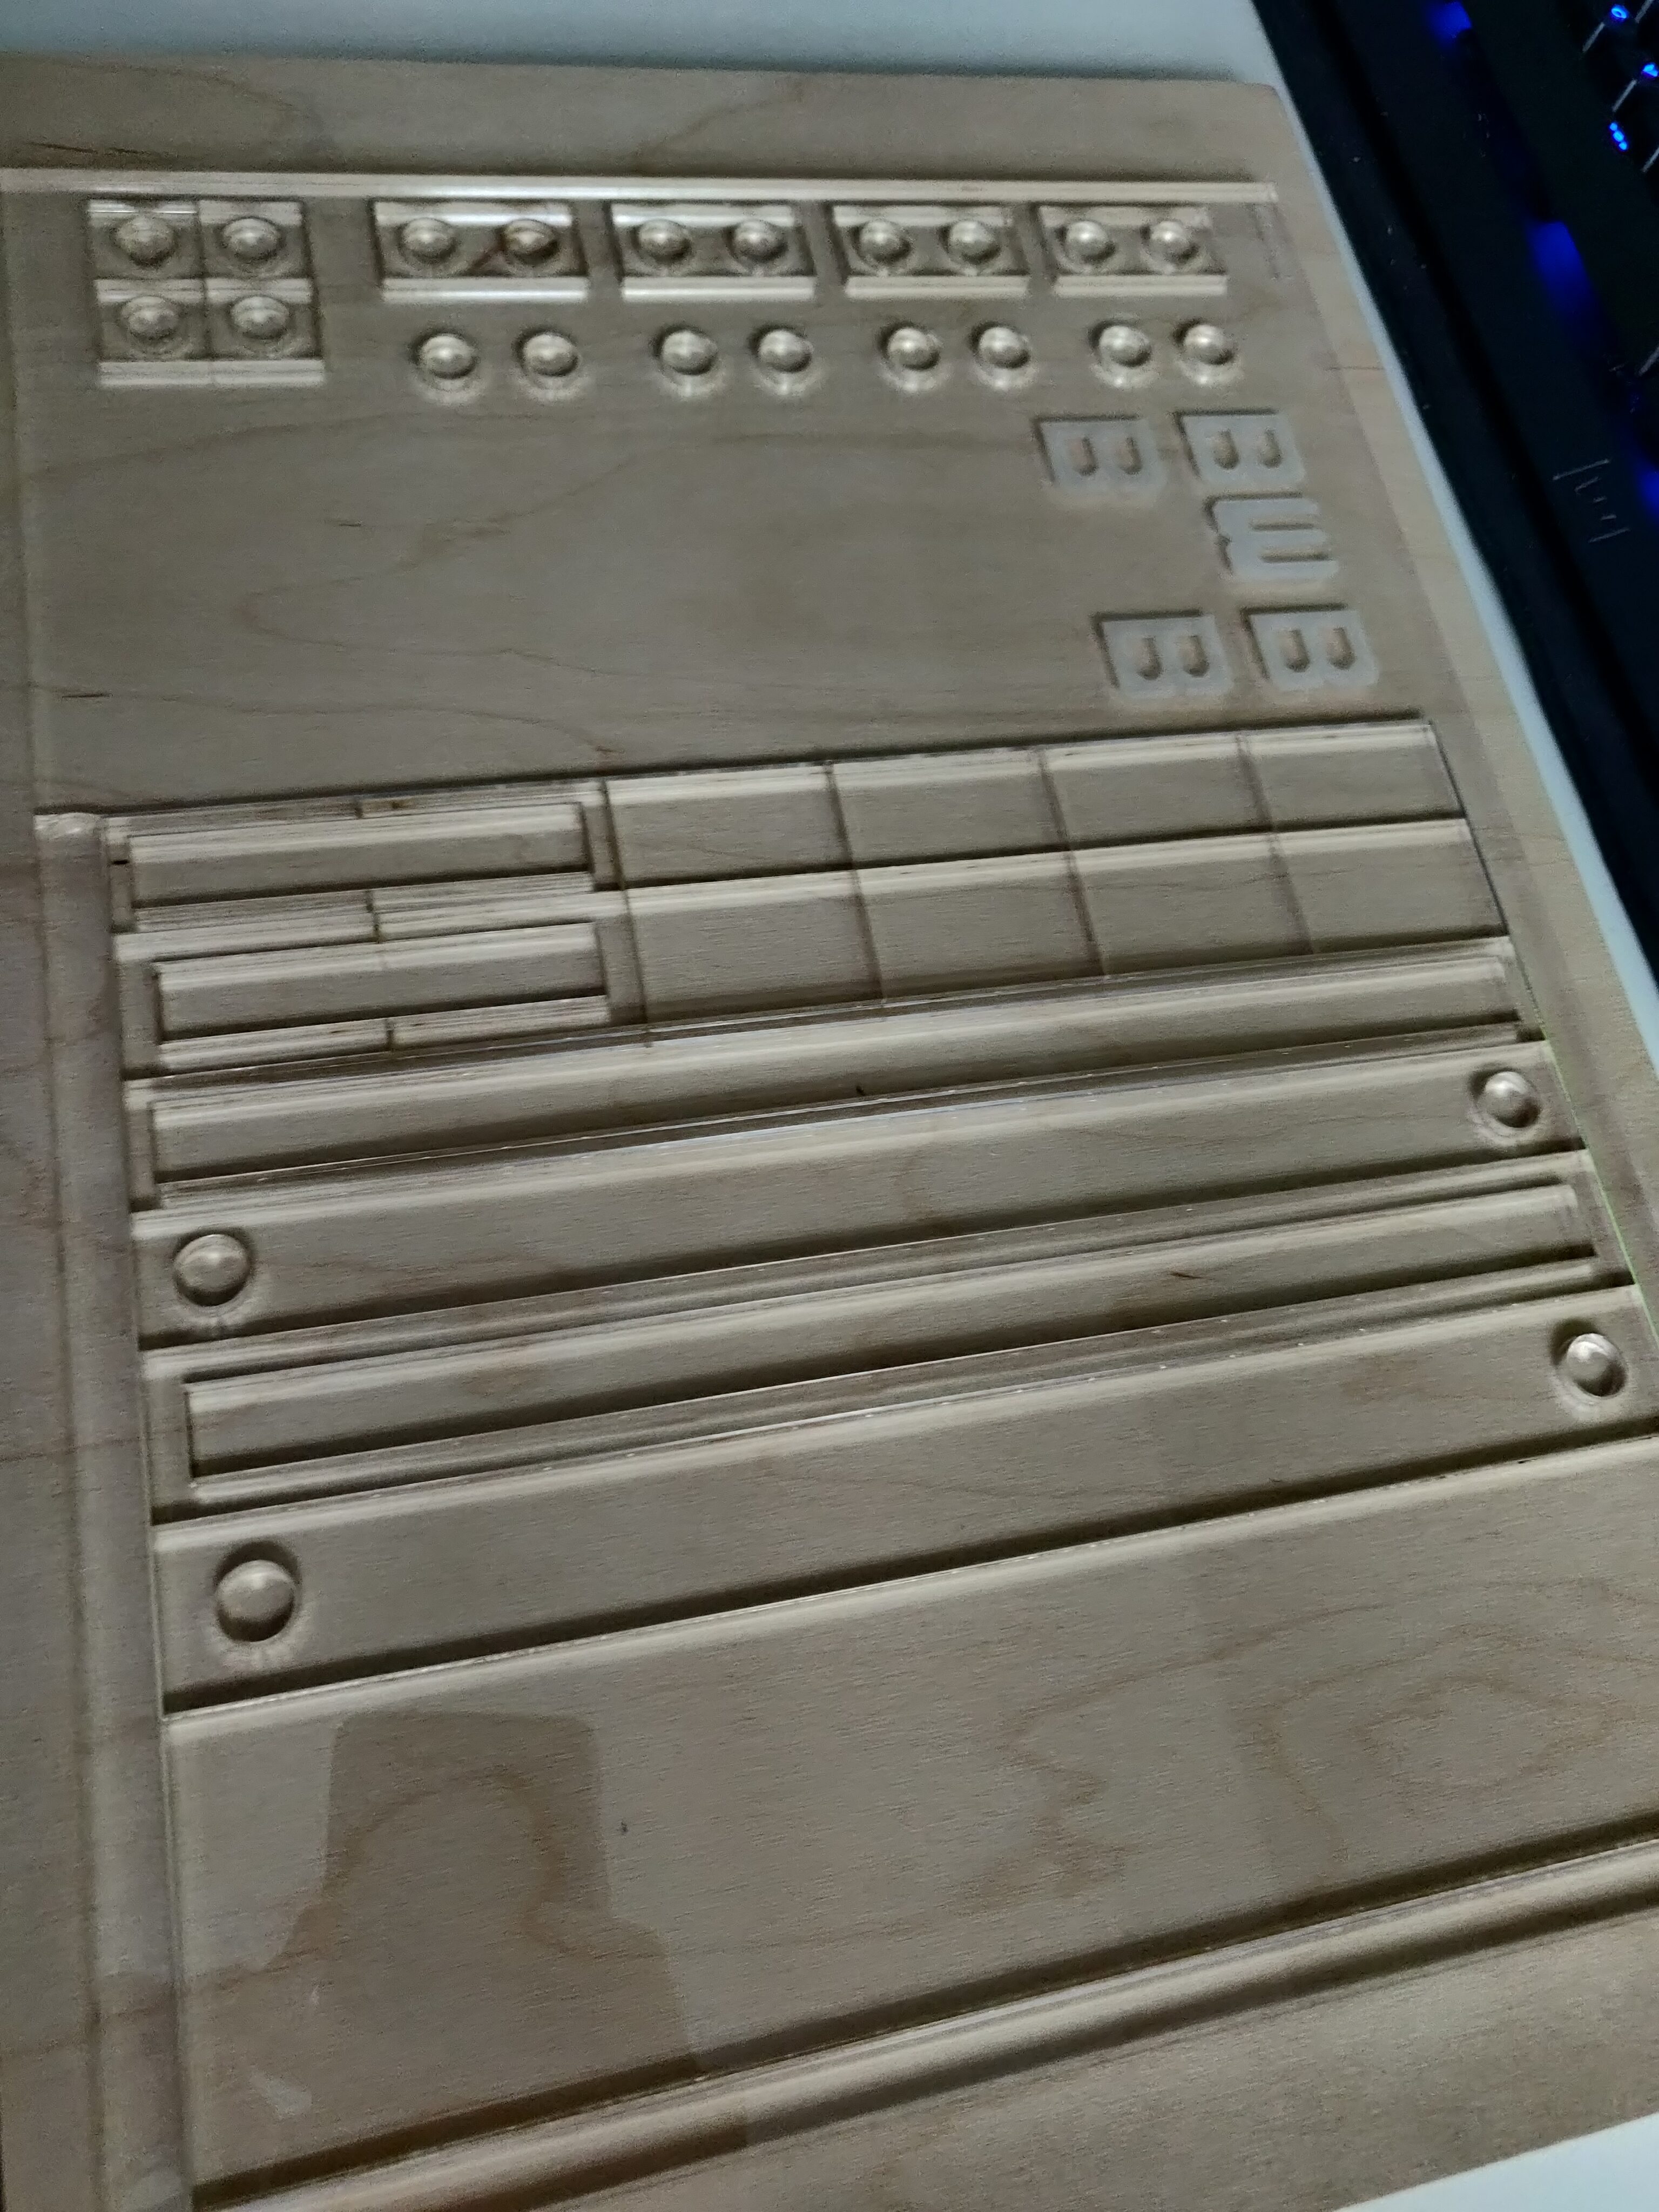
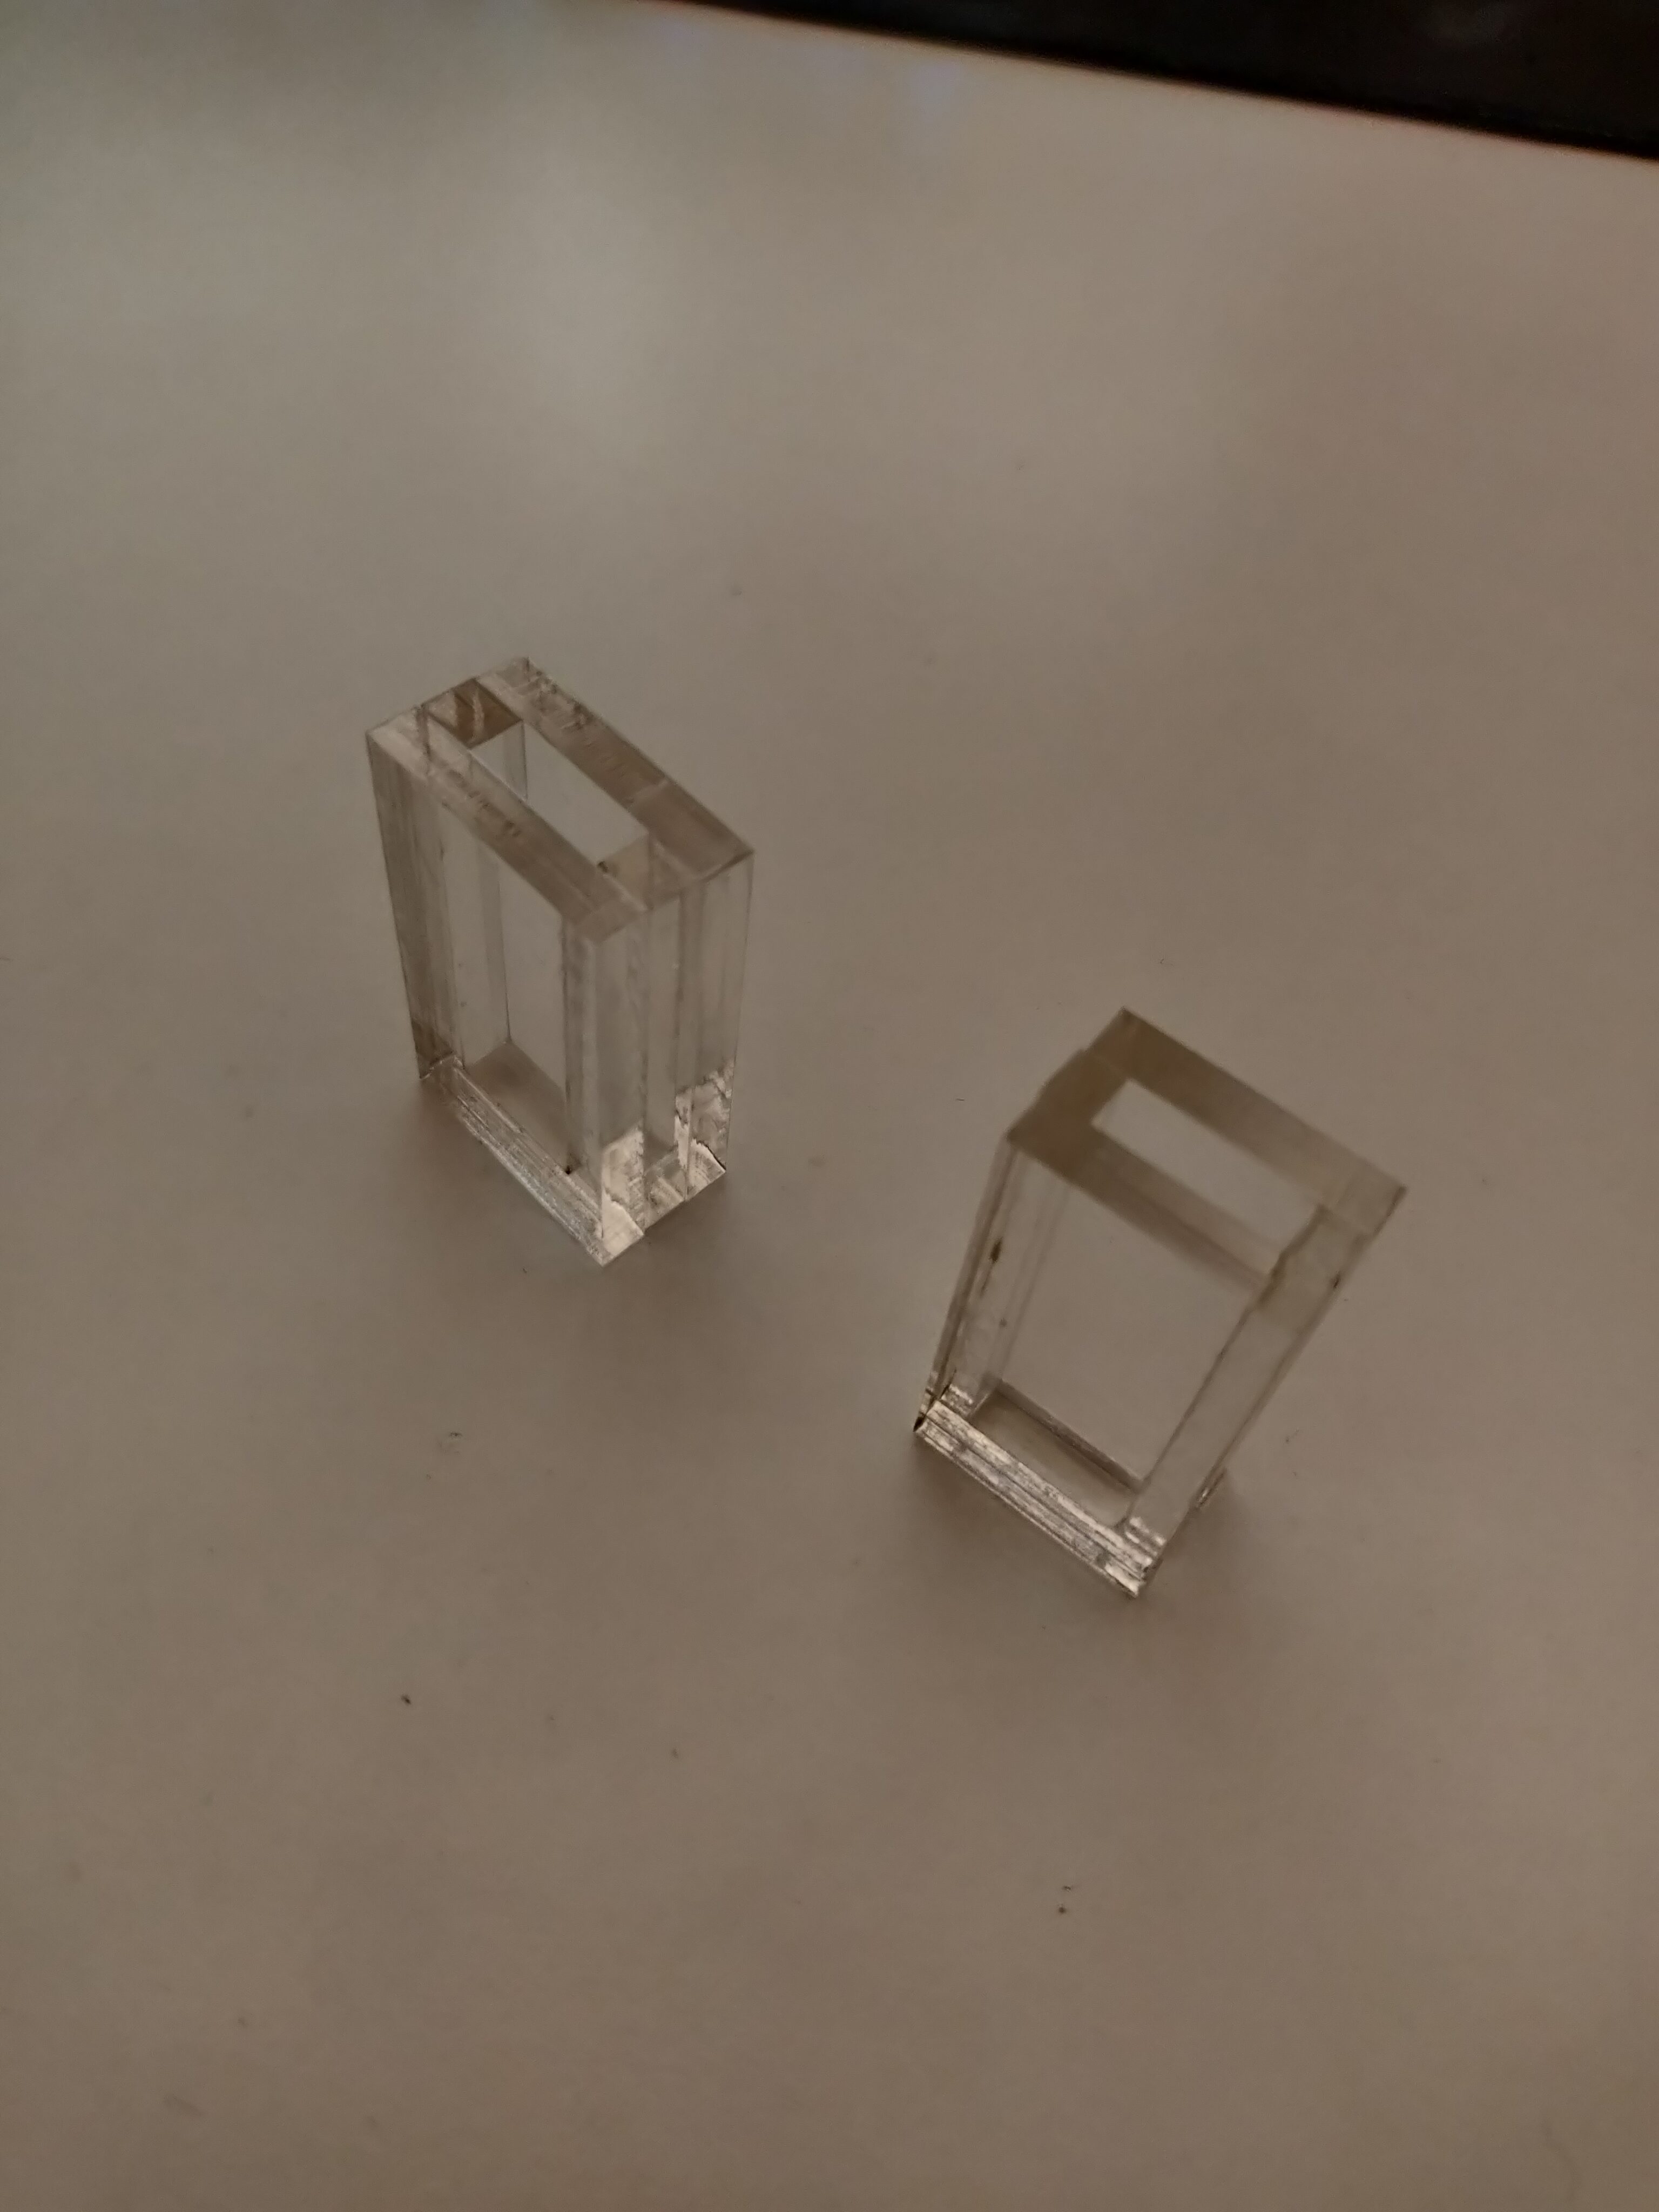
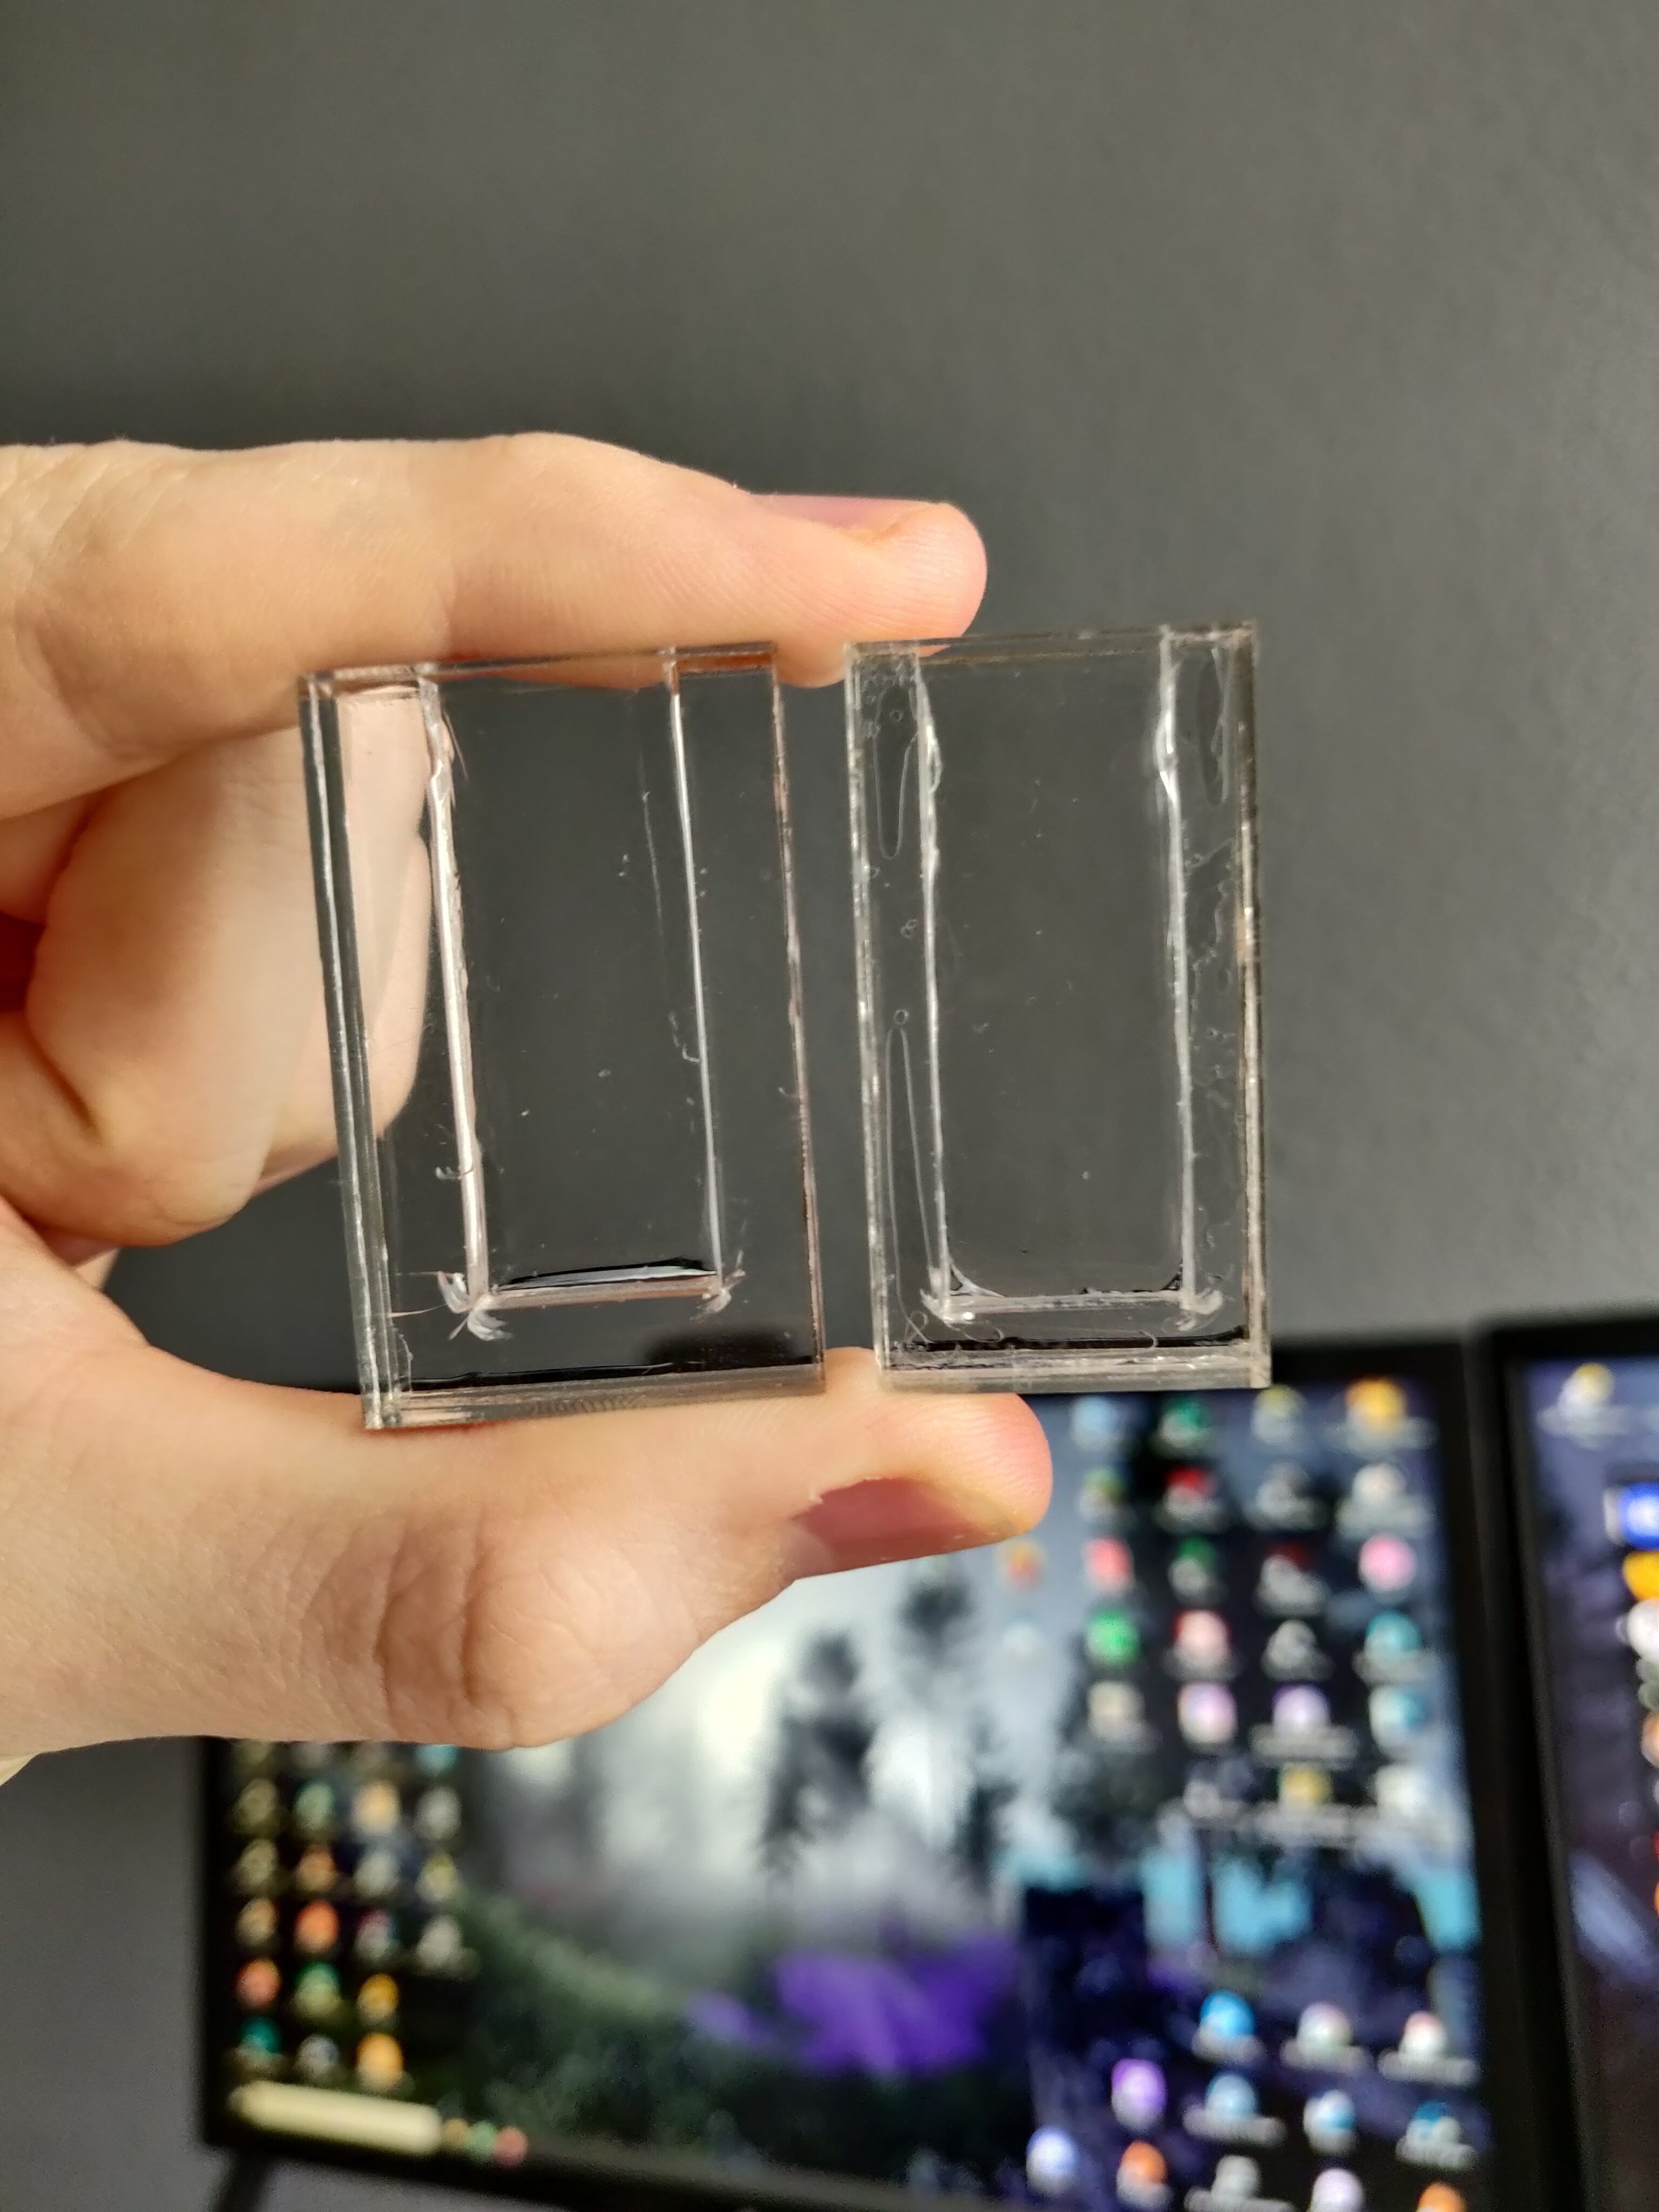
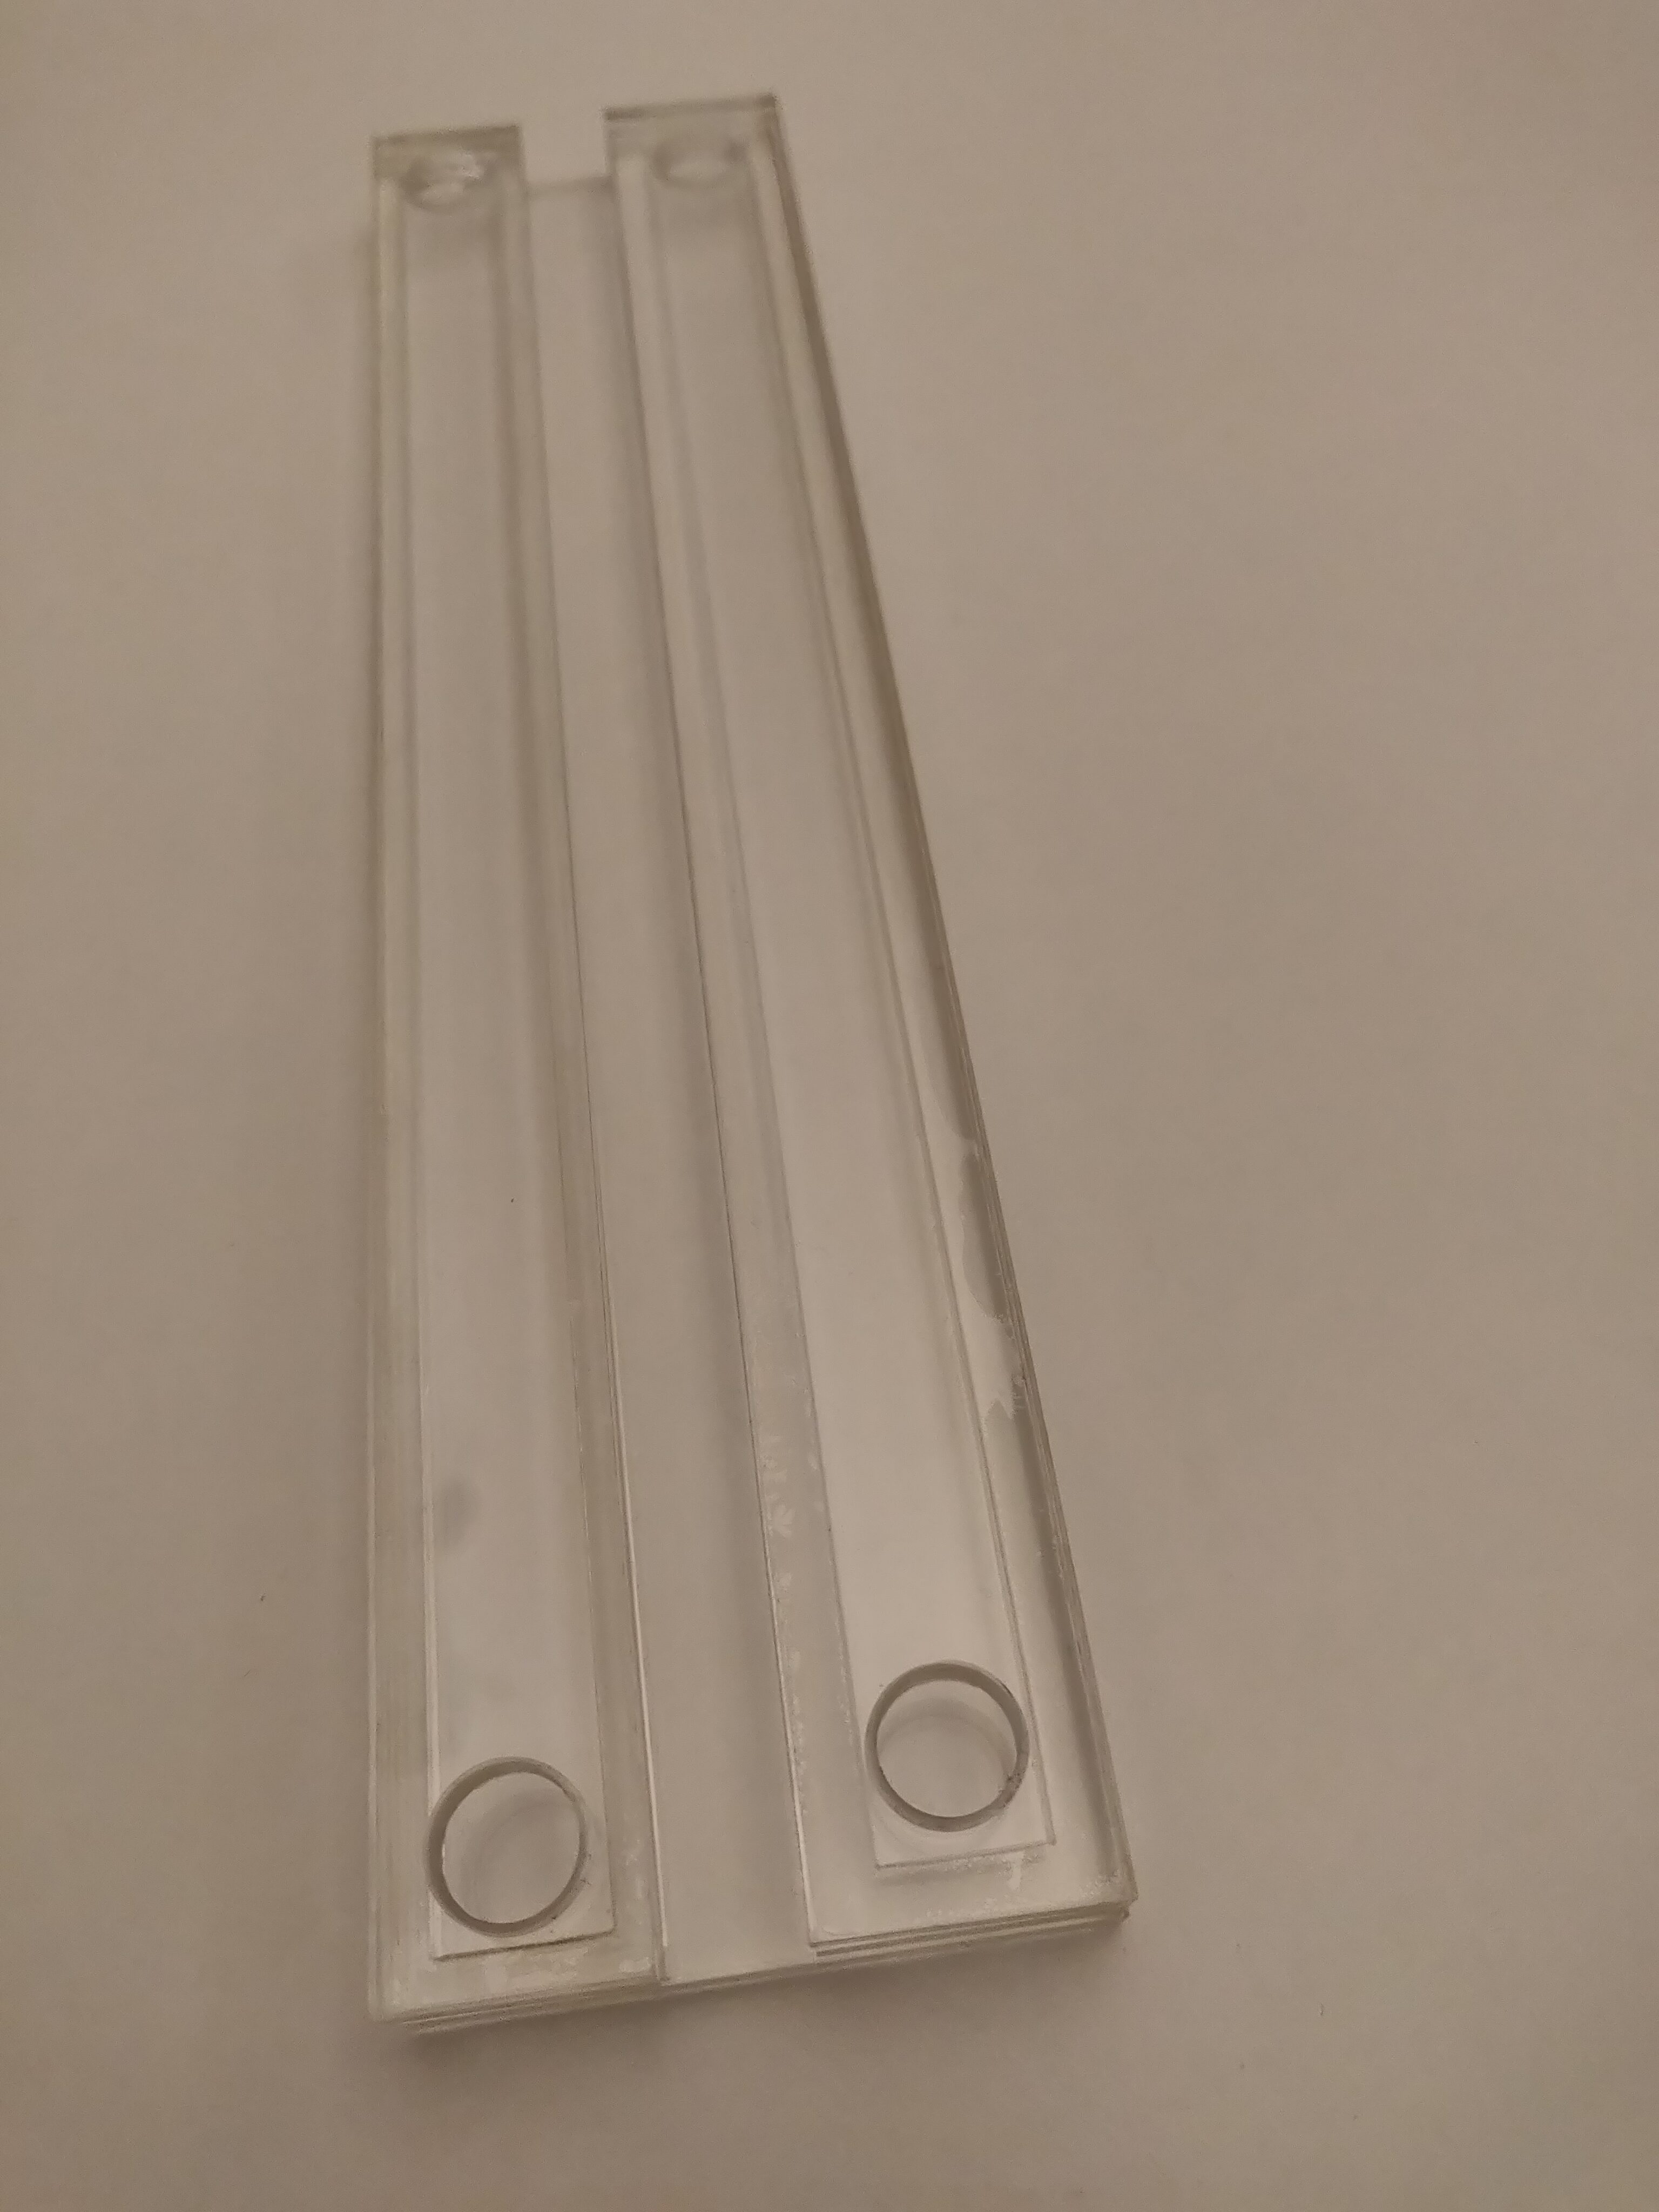
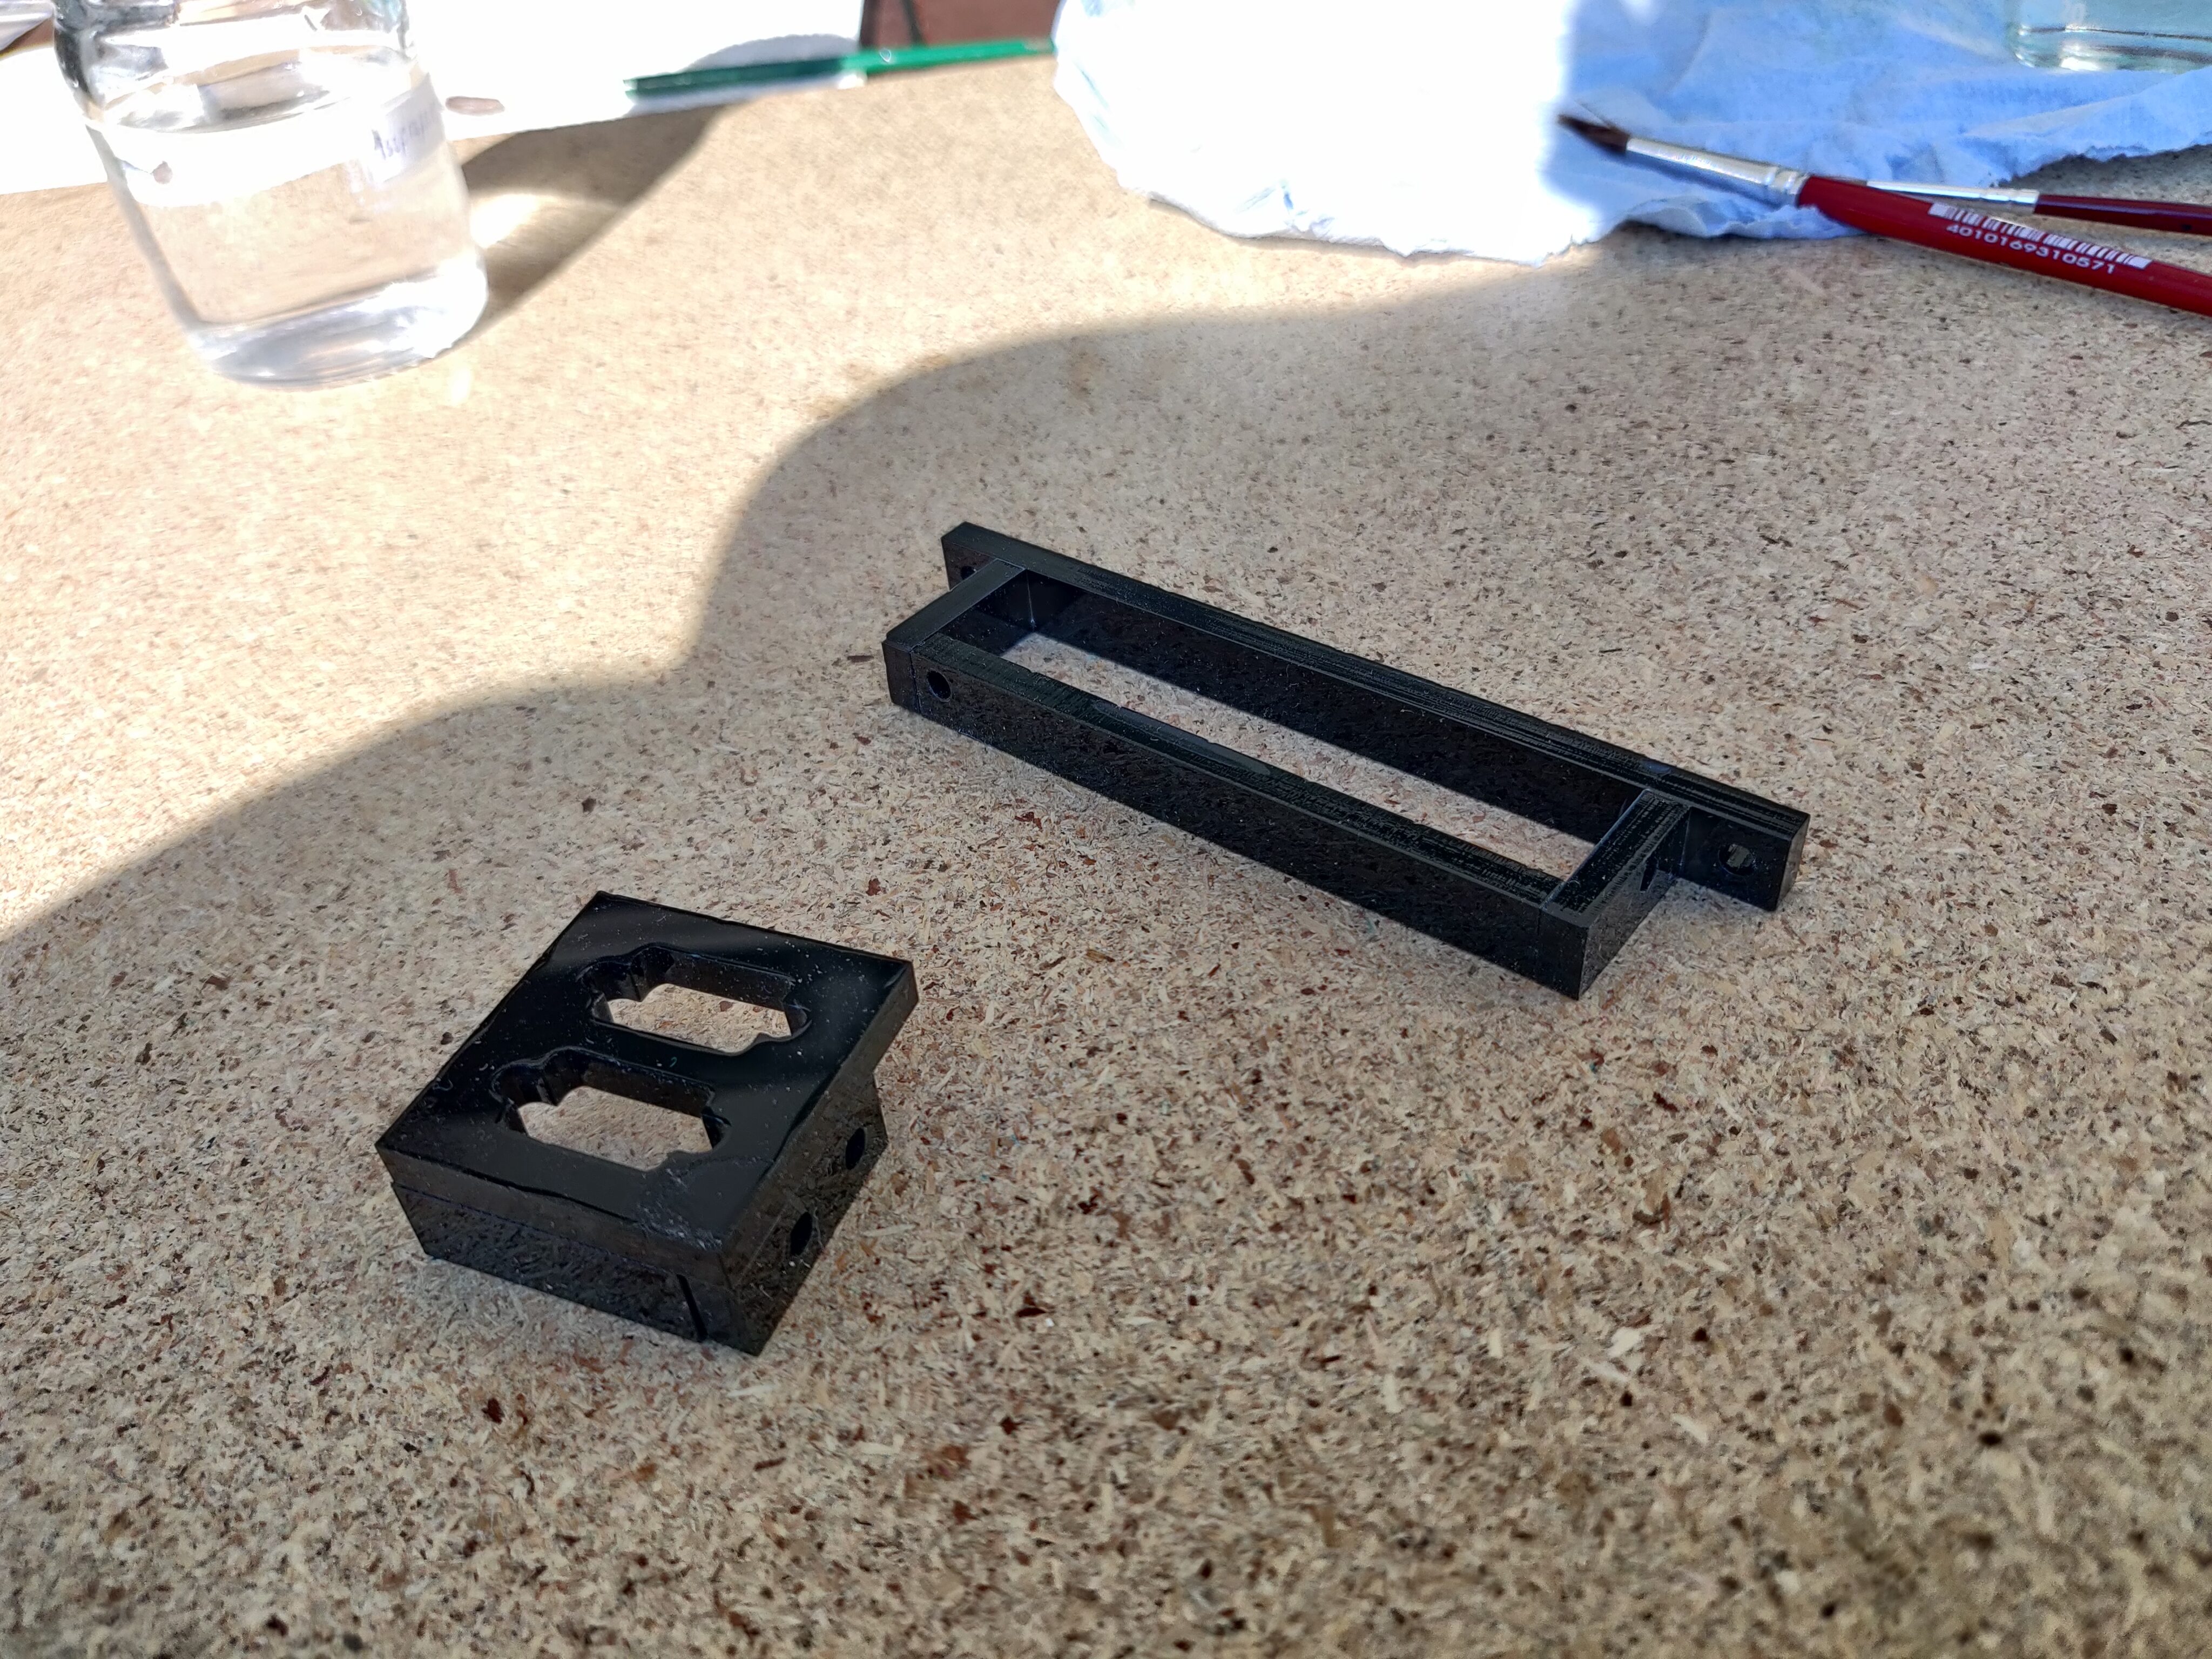
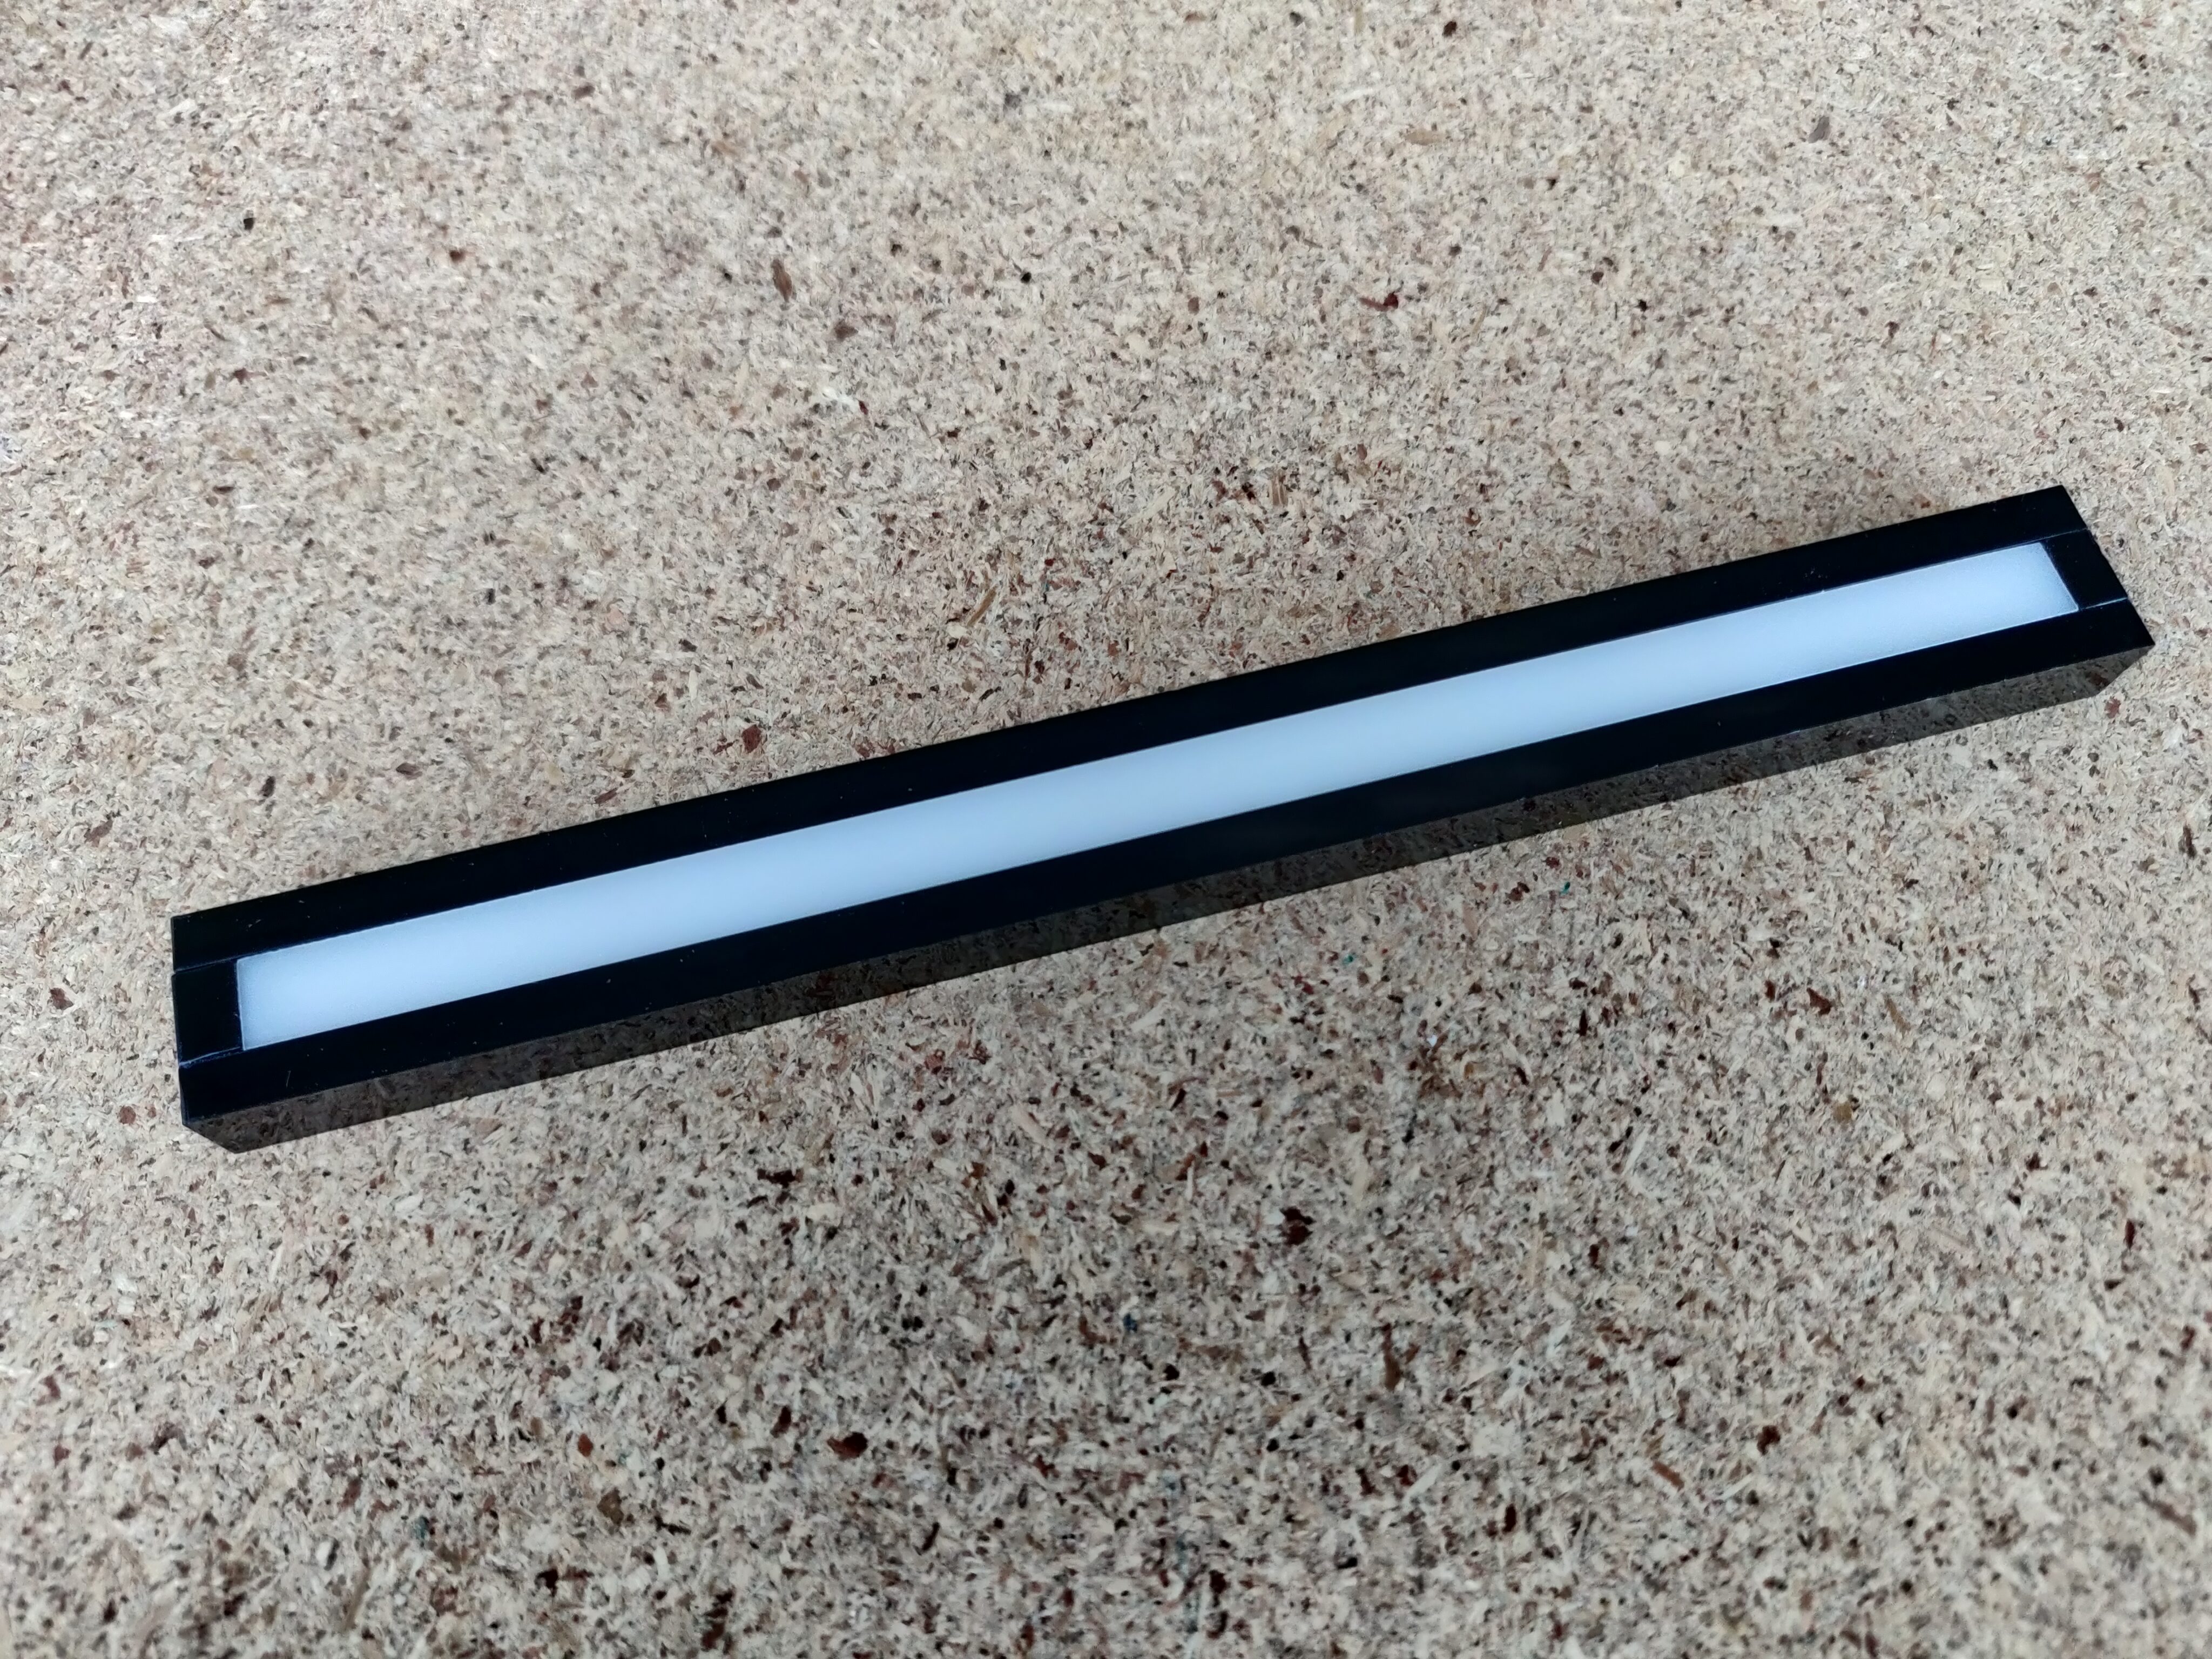
After performing more test fits, I could practice my DCM gluing/welding method a little more, by assembling some more of the small pieces I would use later.

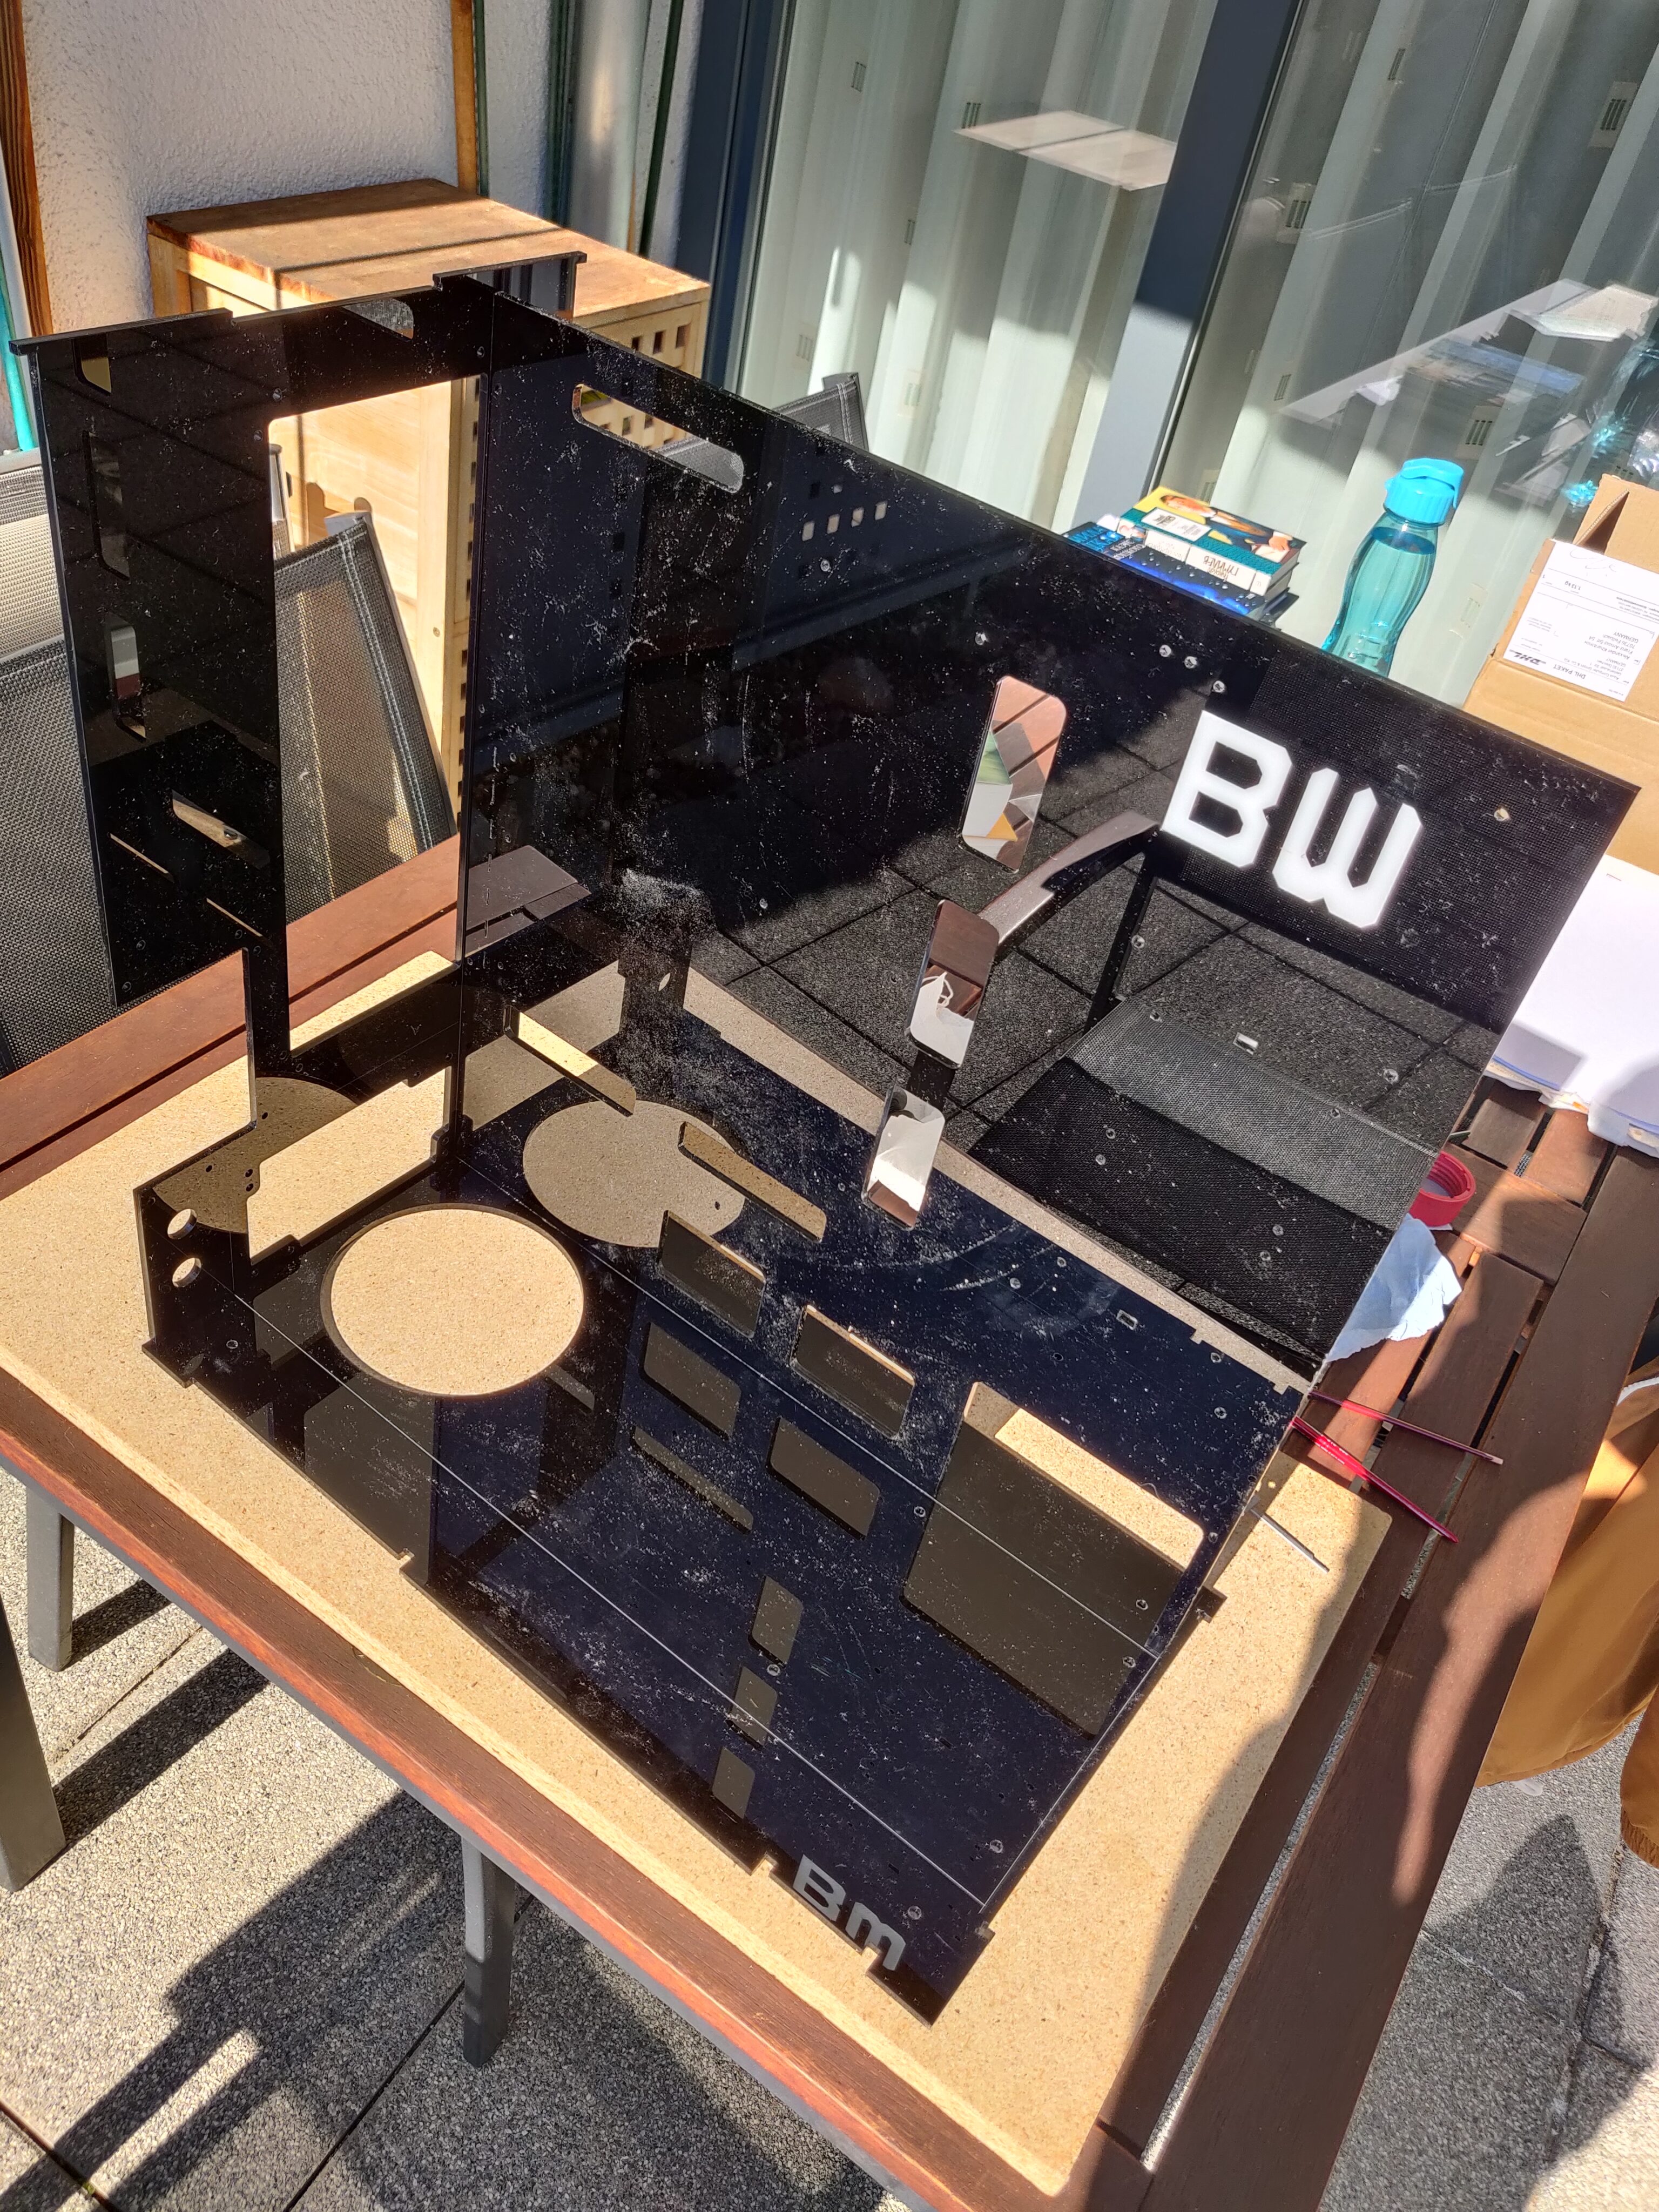
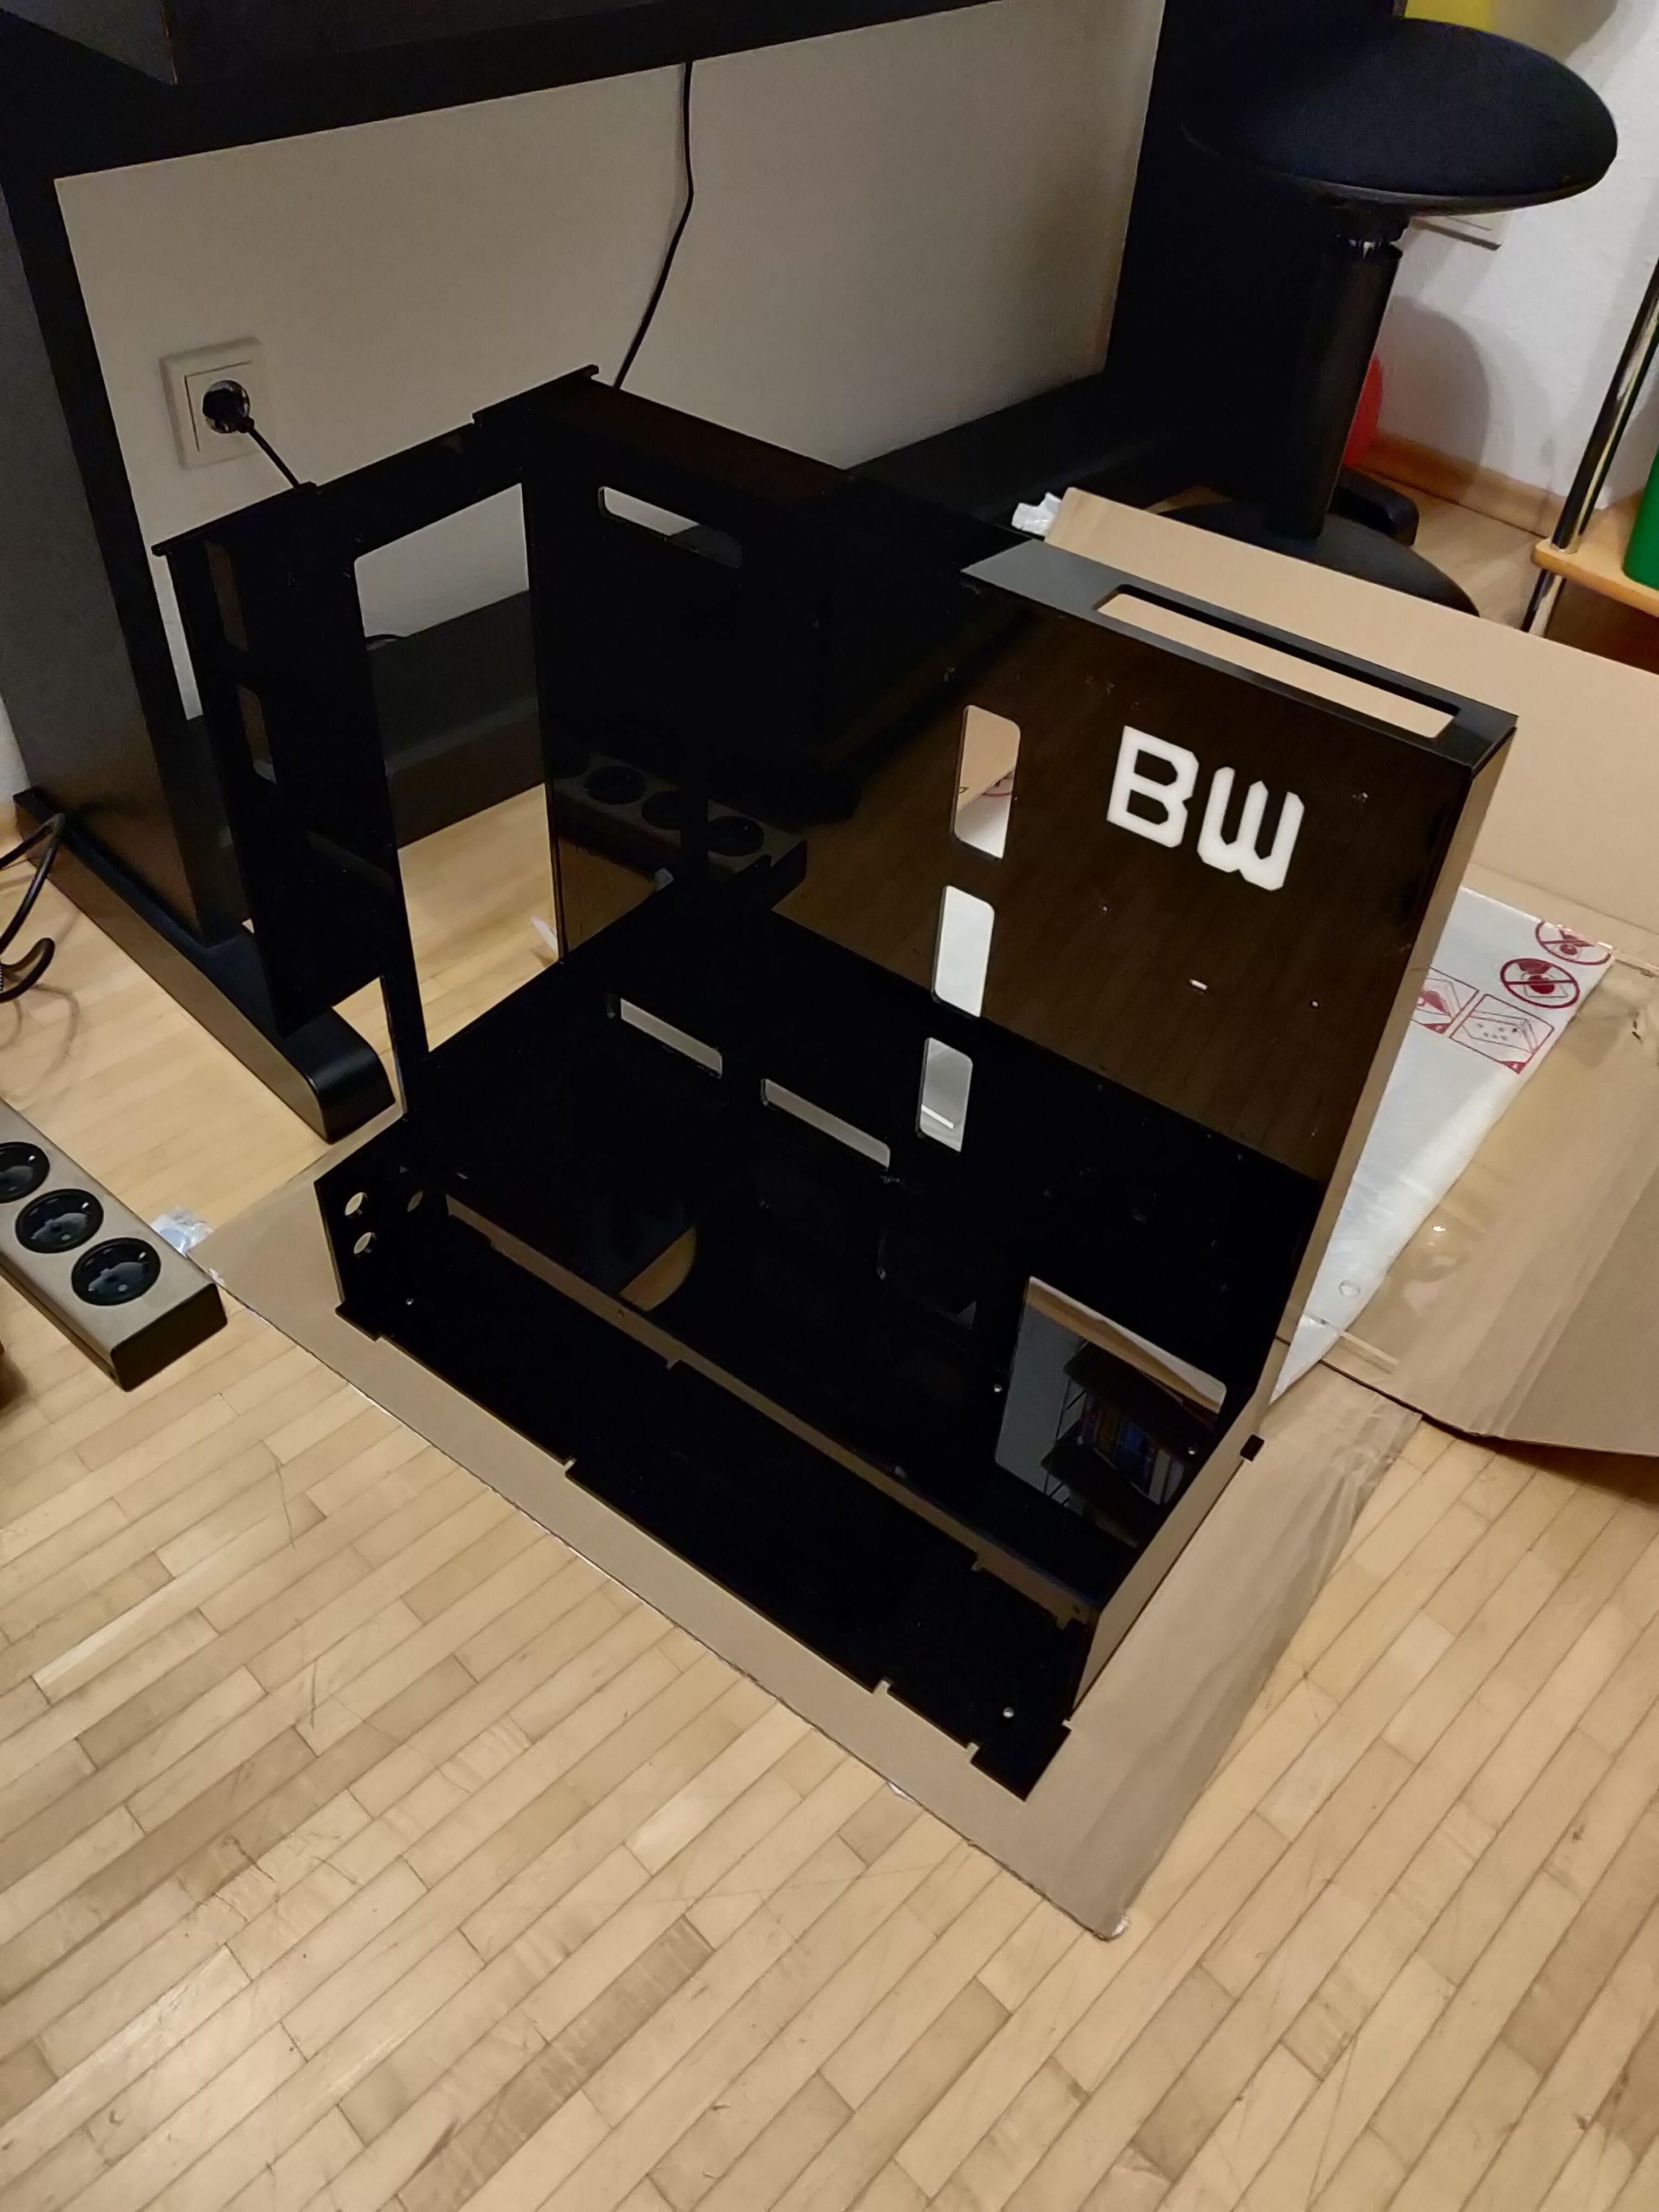
The next task was to begin the main case assembly. Due to the size and flexibility of the large acrylic panels, it was a bit annoying to get them all into place – at least I added some engraved guiding lines on the inside, to help me line up the panels exactly in the right places.
Once I had three perpendicular walls tacked into place using DCM (bottom, back, and inner wall), the structure became relatively stable – allowing me to easily add the inner front wall, shelf side wall, and inner top wall as seen in the right picture, reinforcing the structure quite a lot, enough to no longer worry about it breaking or bending.
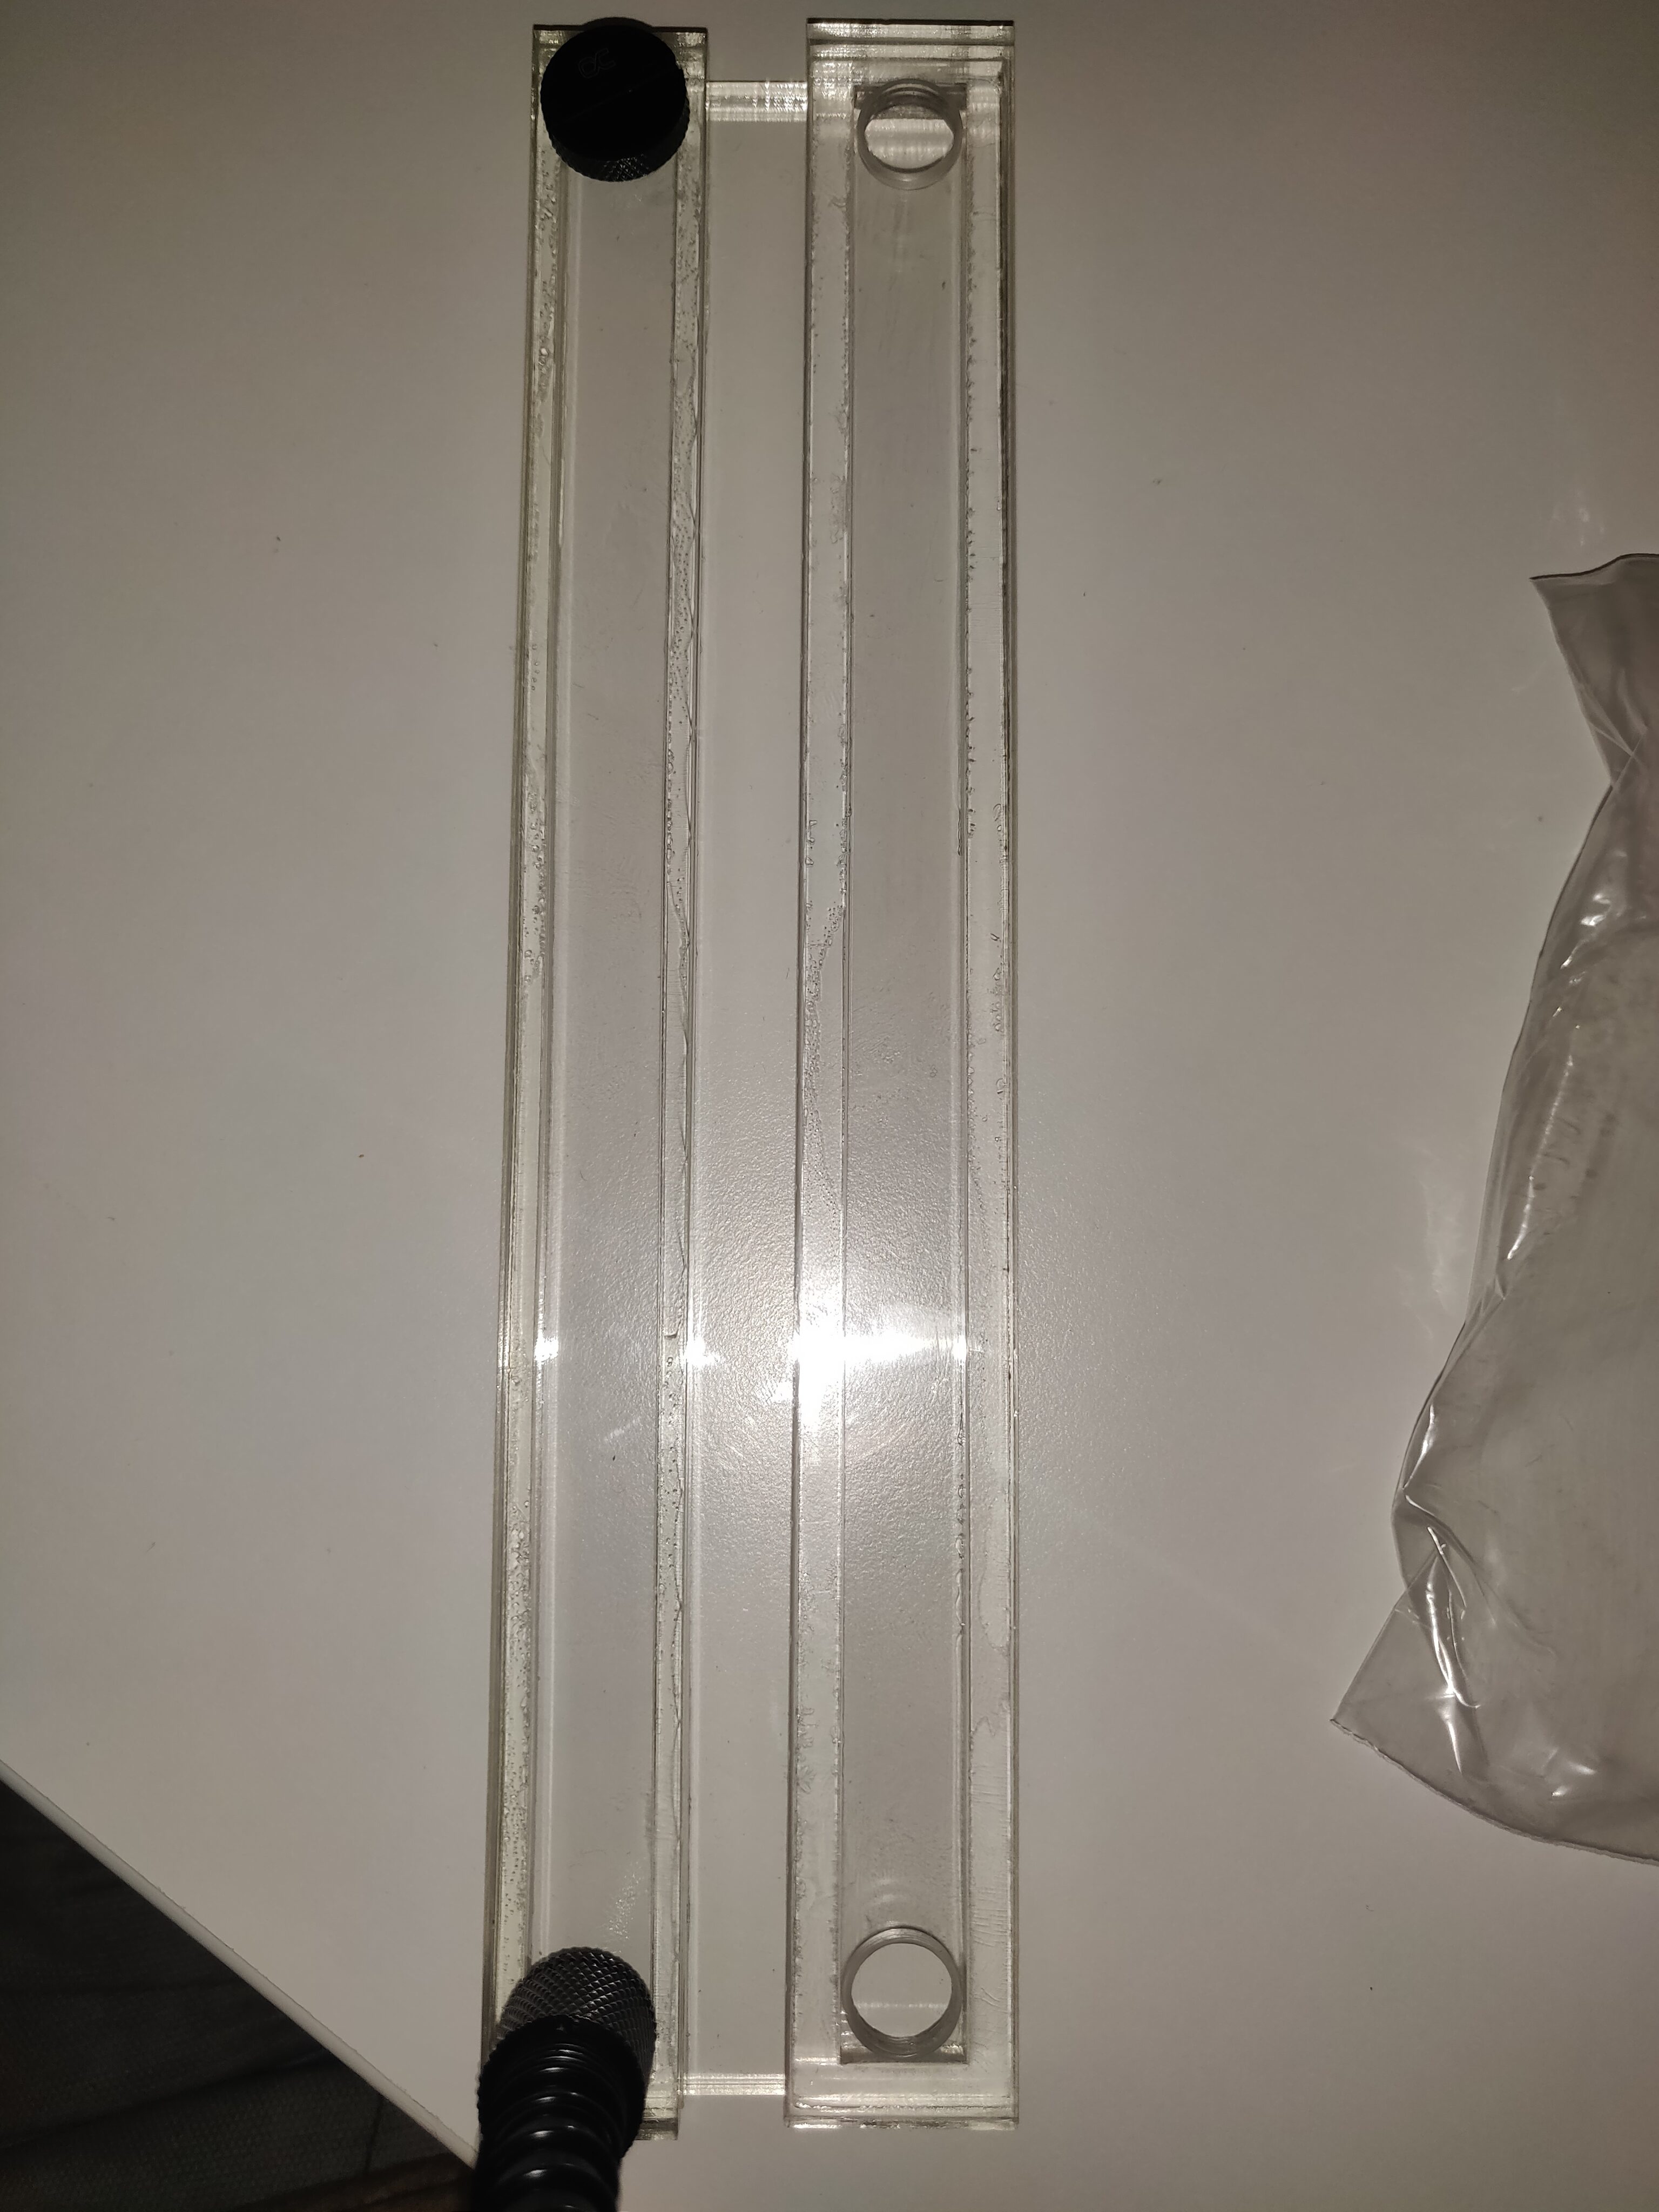
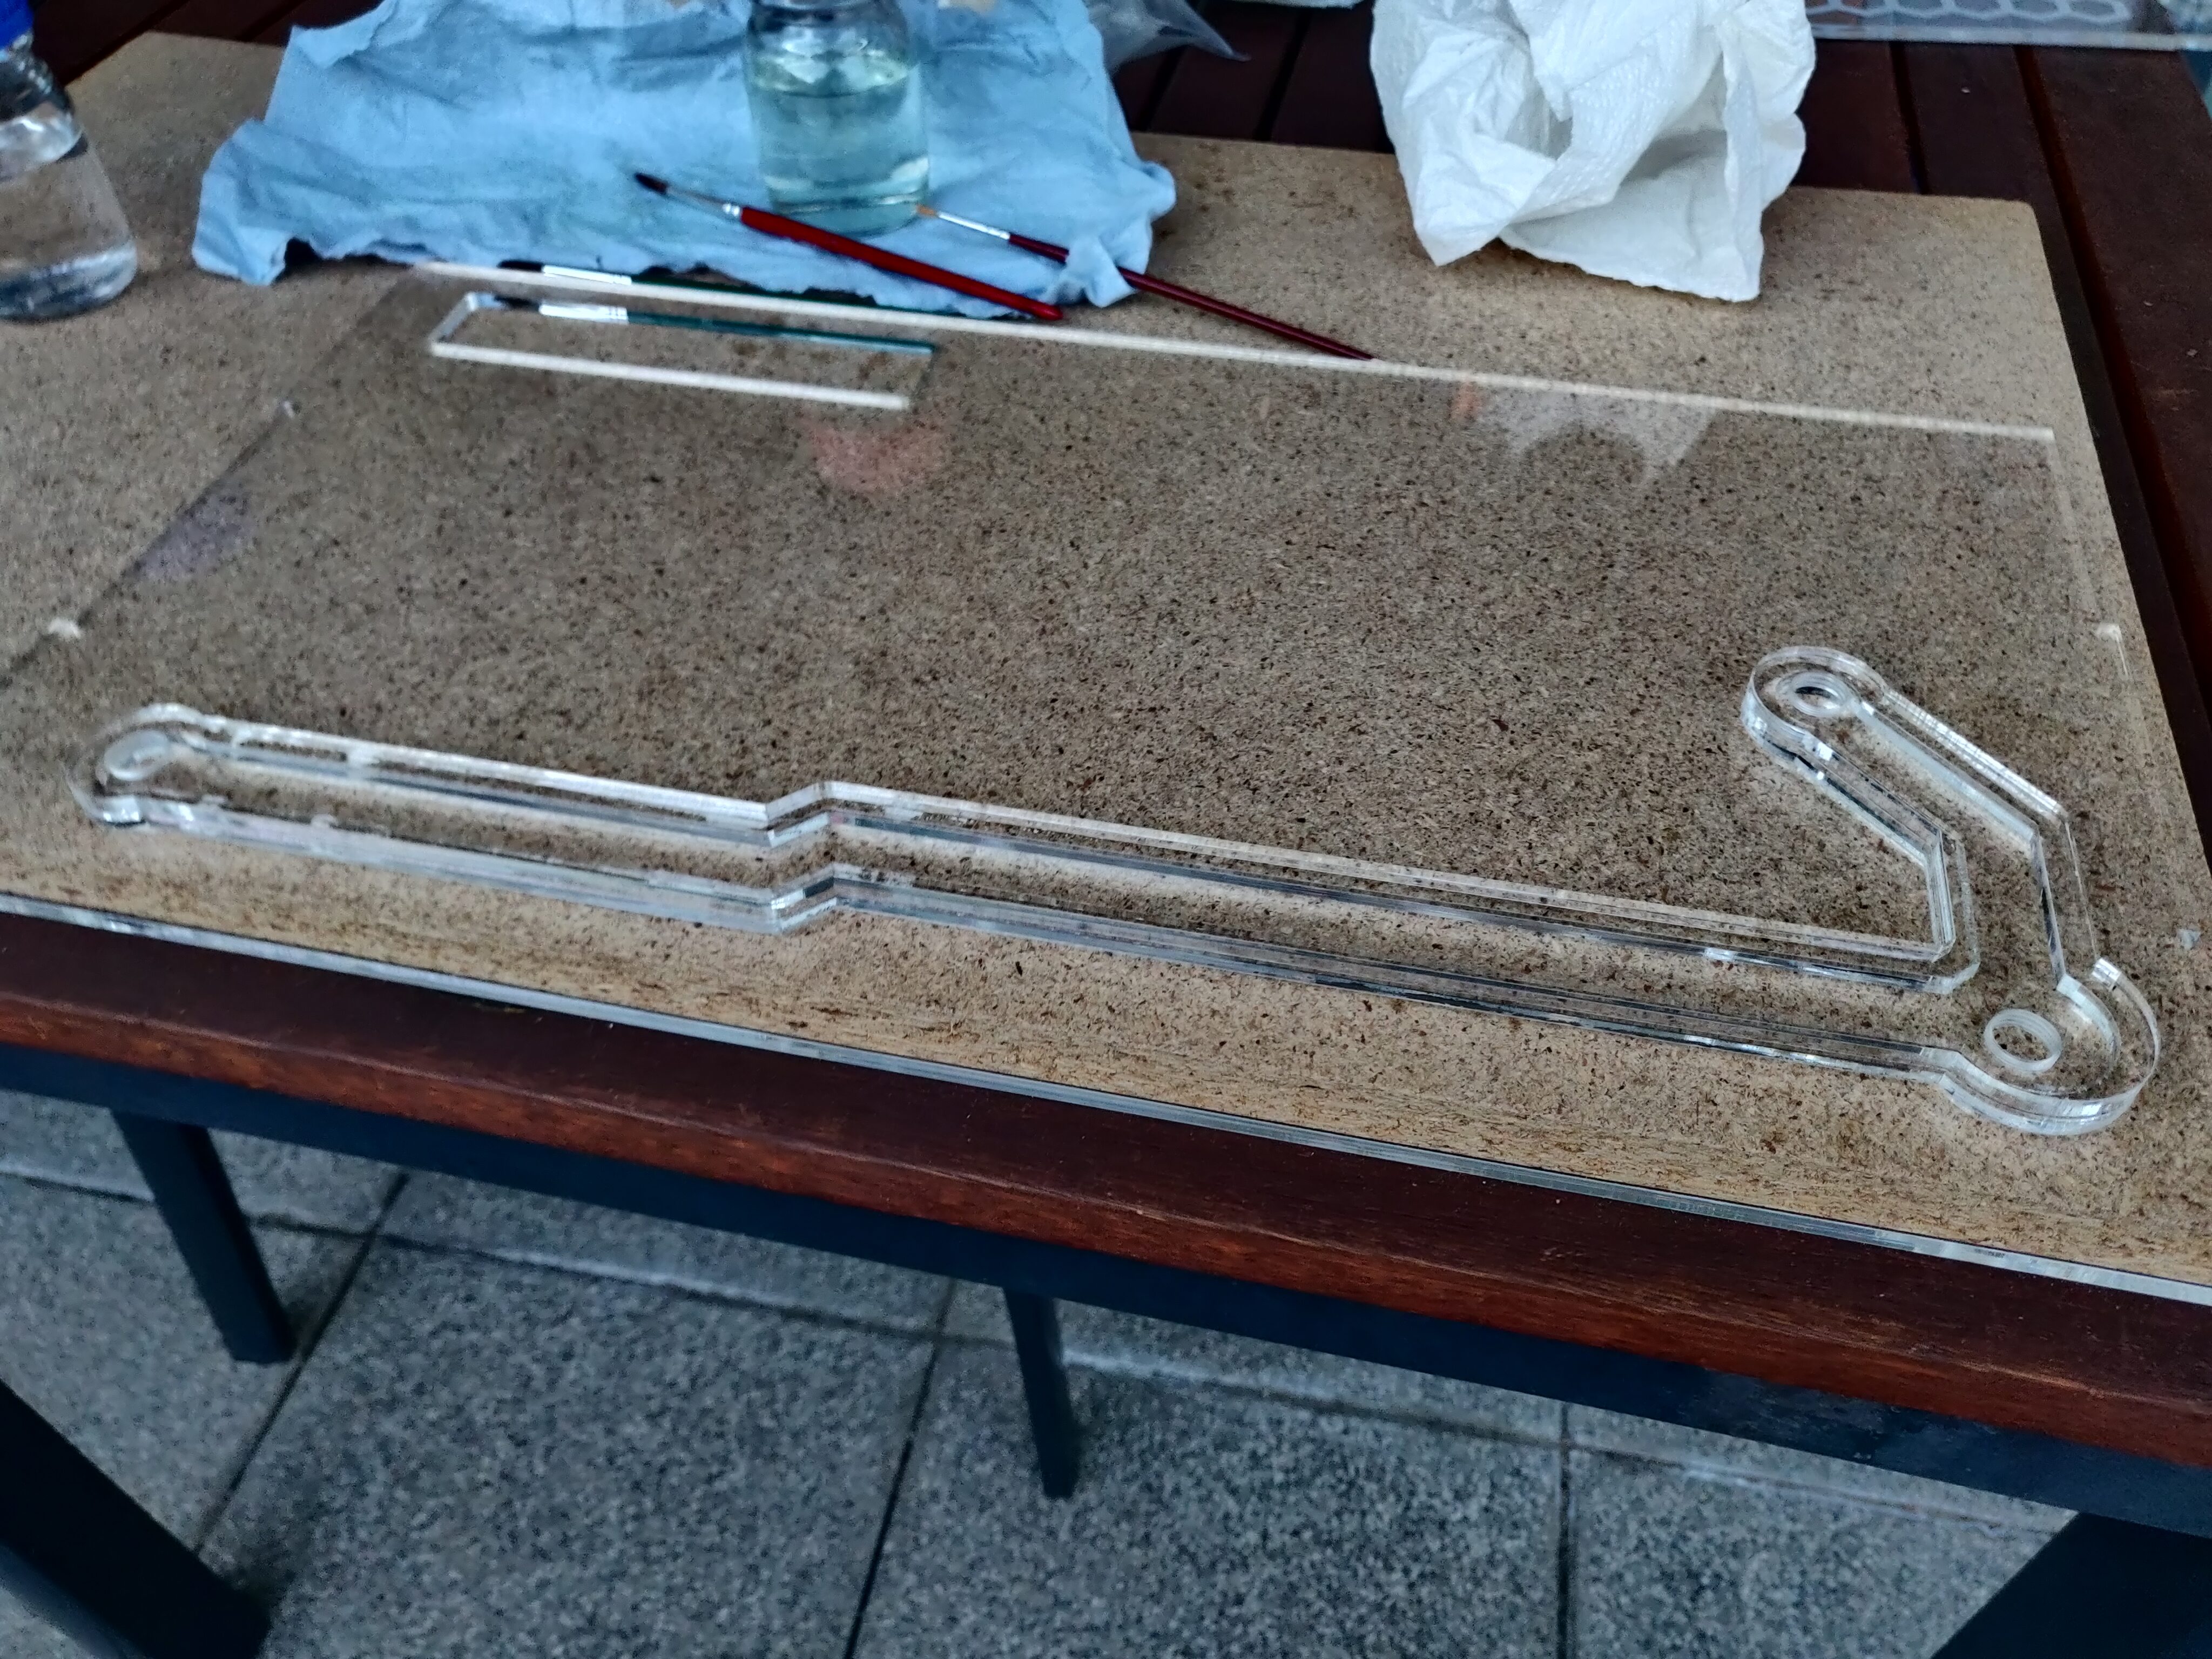
Having gained a bit more experience with the DCM method, it was time to work on the transparent walls, starting with the integrated coolant channels.
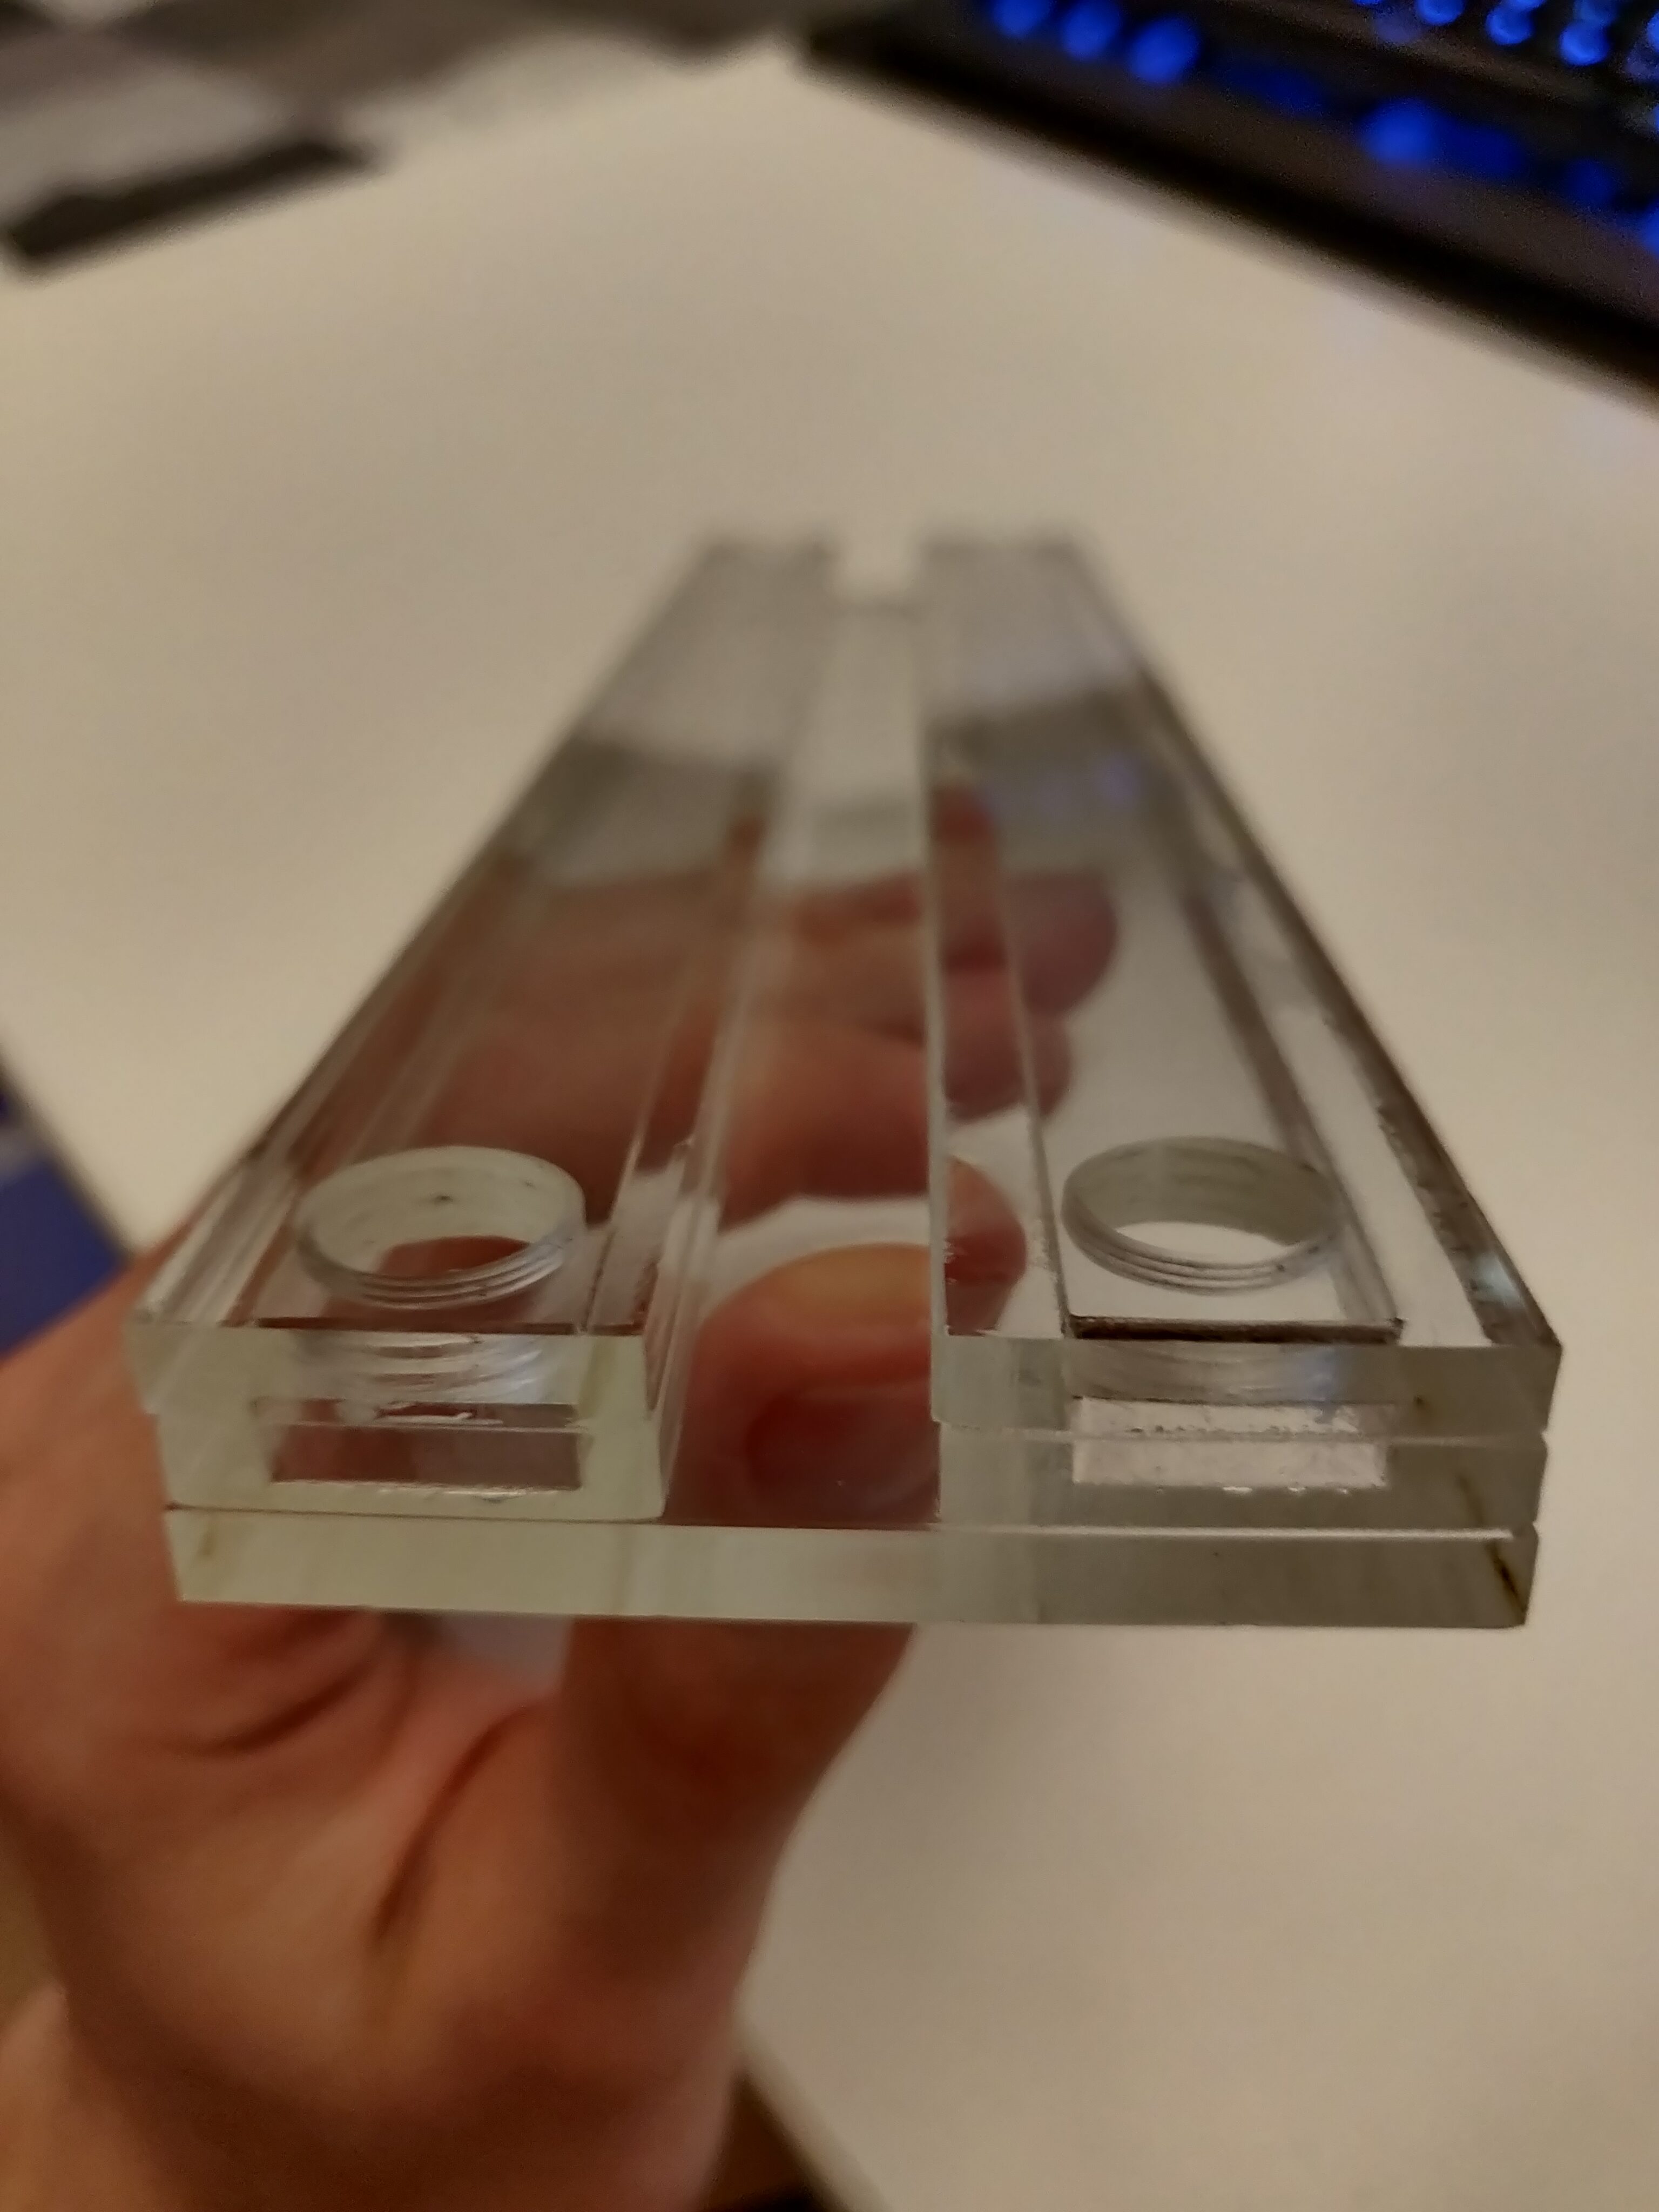
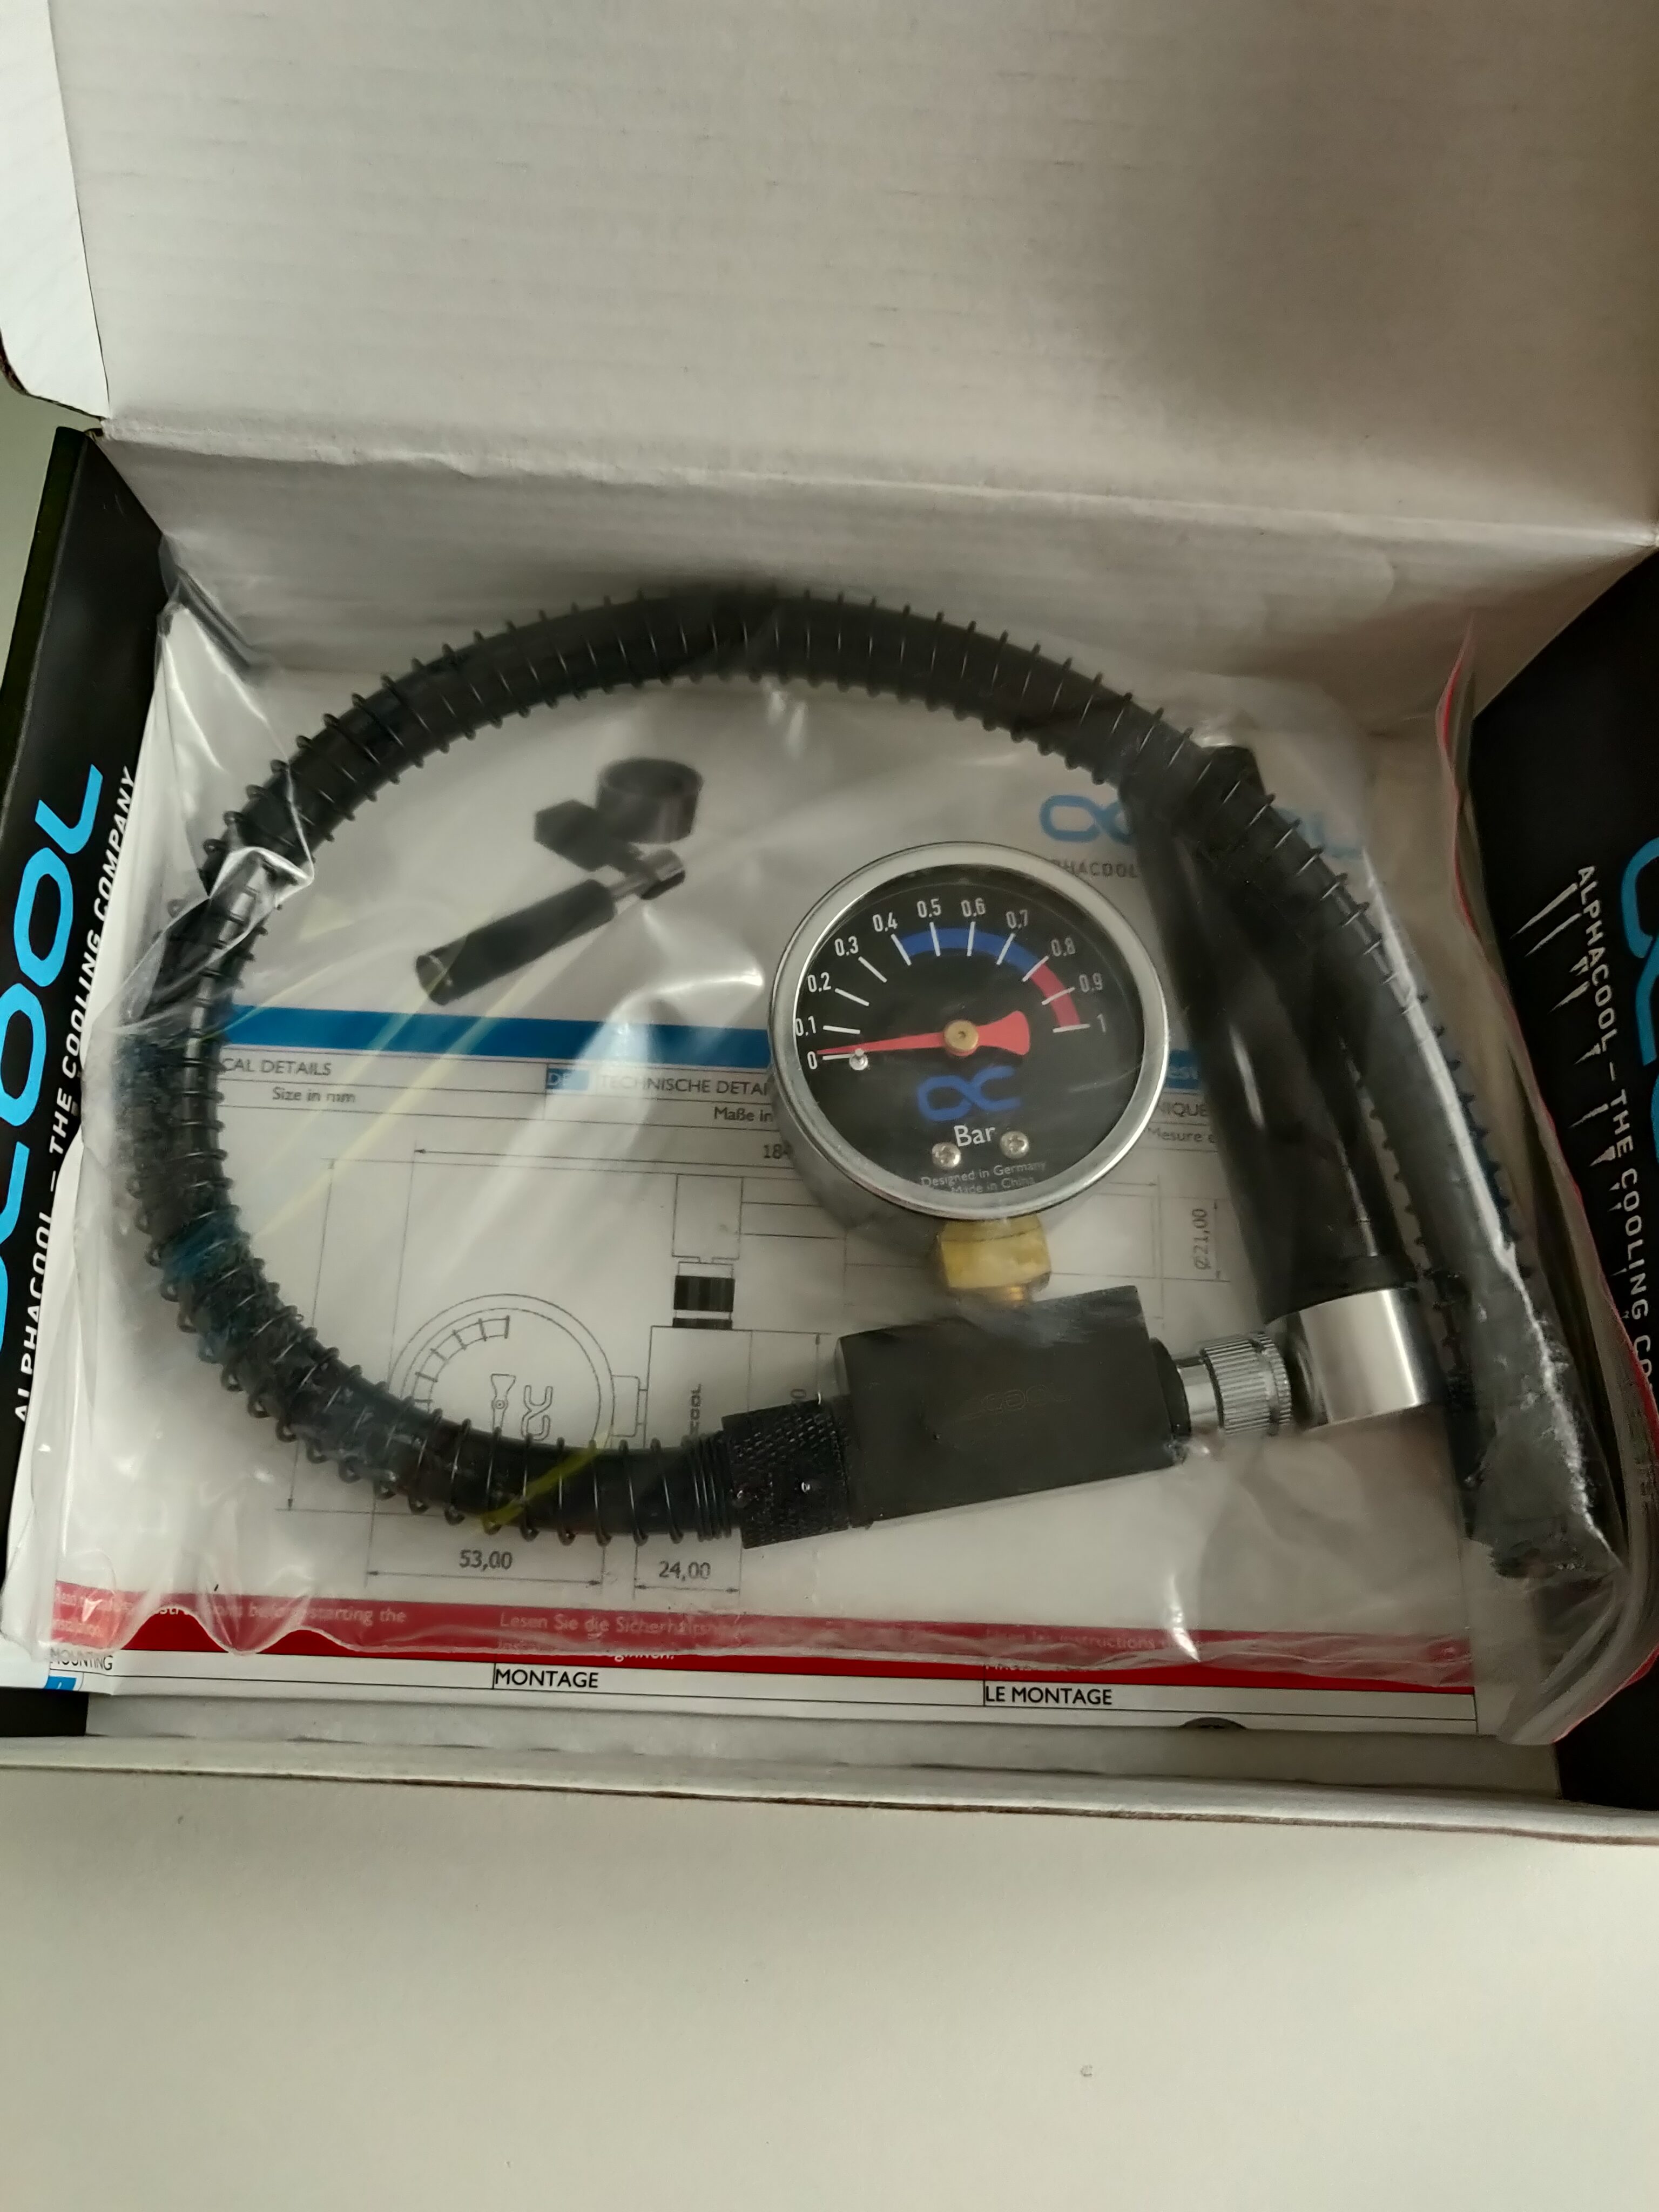
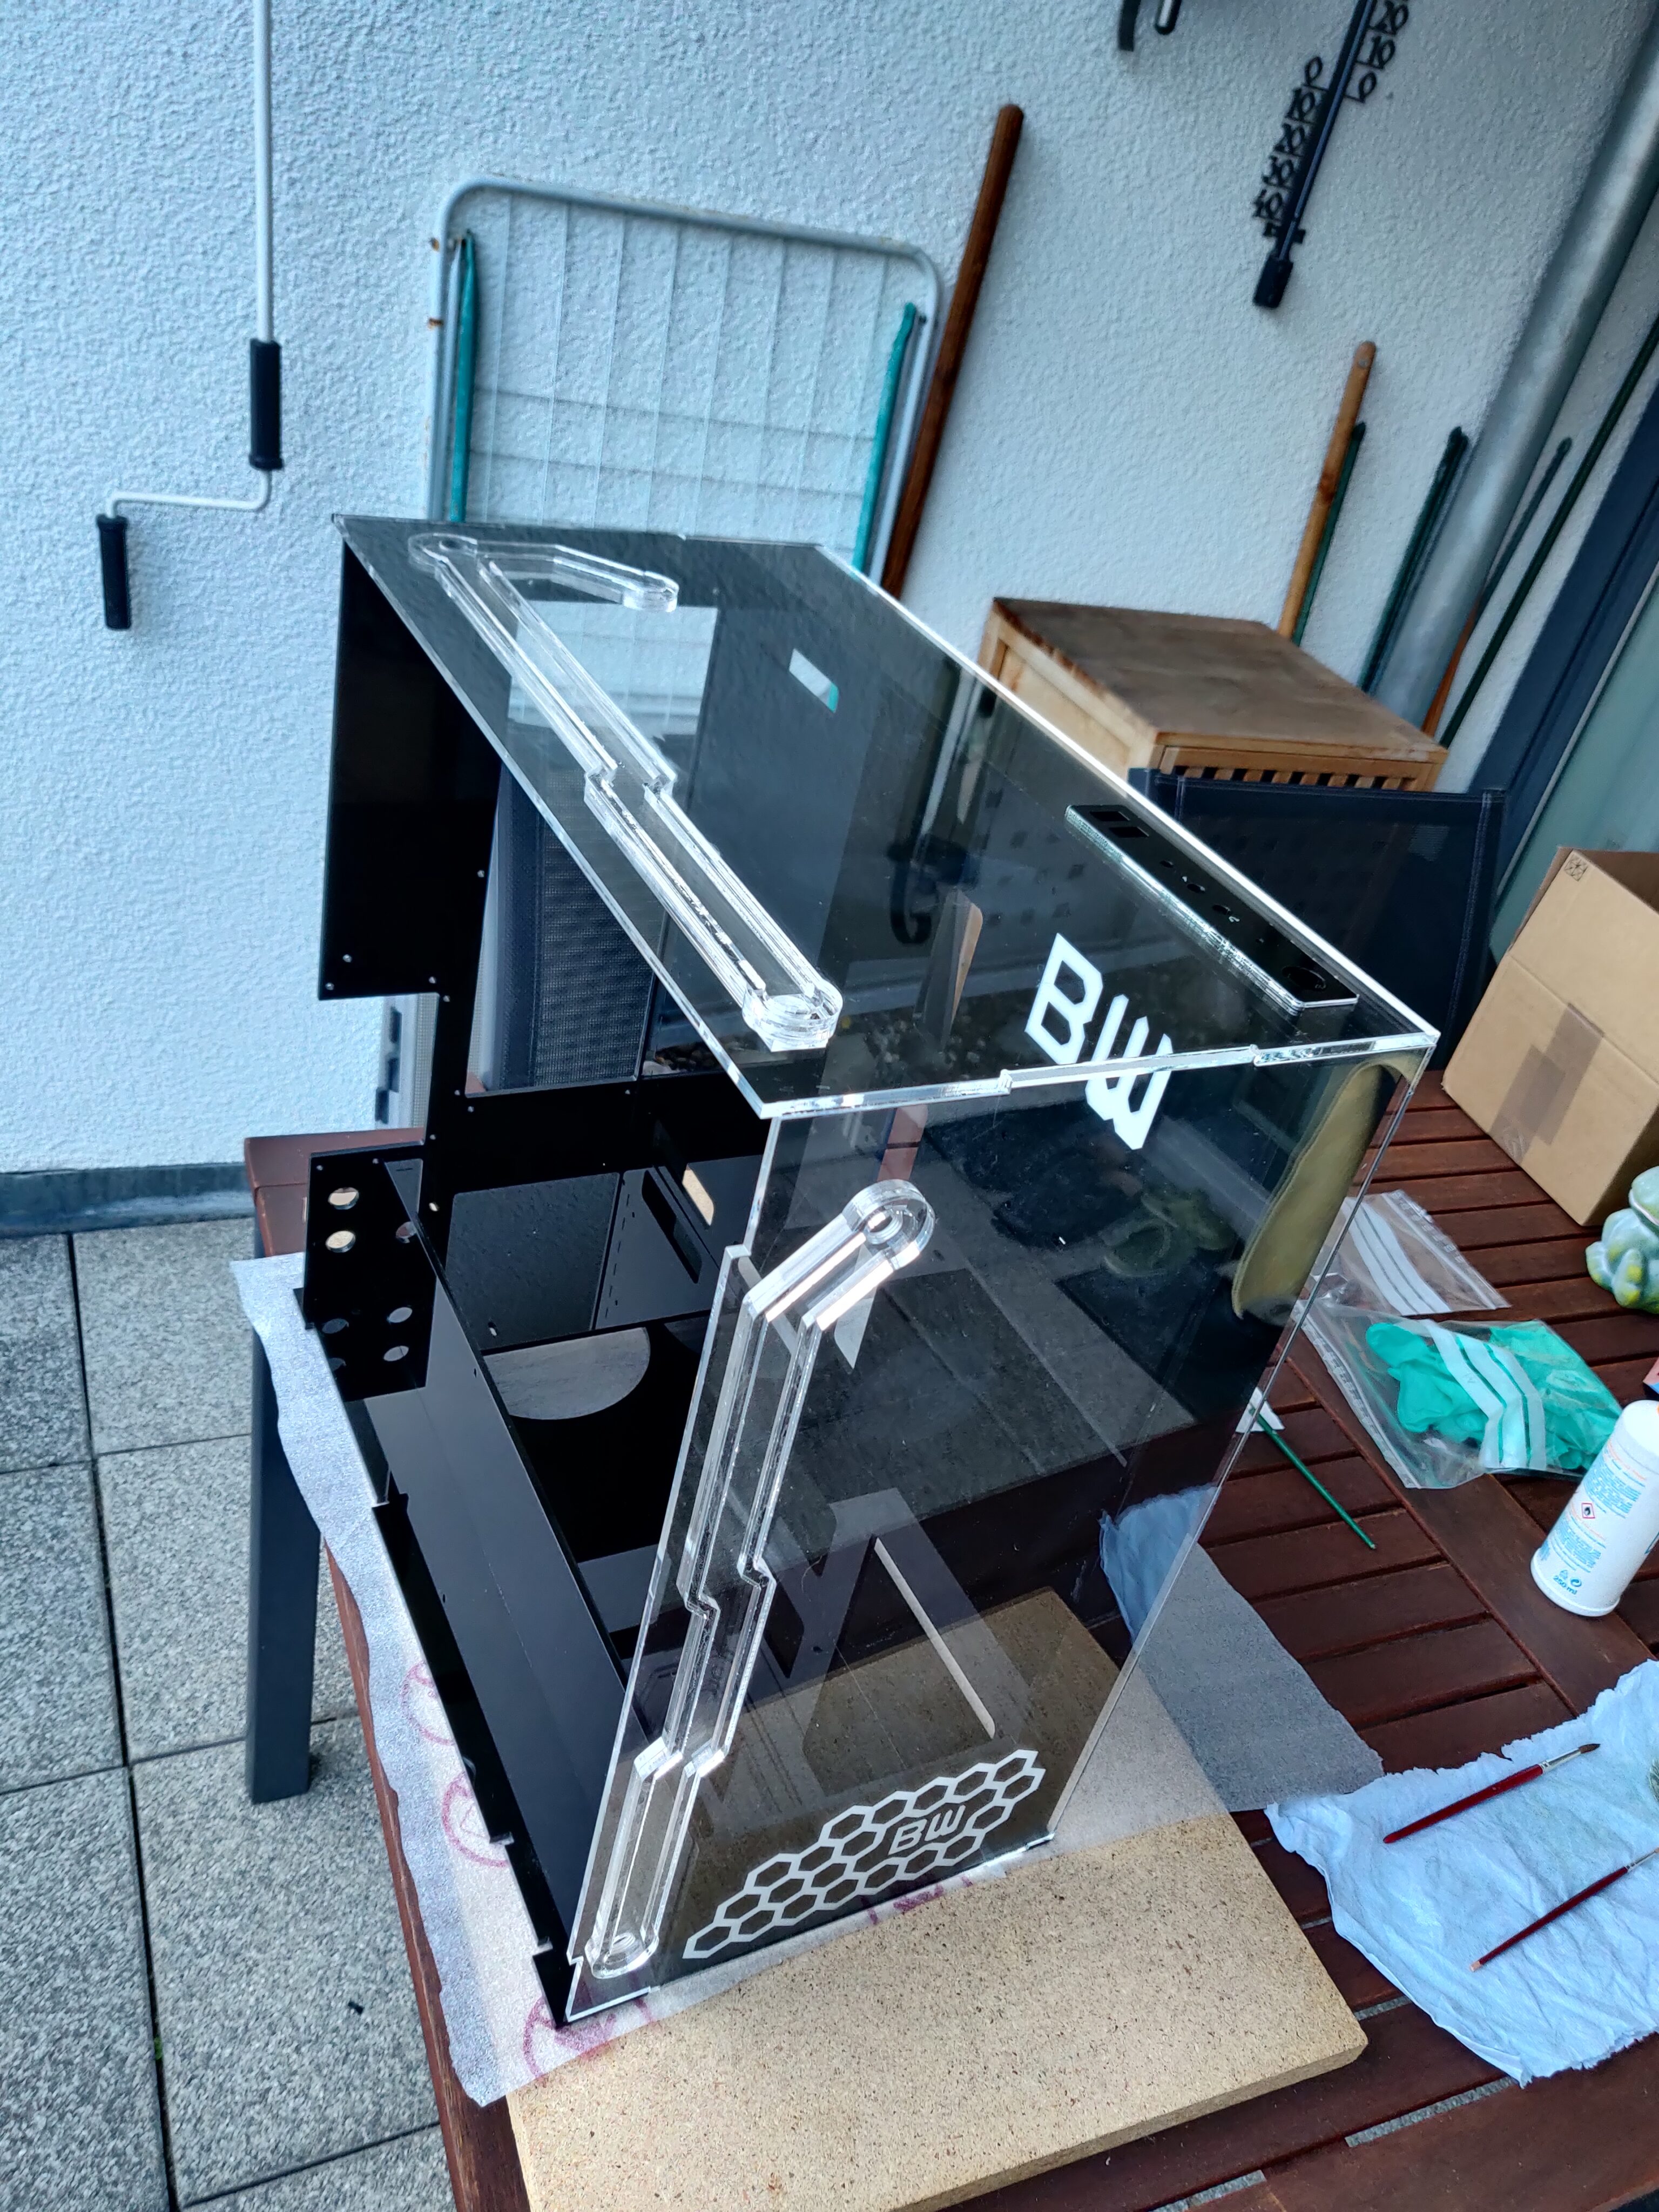
Once they were assembled, I tested them for airtightness, before placing and tacking the front and top walls onto the case structure, along with the front panel (connecting top wall and top inner wall).
To reinforce the structure even more, I decided to add some acrylic epoxy glue, to not just rely on the DCM bonds/welds.
Most of it was in the cable management area, as it’s hidden from sight there, and holding the large inner wall, which would be the most load-bearing wall of the structure. I also used the same glue to attach some threaded posts for holding the controller and logo LED PCBs.
The same glue was also applied (wherever possible) at the box joints between the four fixed outer walls.
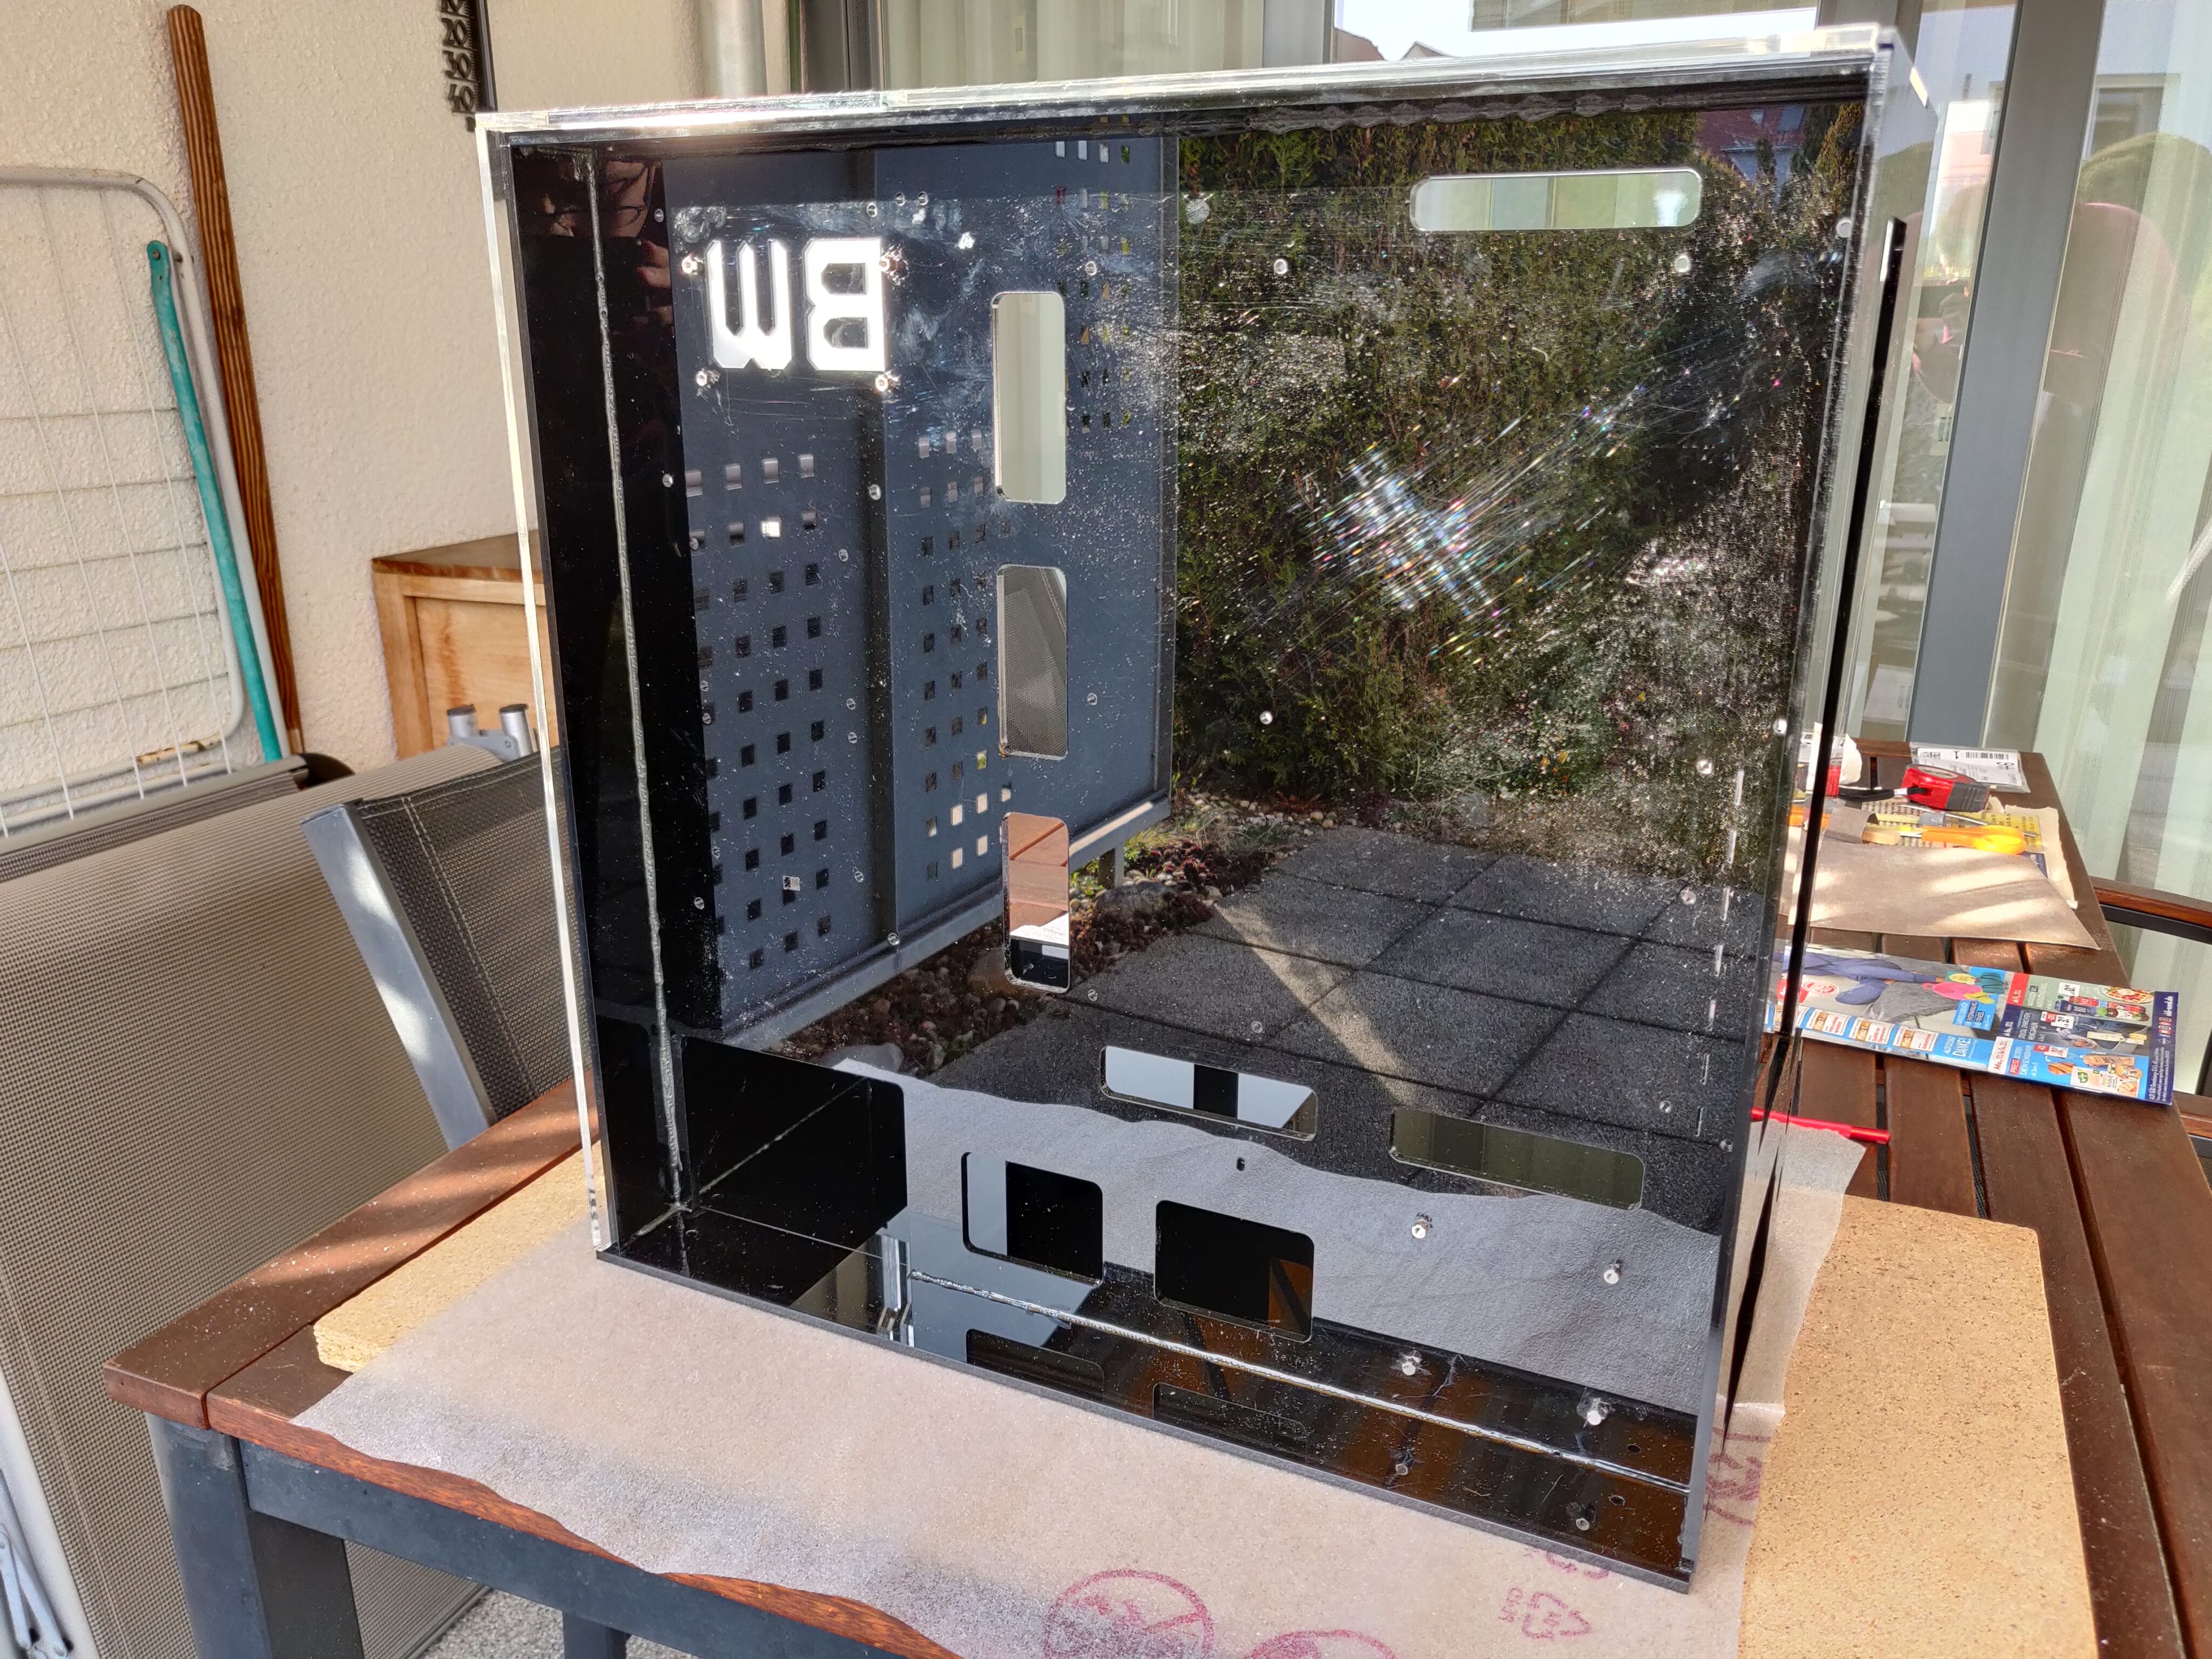
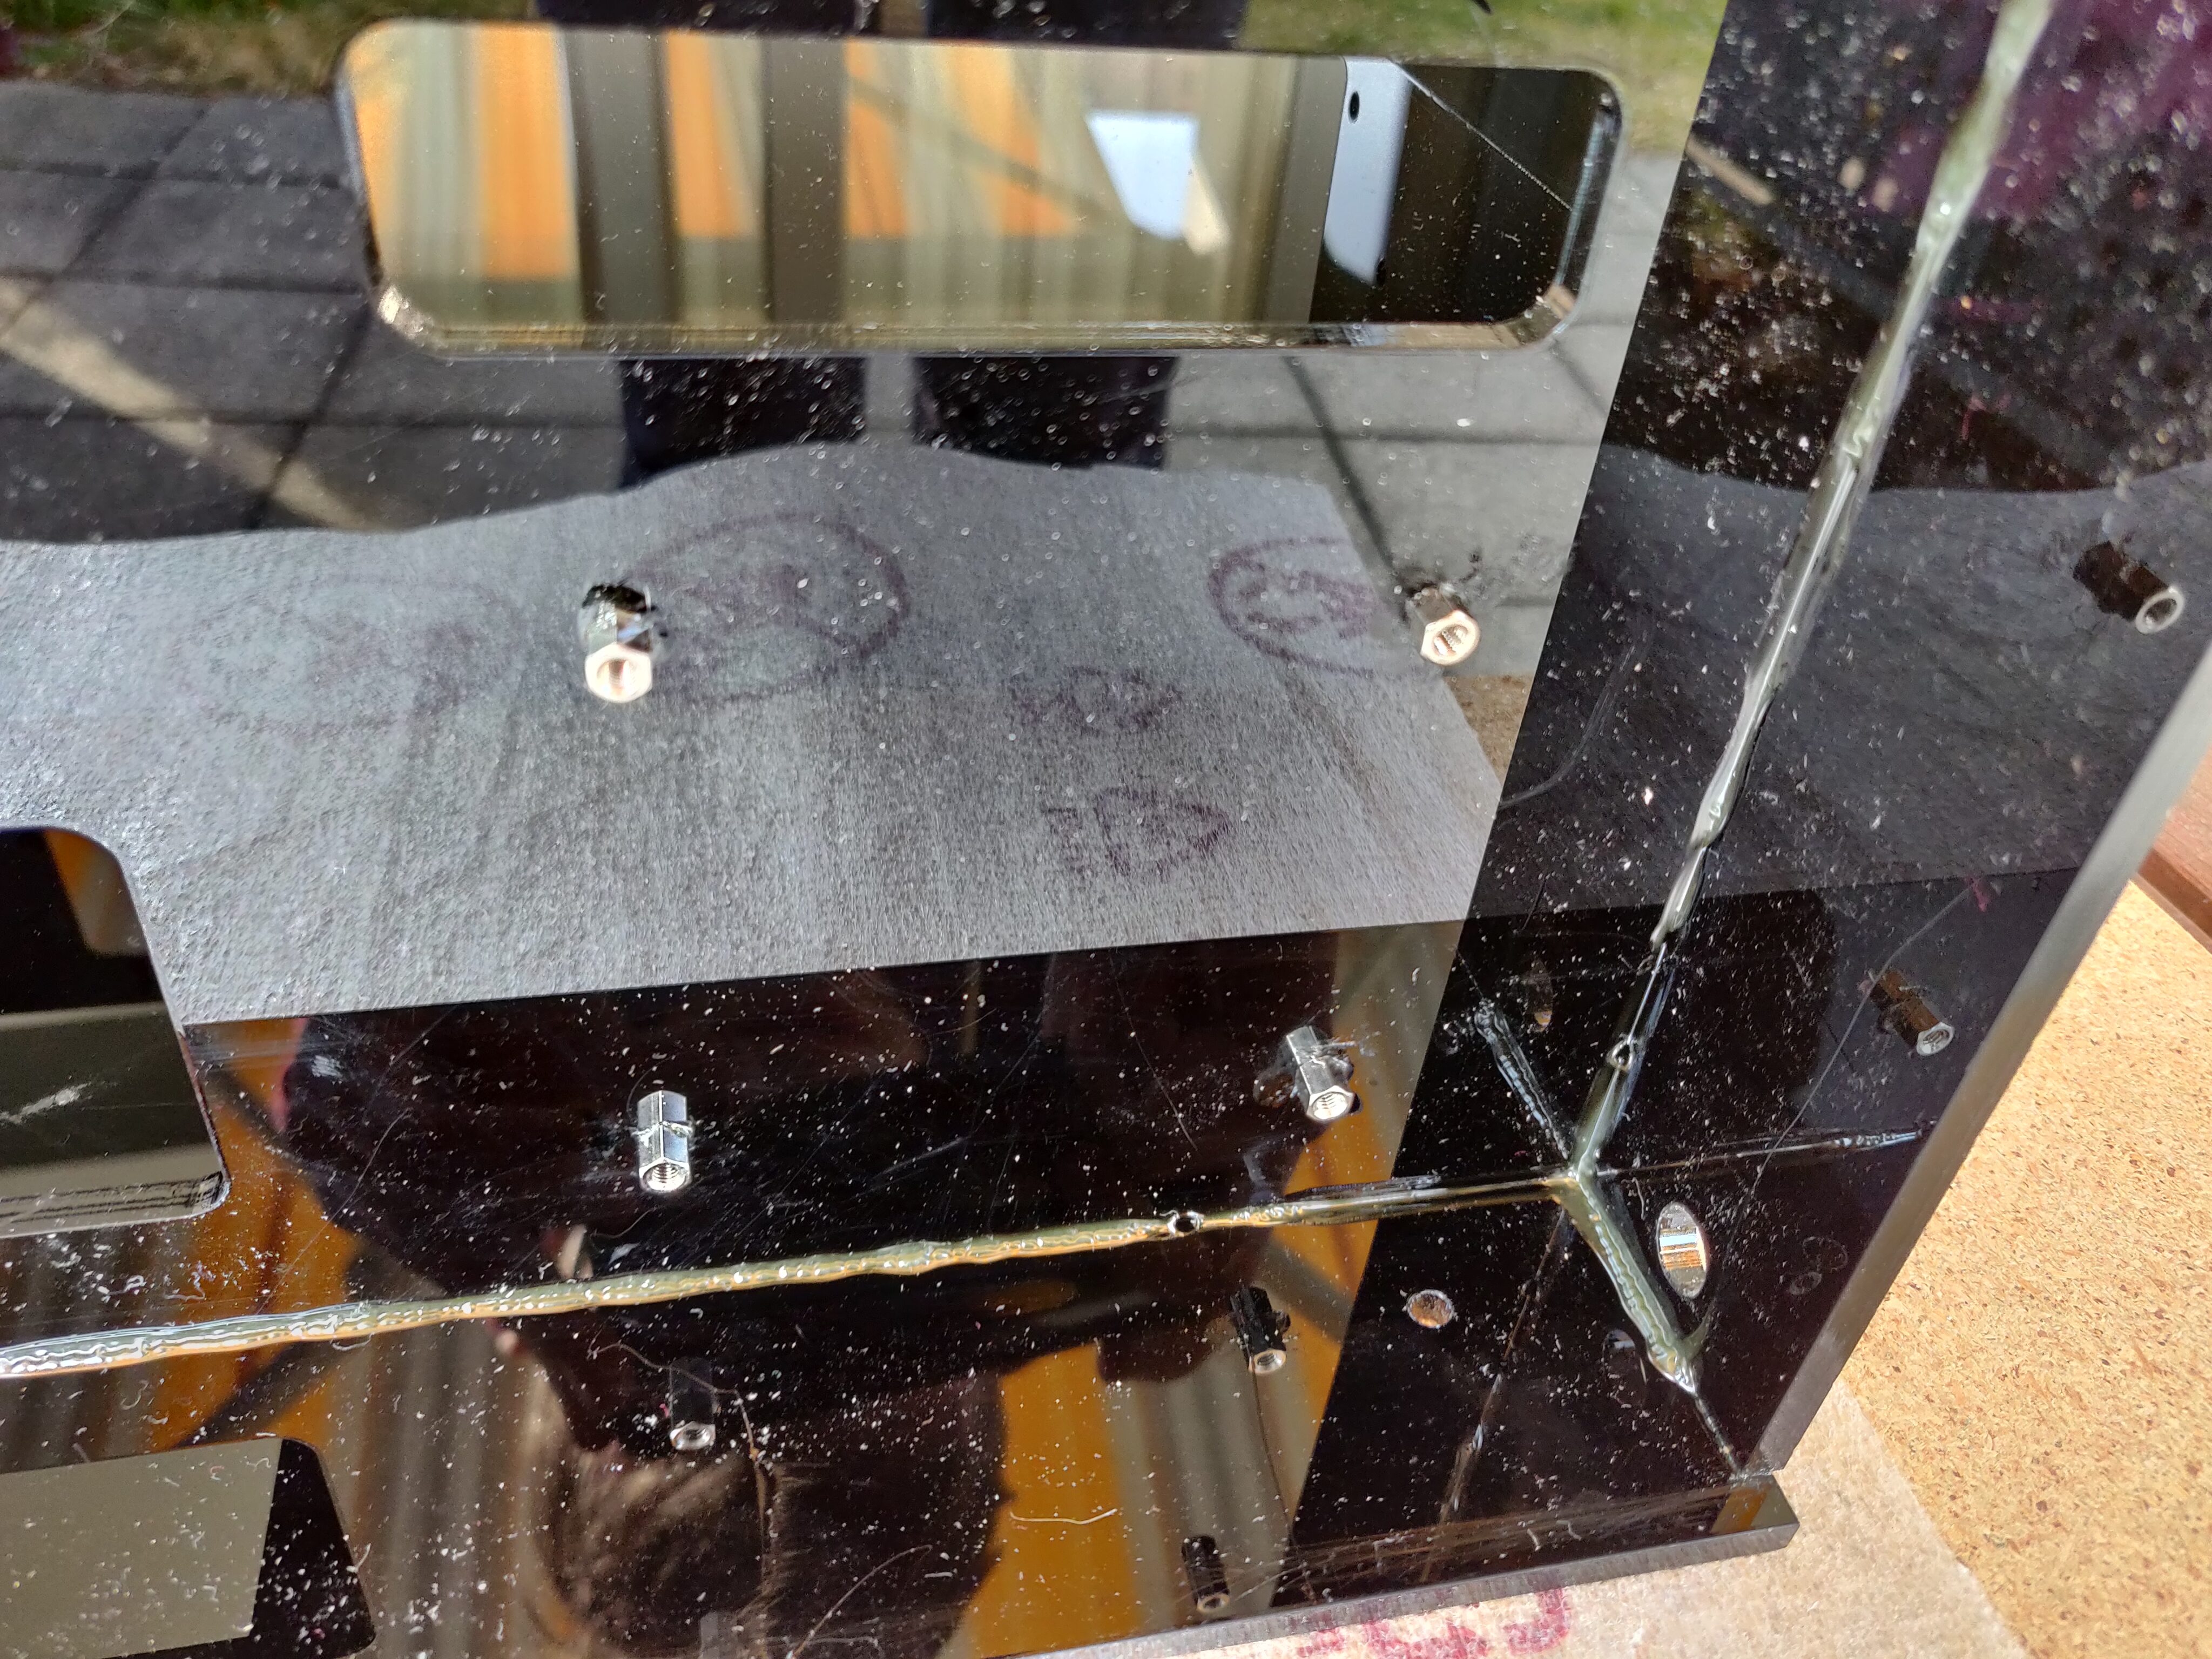
With the fixed case structure complete, I moved on to the electronics assembly.
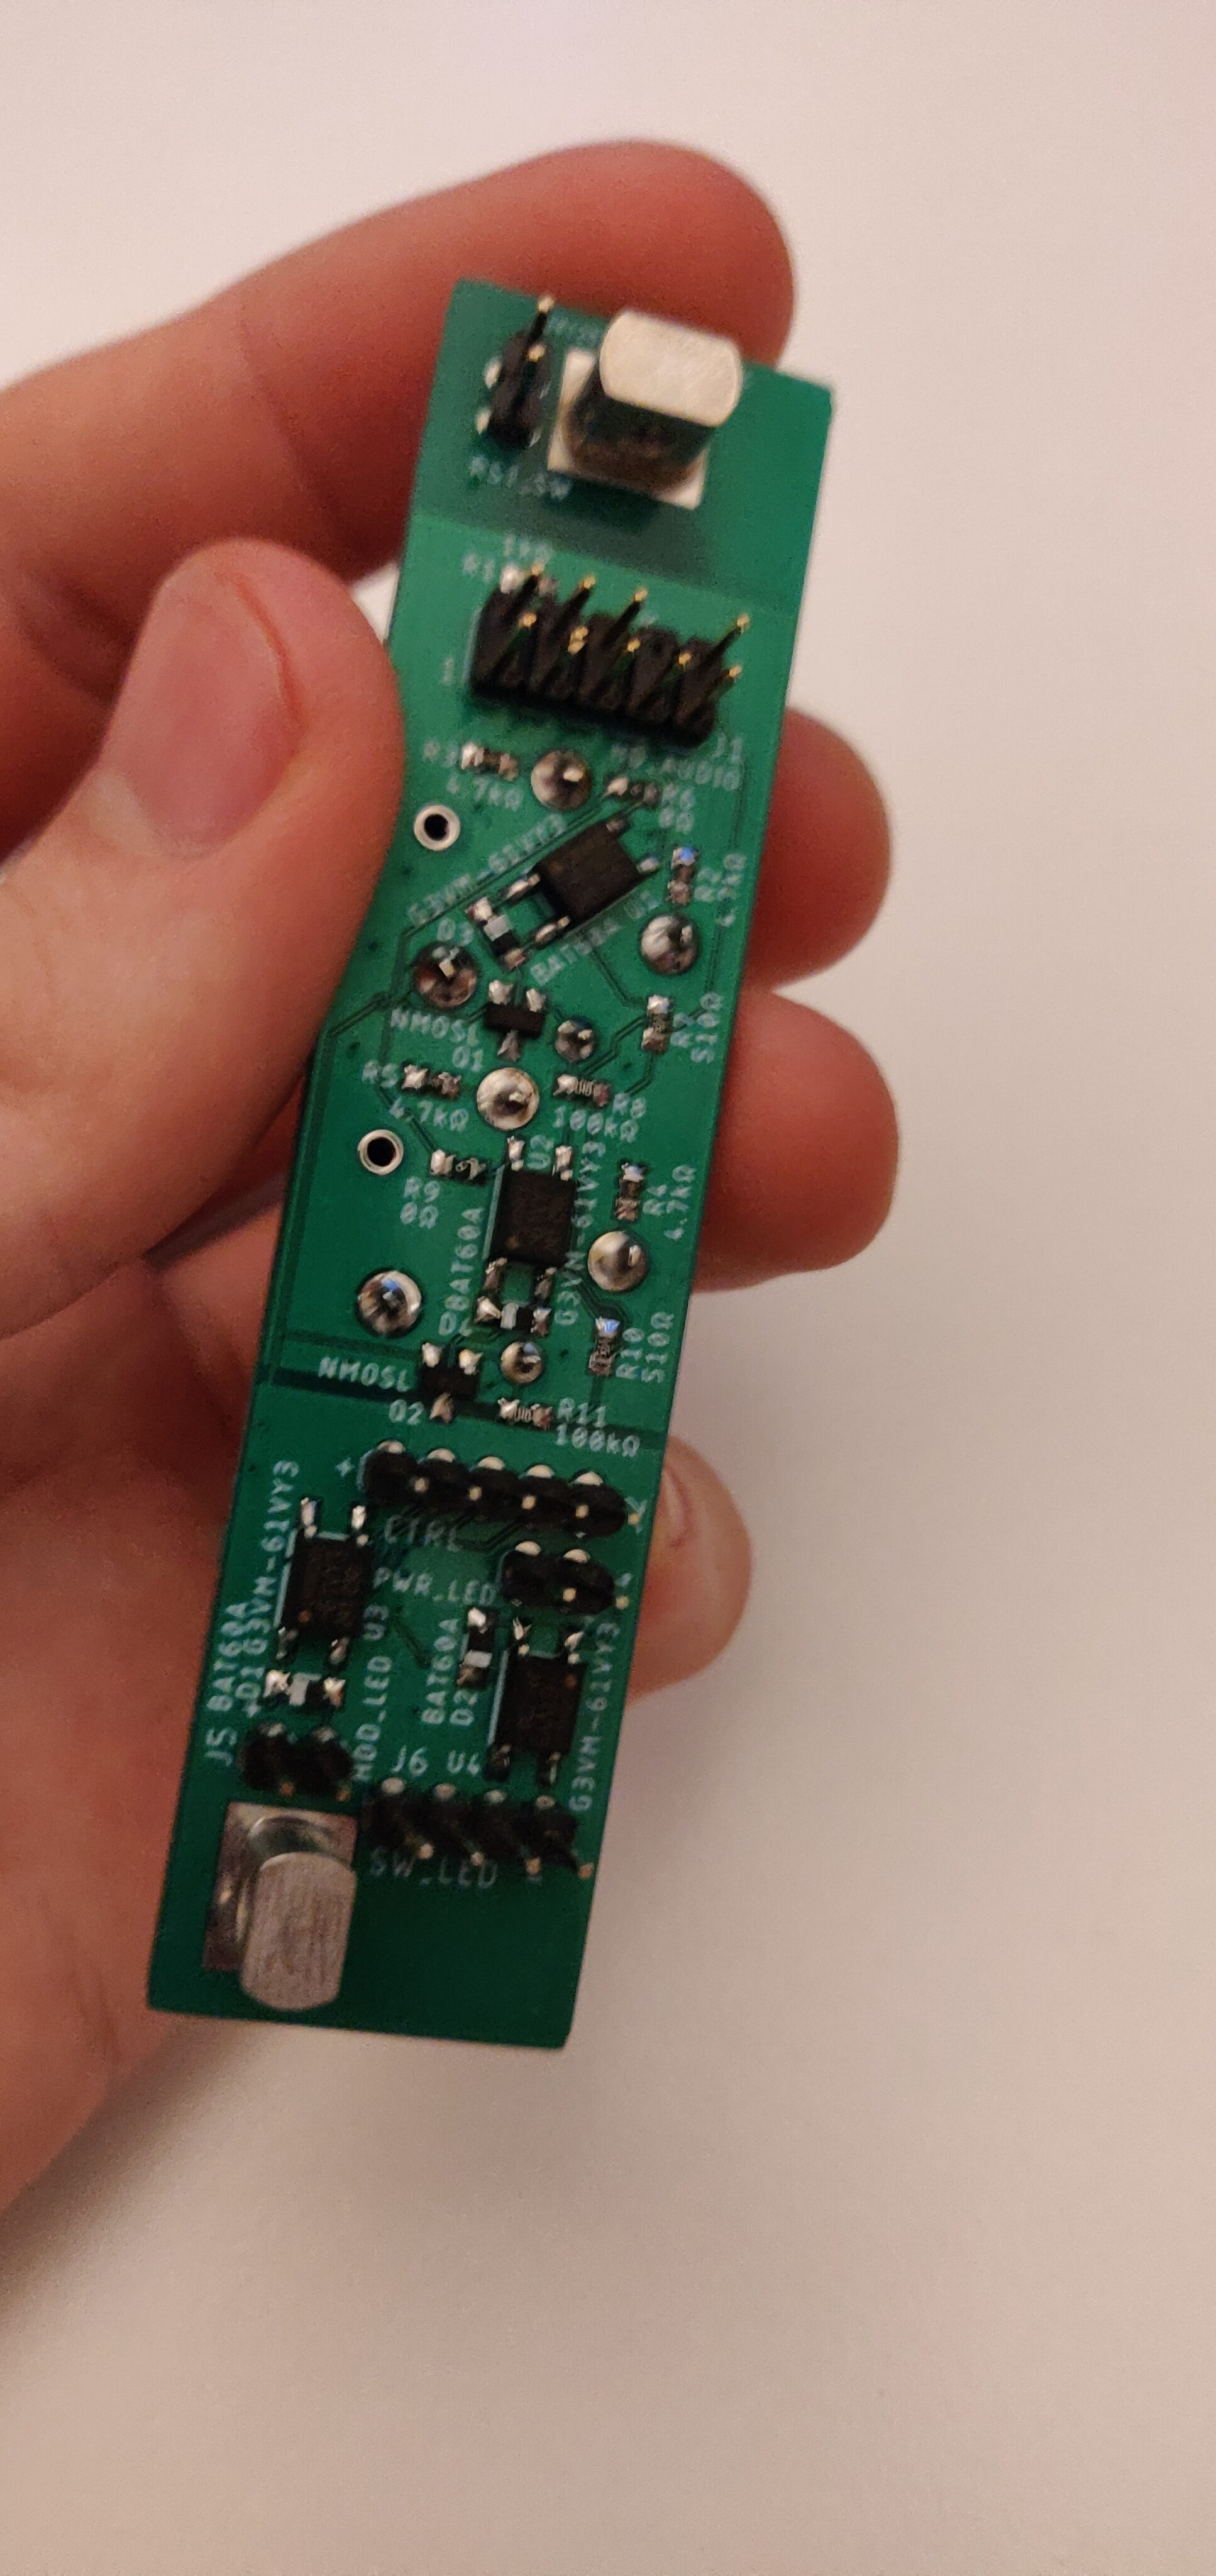
The front panel PCBs were rather quick and easy to solder, including all necessary connectors, buttons, and some screw terminals to hold the PCB in place later.
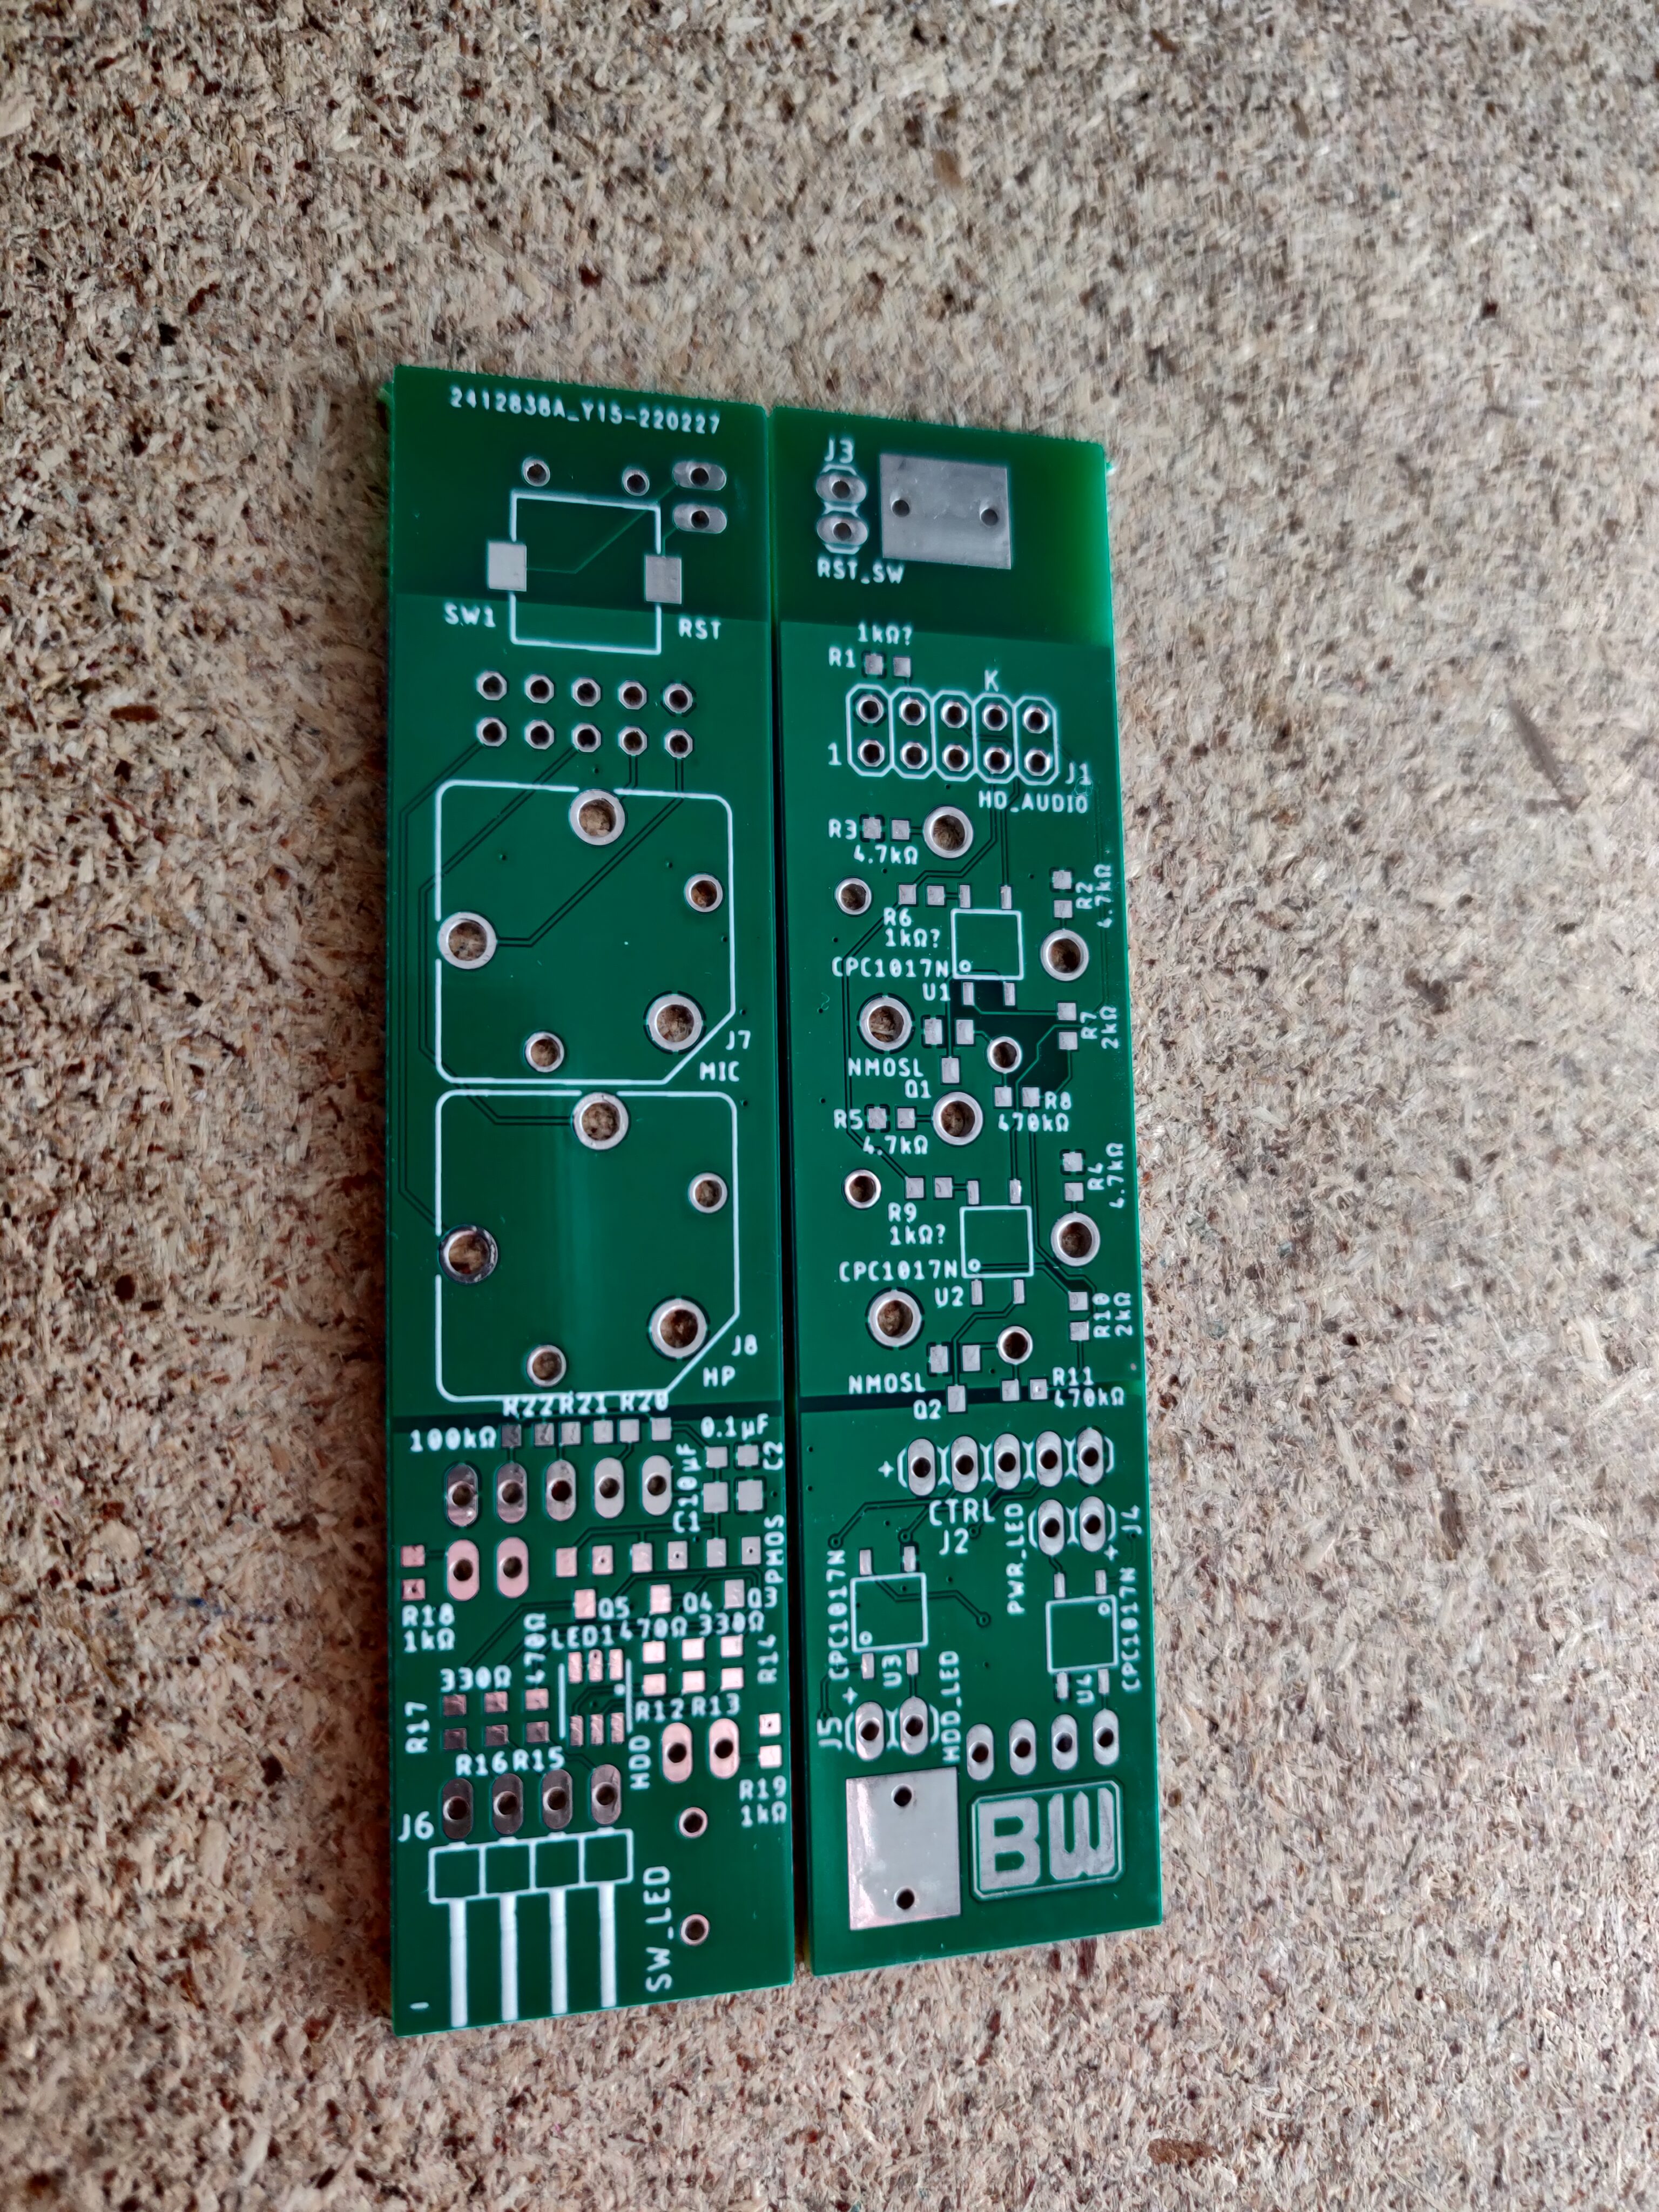
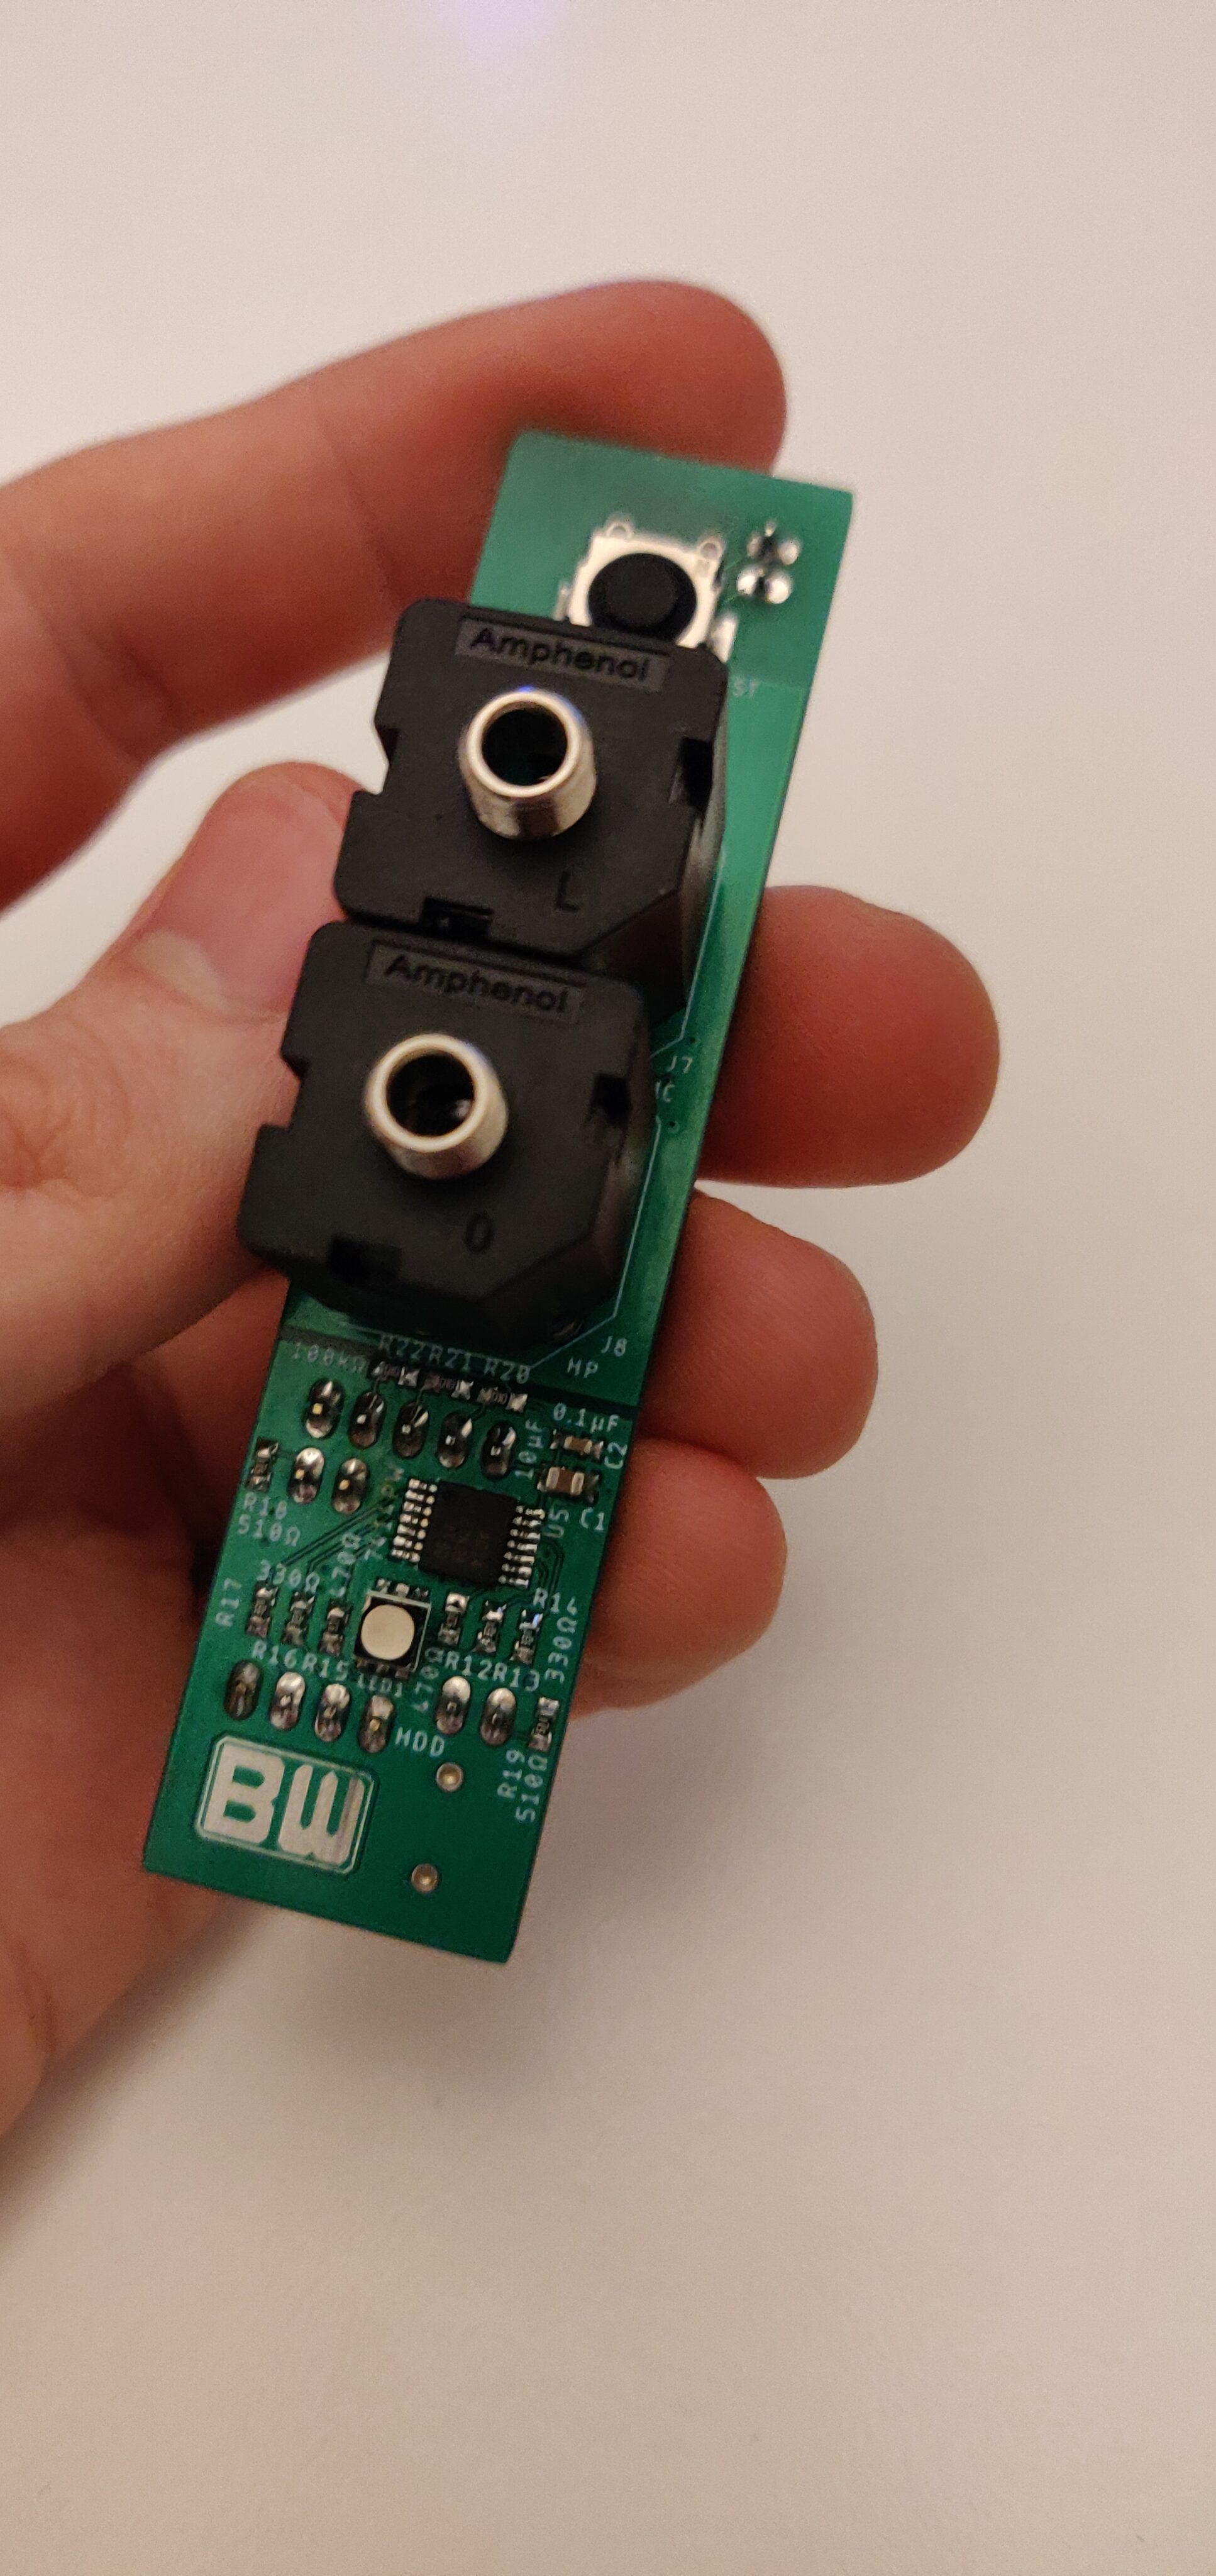
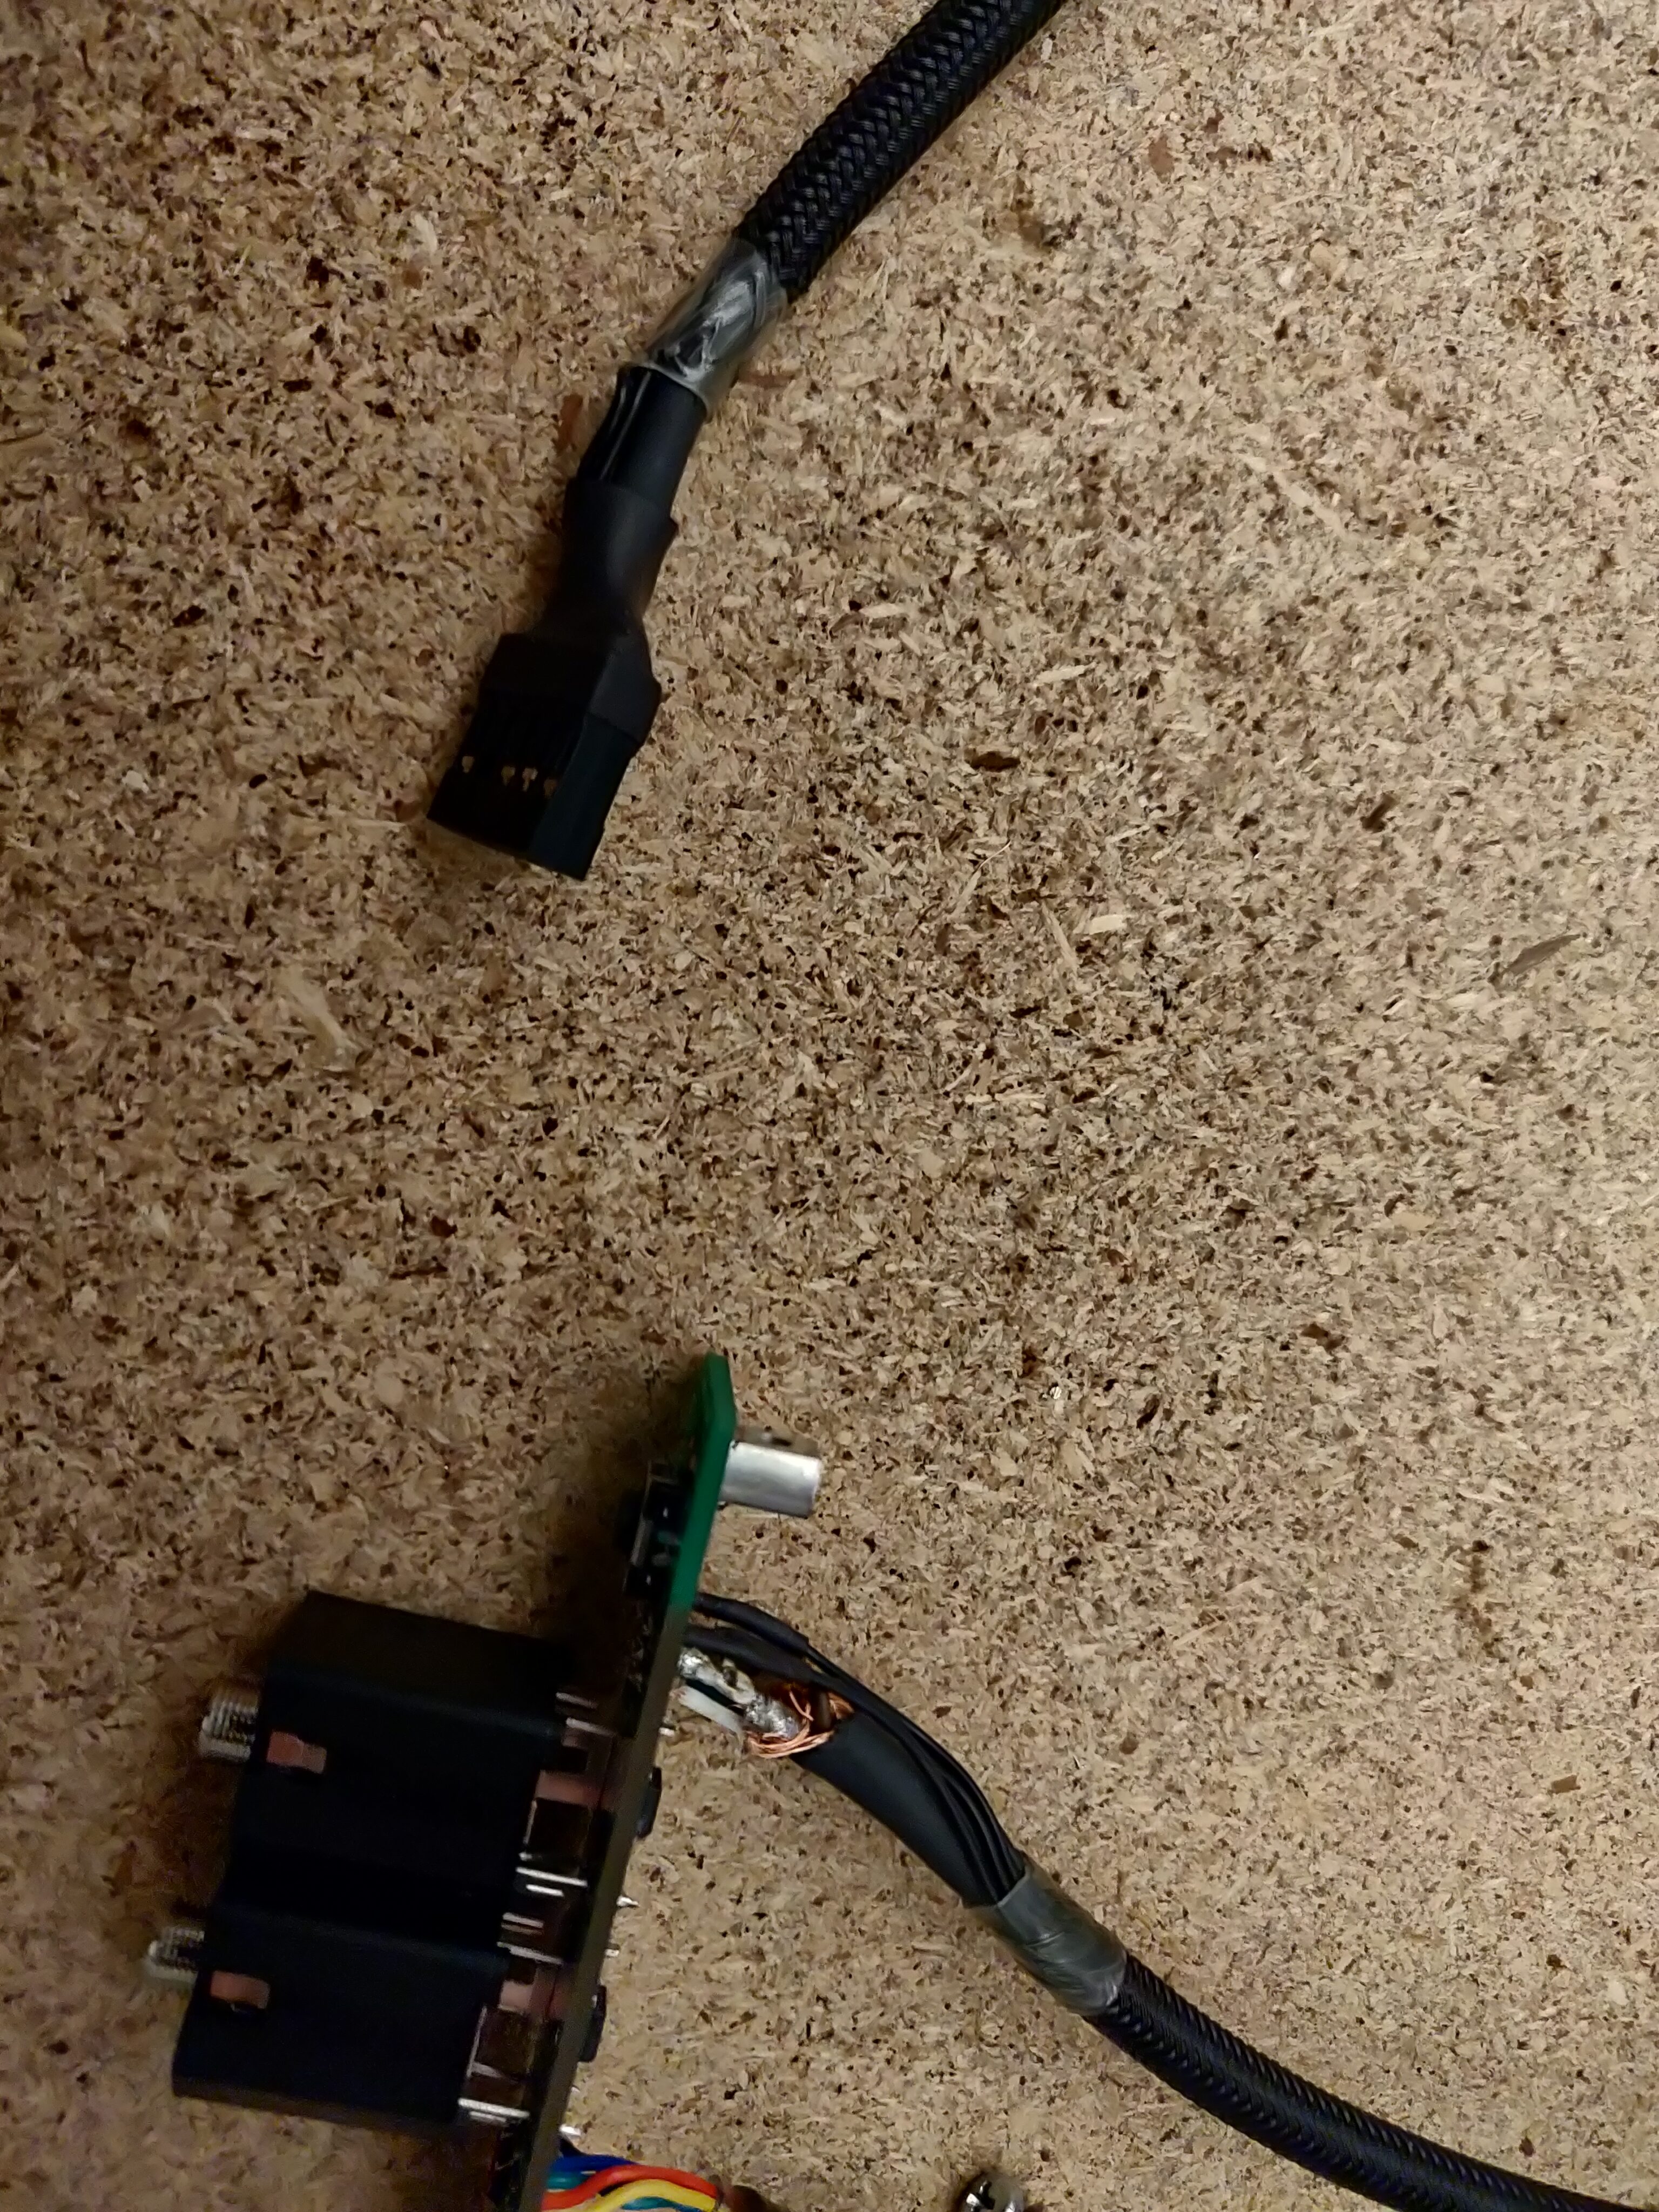
The front panel also needed some cables: One to the controller and two that go to the motherboard (general front panel connectors and front panel audio).
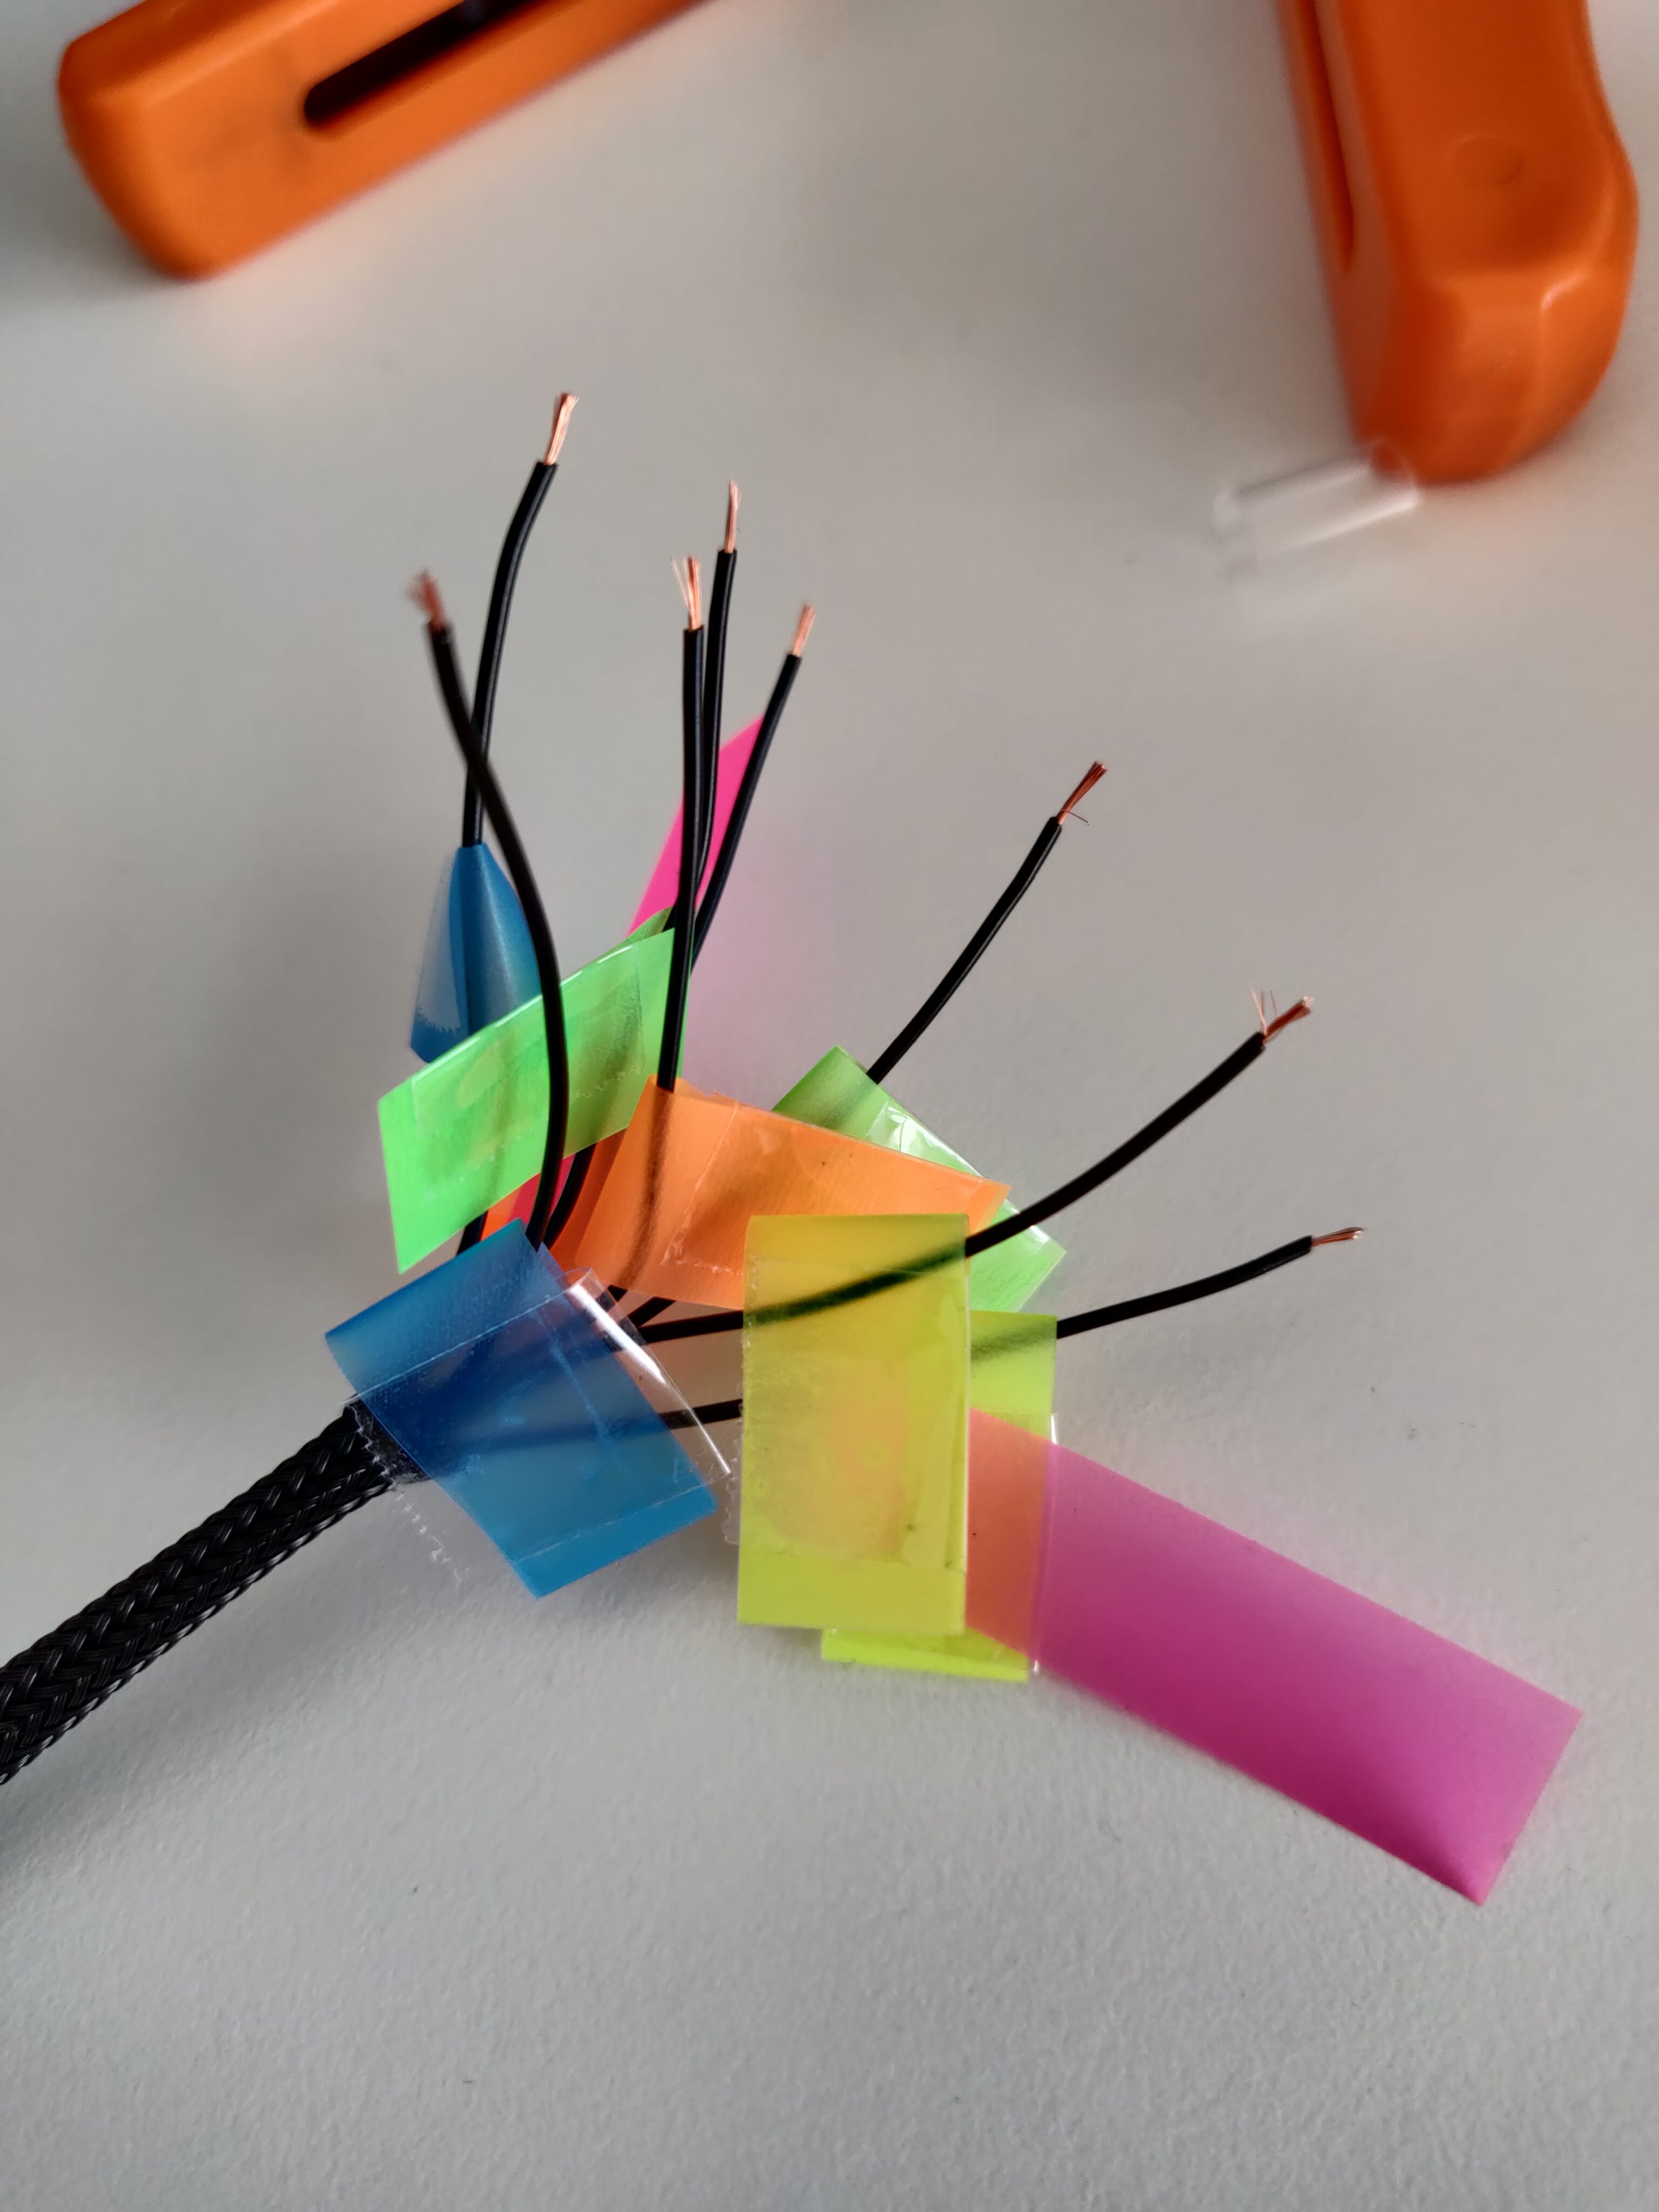
Since the motherboard cables would be partially visible later, I went with only black wires for them (and some black shielded speaker cable for the audio signals) – so I needed some labels to keep track of the wires during assembly.
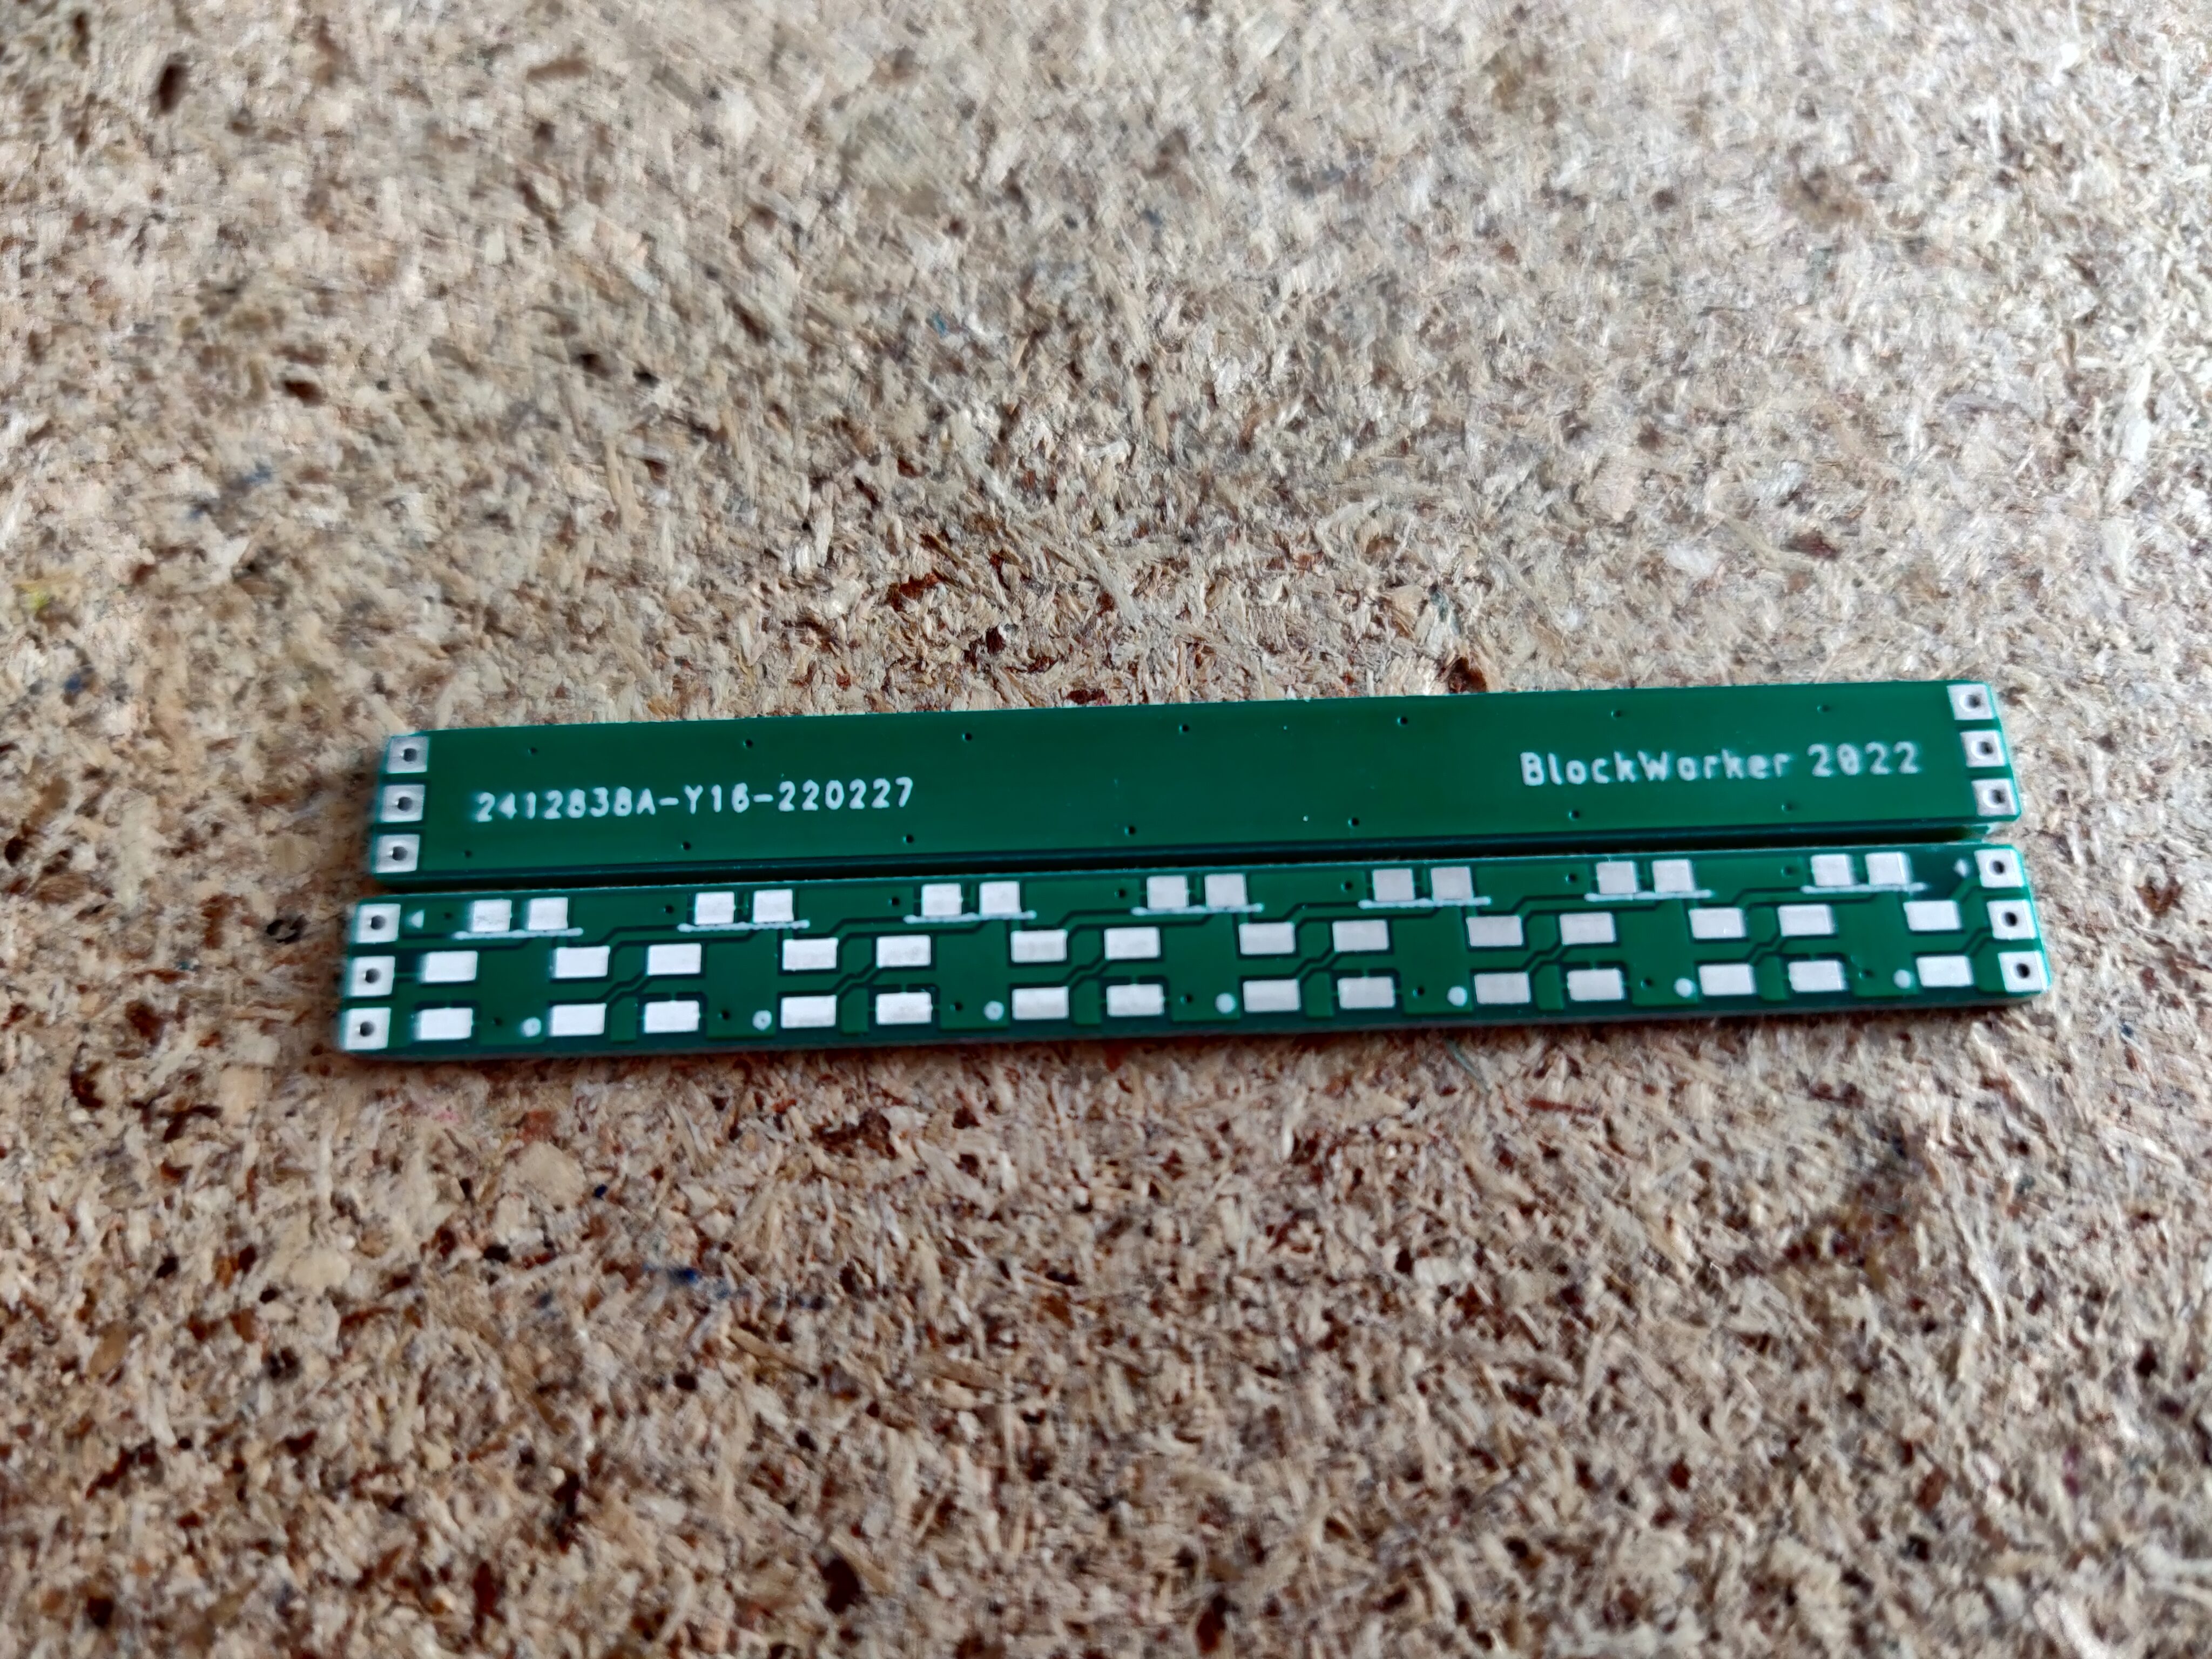
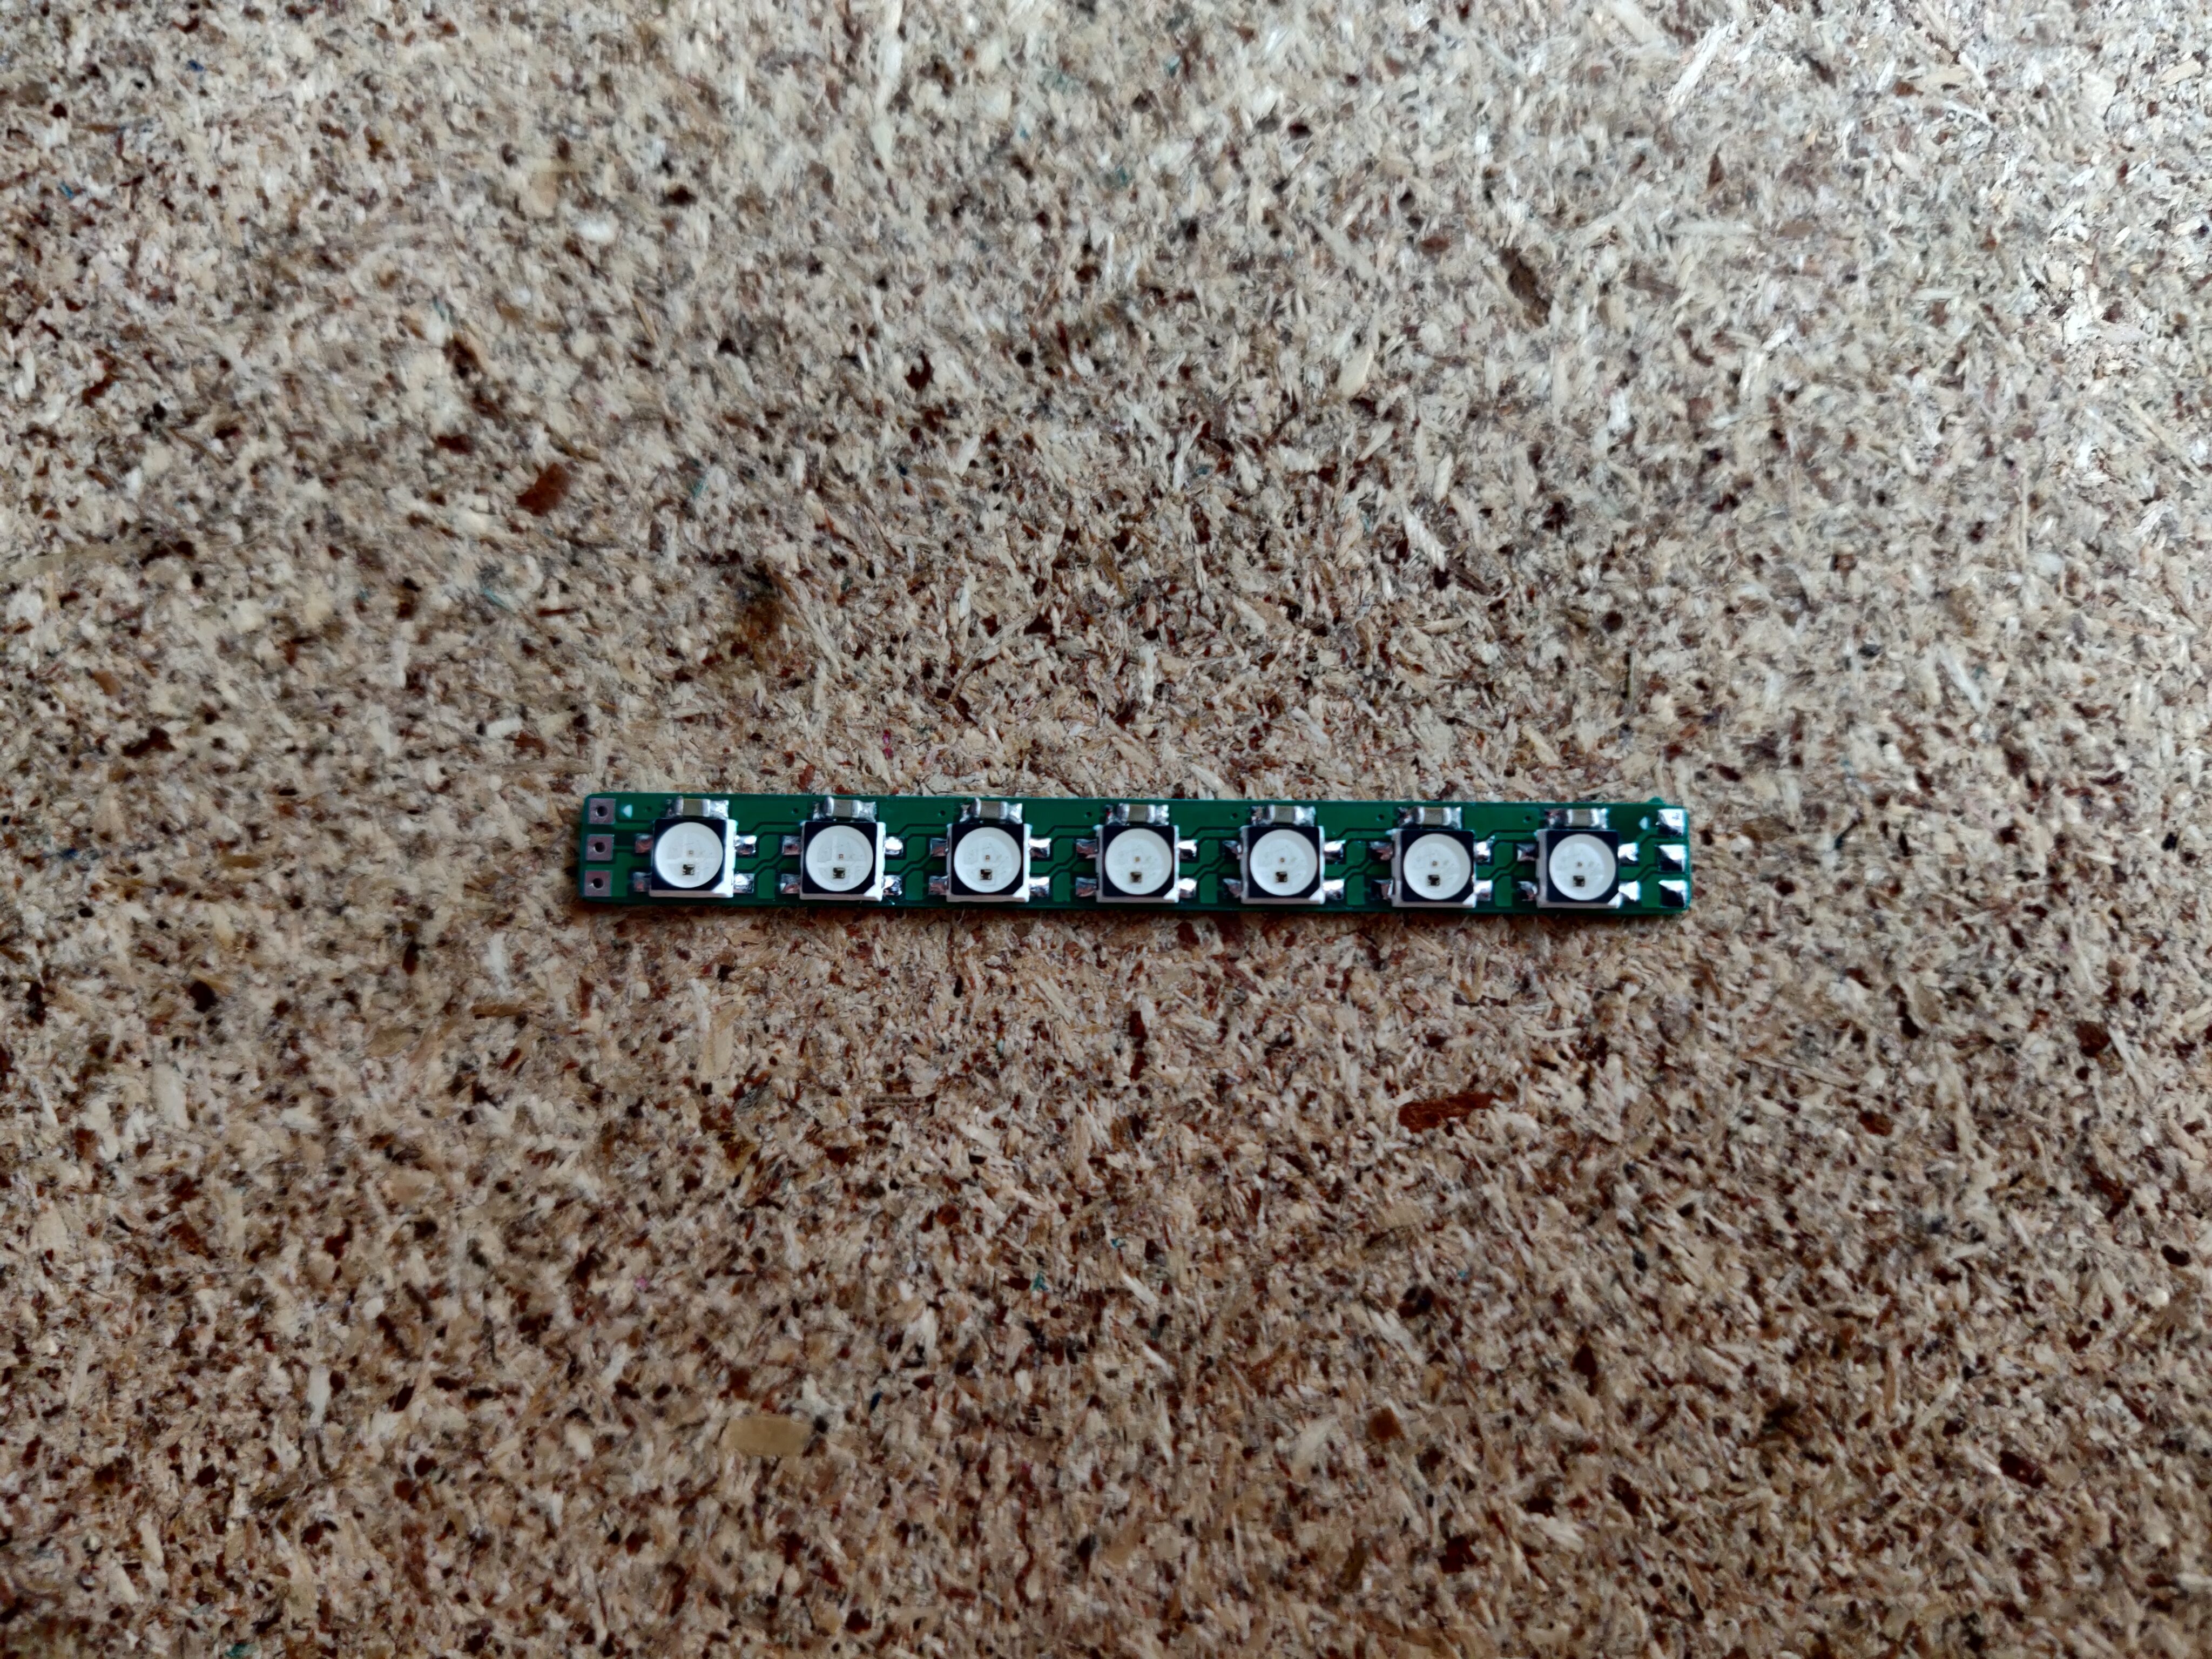
For the addressable LED lighting, there was of course the dedicated logo LED board, as well as the small LED bars.
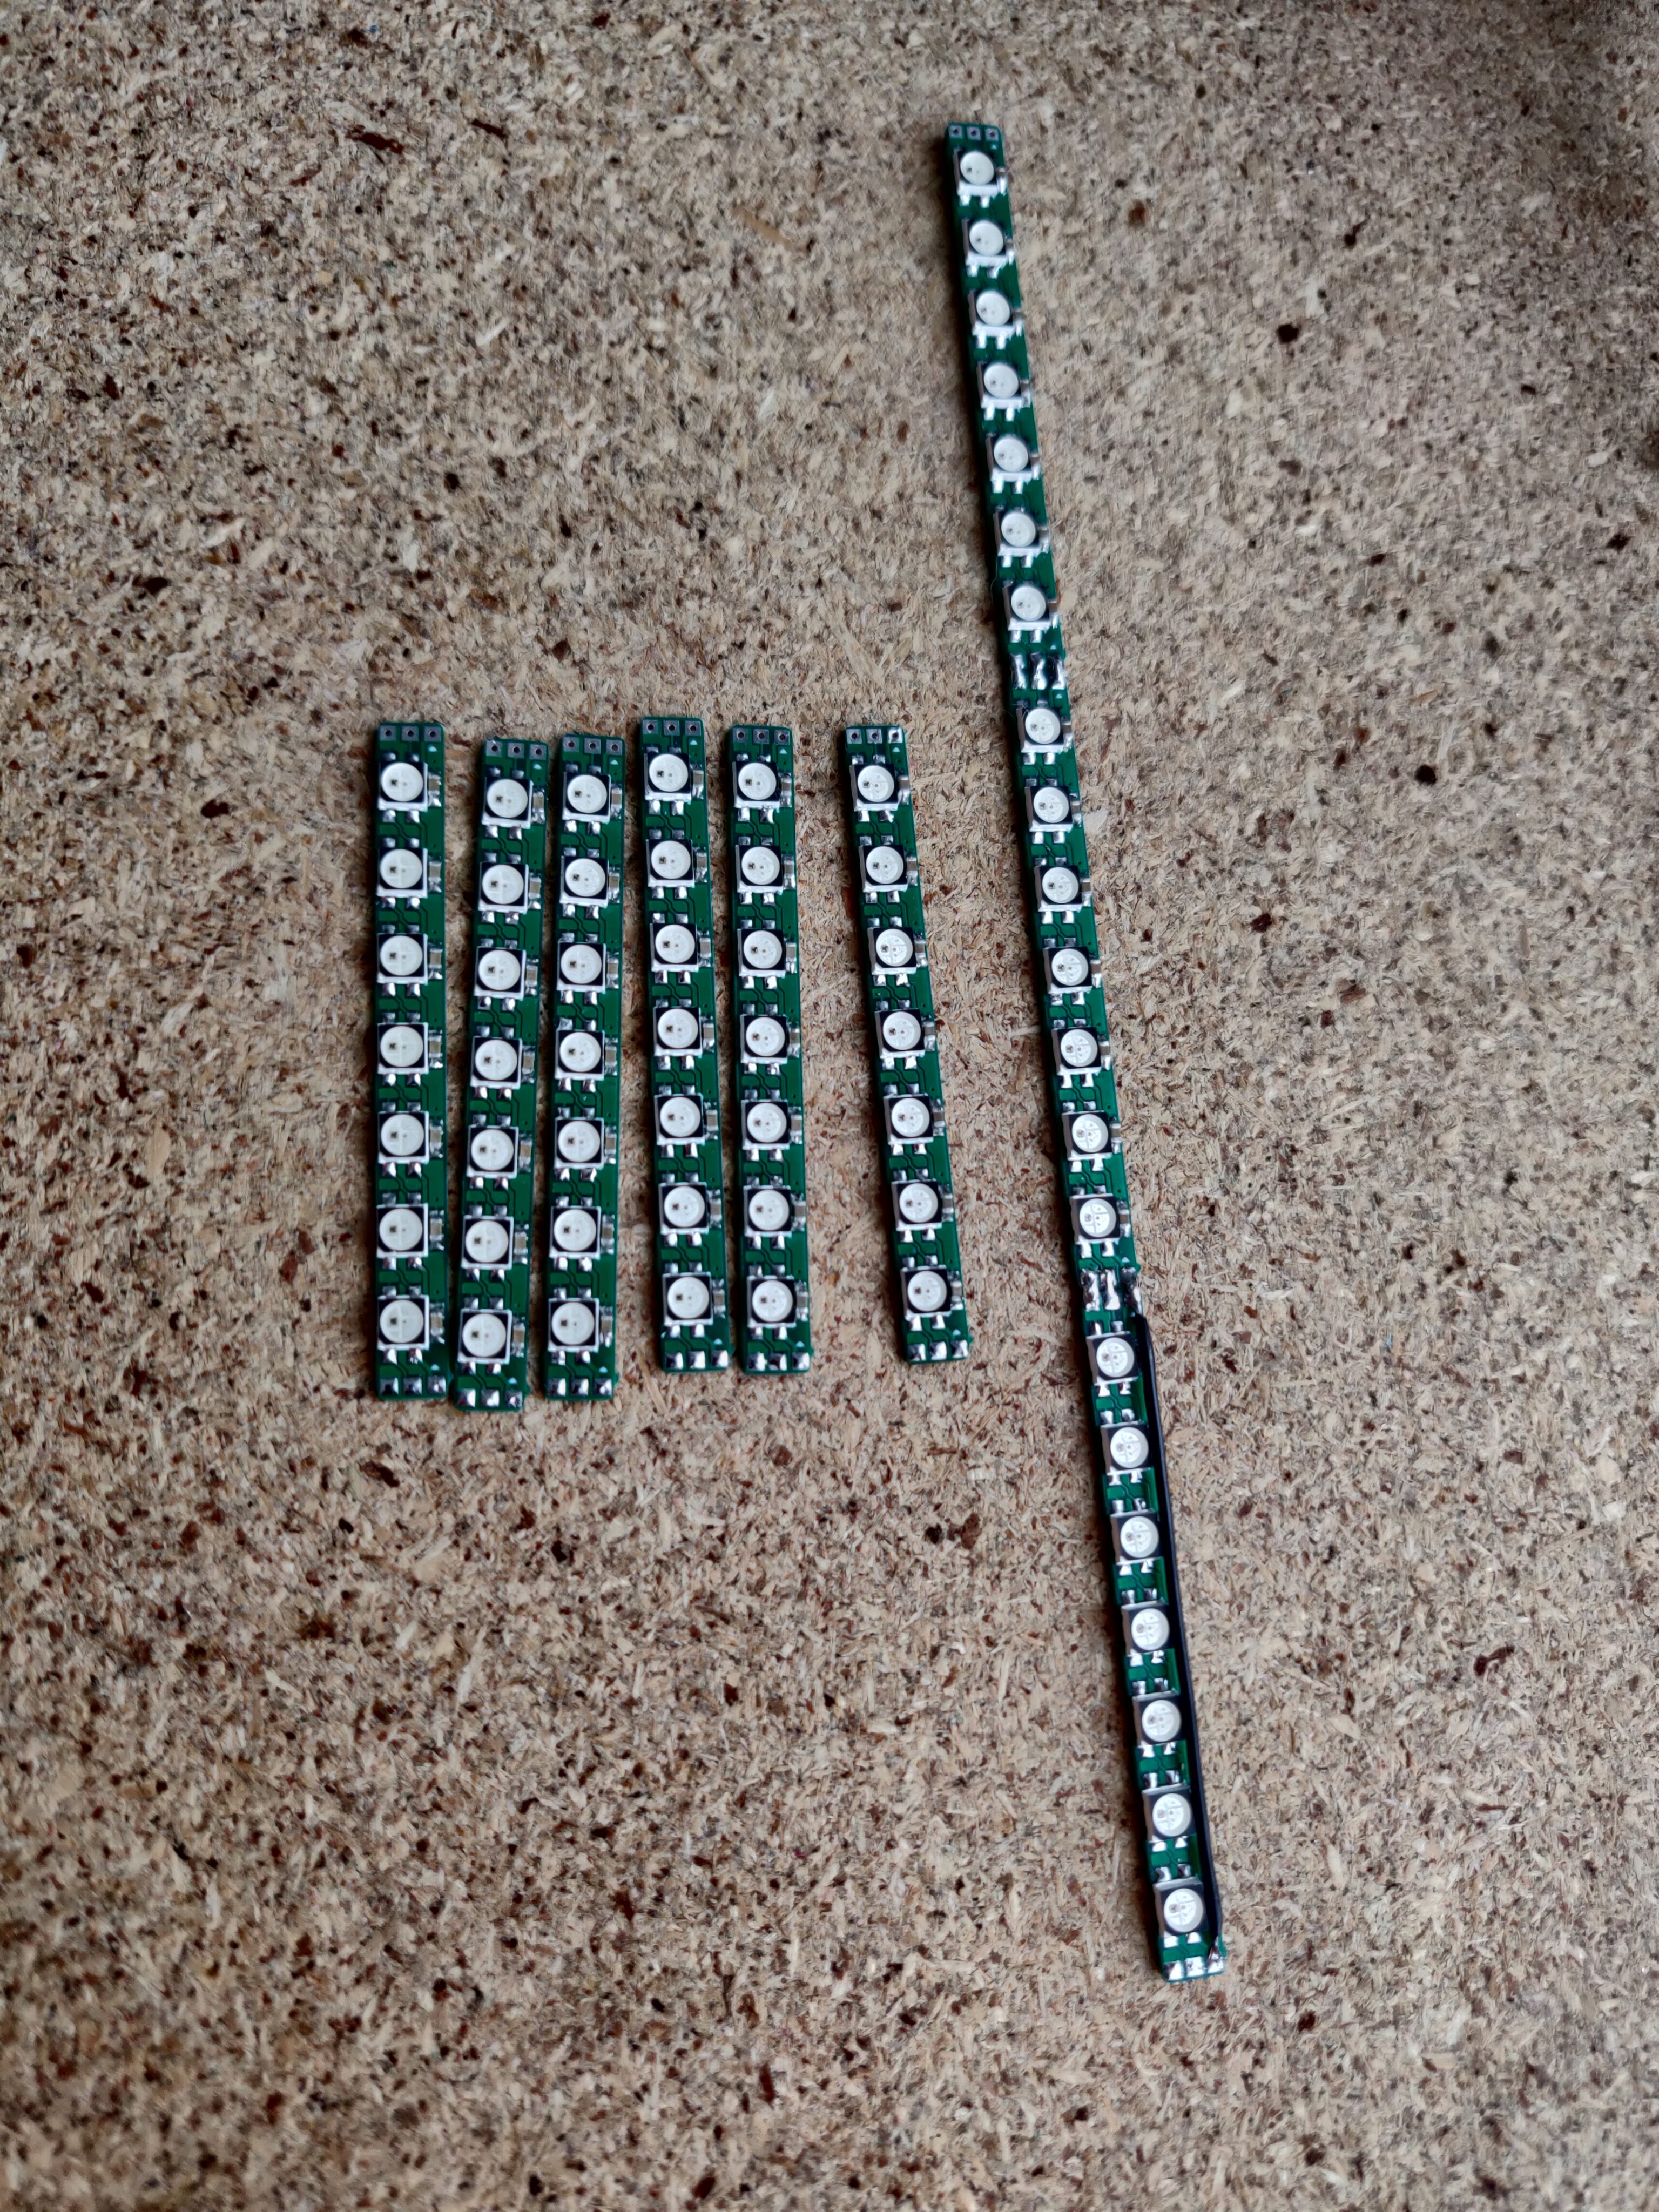
Assembling them took some effort, since I needed a total of 17 such LED bars plus the logo, so over 150 individual LEDs in total.
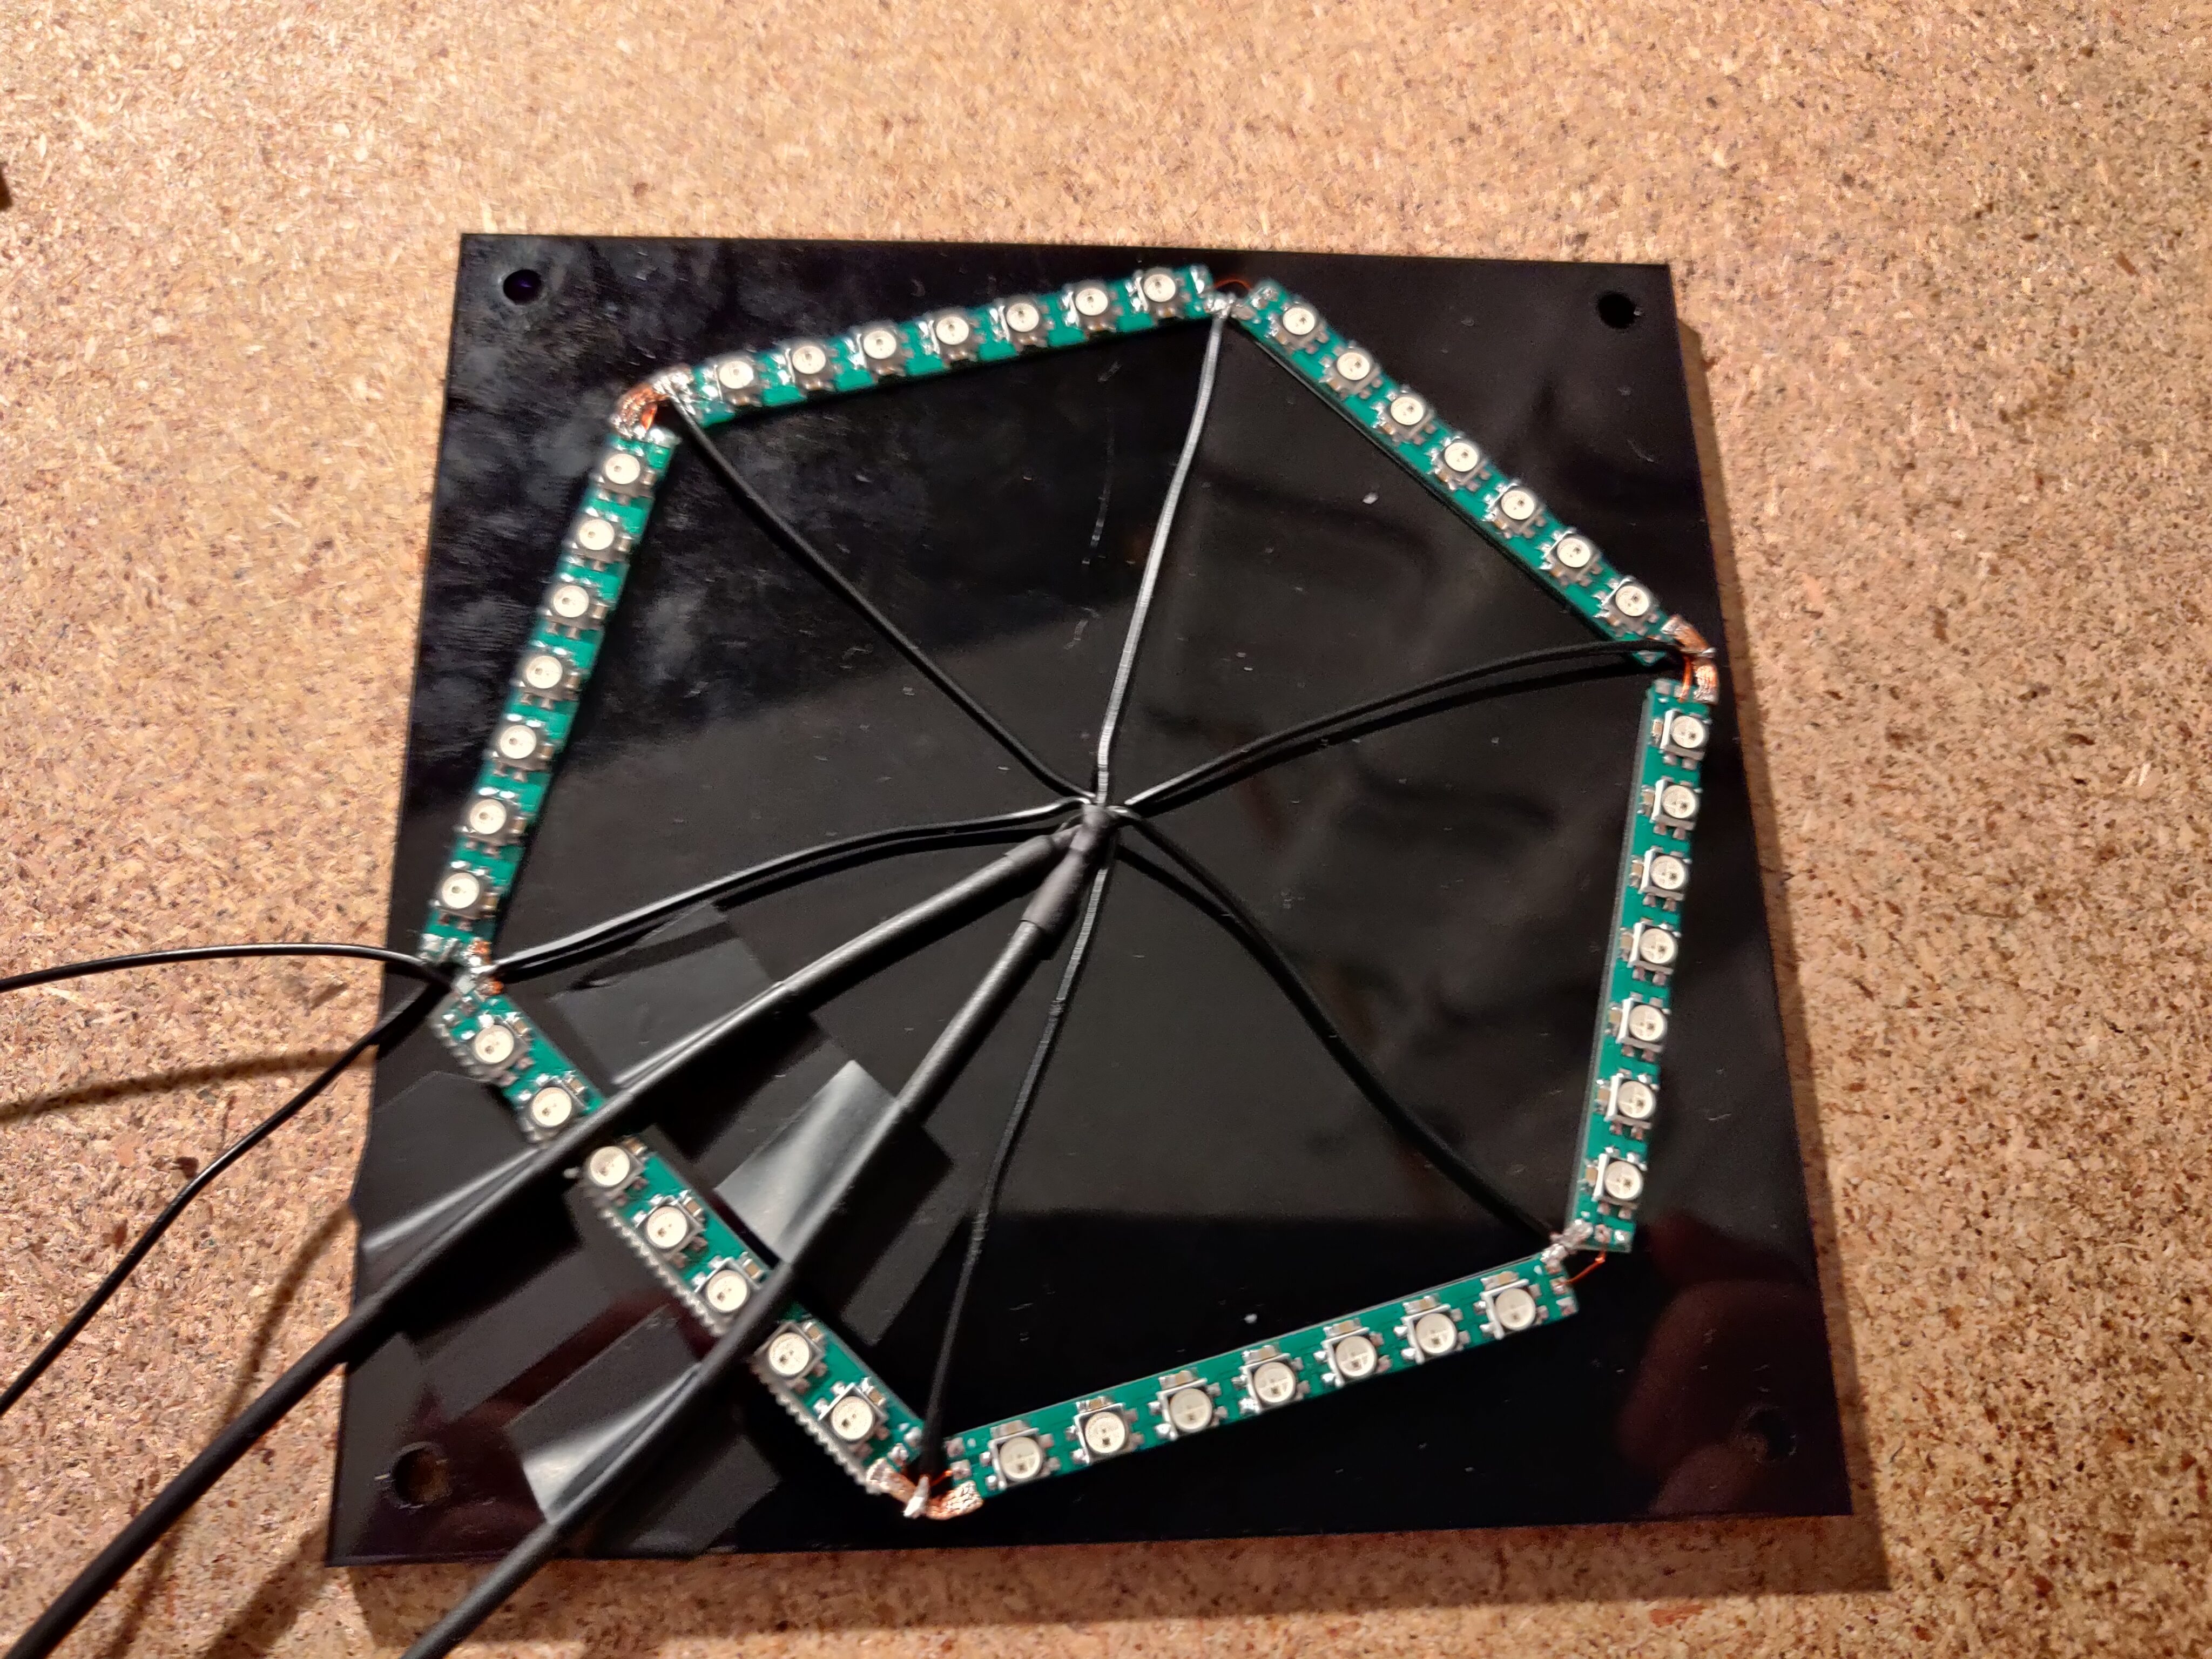
Some of the bars were connected into straight sections as shown (three for the reservoir, four for the front wall, and 3+1 for the left wall), and the remaining six were arranged into a hexagon for the shelf accent light.
For the acrylic panel edge lighting, the corresponding LED bars were mounted on the decorative corner profiles, where I had left some space for them in the design.
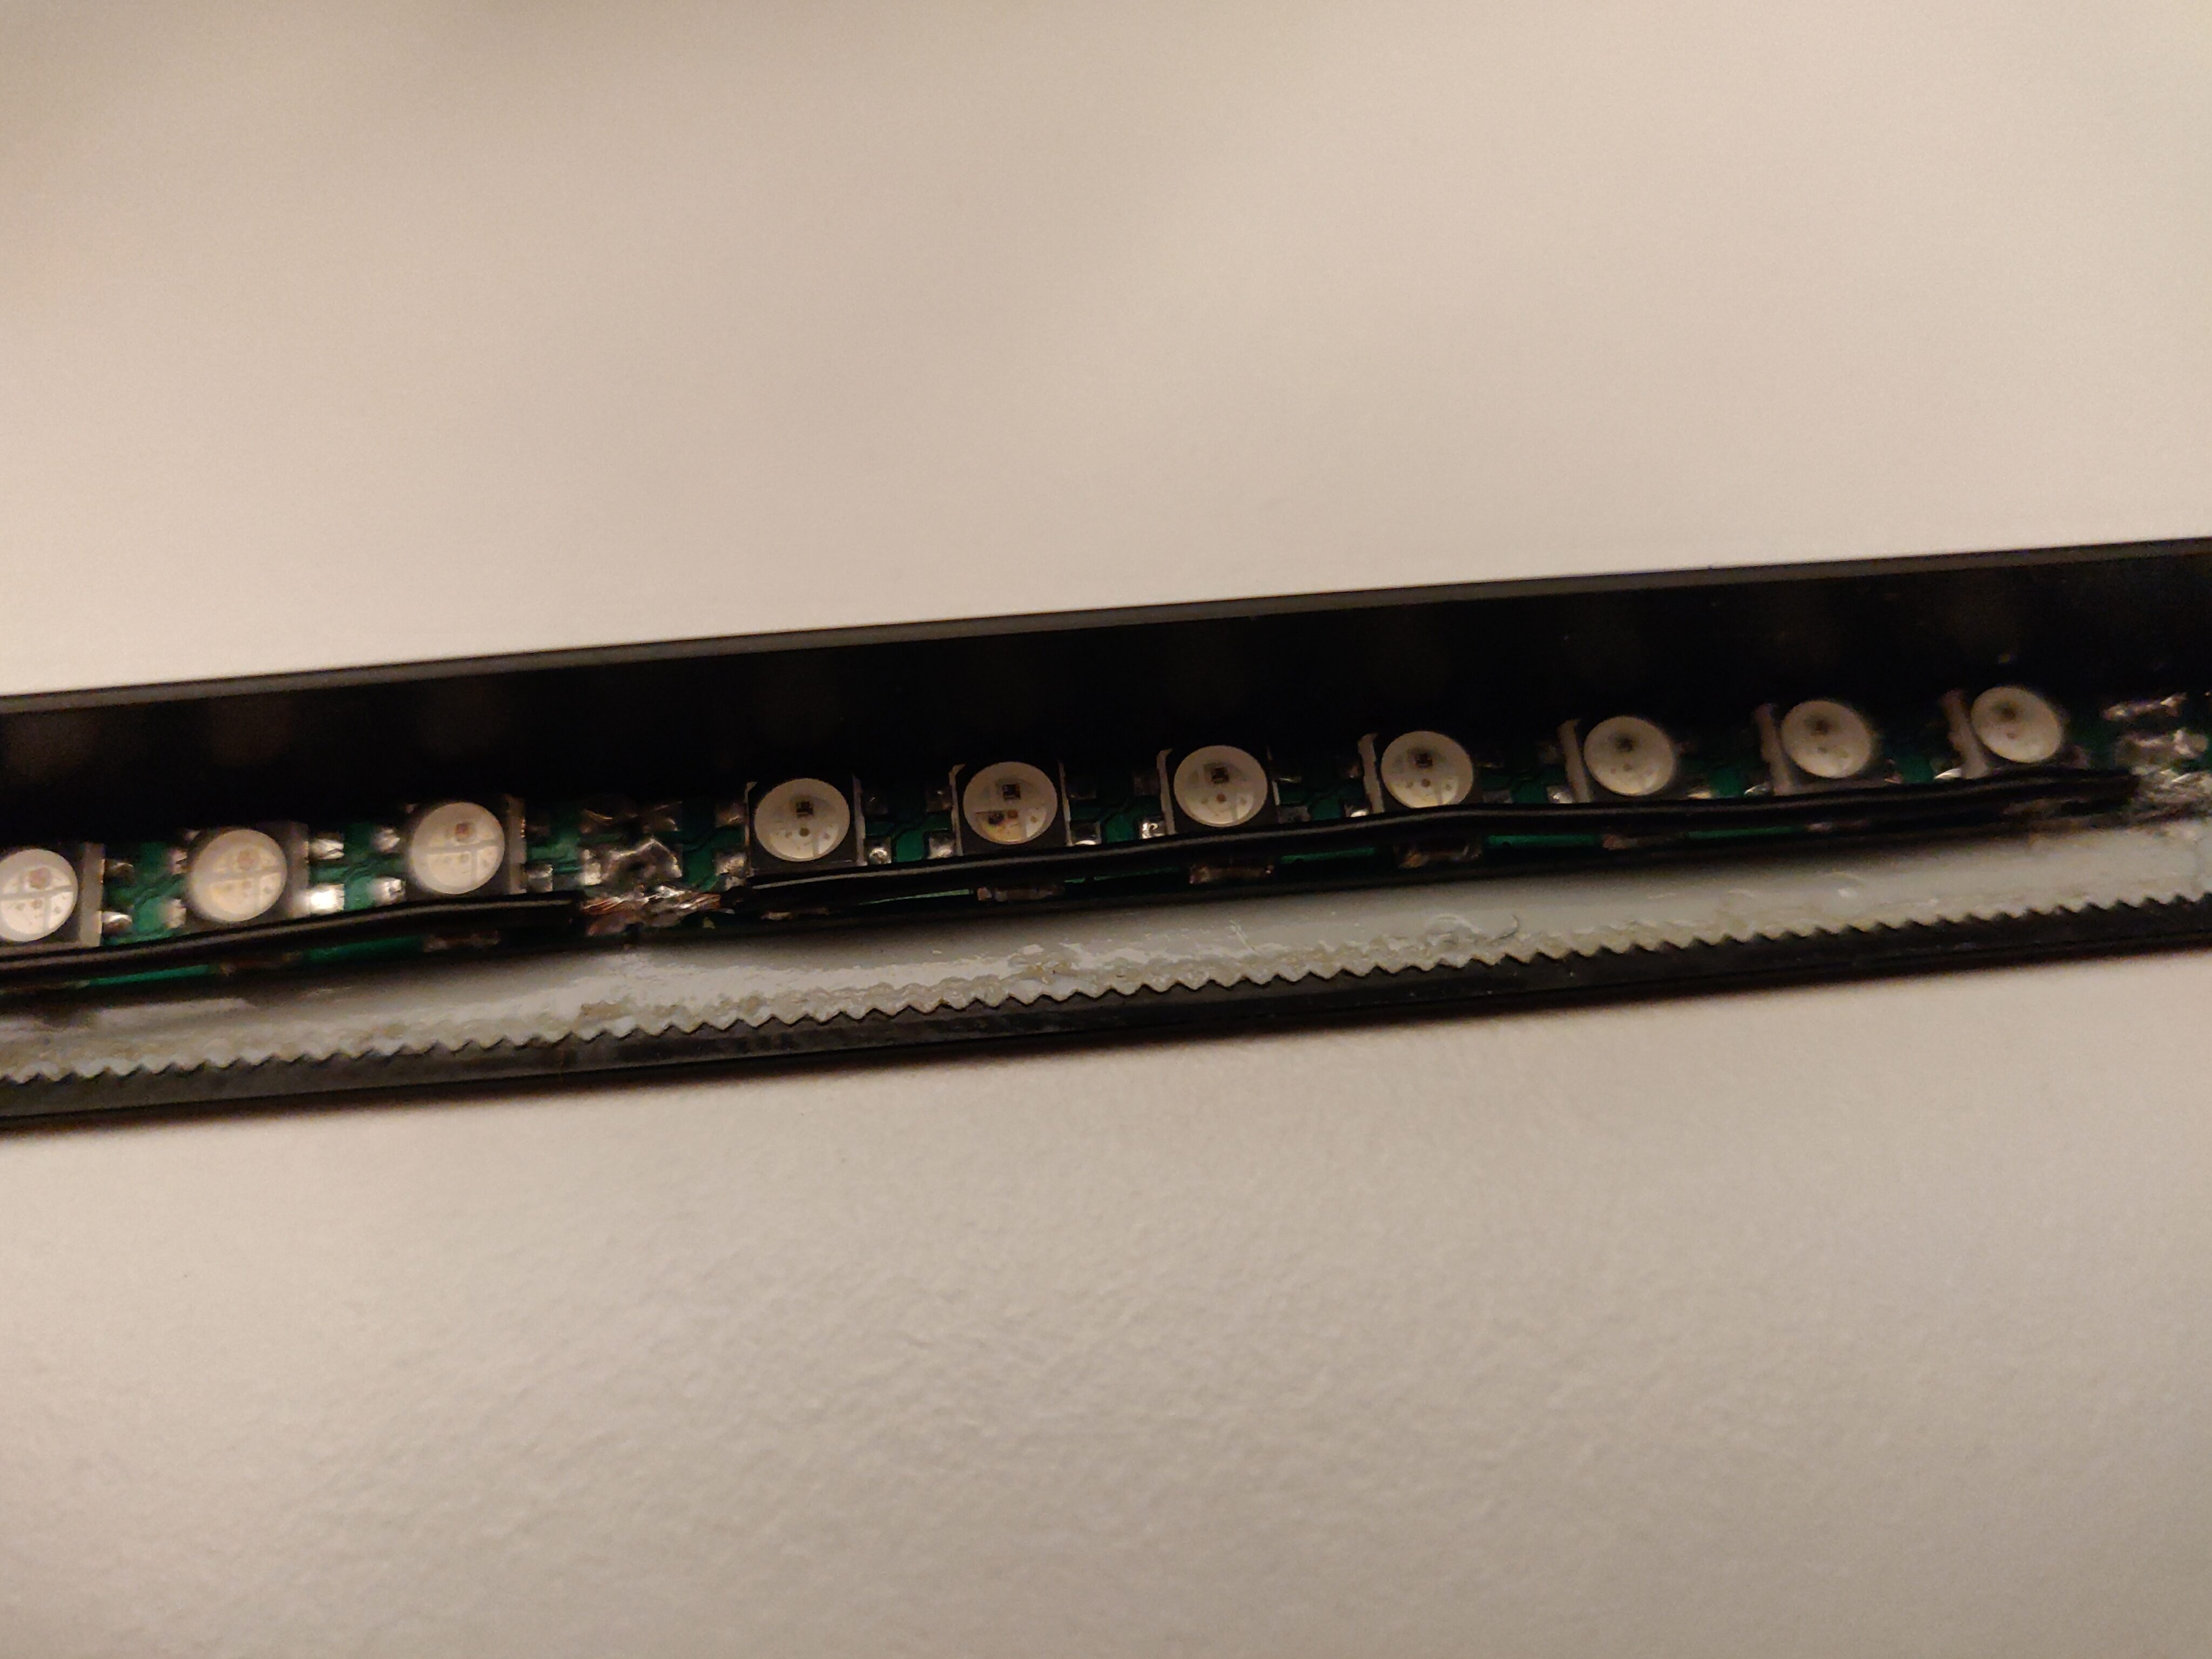
In order to test and confirm that all of my LEDs work, I used an independent addressable LED controller.
I particularly loved the edge-lit engraved design immediately – that was a really good design choice.
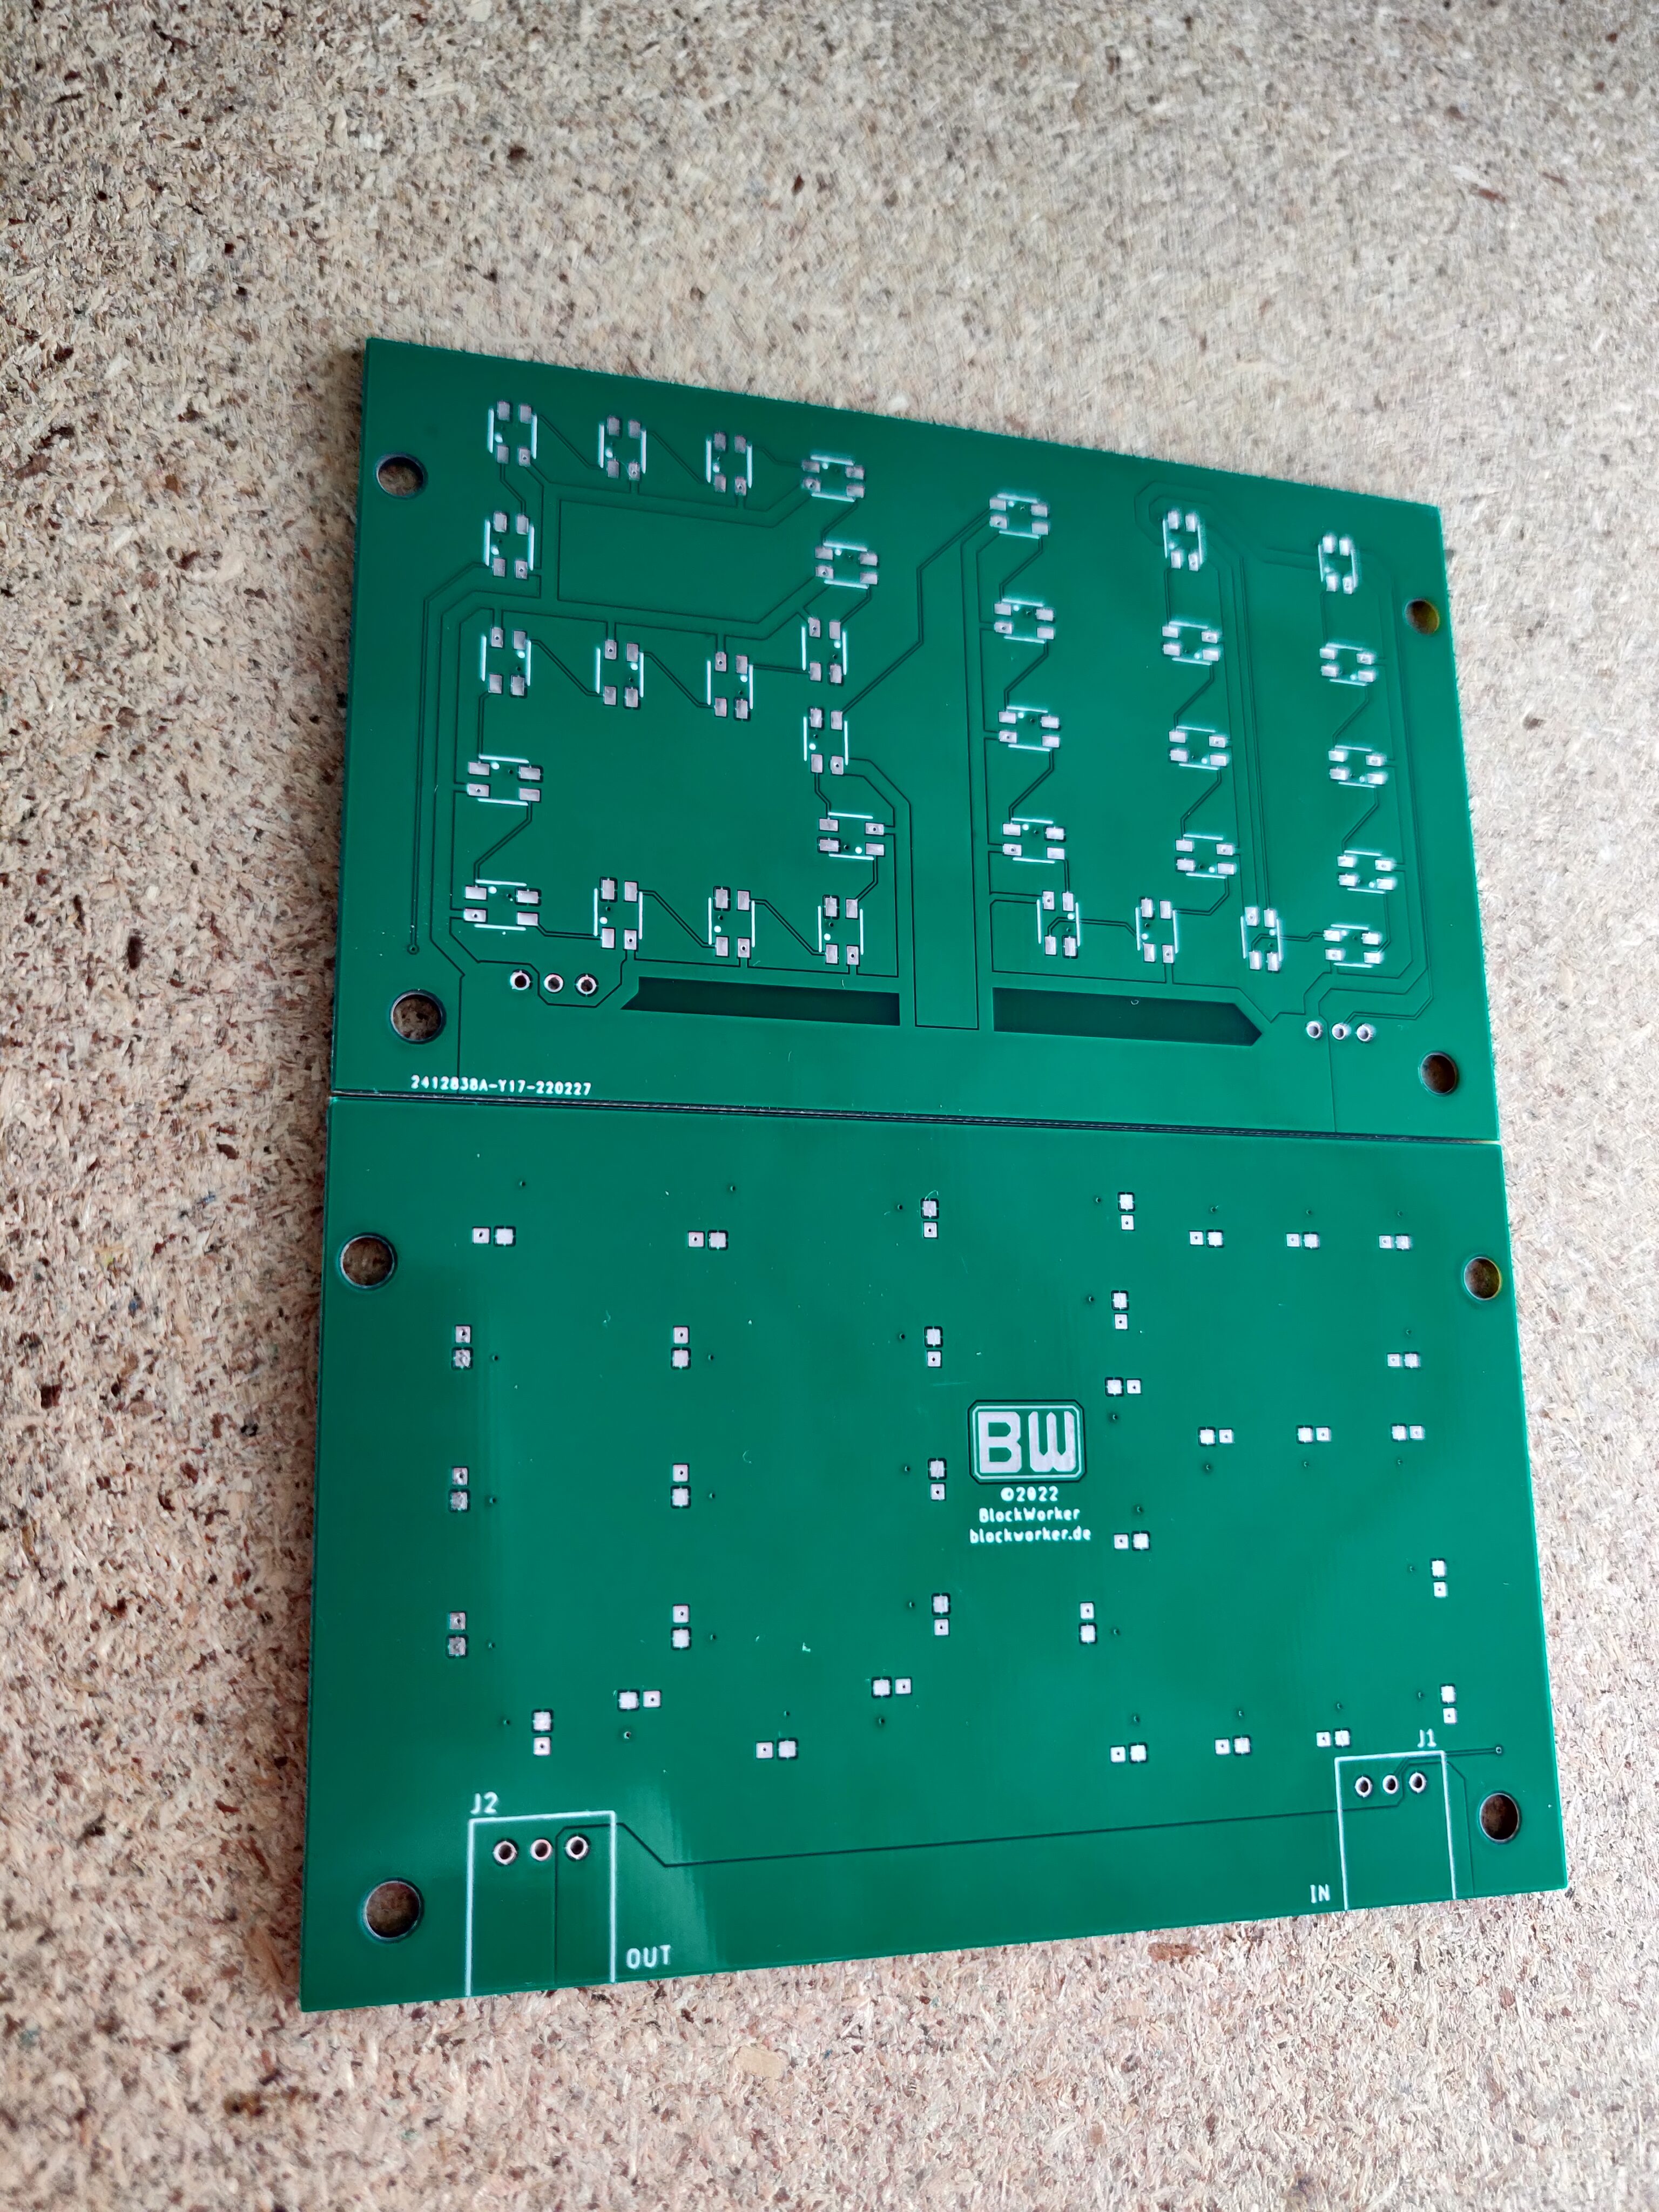
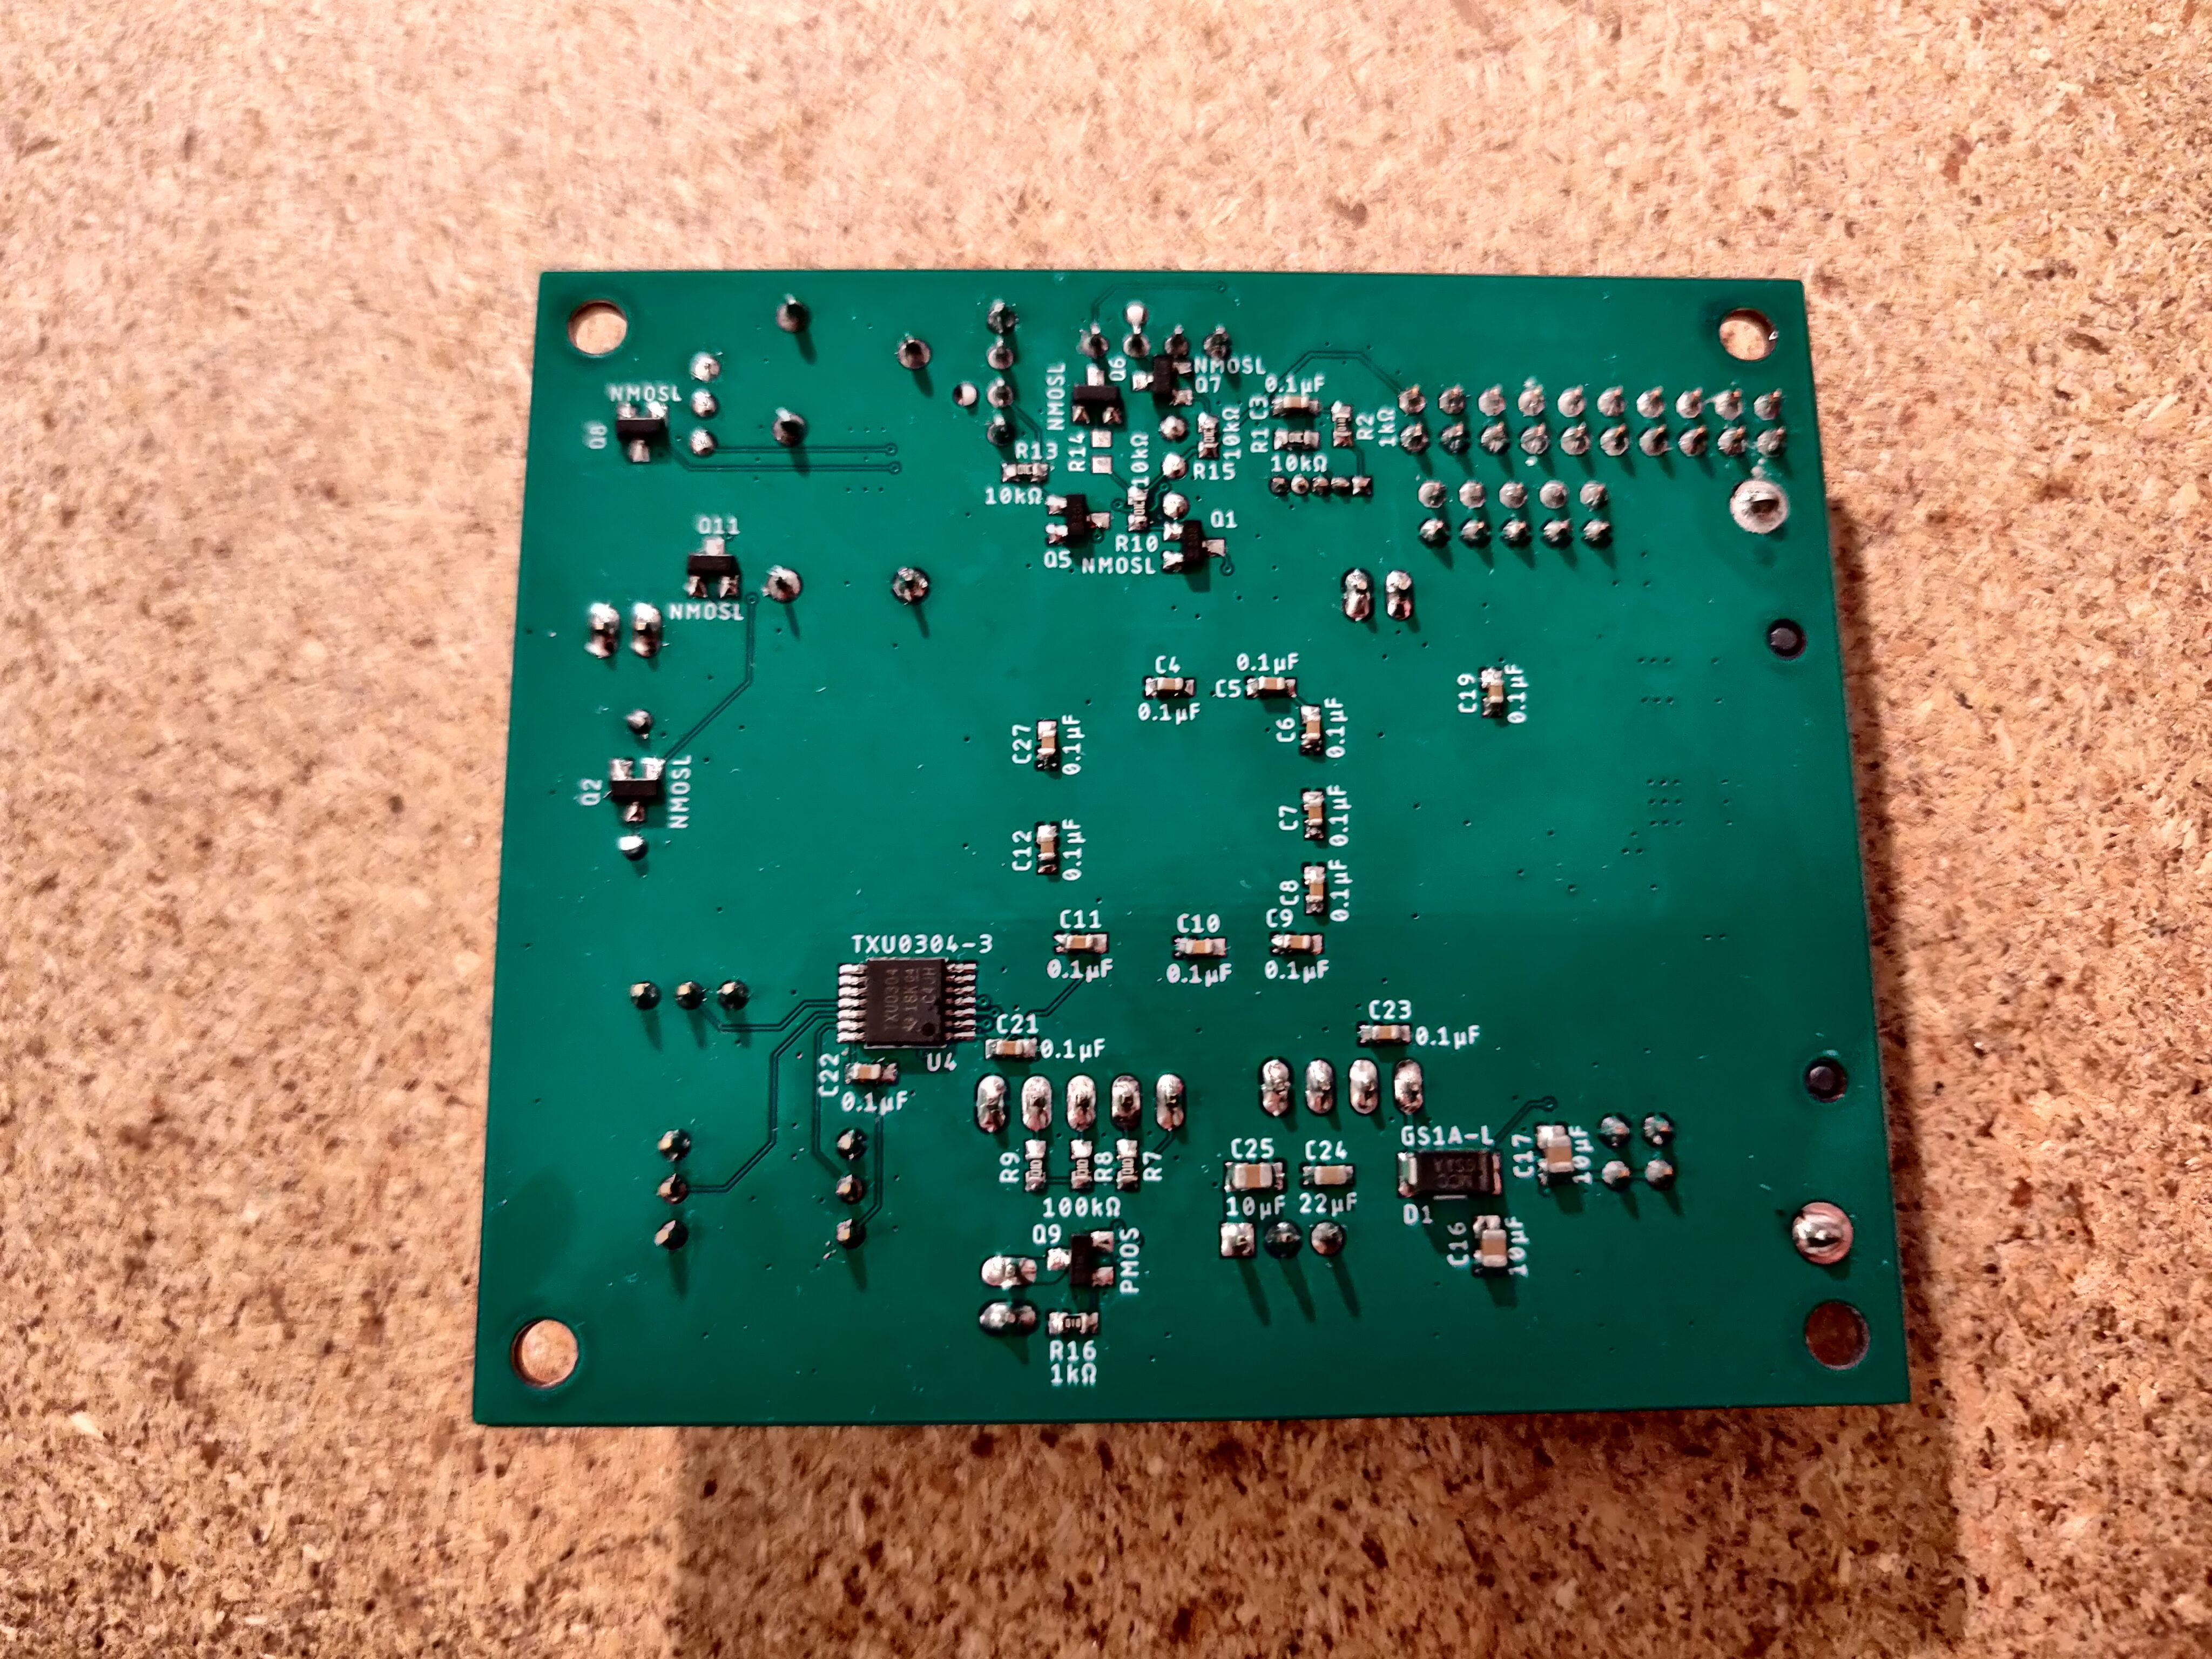
Finally, it was time for the controller PCB. I checked out the original version I ordered, which looked great… until I noticed a big mistake: I had accidentally used the wrong footprint version for the main microcontroller.
Another order and some waiting later, I got the corrected version, allowing me to start assembling it.
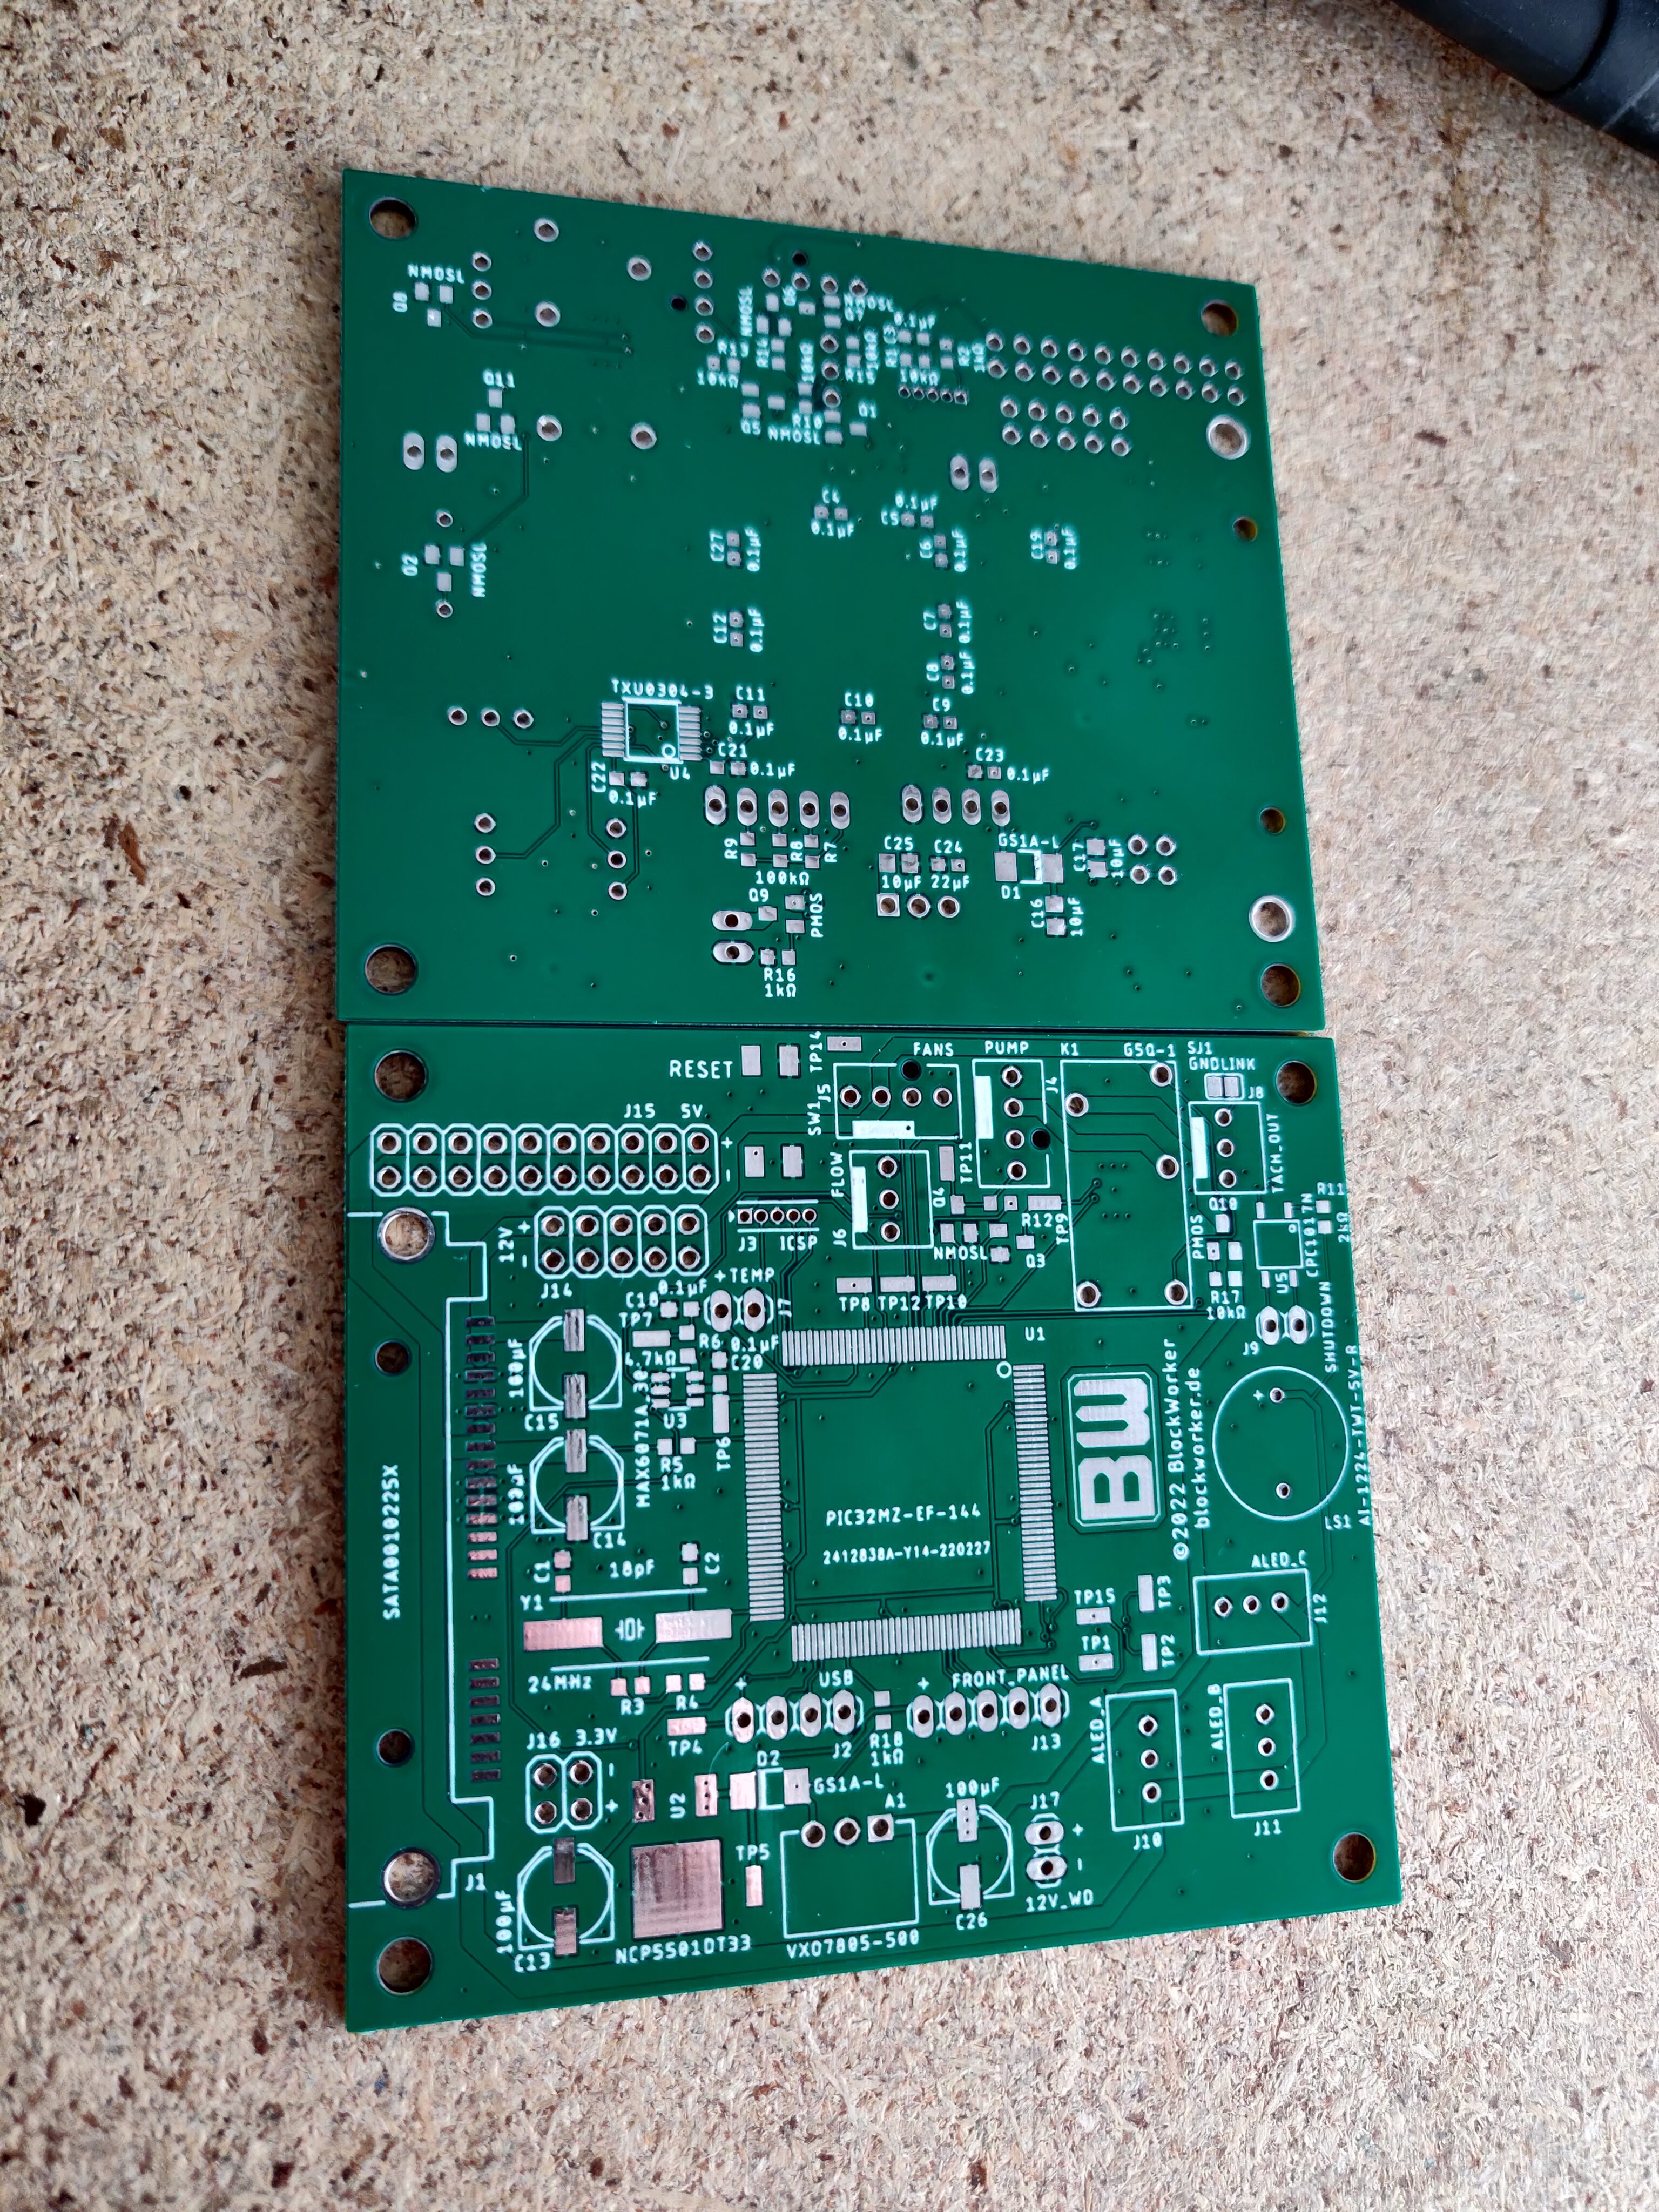
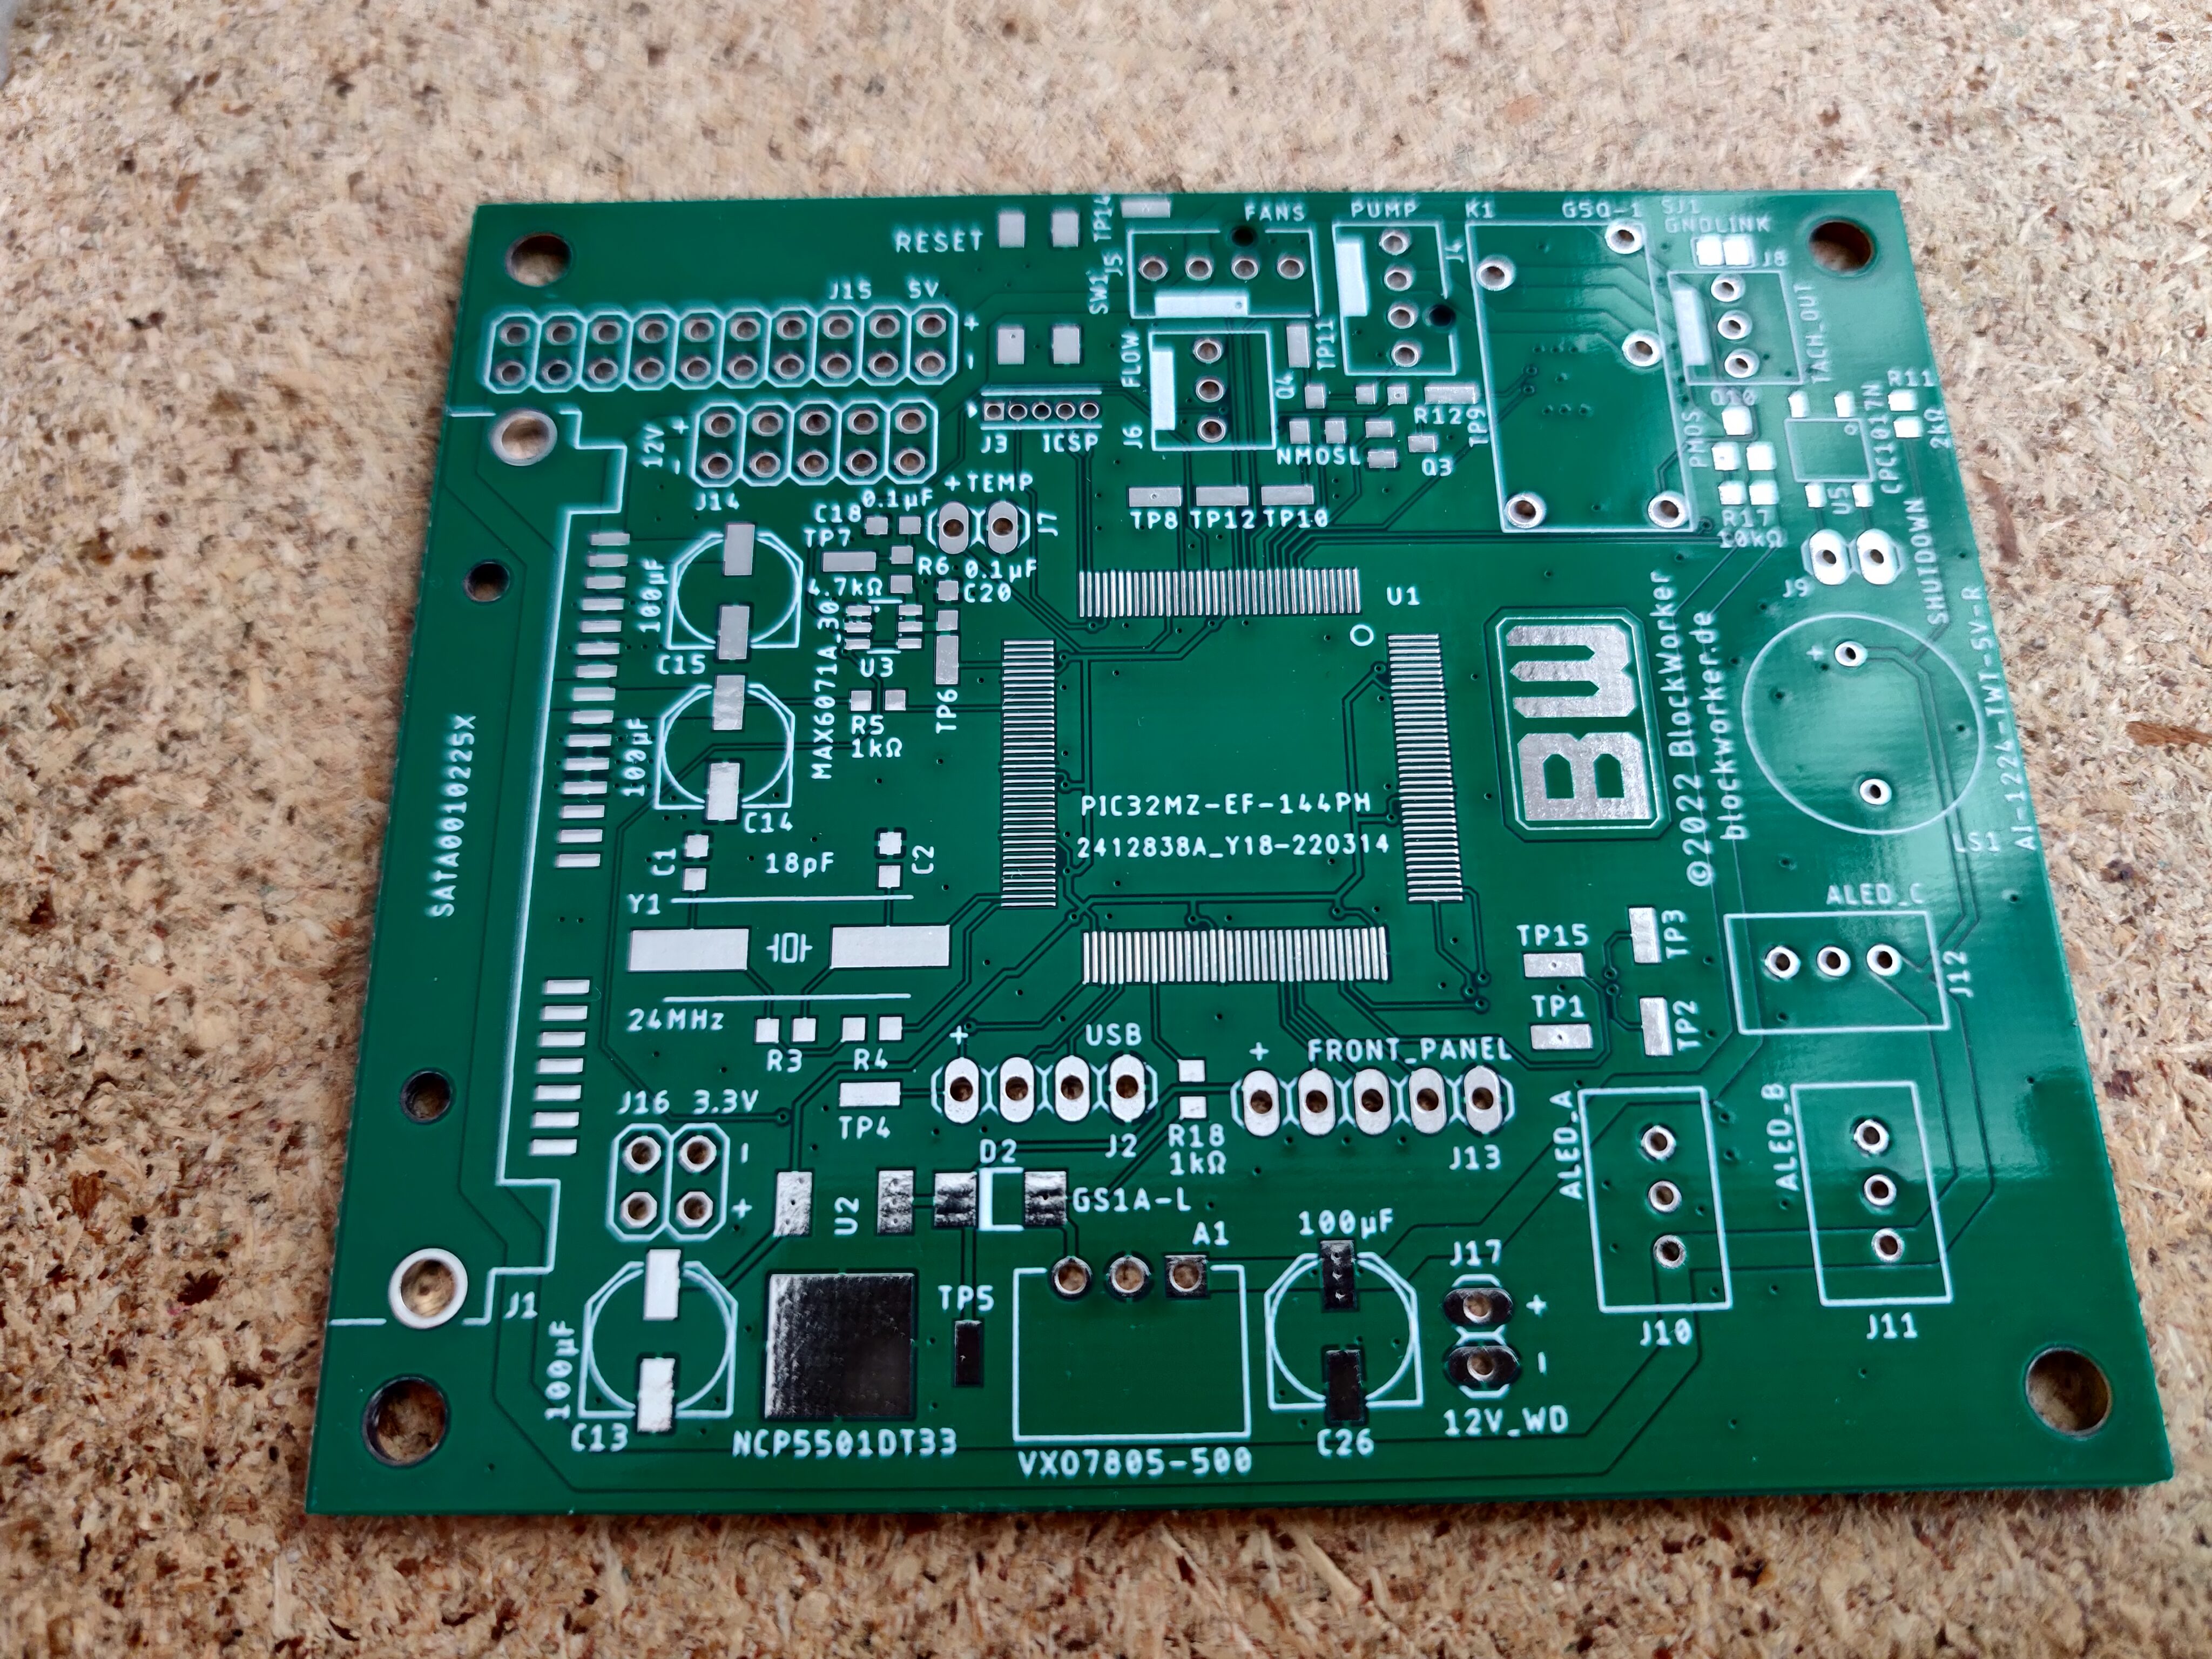
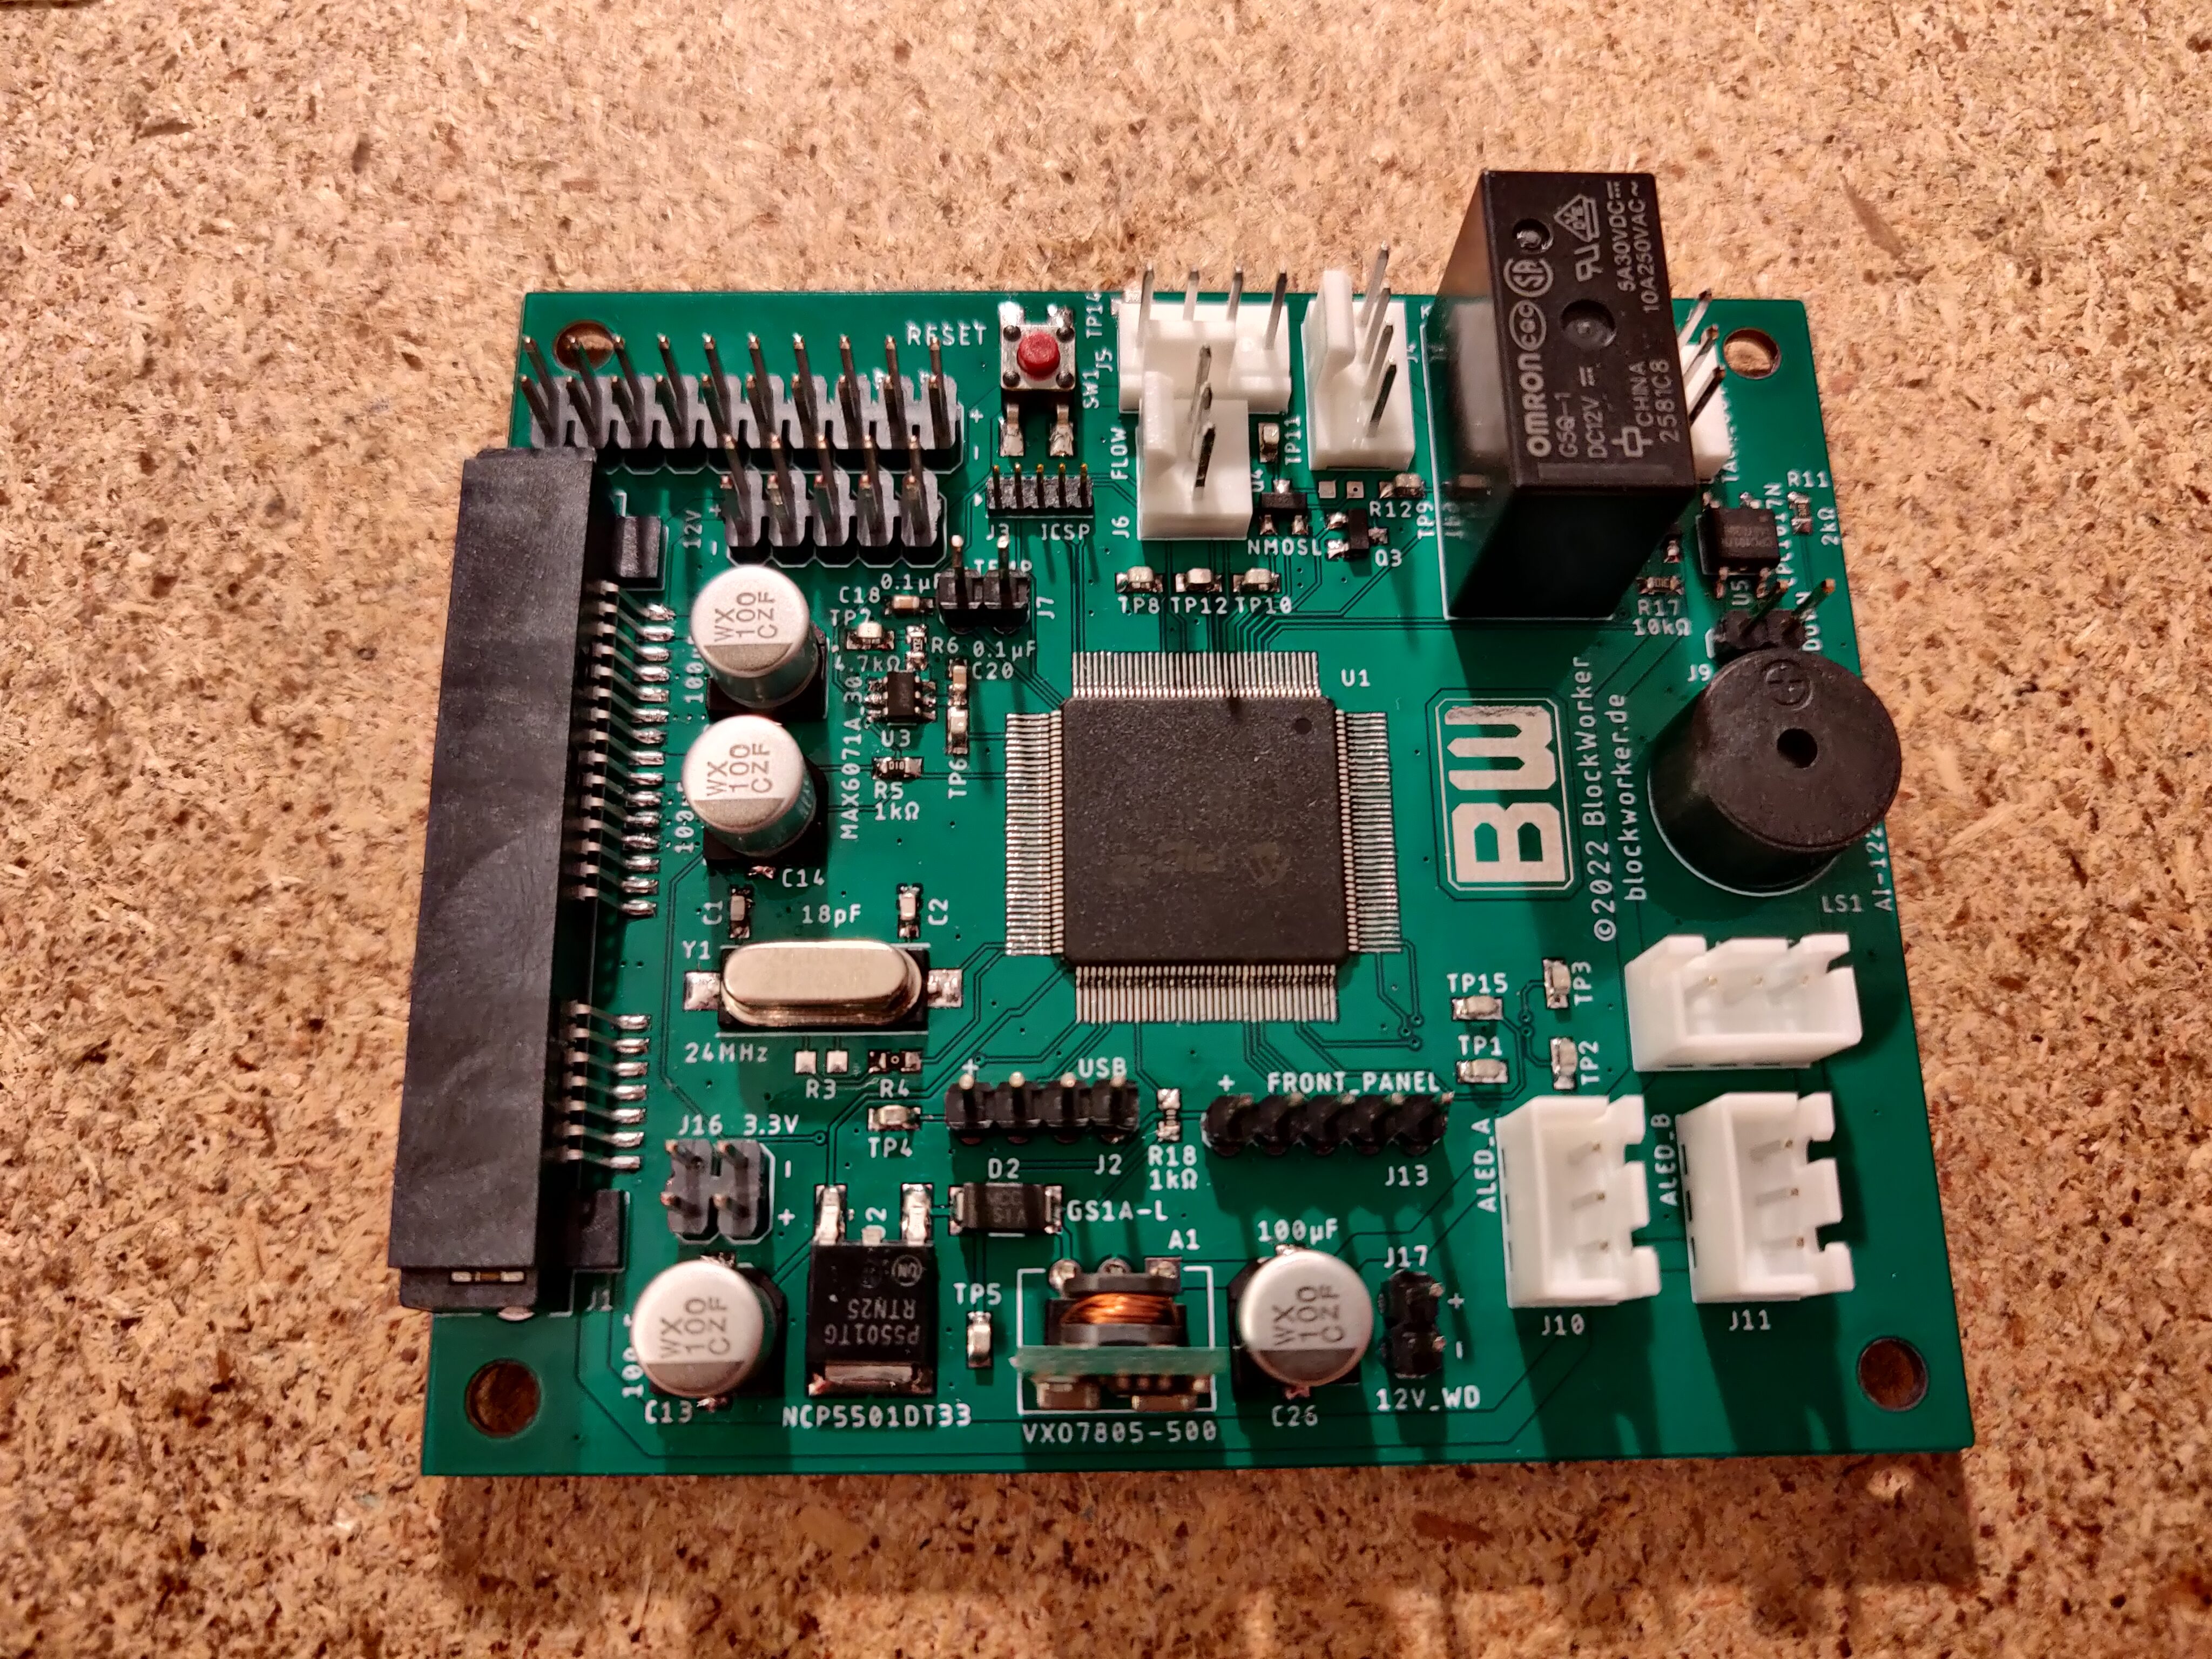
The assembly process was essentially the same as in my past projects (starting with “difficult” fine-pitch parts, working my way up to bigger/easier ones, while keeping track of which parts may block soldering access to others).
Therefore, I won’t show it in detail here. The finished board looked quite nice though.
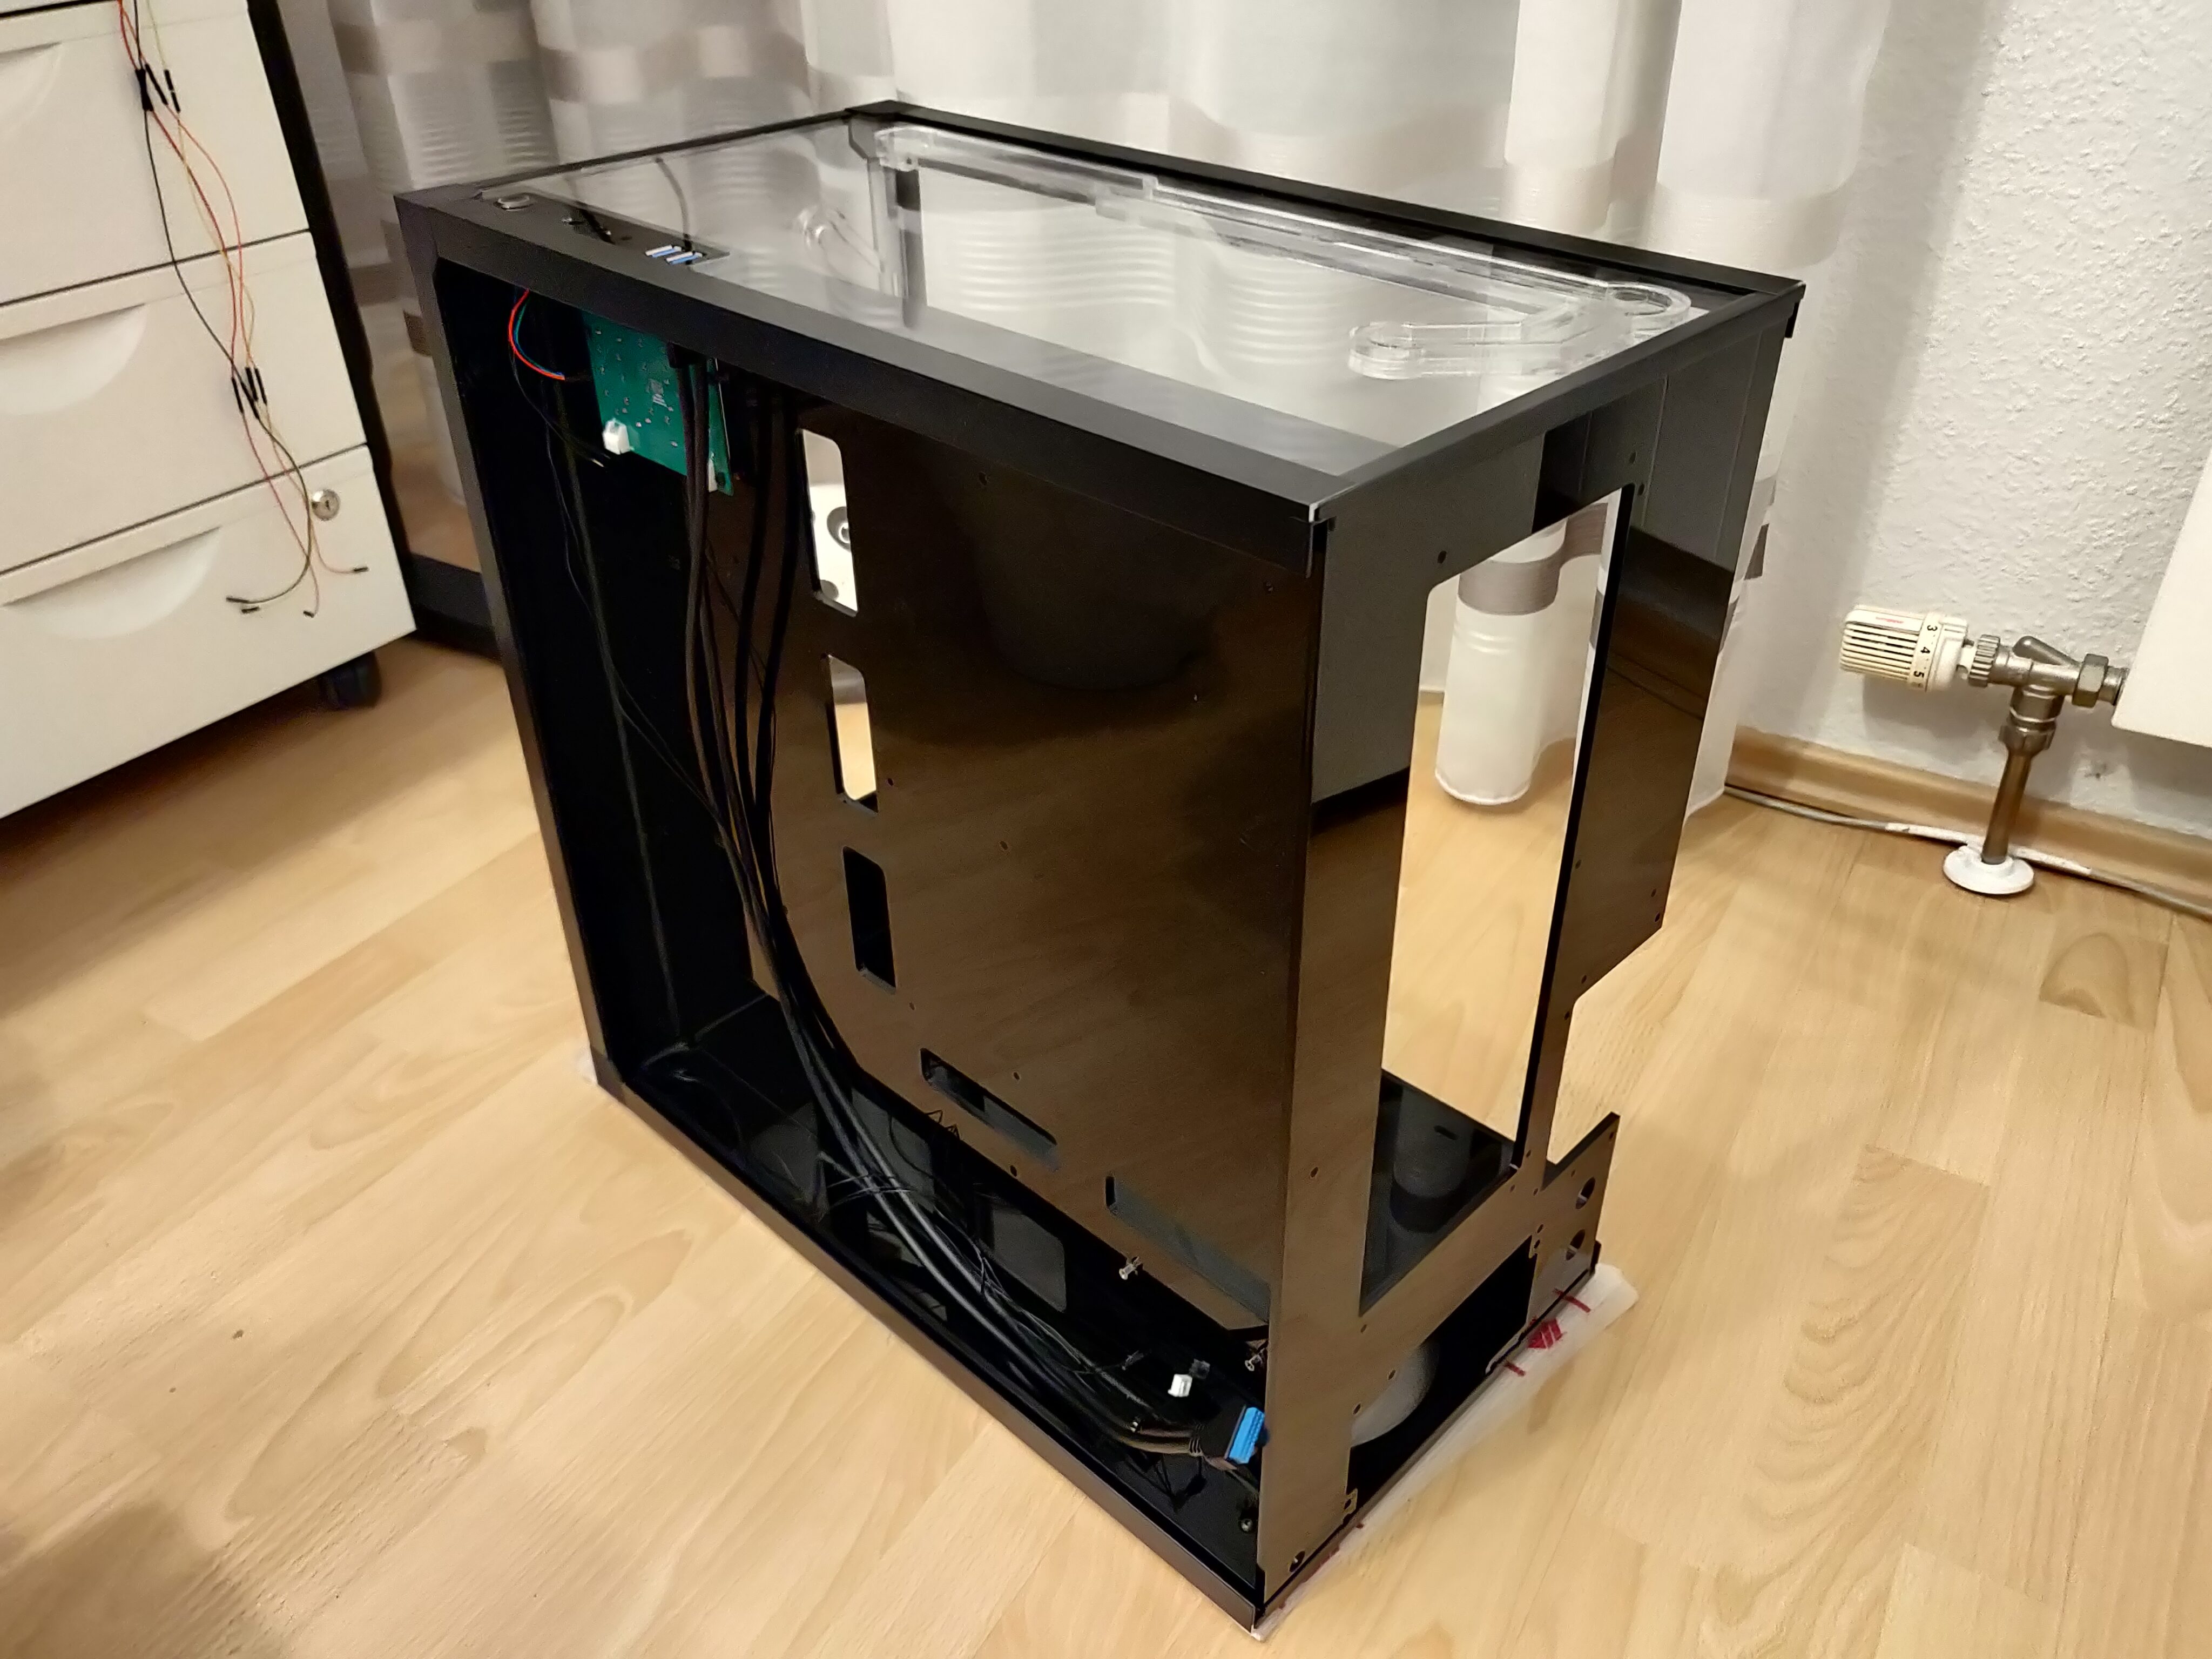
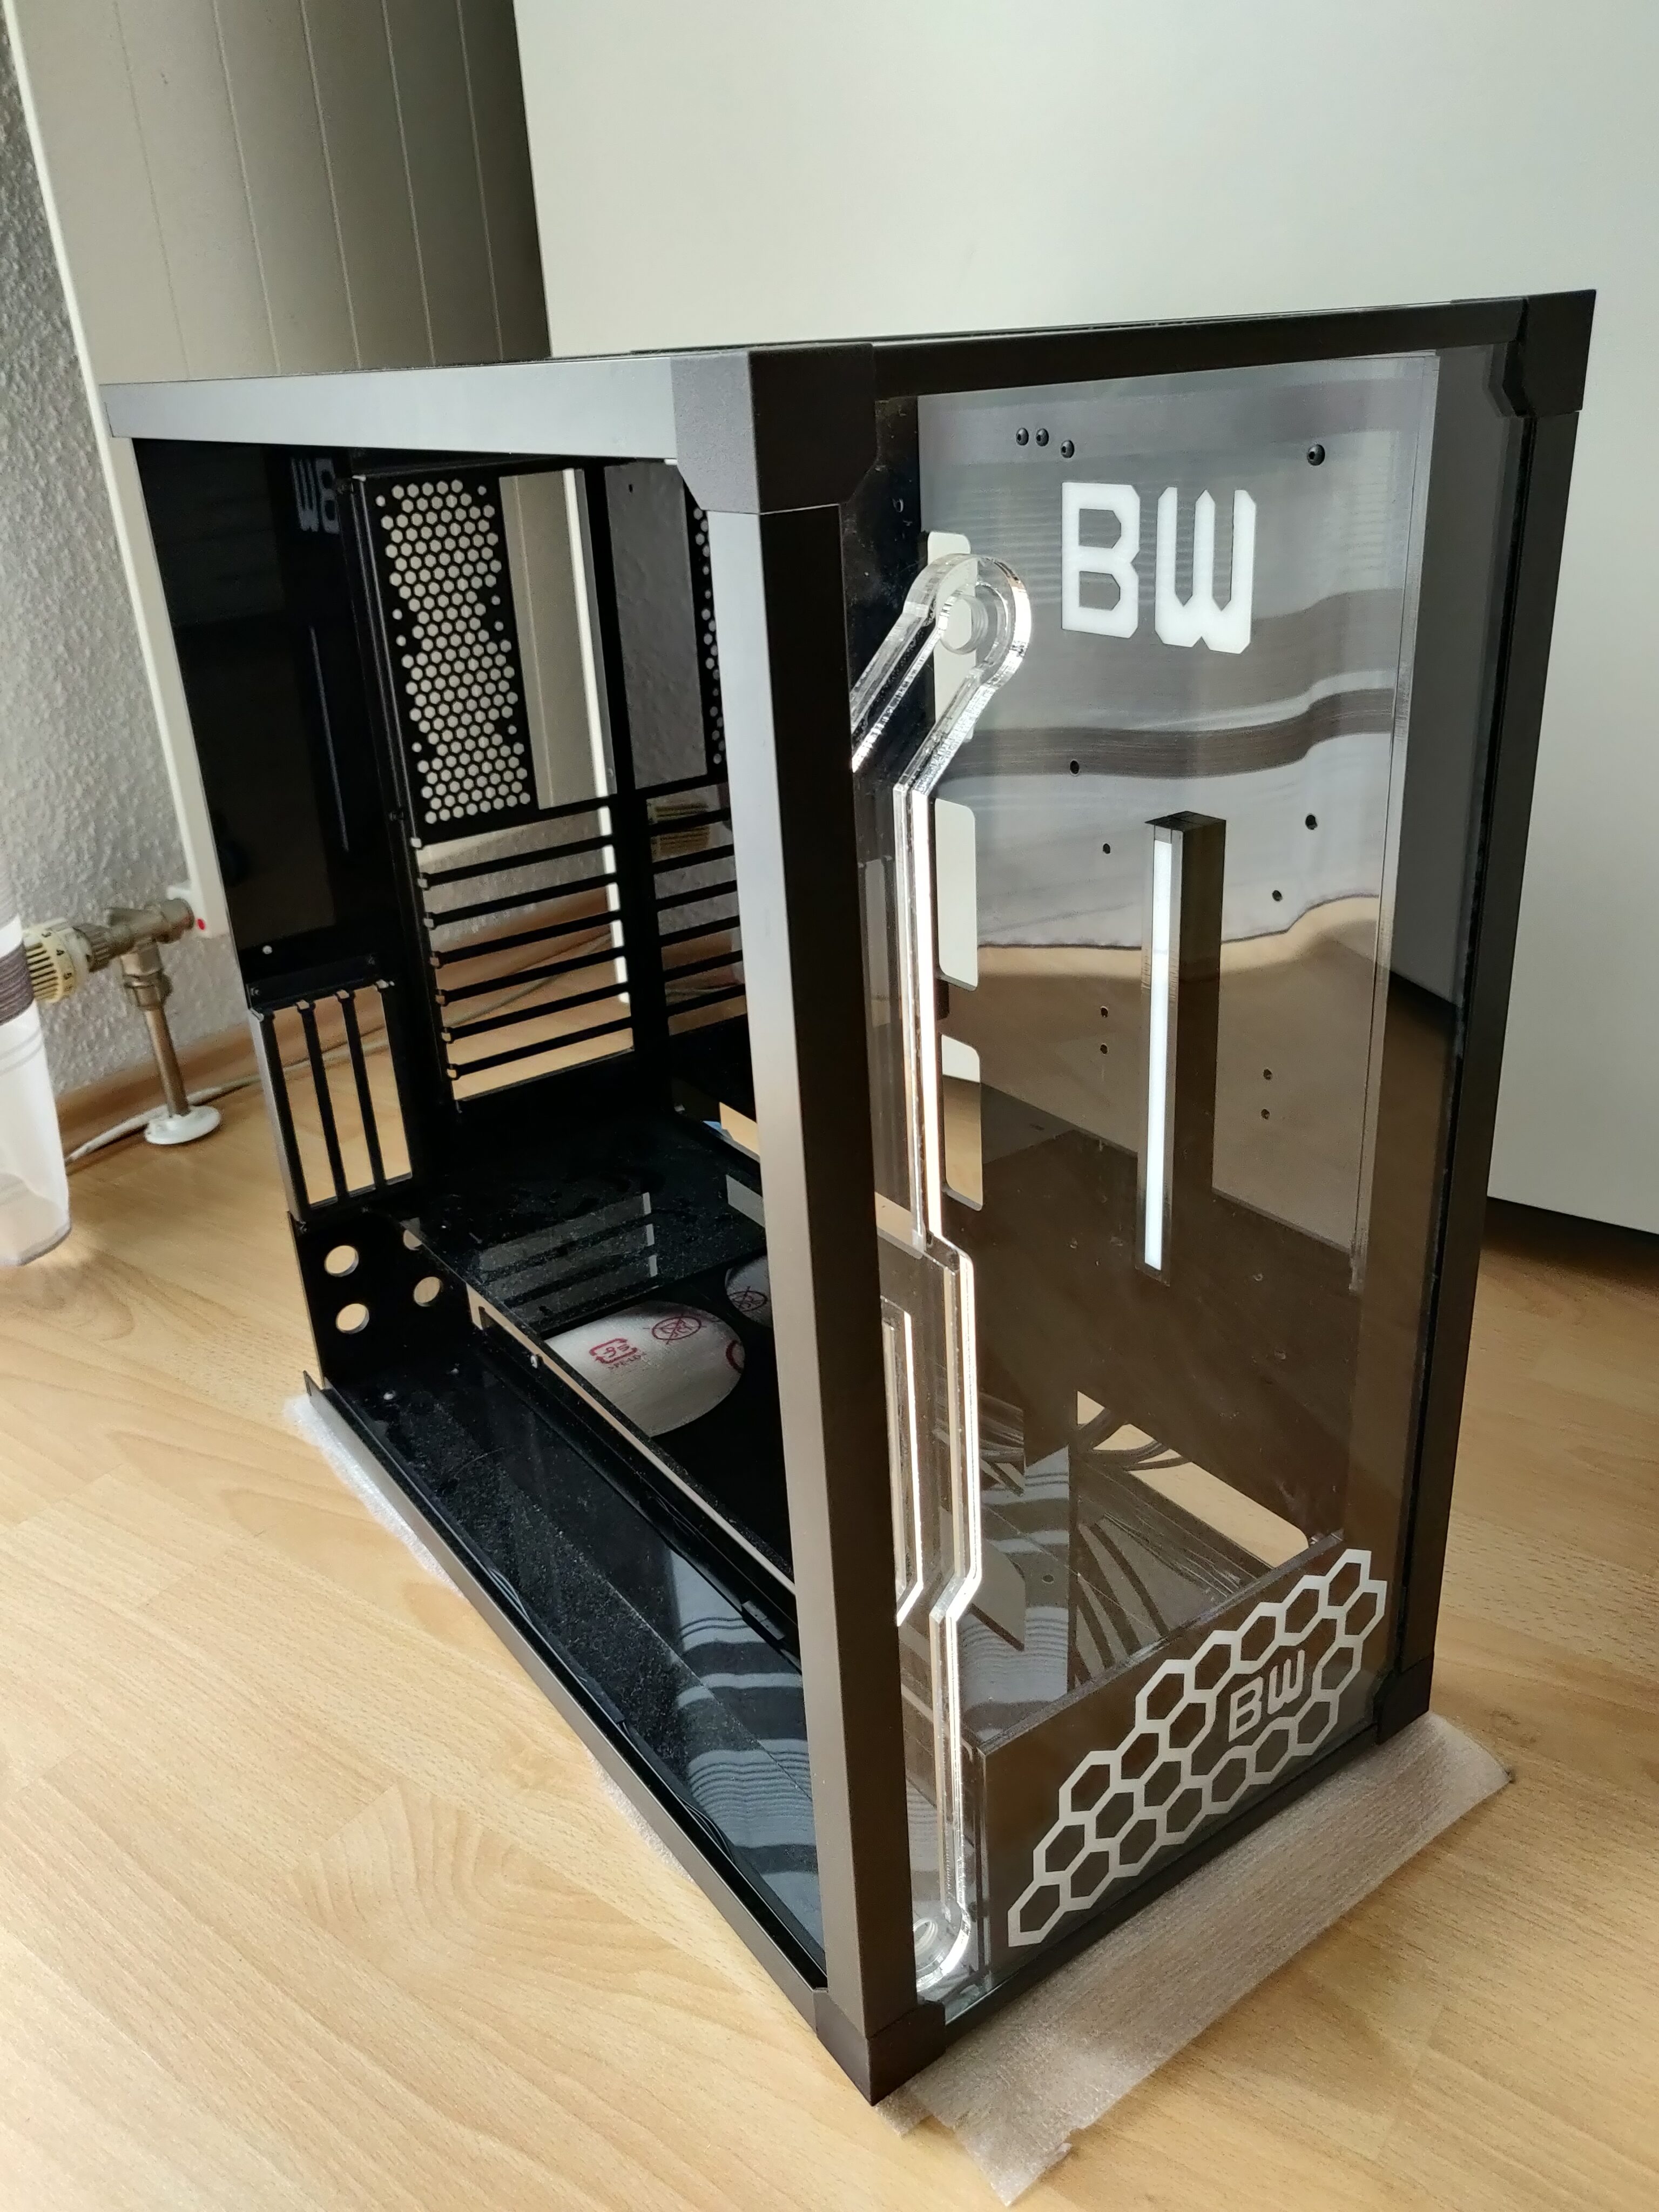
With part of the front panel, LEDs, and corner profiles installed, the case was starting to look more and more complete.
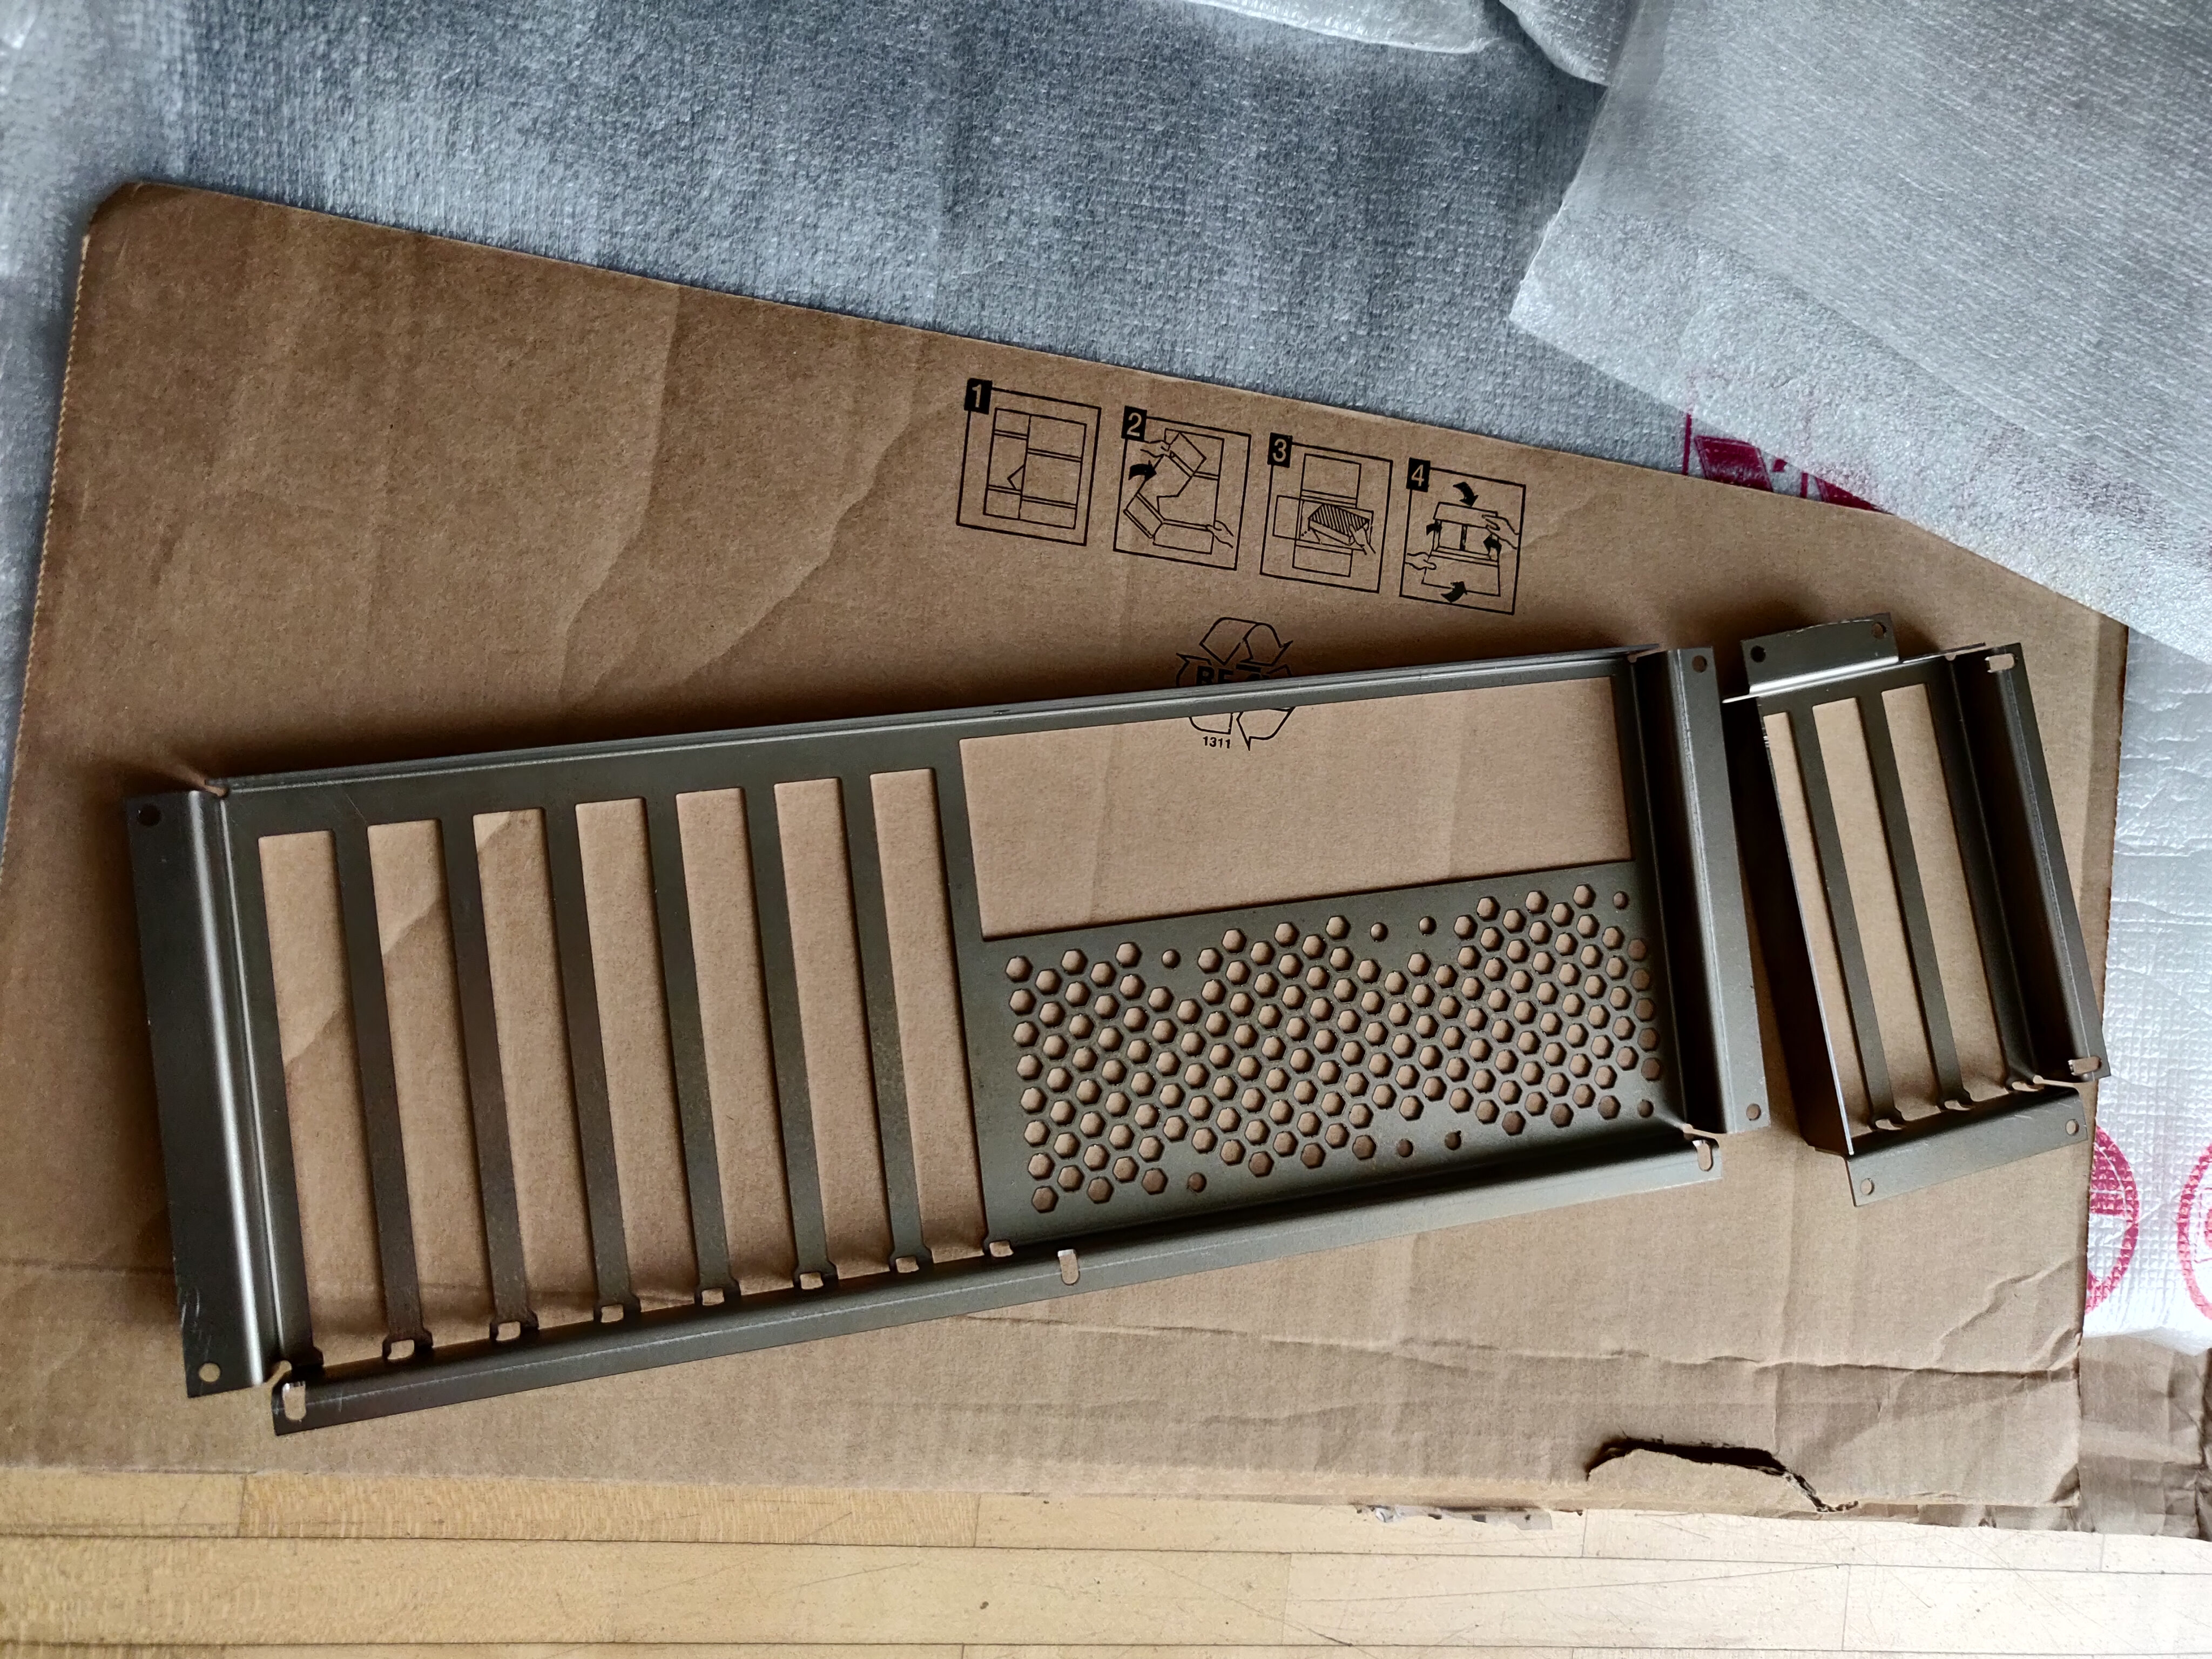
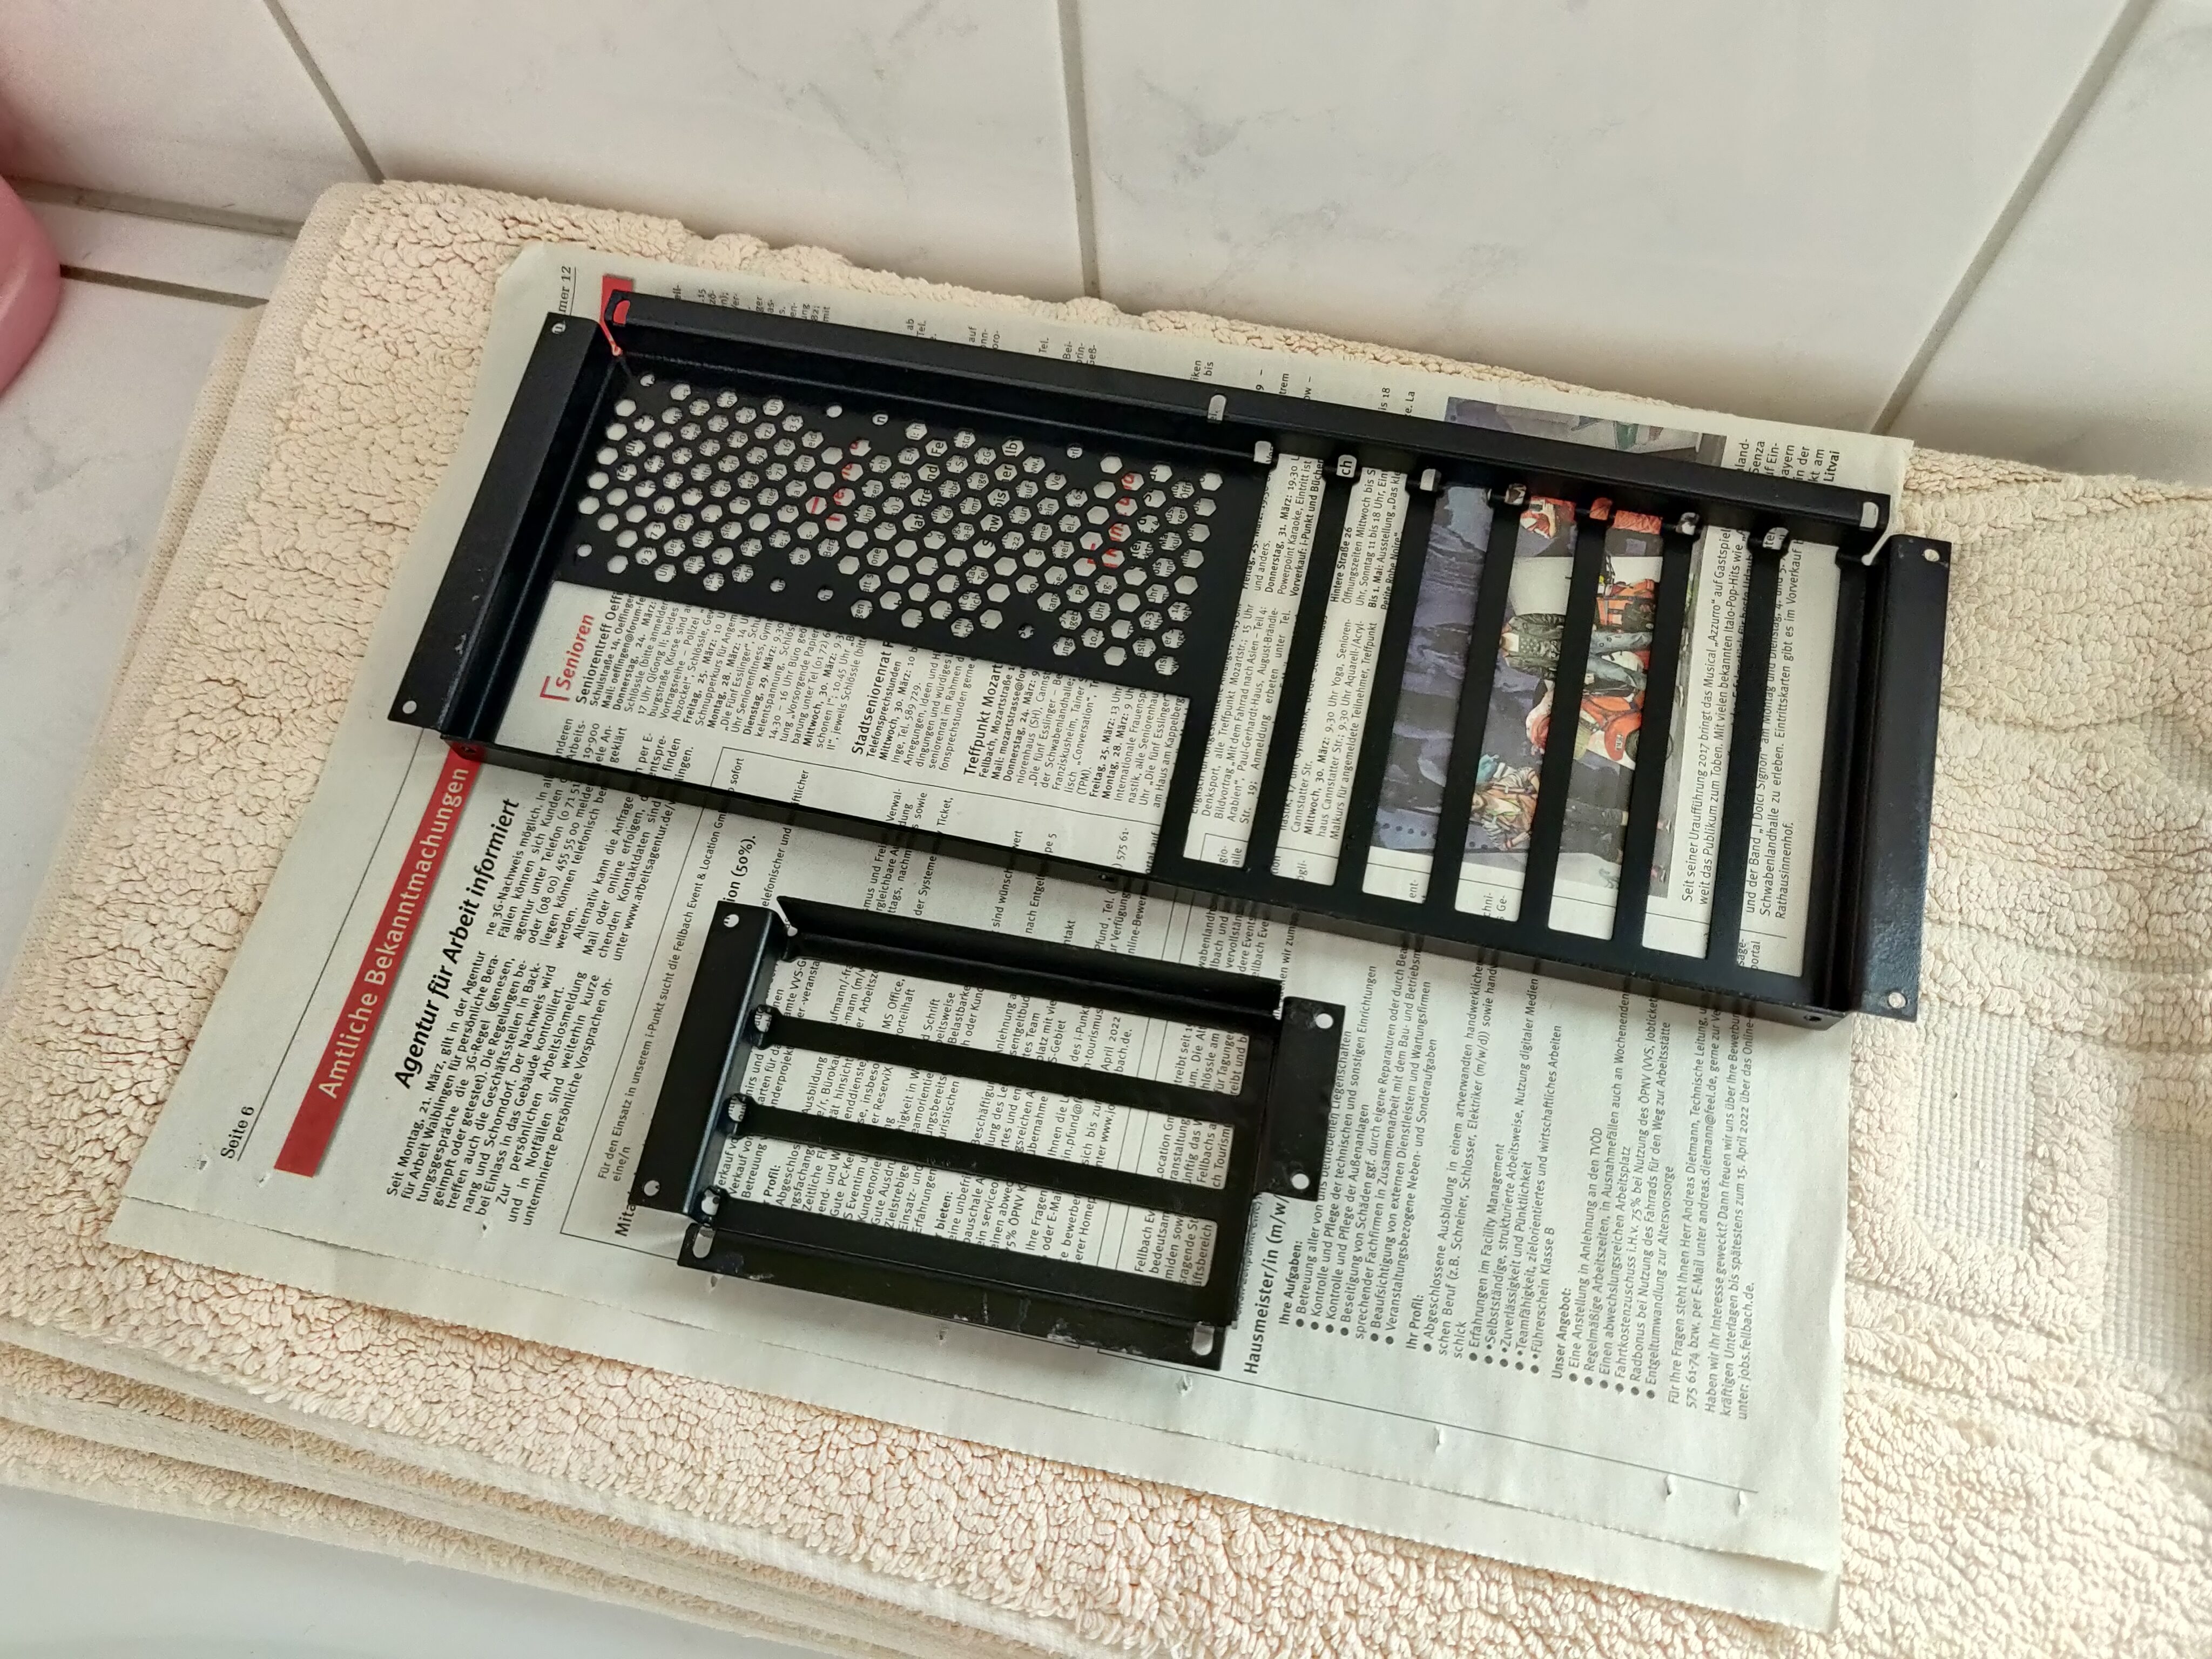
Around this time, I also received the sheet metal parts for the back I/O panels. They looked quite nice from the start, but were made of bare steel – which didn’t fit the case visually, and of course would be quite susceptible to corrosion.
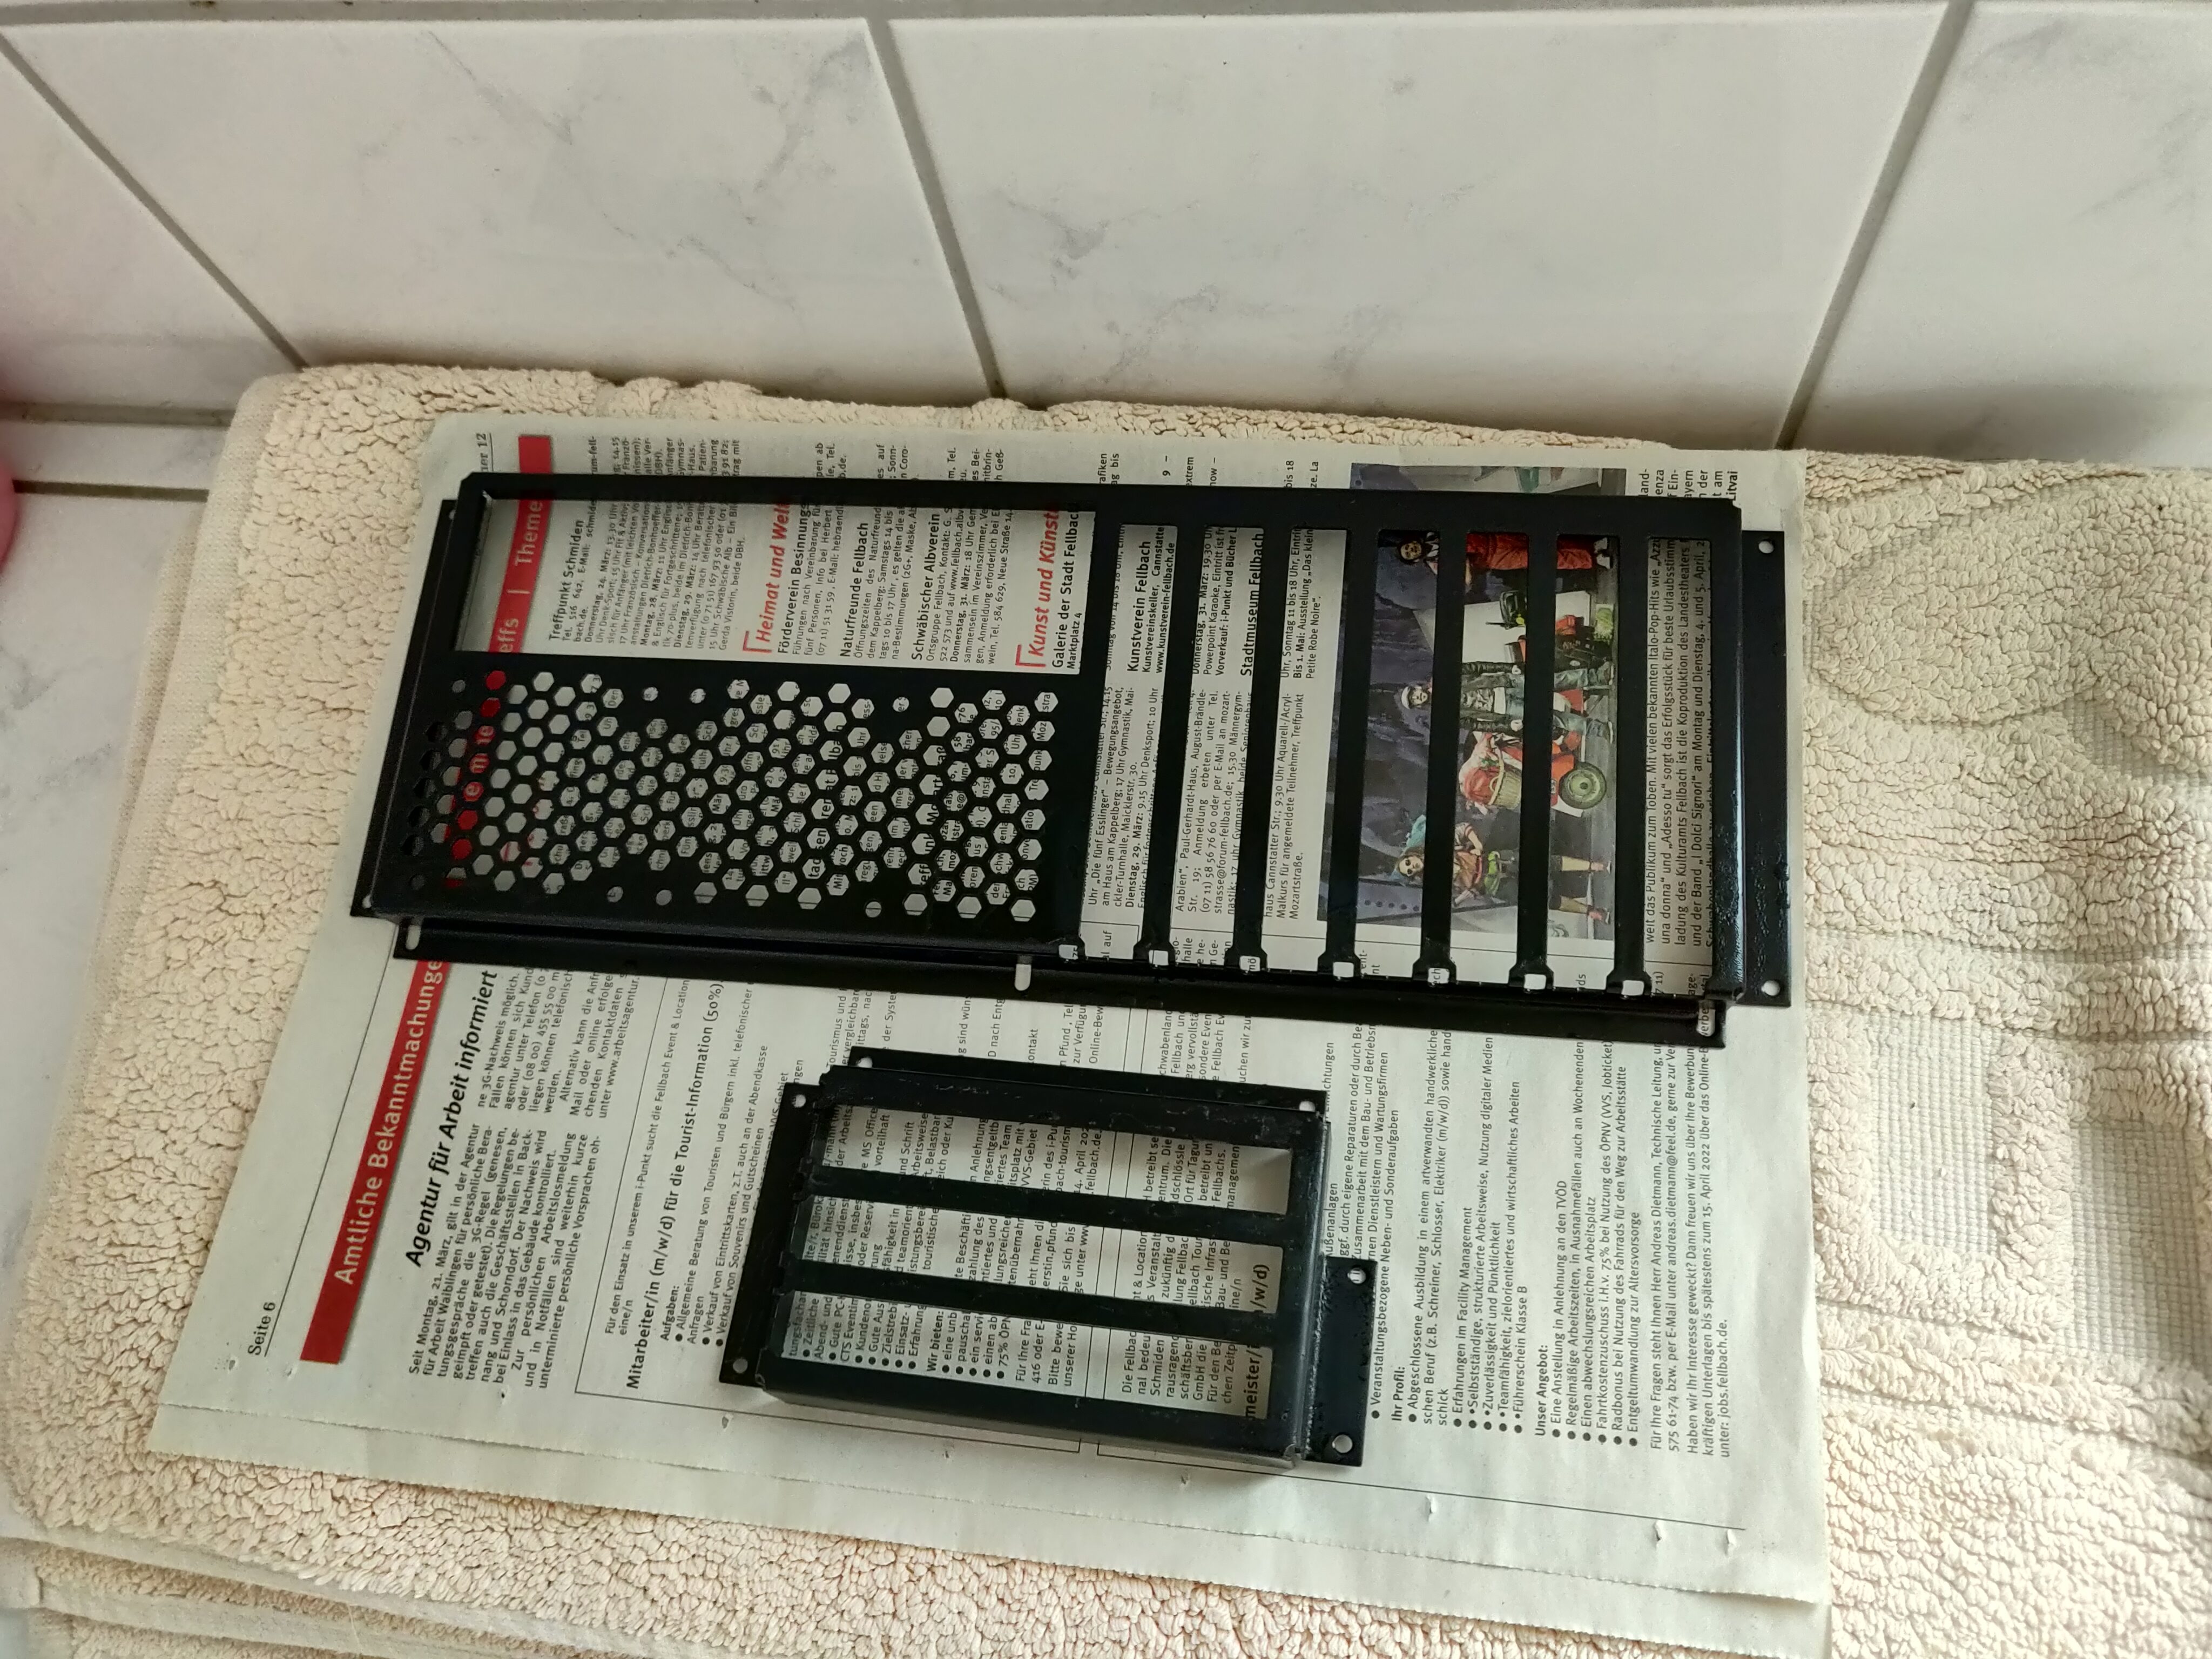
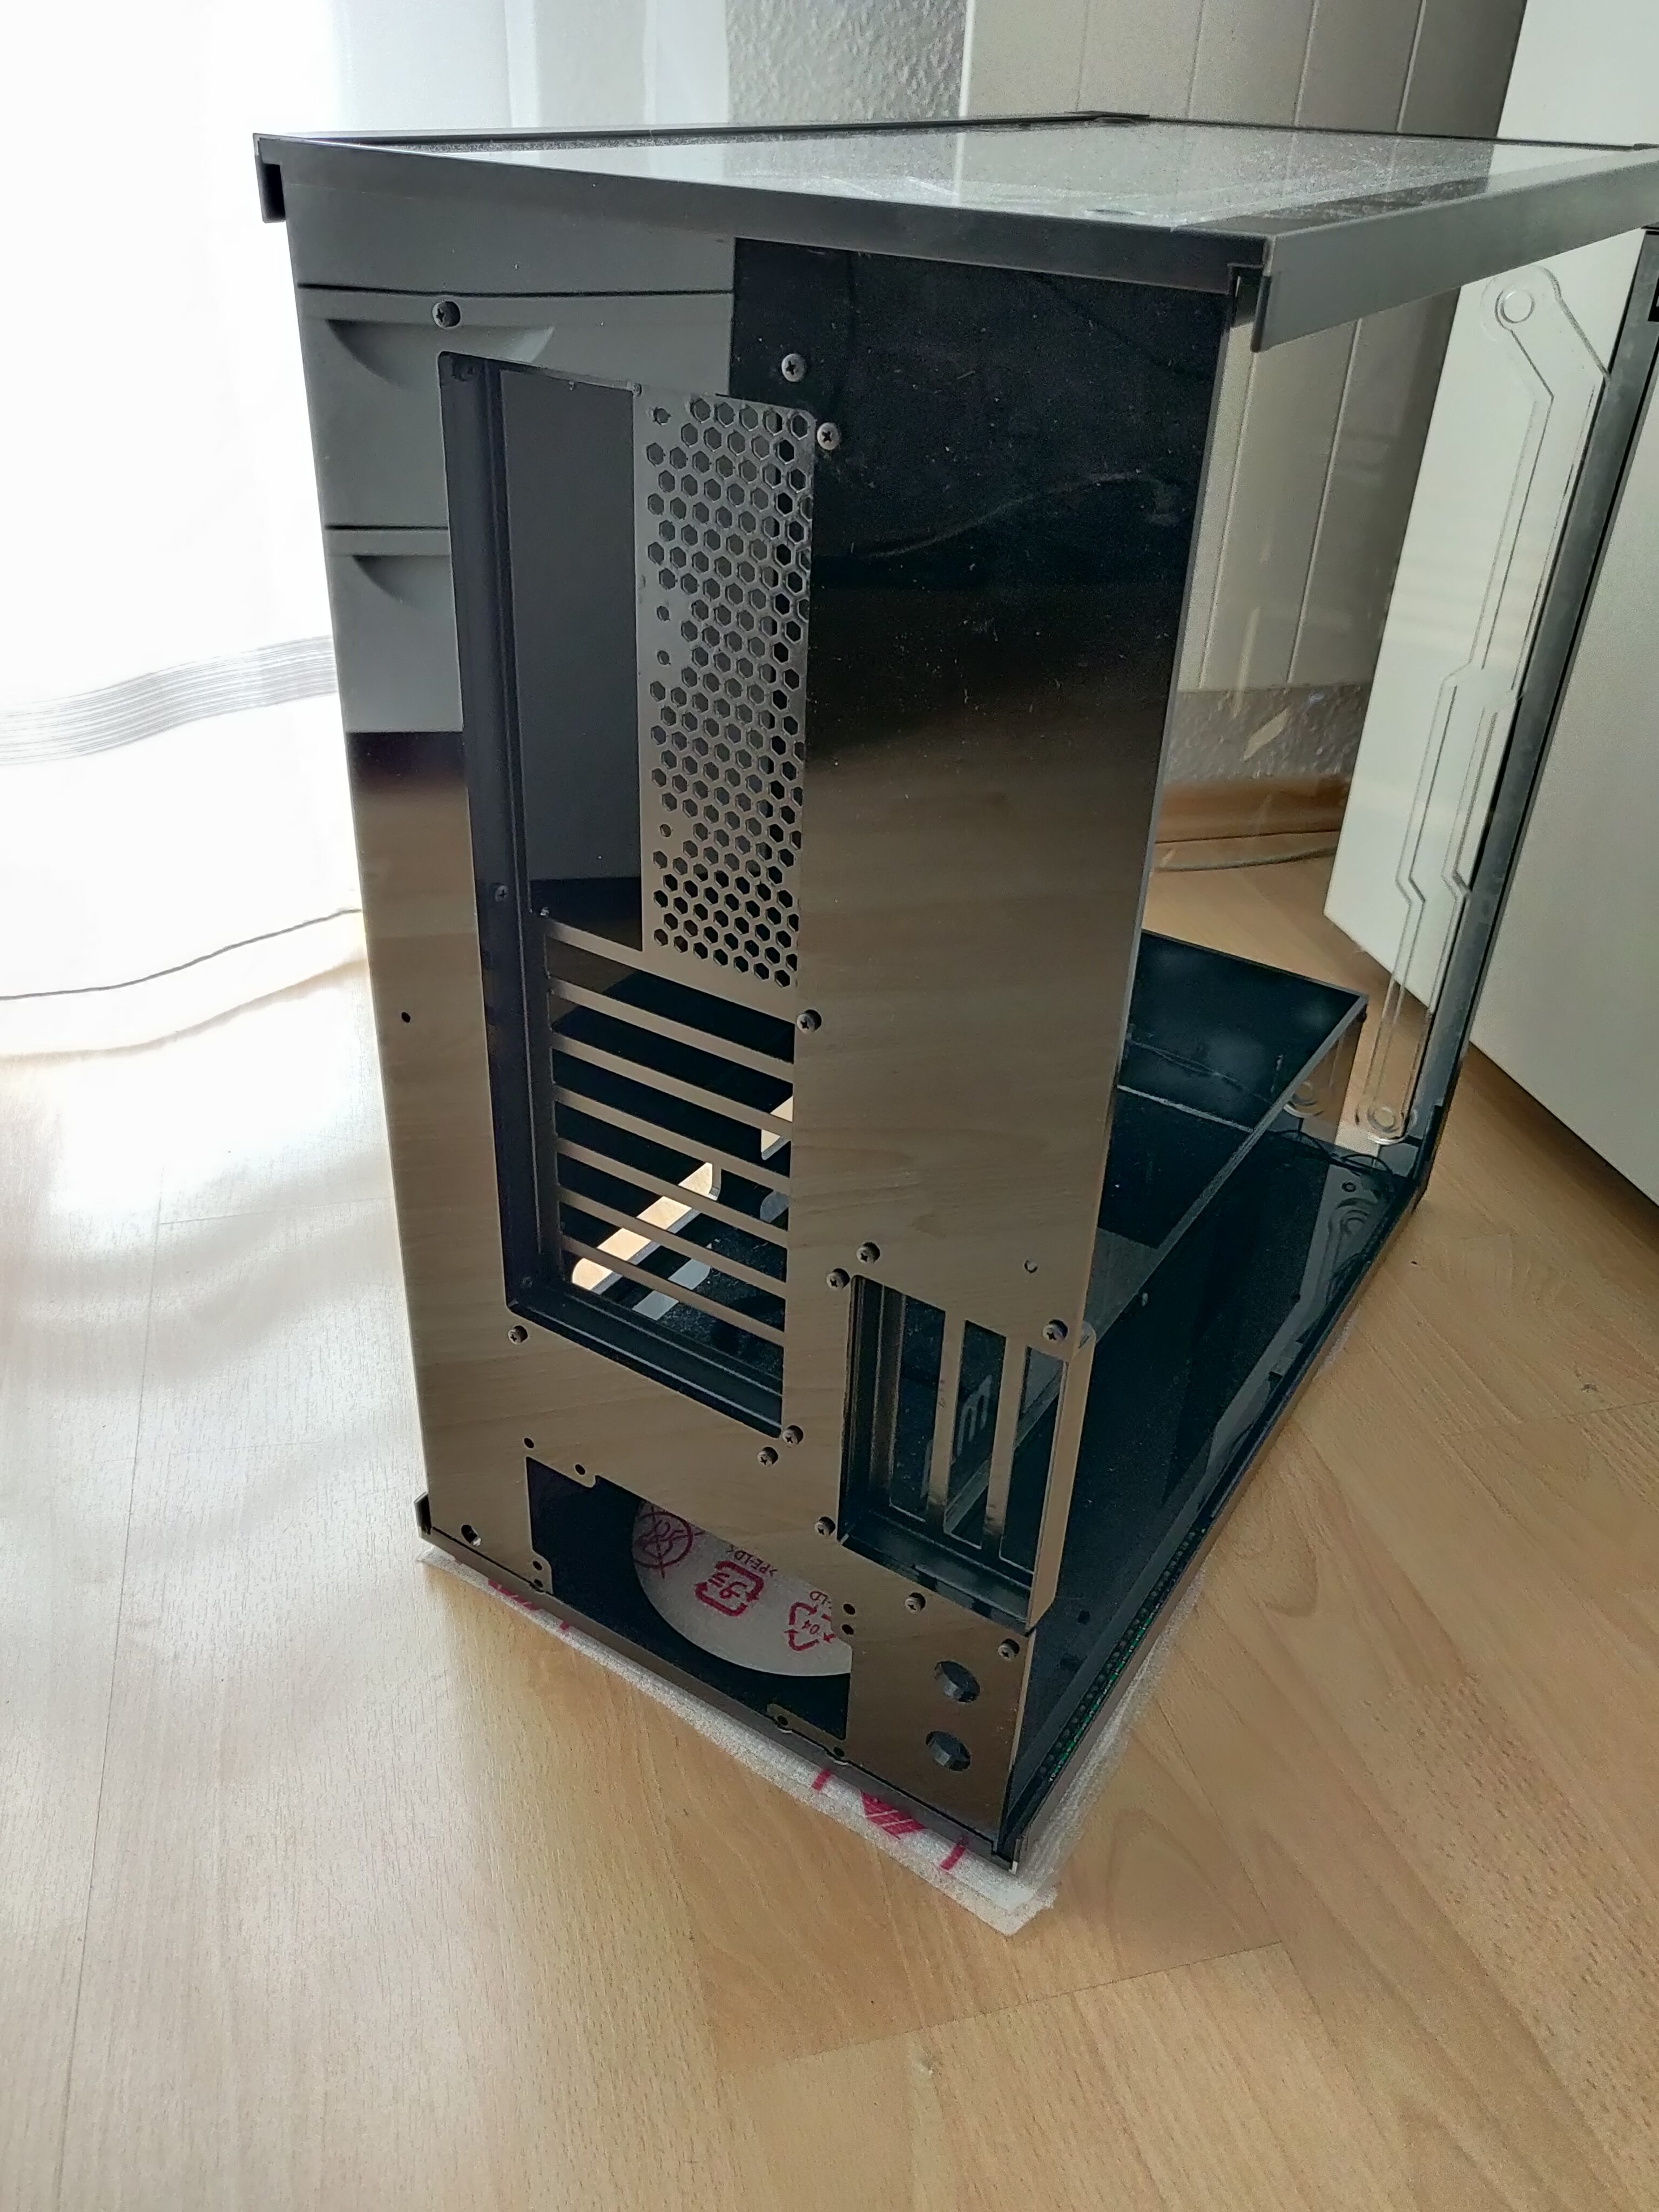
Therefore, I spray painted them black to protect them and match the rest of the case, before installing them onto the back wall.
Next, I decided to construct some cables that I would need for the build.
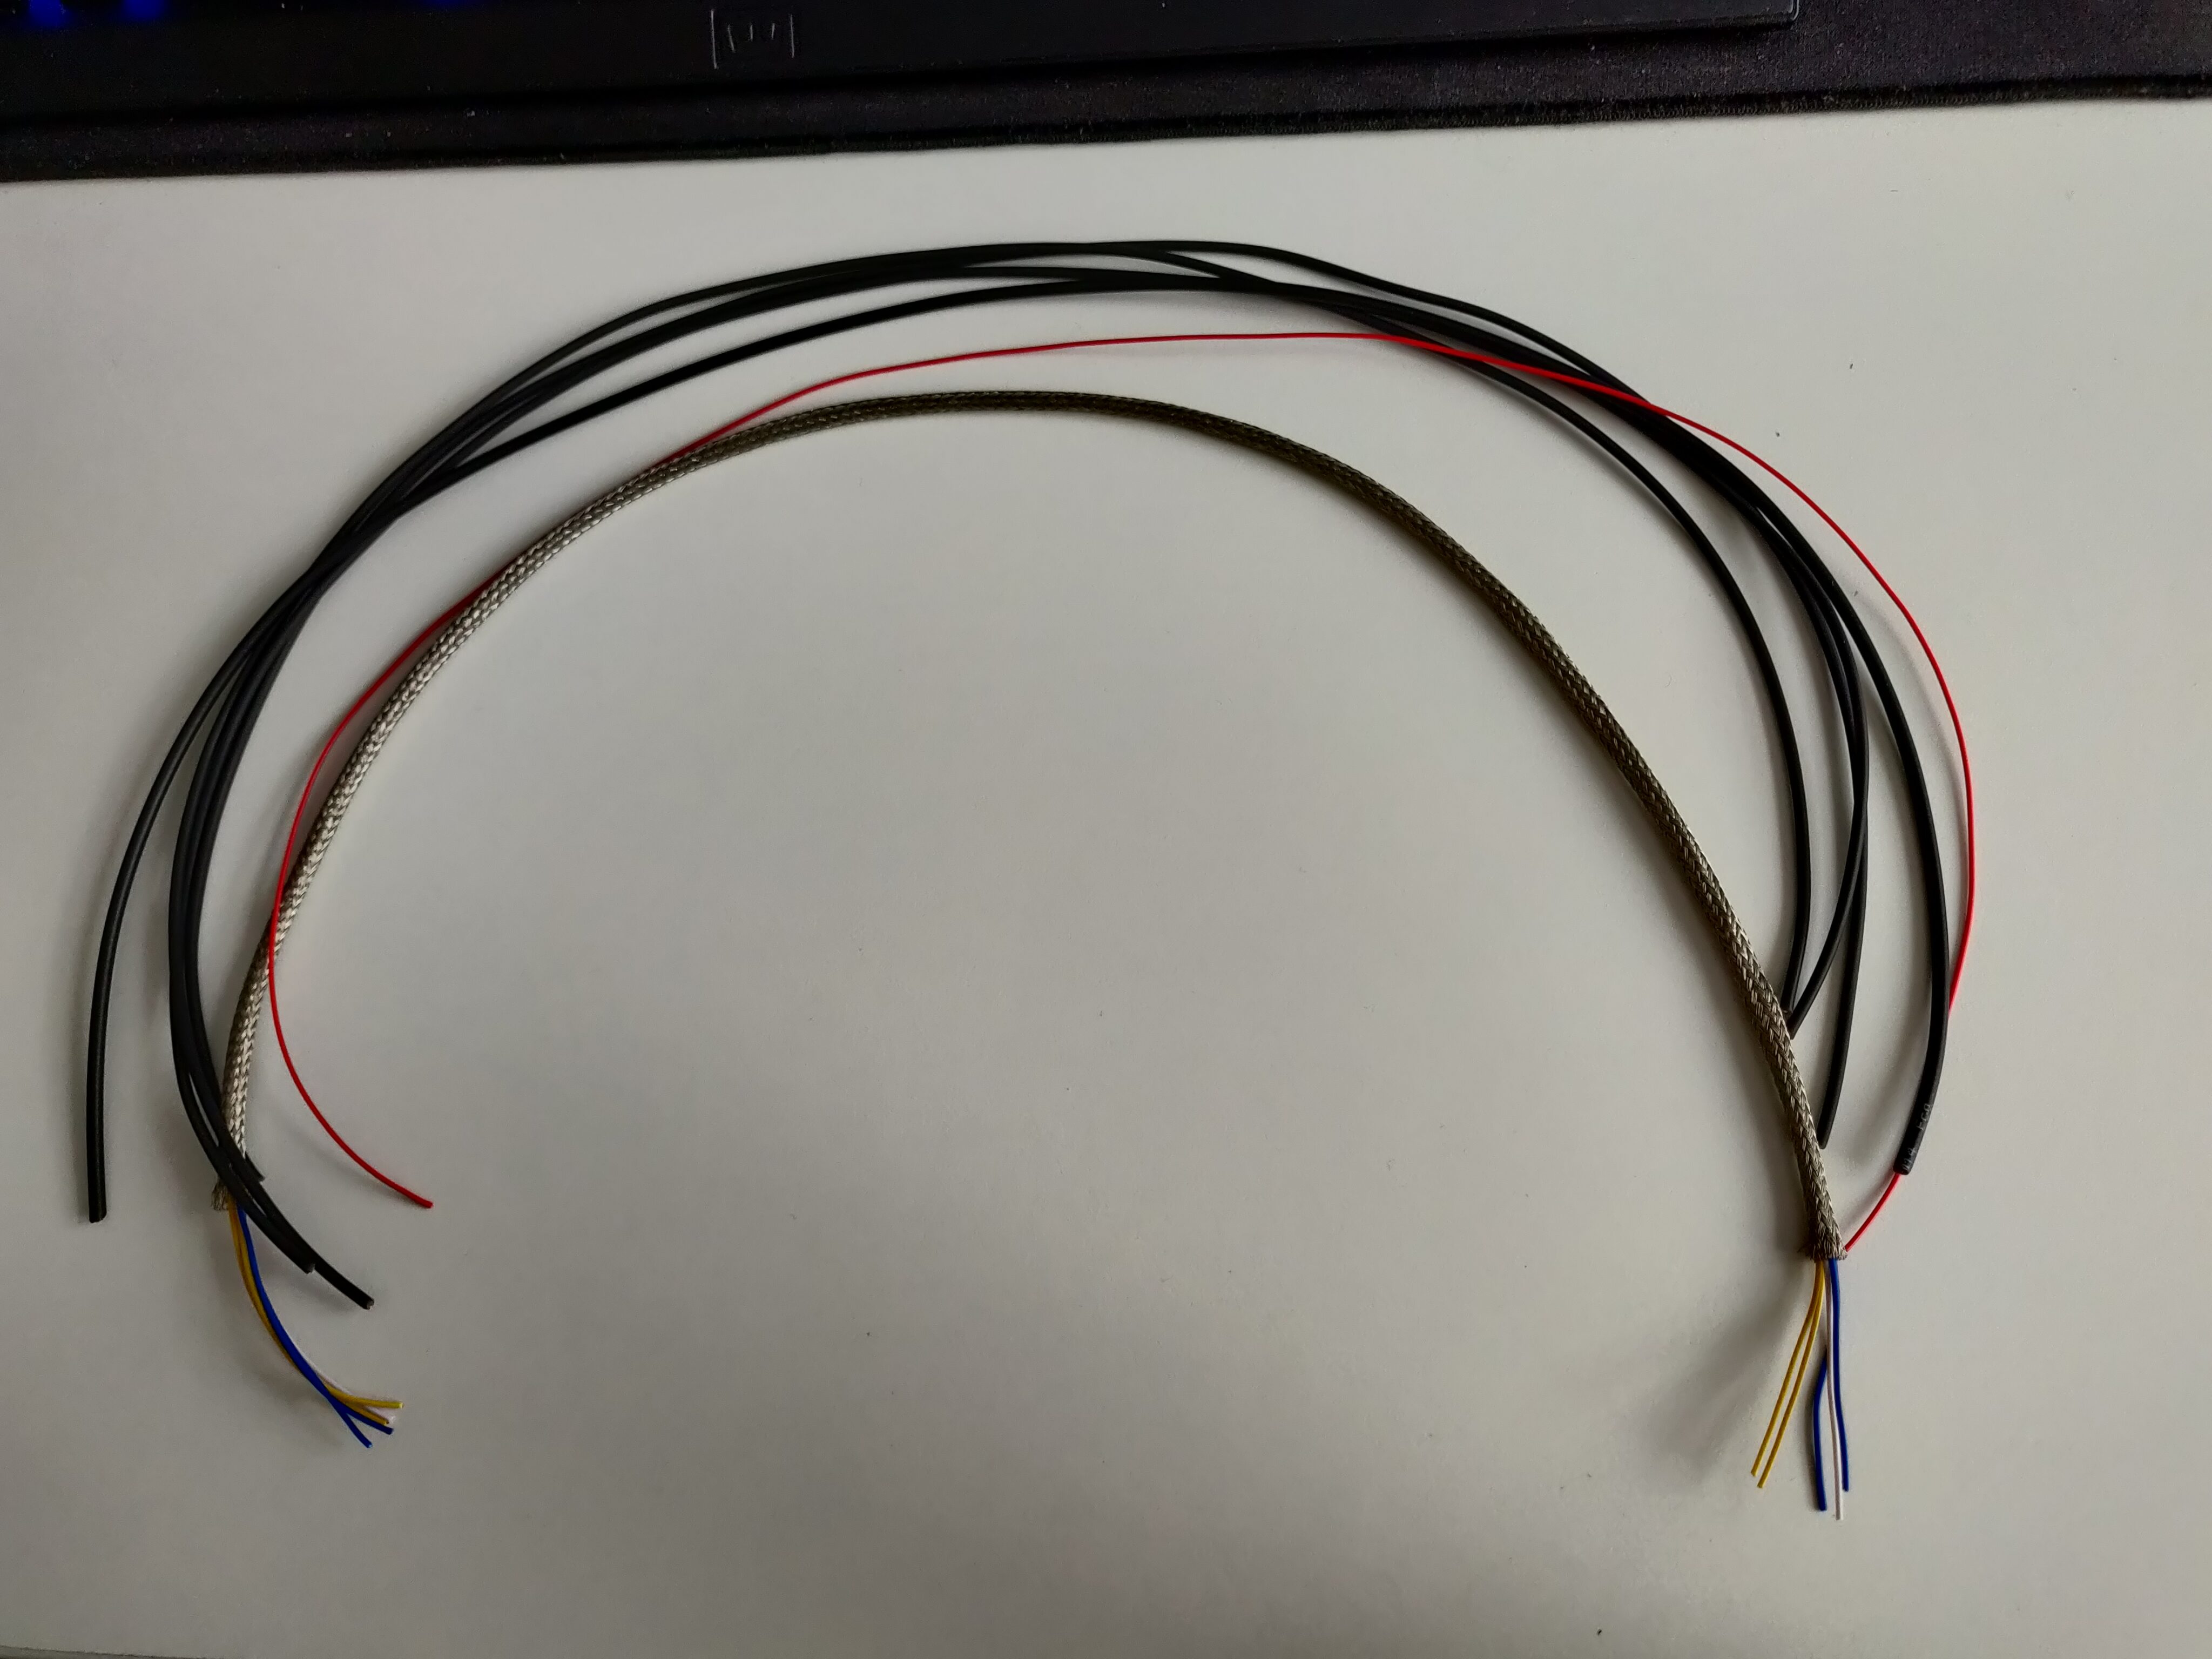
To begin with, I needed a large compound cable to connect the case controller to the cooling system components outside of the case (pump, fans, flow meter, temperature sensor, and external power supply).
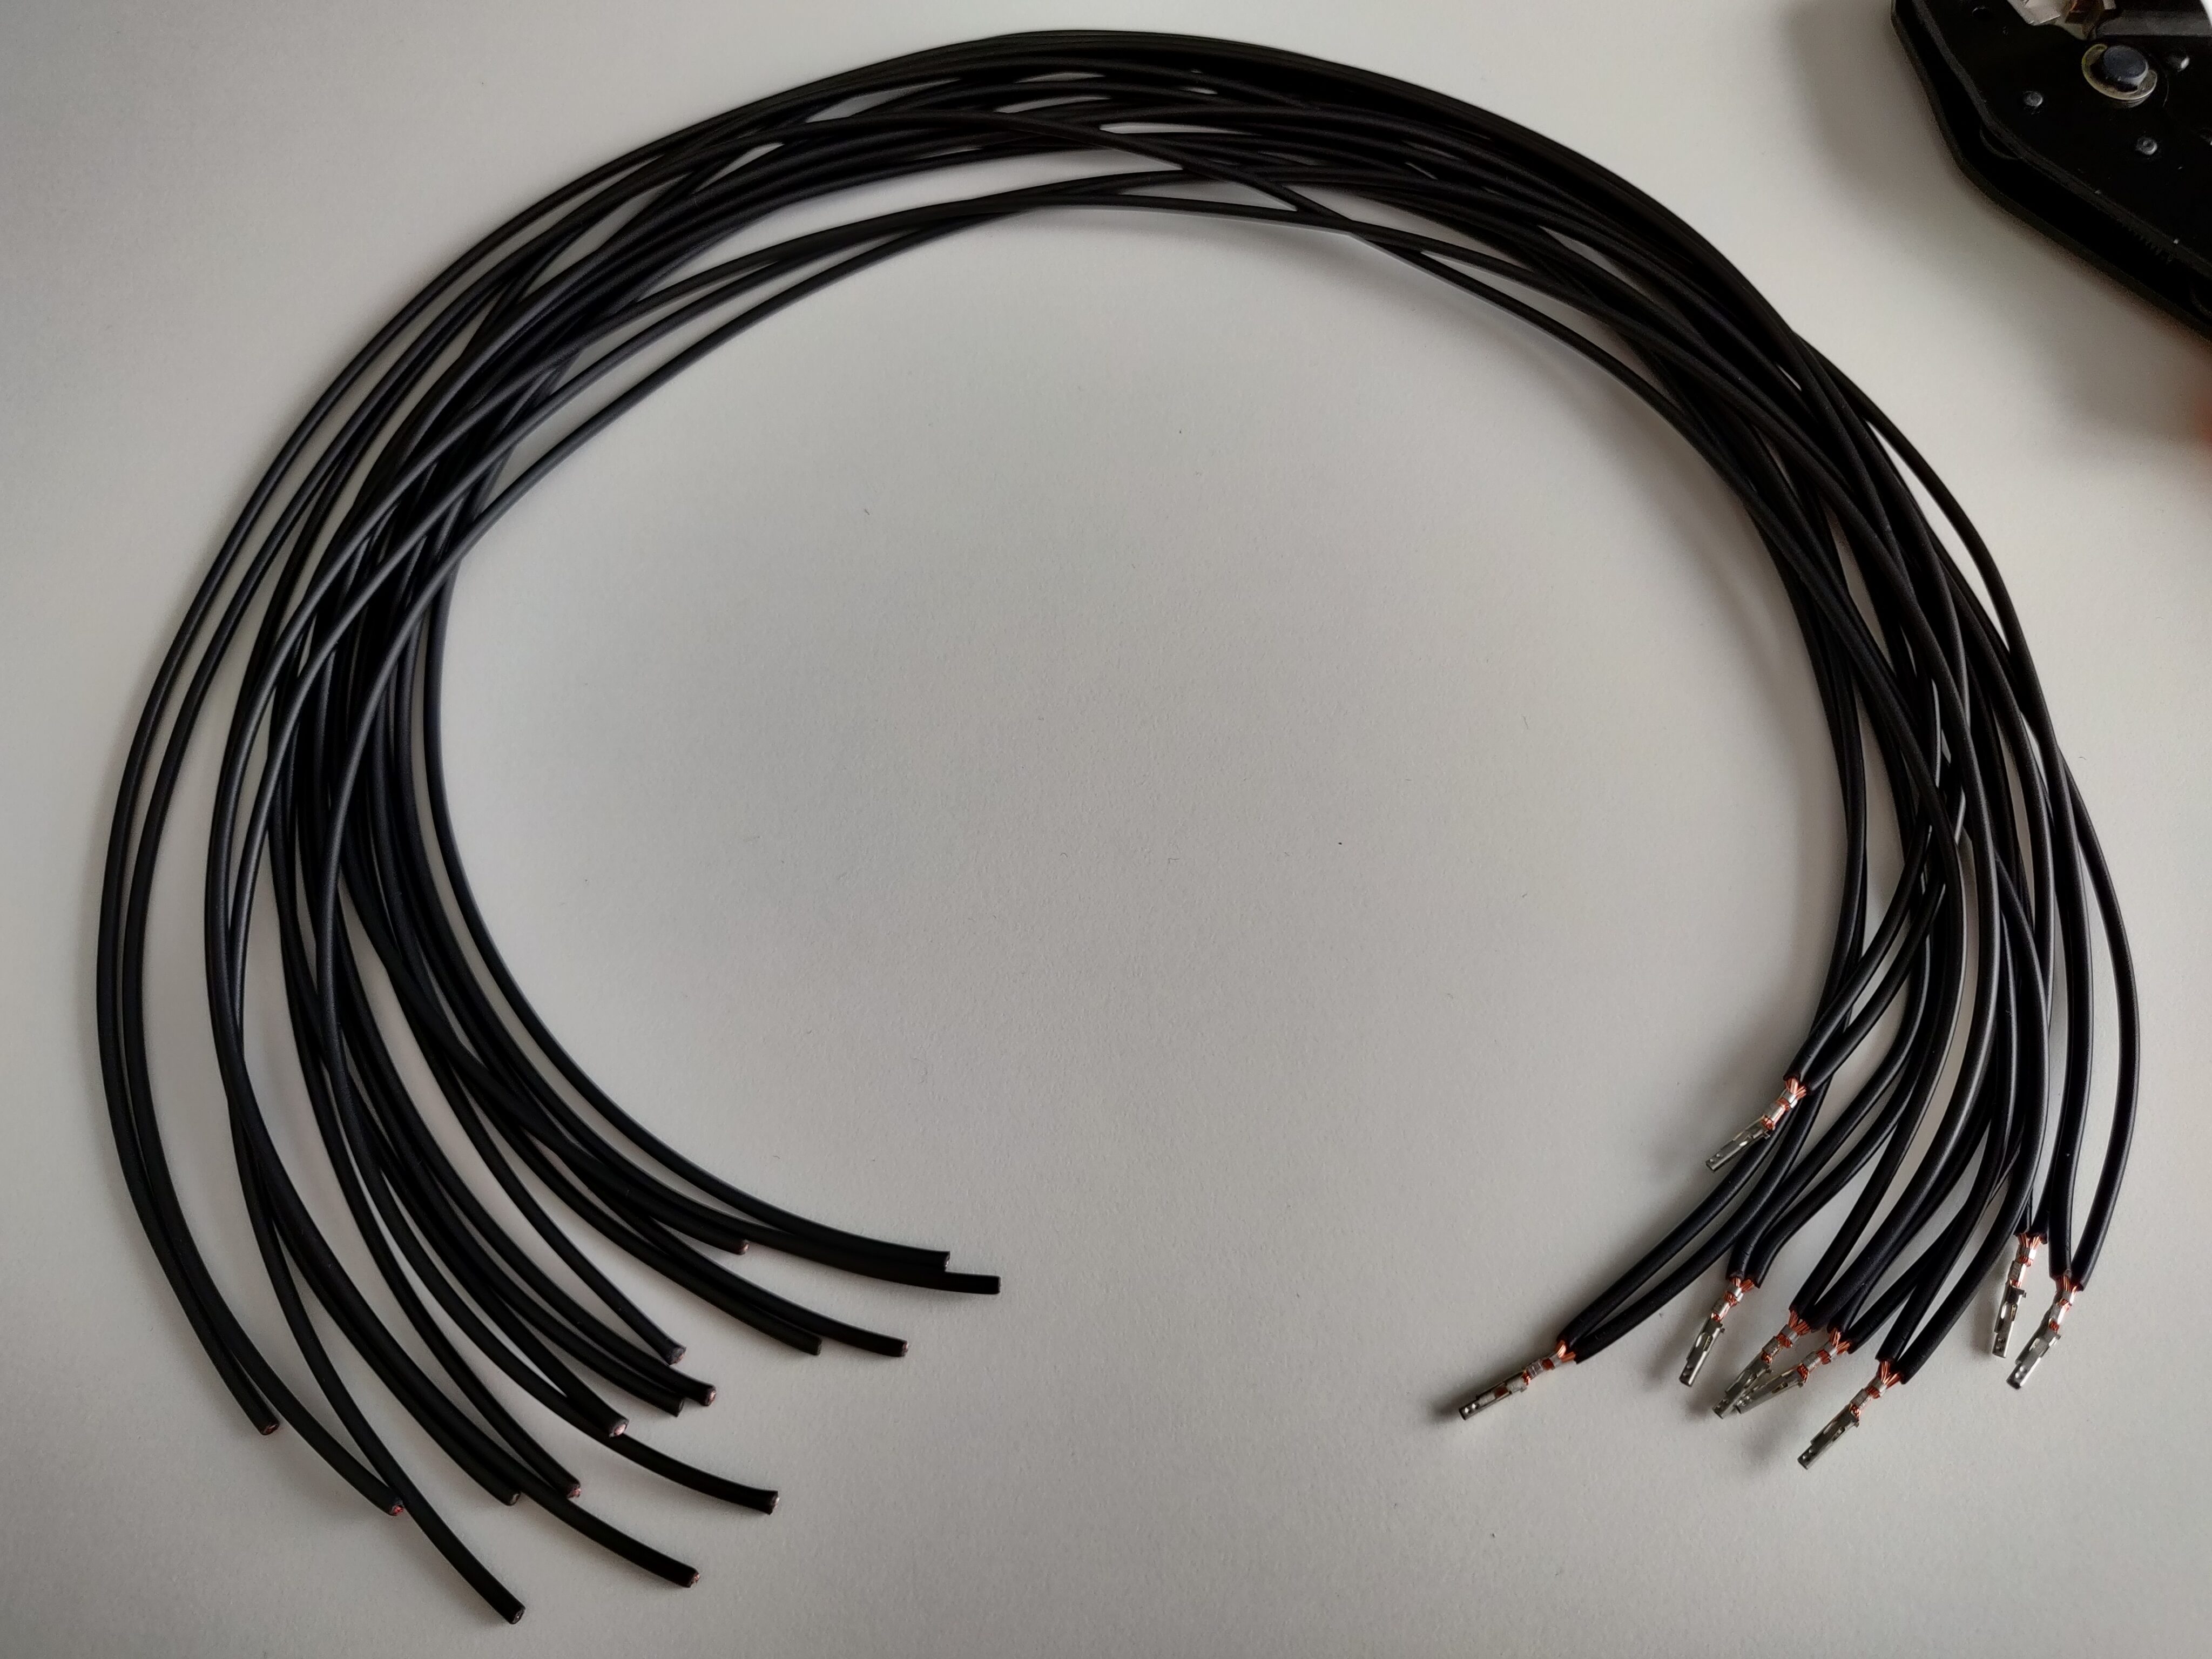
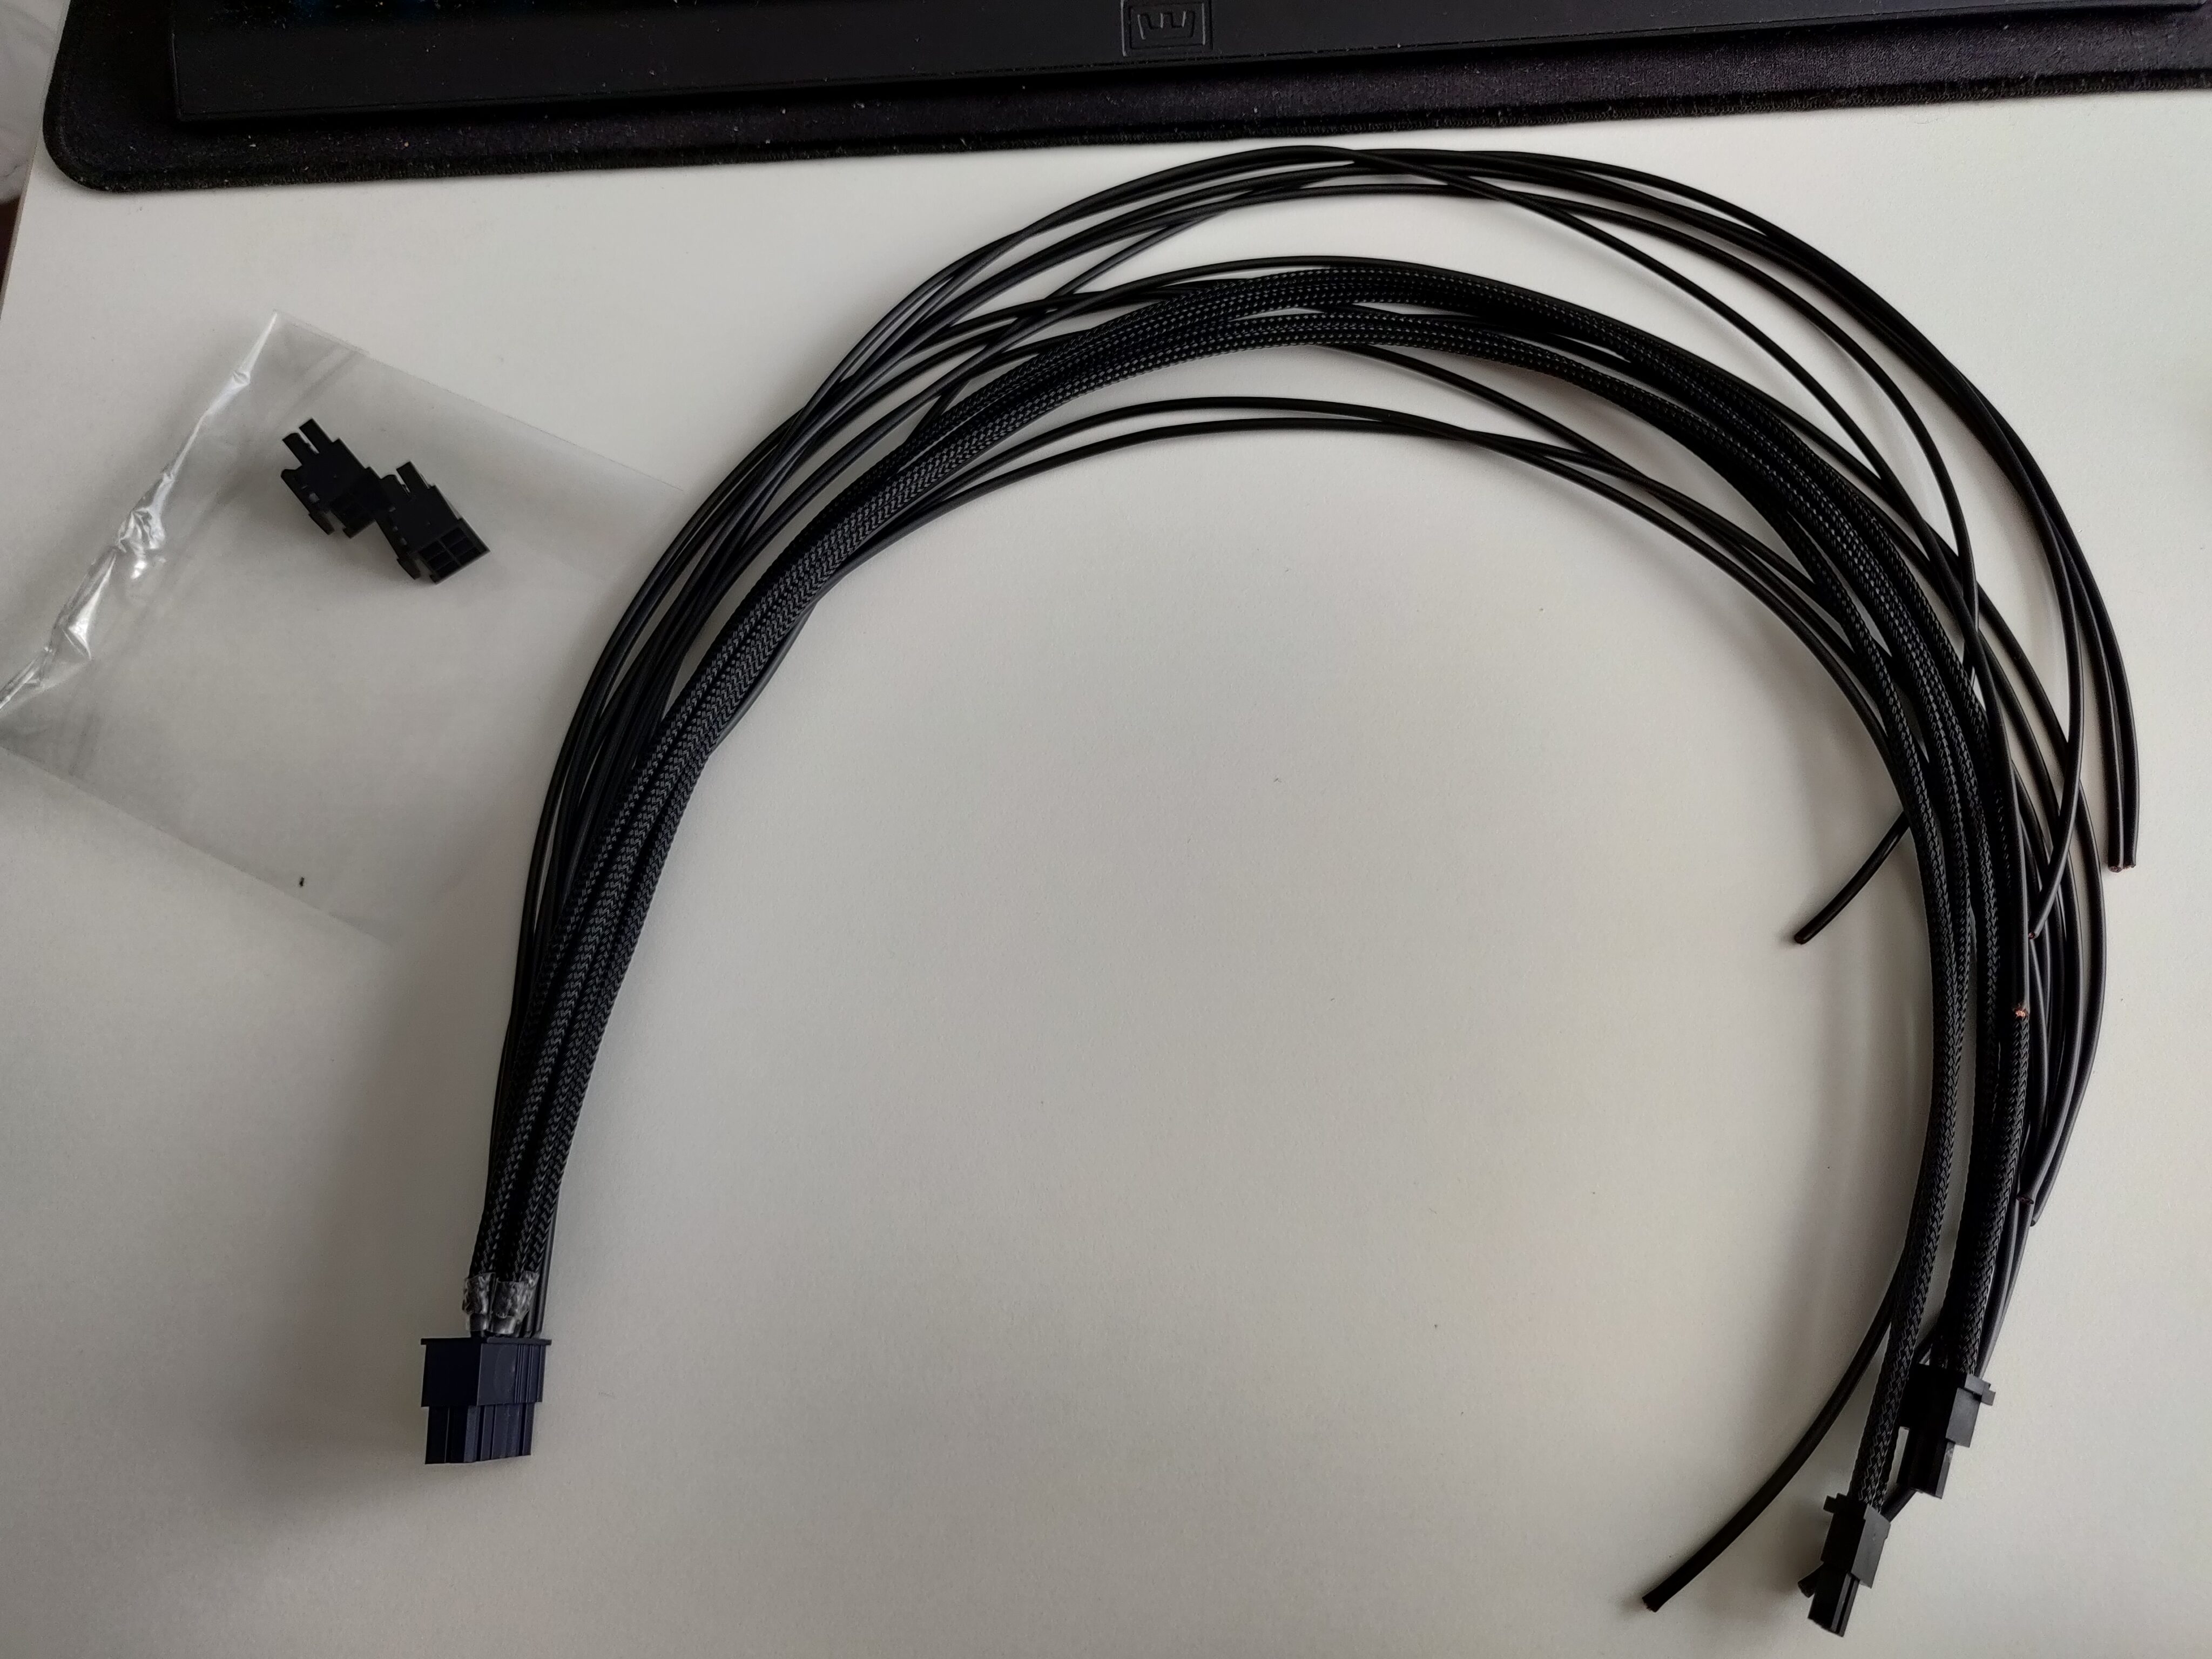
I started by choosing and cutting all of the necessary wires, and feeding the signal-related wires through some shielding (which may be unnecessary, but won’t hurt to have). Then I put a nice-looking braided sheath around it, fixing it in place using heat shrink, before finally stripping the wire ends and attaching all the necessary connectors.
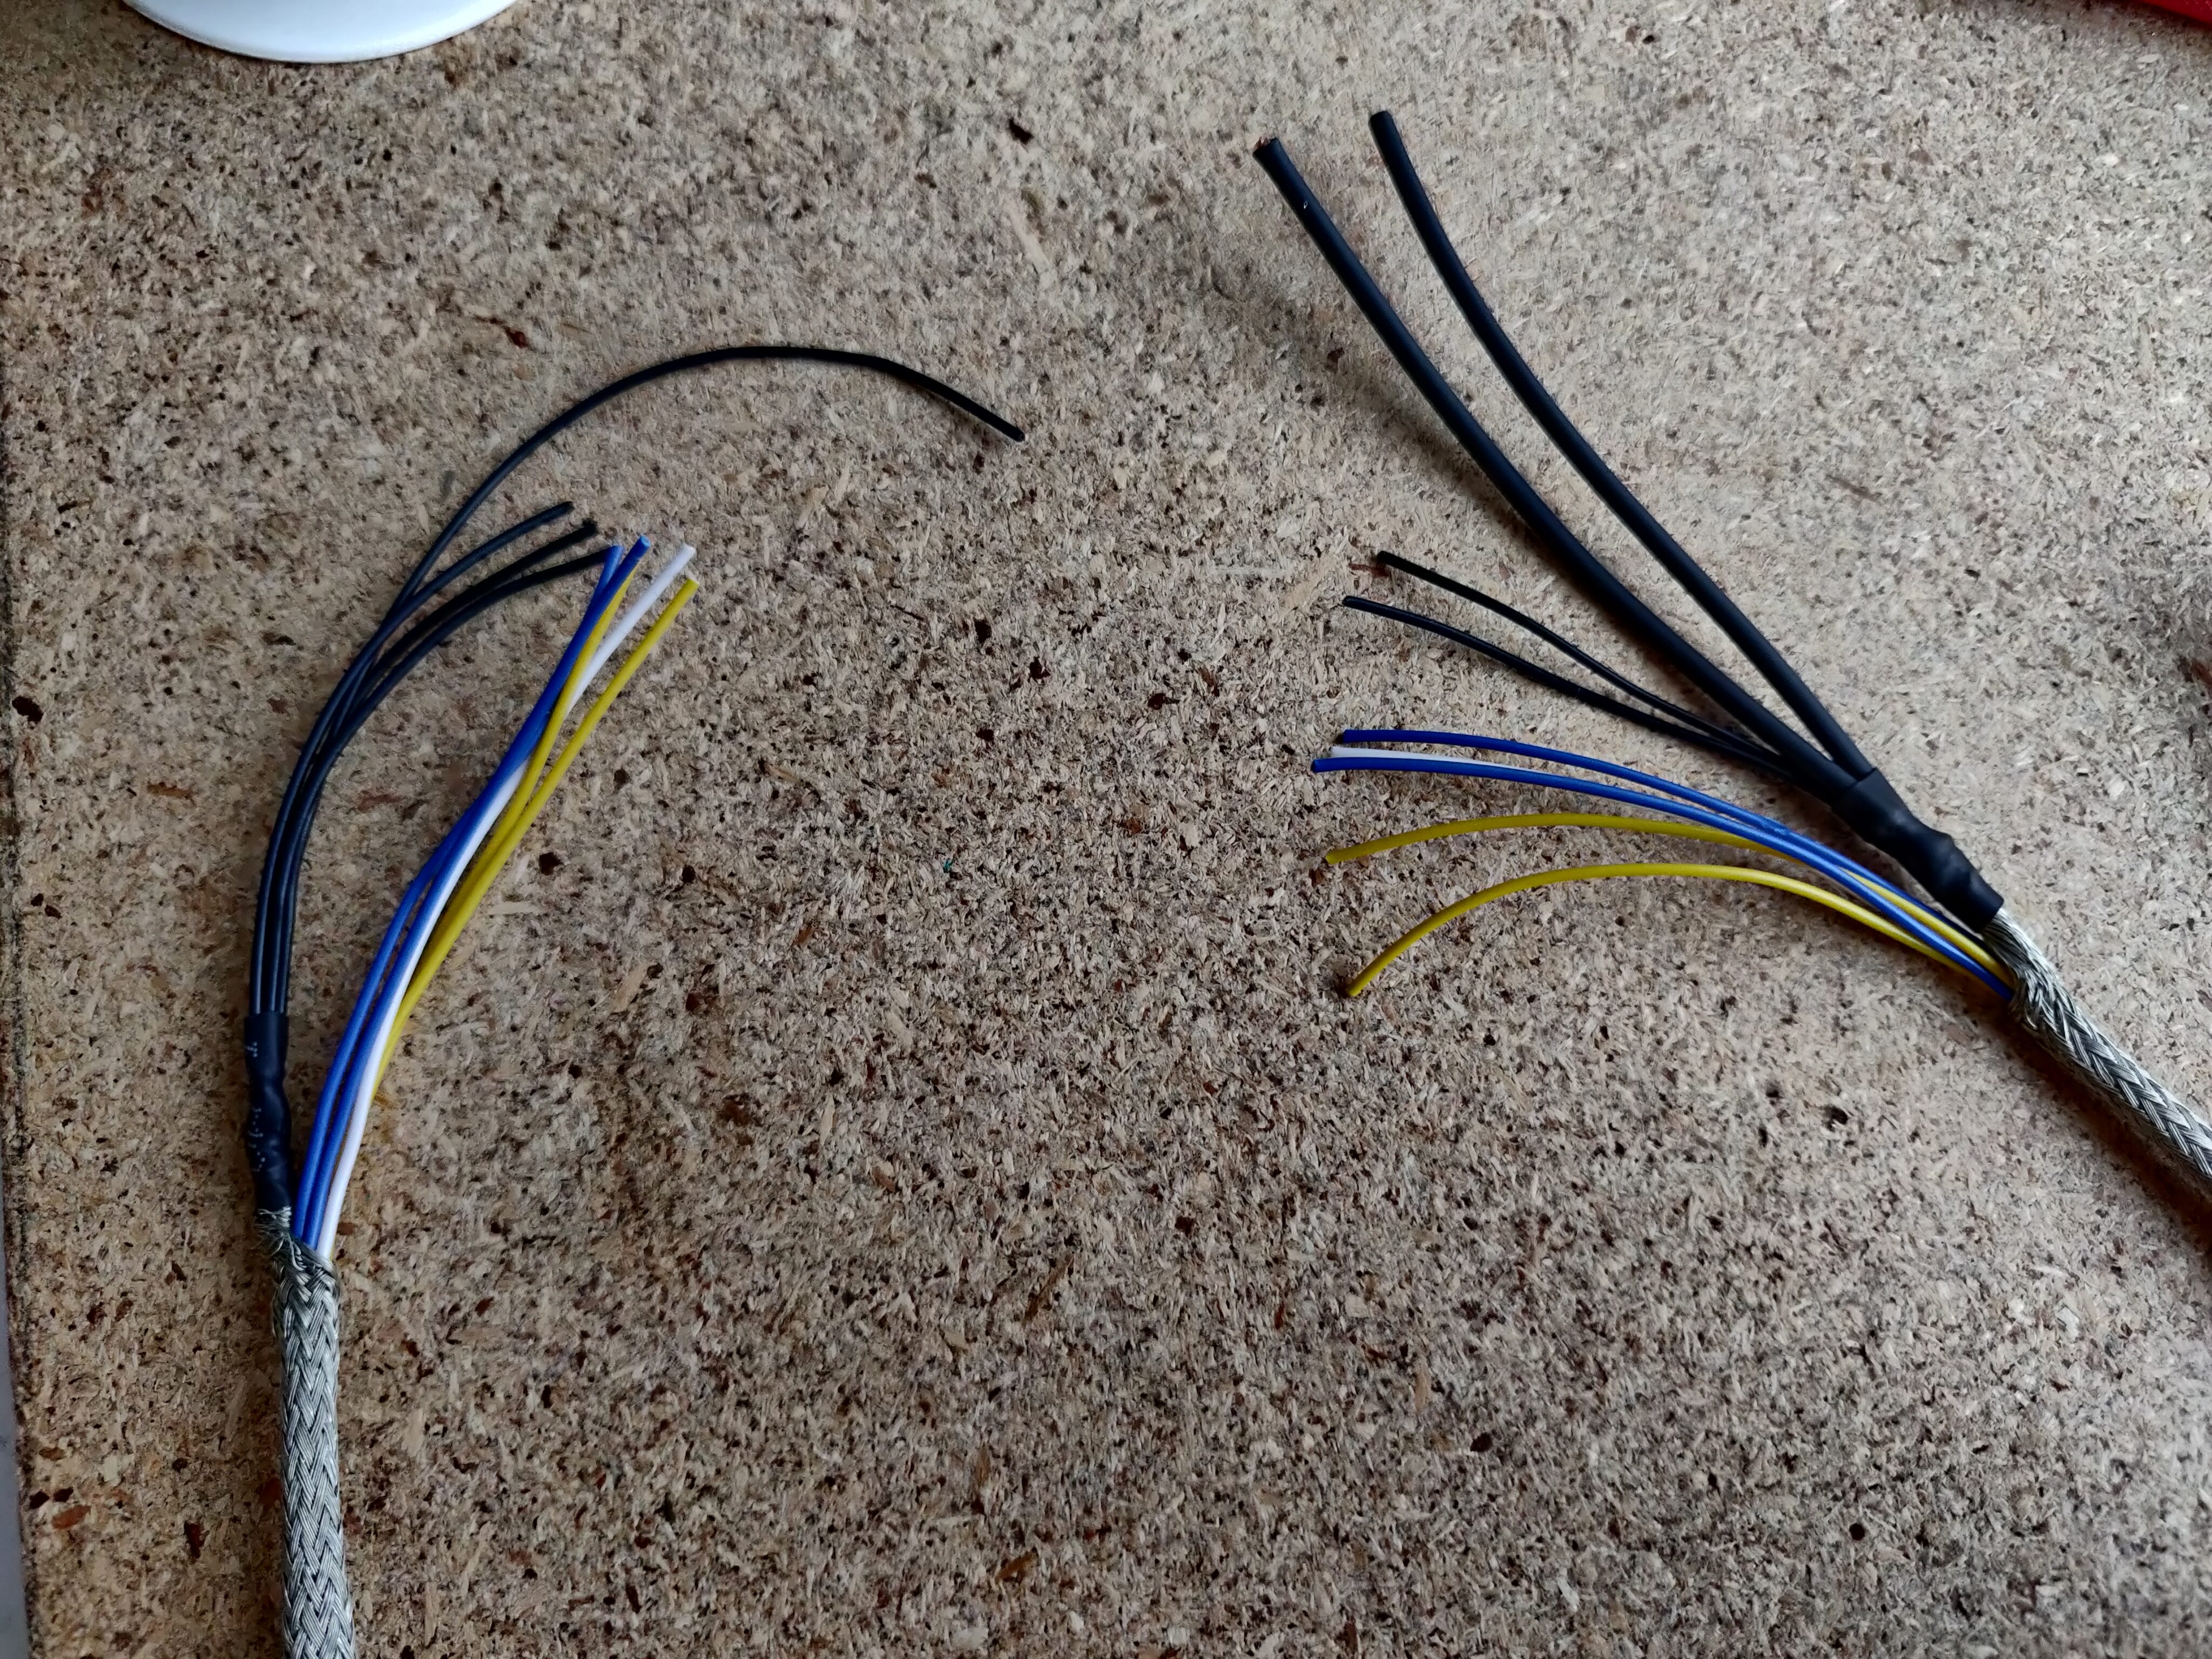
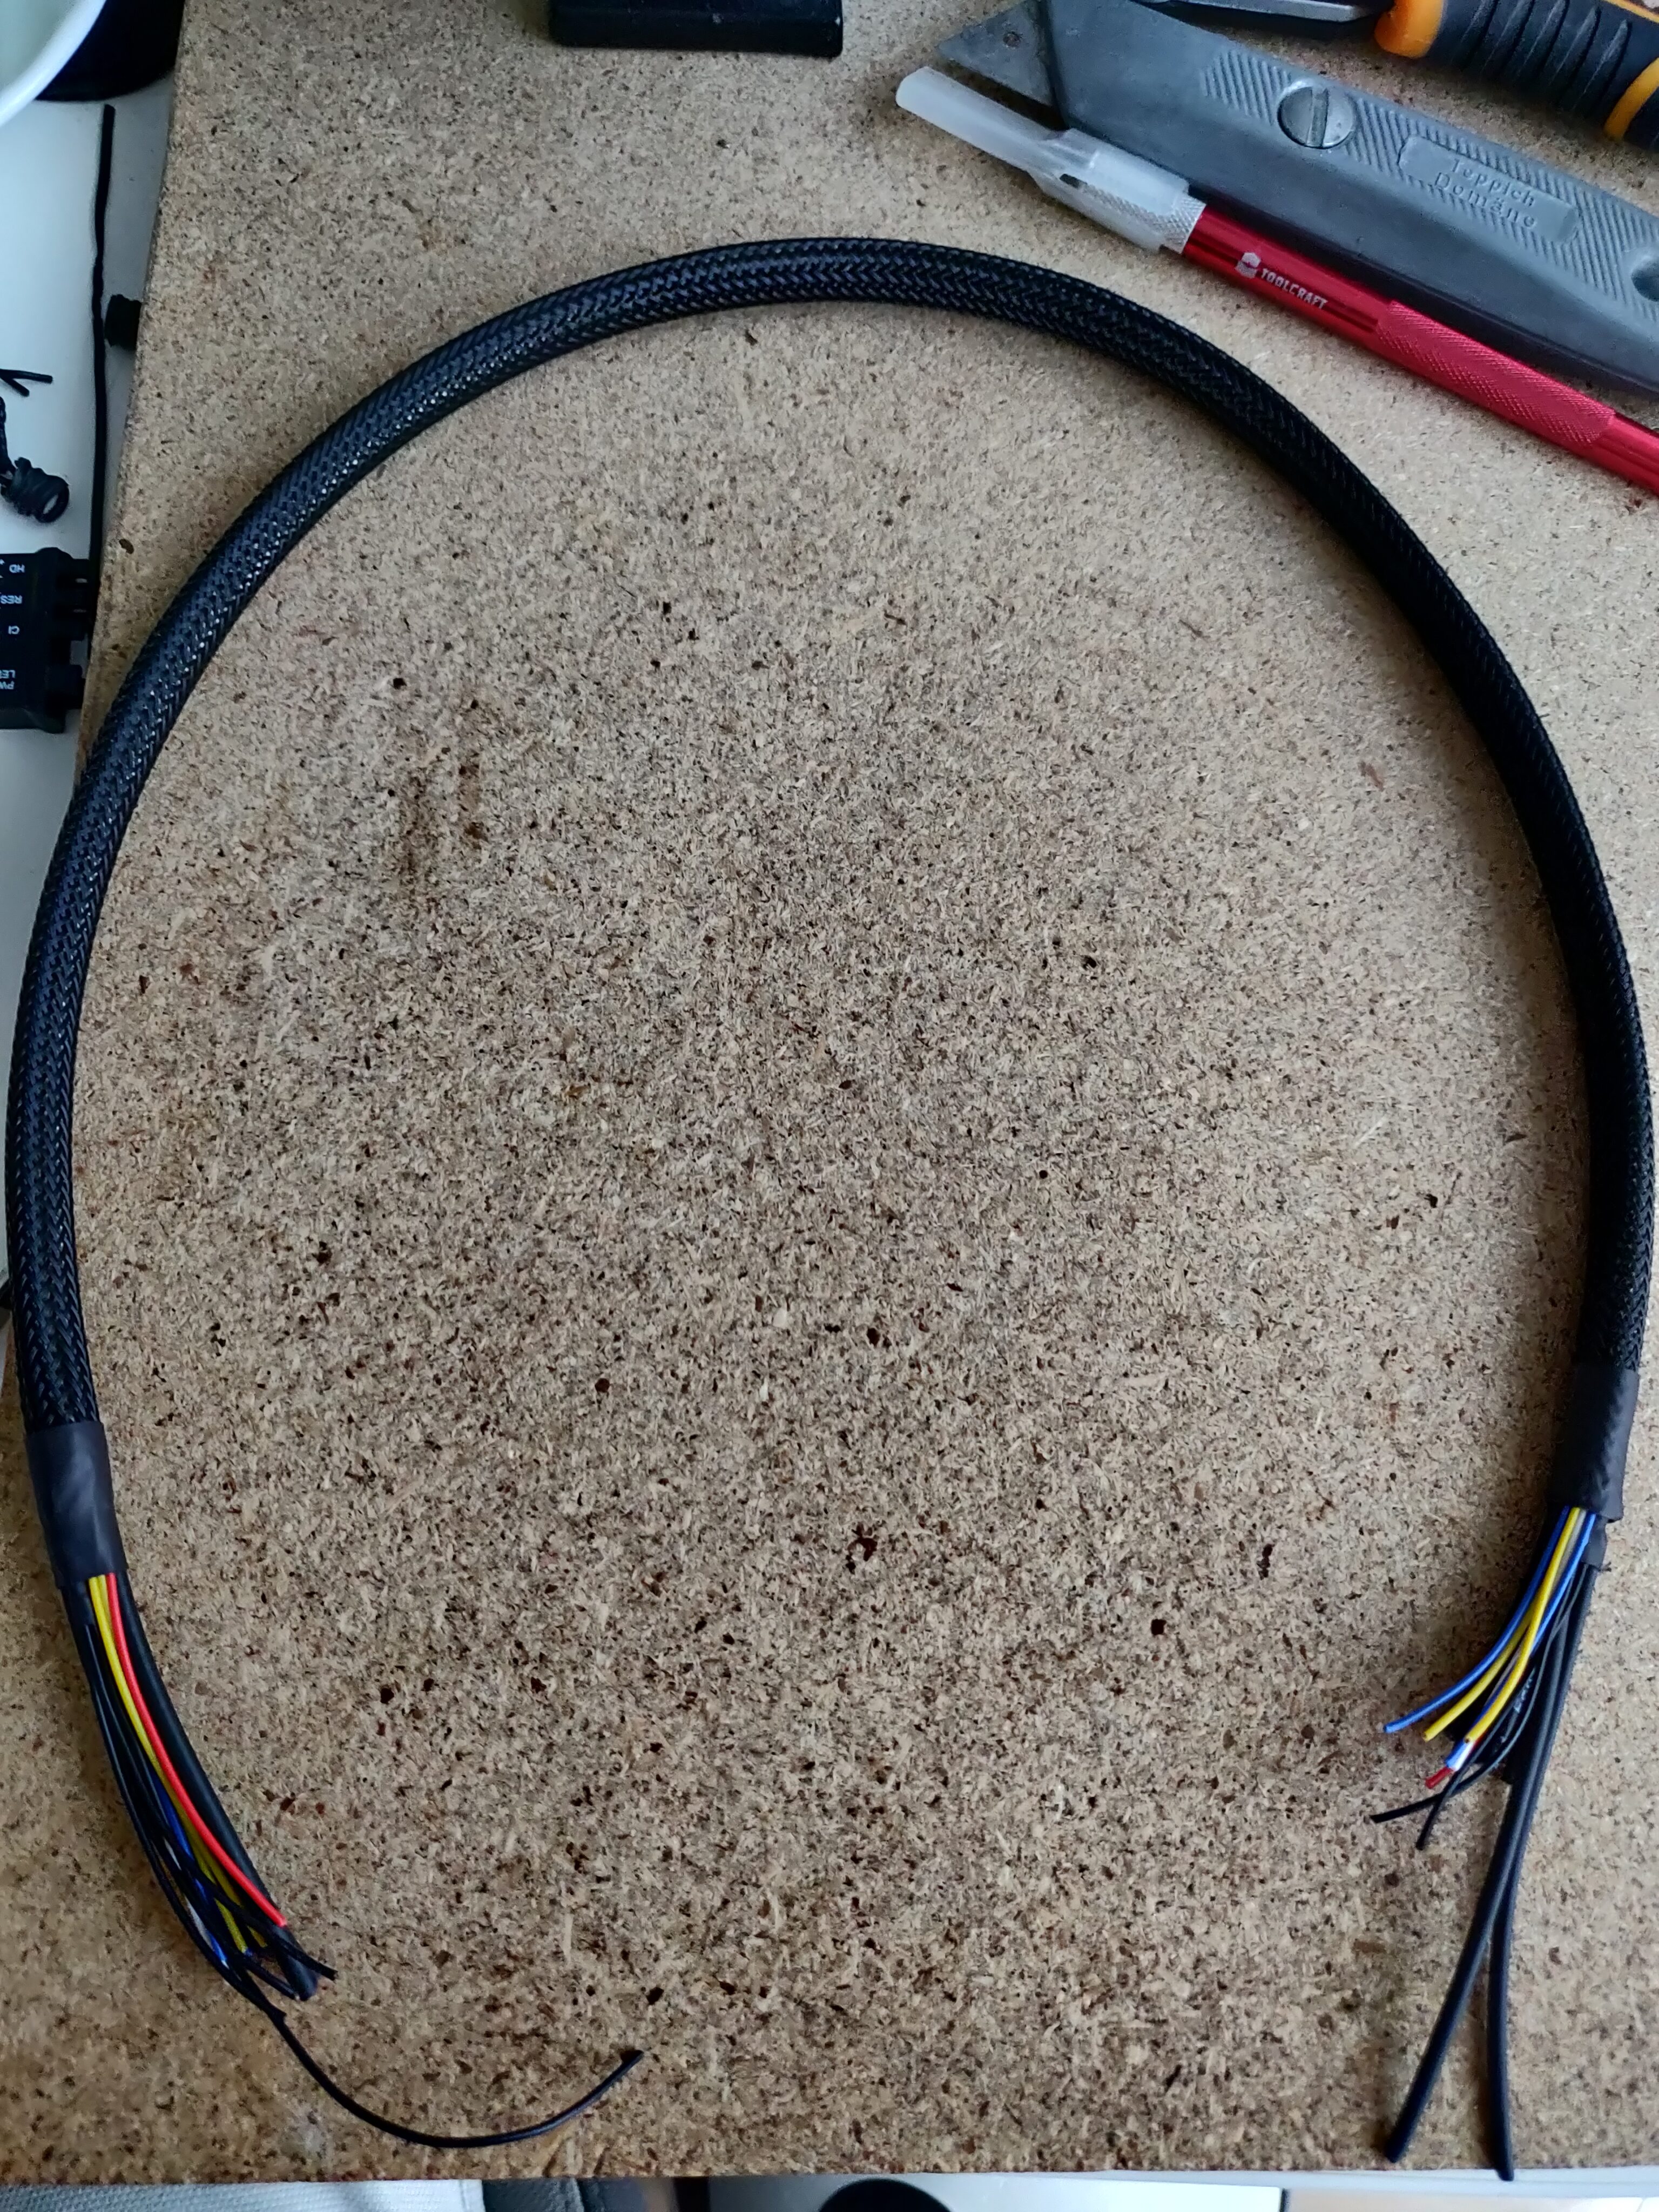
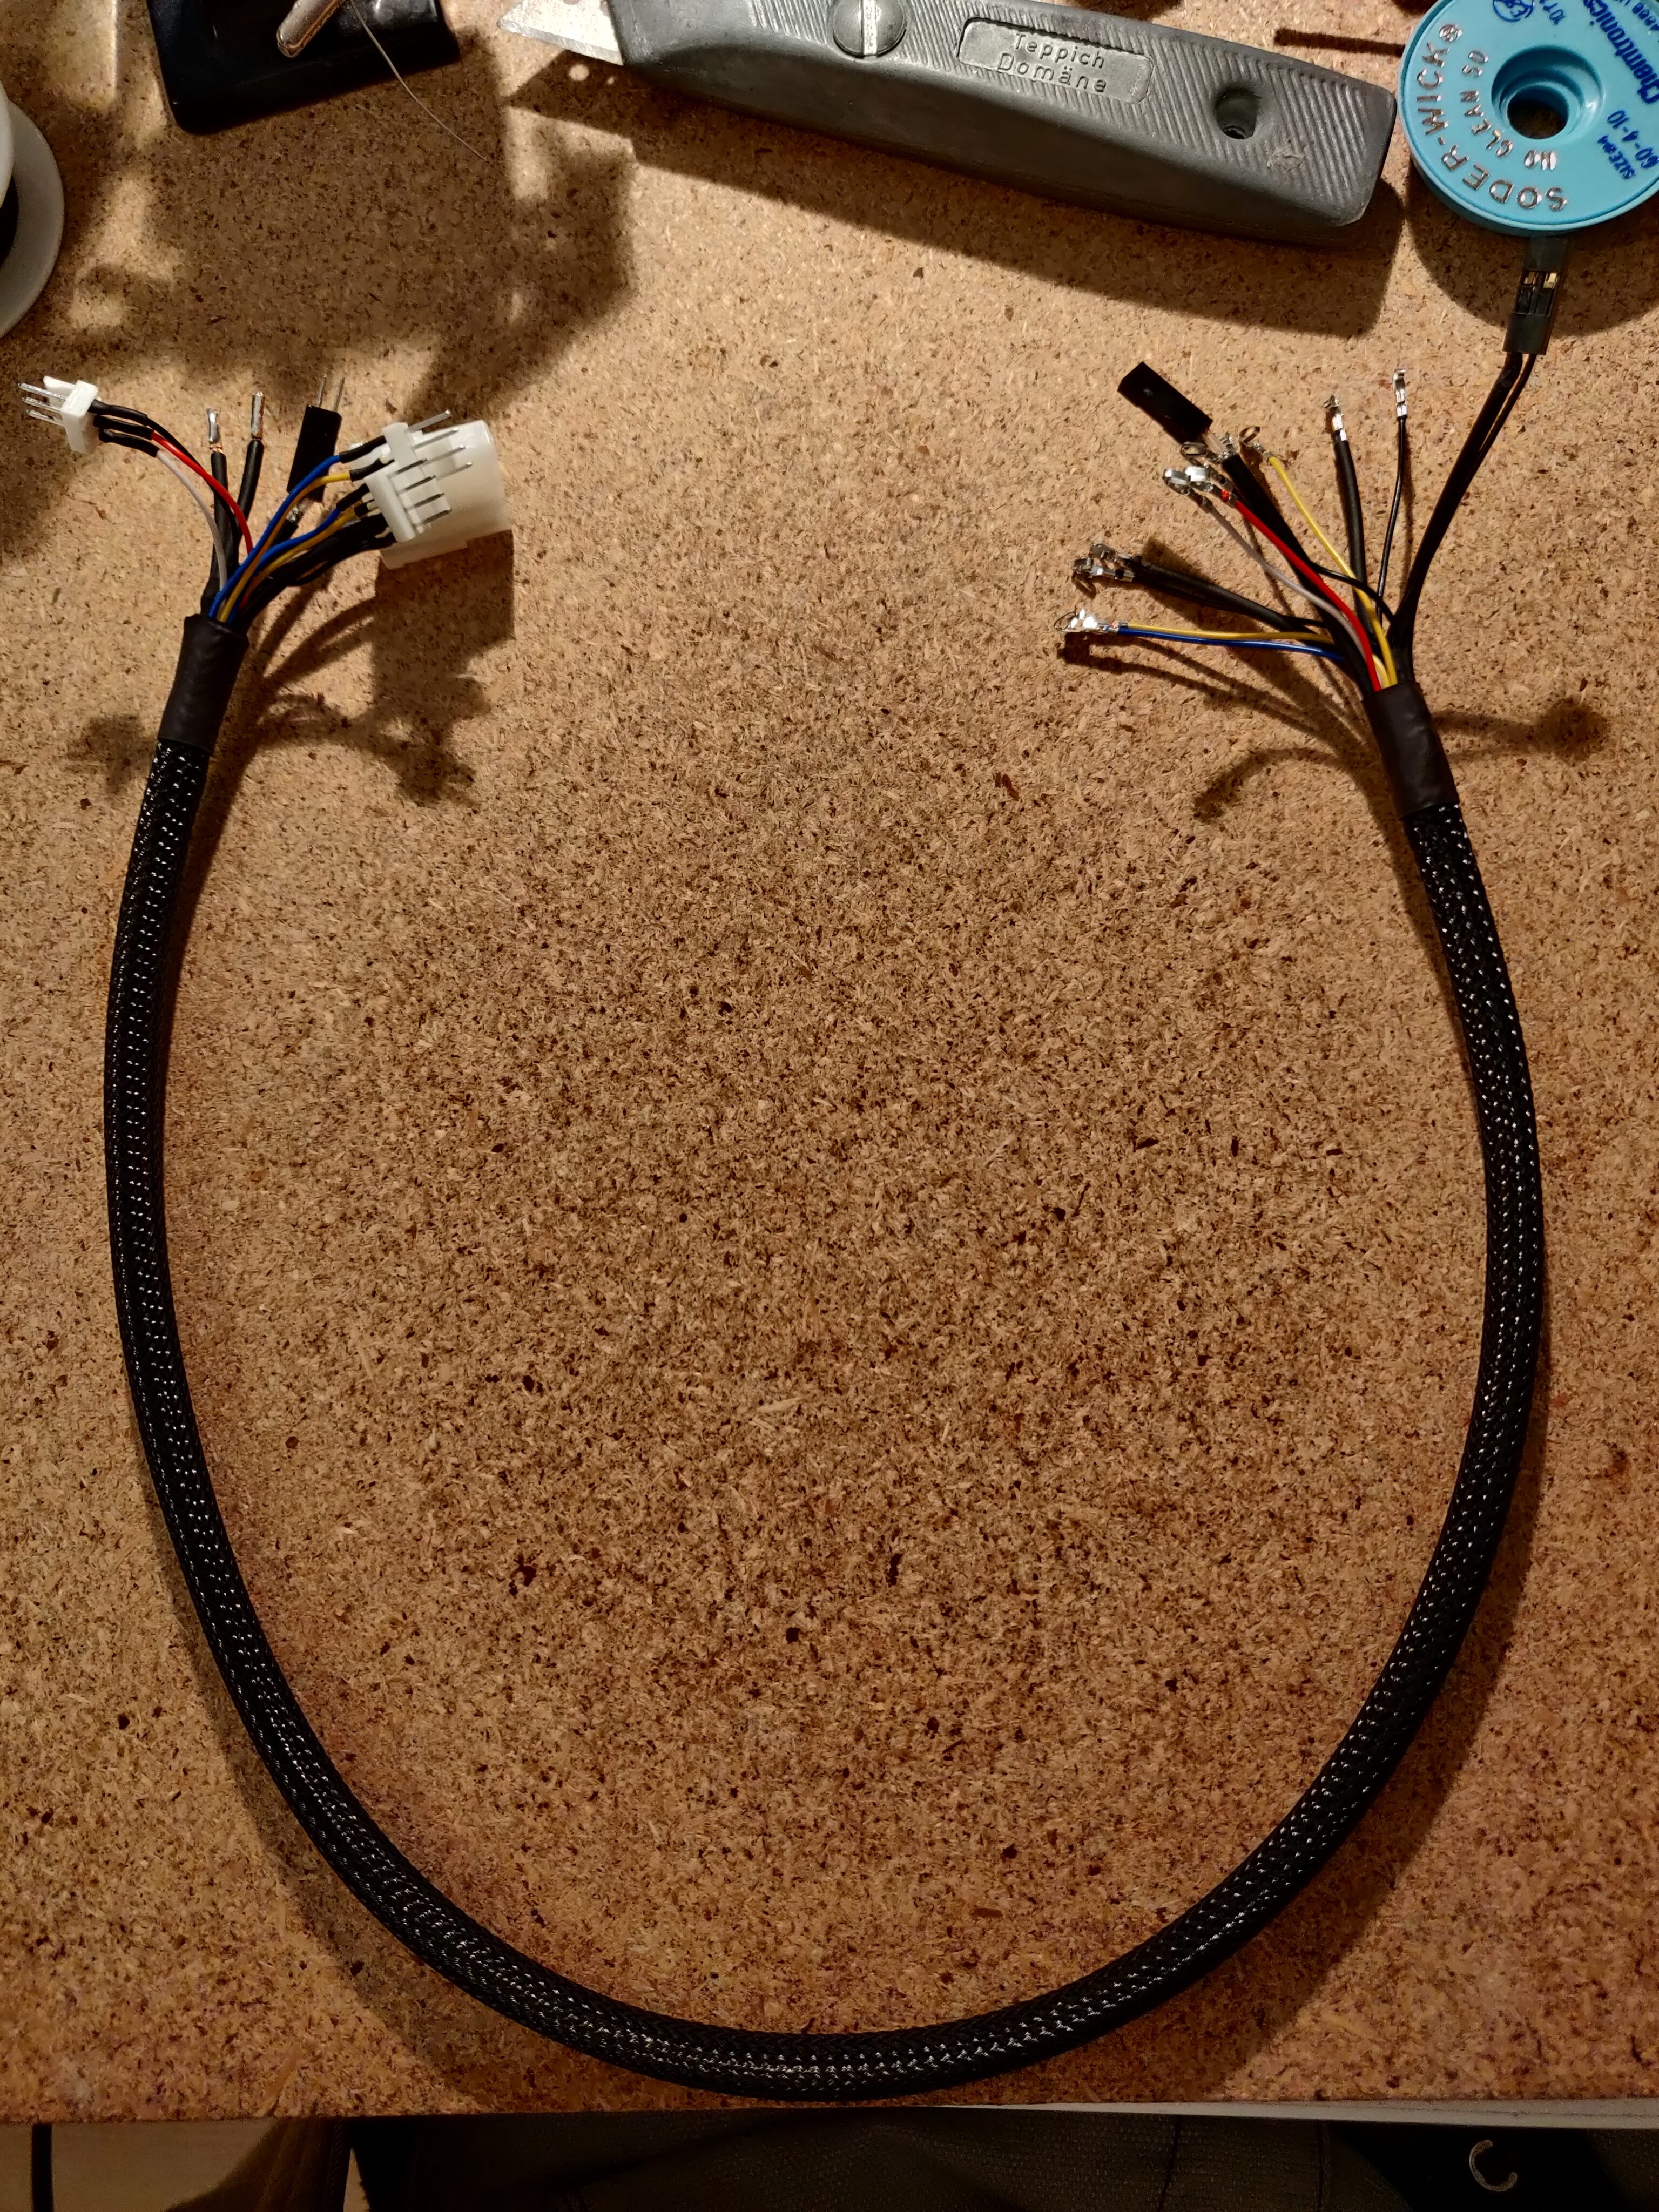
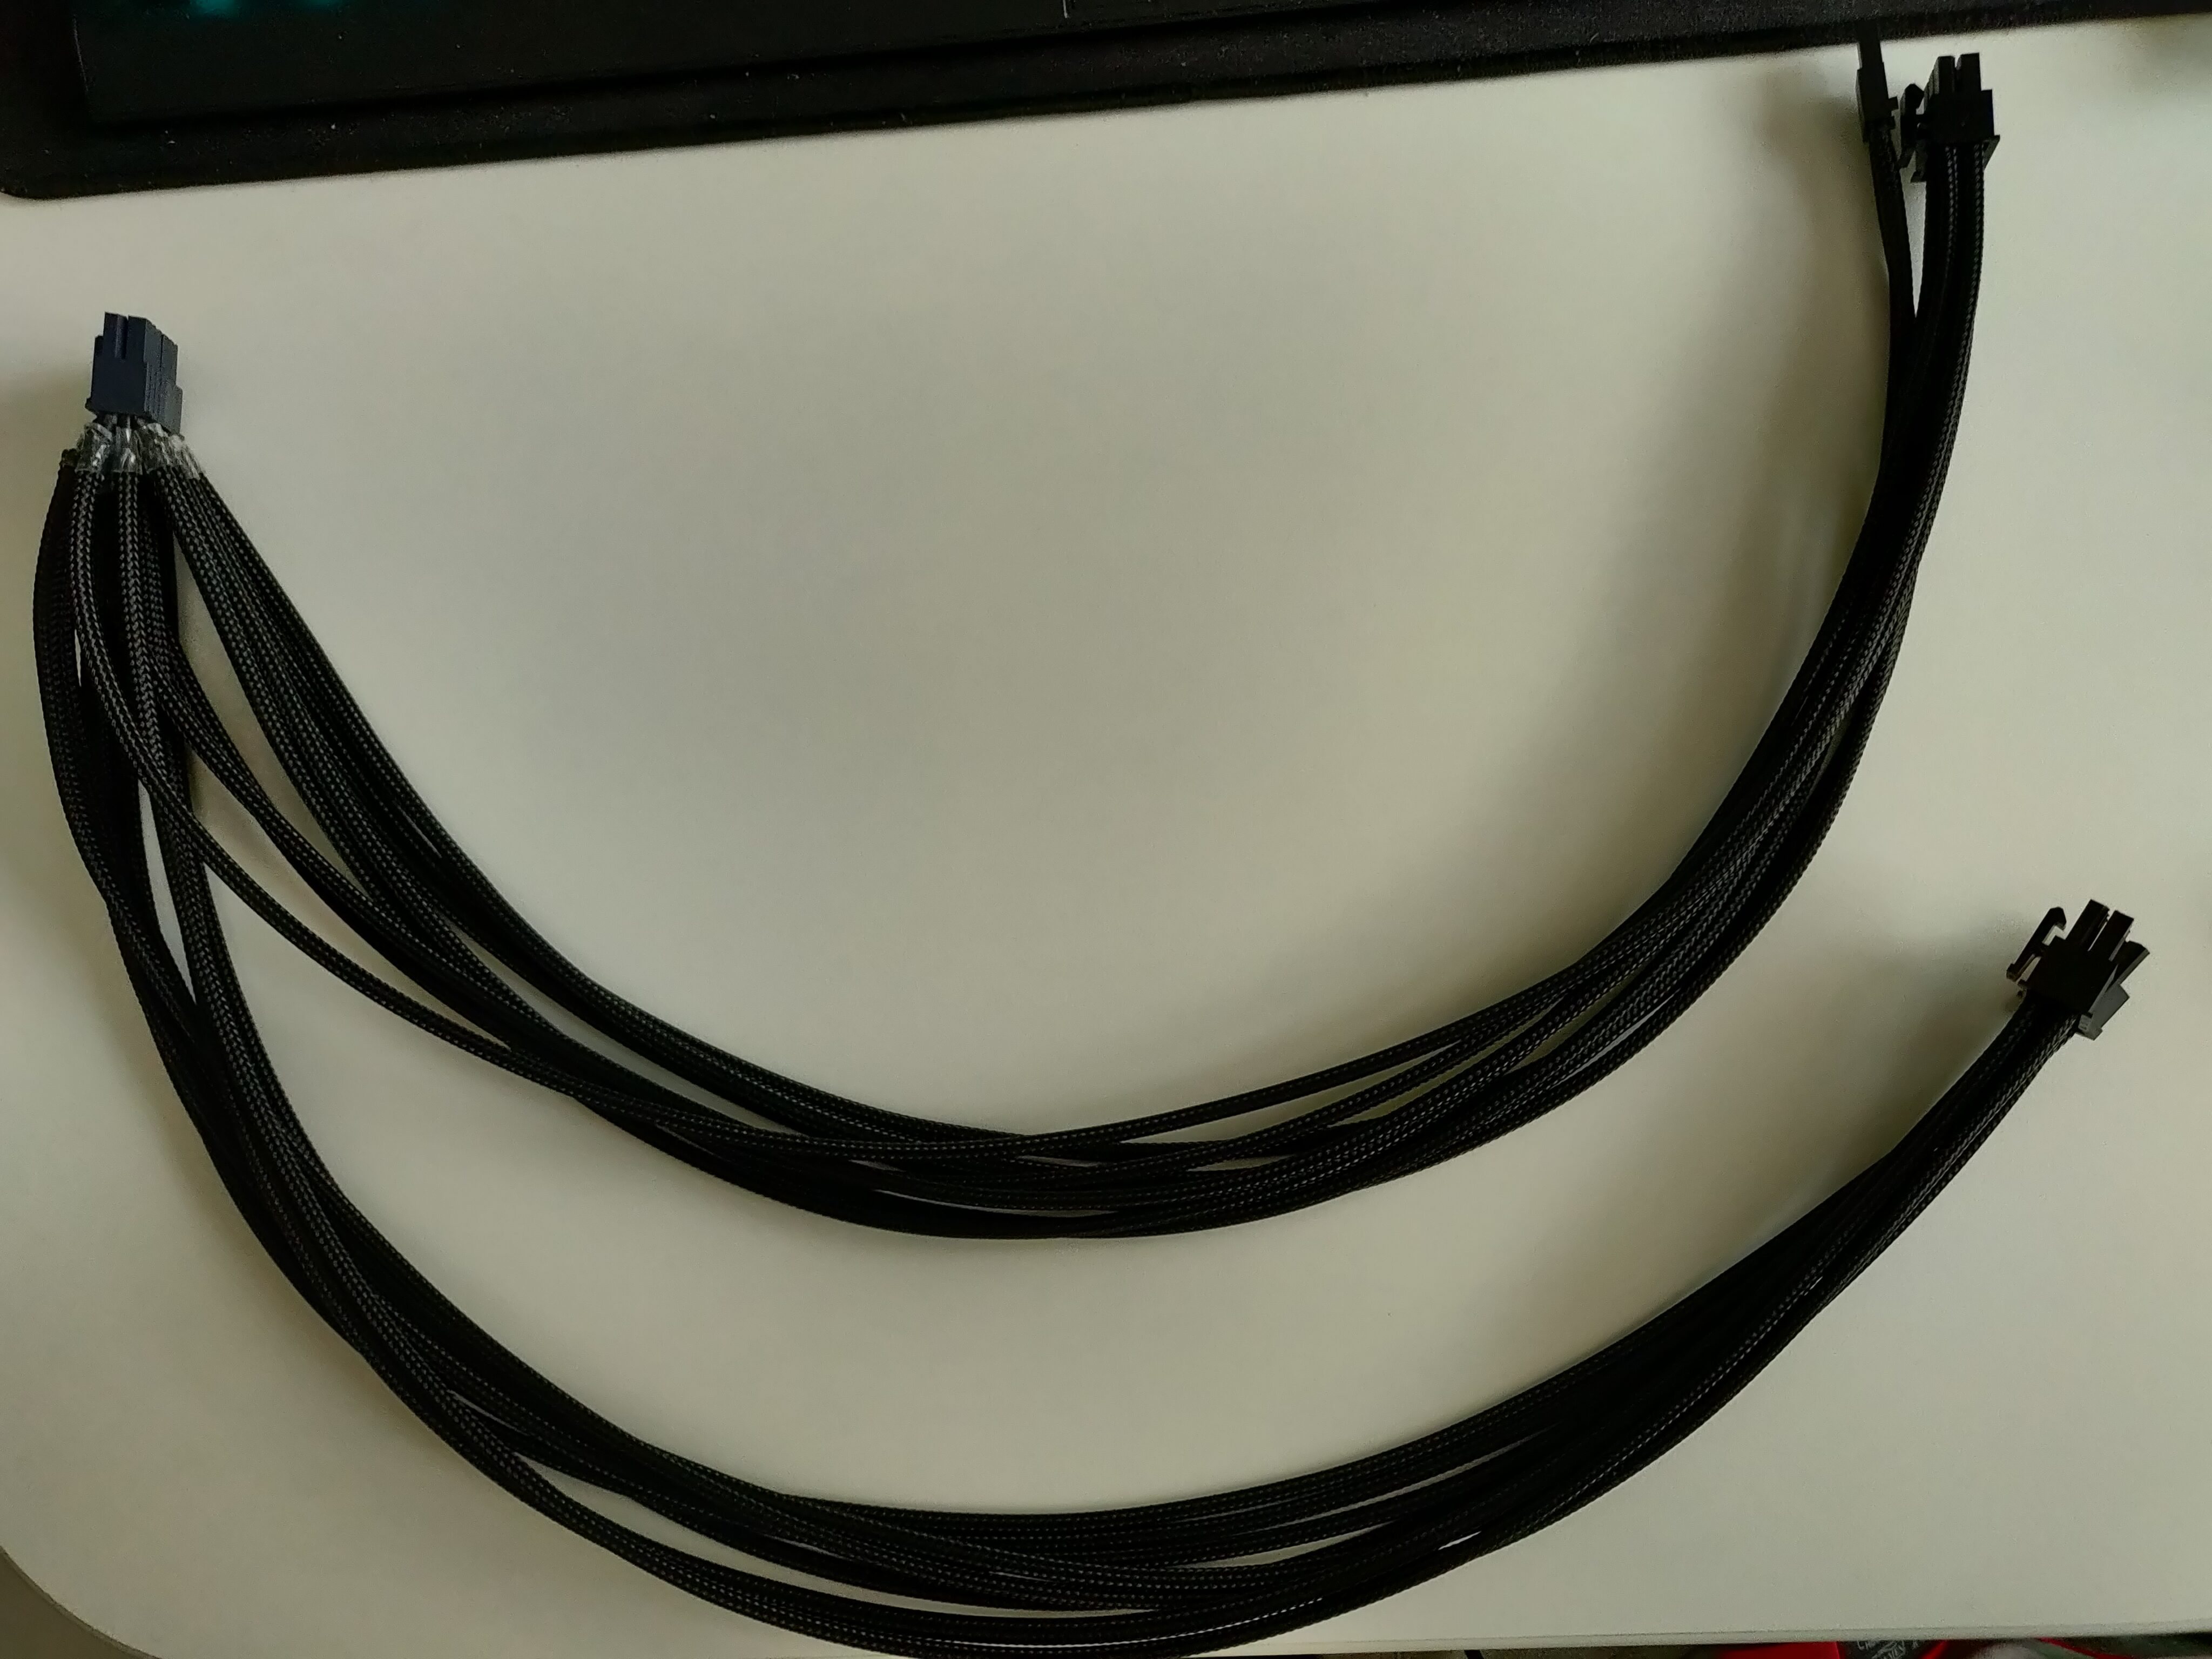
Aside from that, I needed a short internal USB cable to connect the controller to the motherboard, as well as a better-looking PCIe power cable for my graphics card.
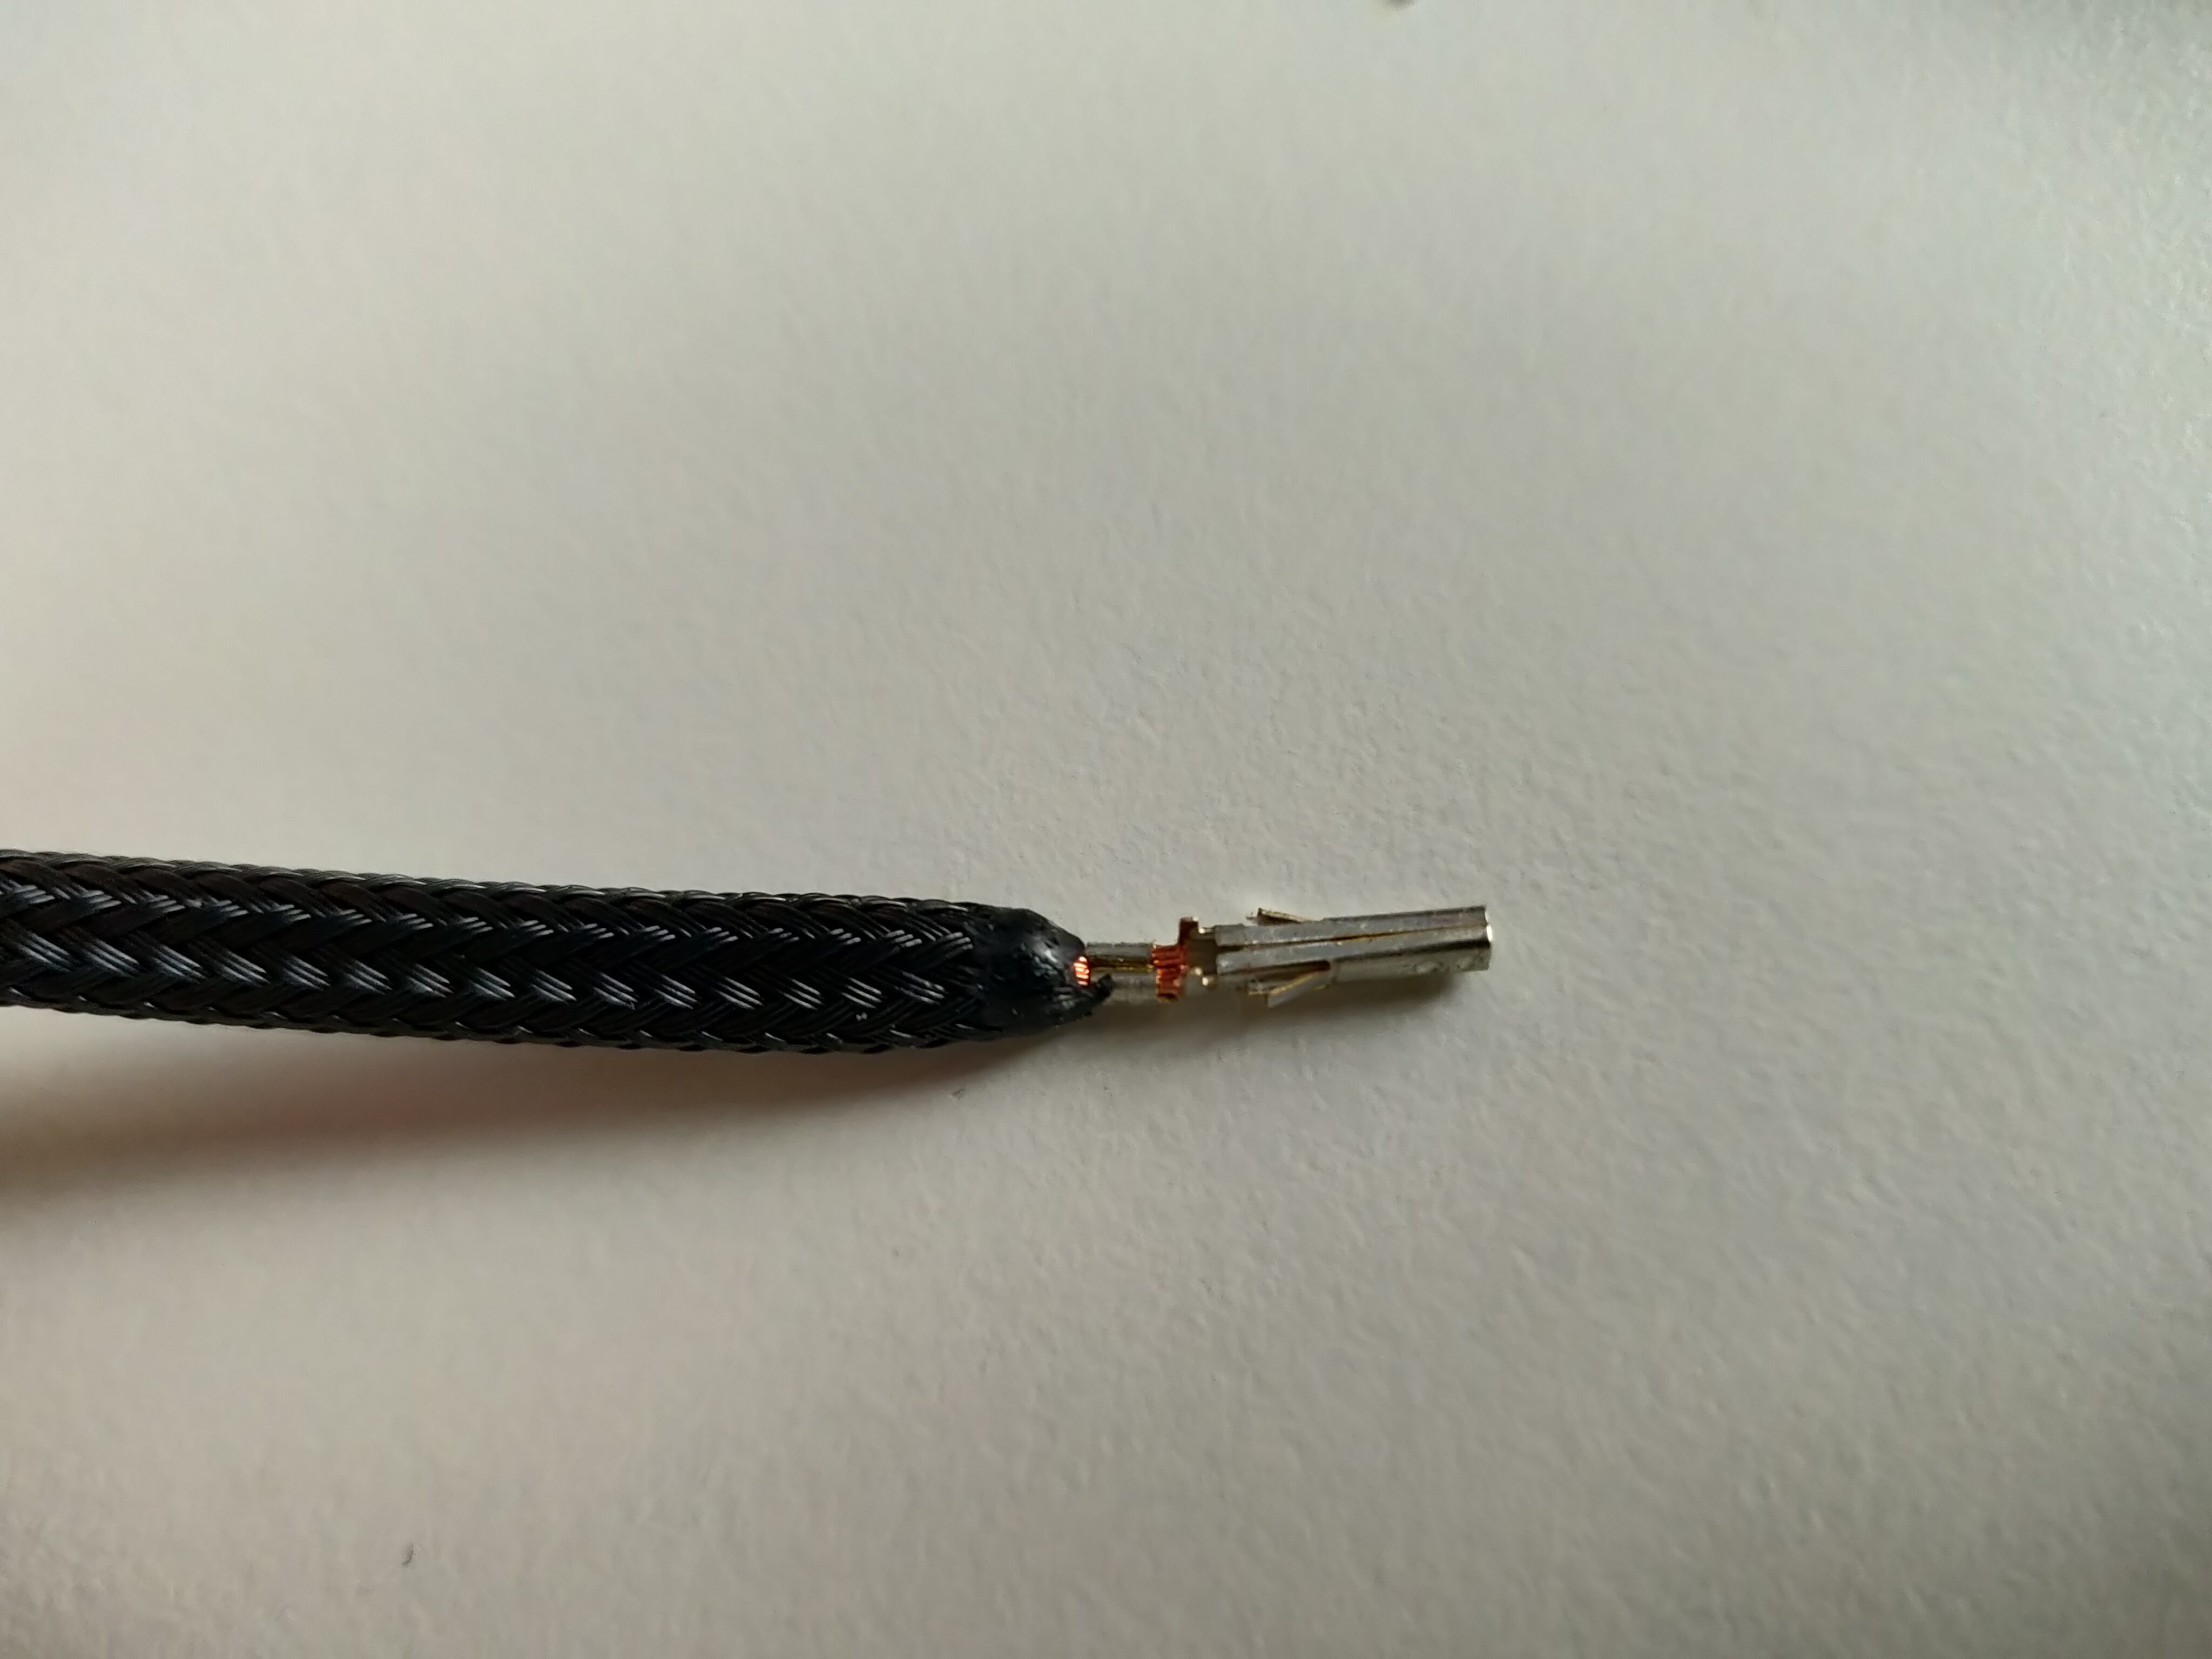
The former was easy to make, similarly to the previous one. For the latter, I wanted it to match the look of the braided cables I’d be using for the rest of the PC – so I had to cut individual wires, crimp and braid them, and join them together at the power supply connector (made for the specific modular power supply I was going to use).
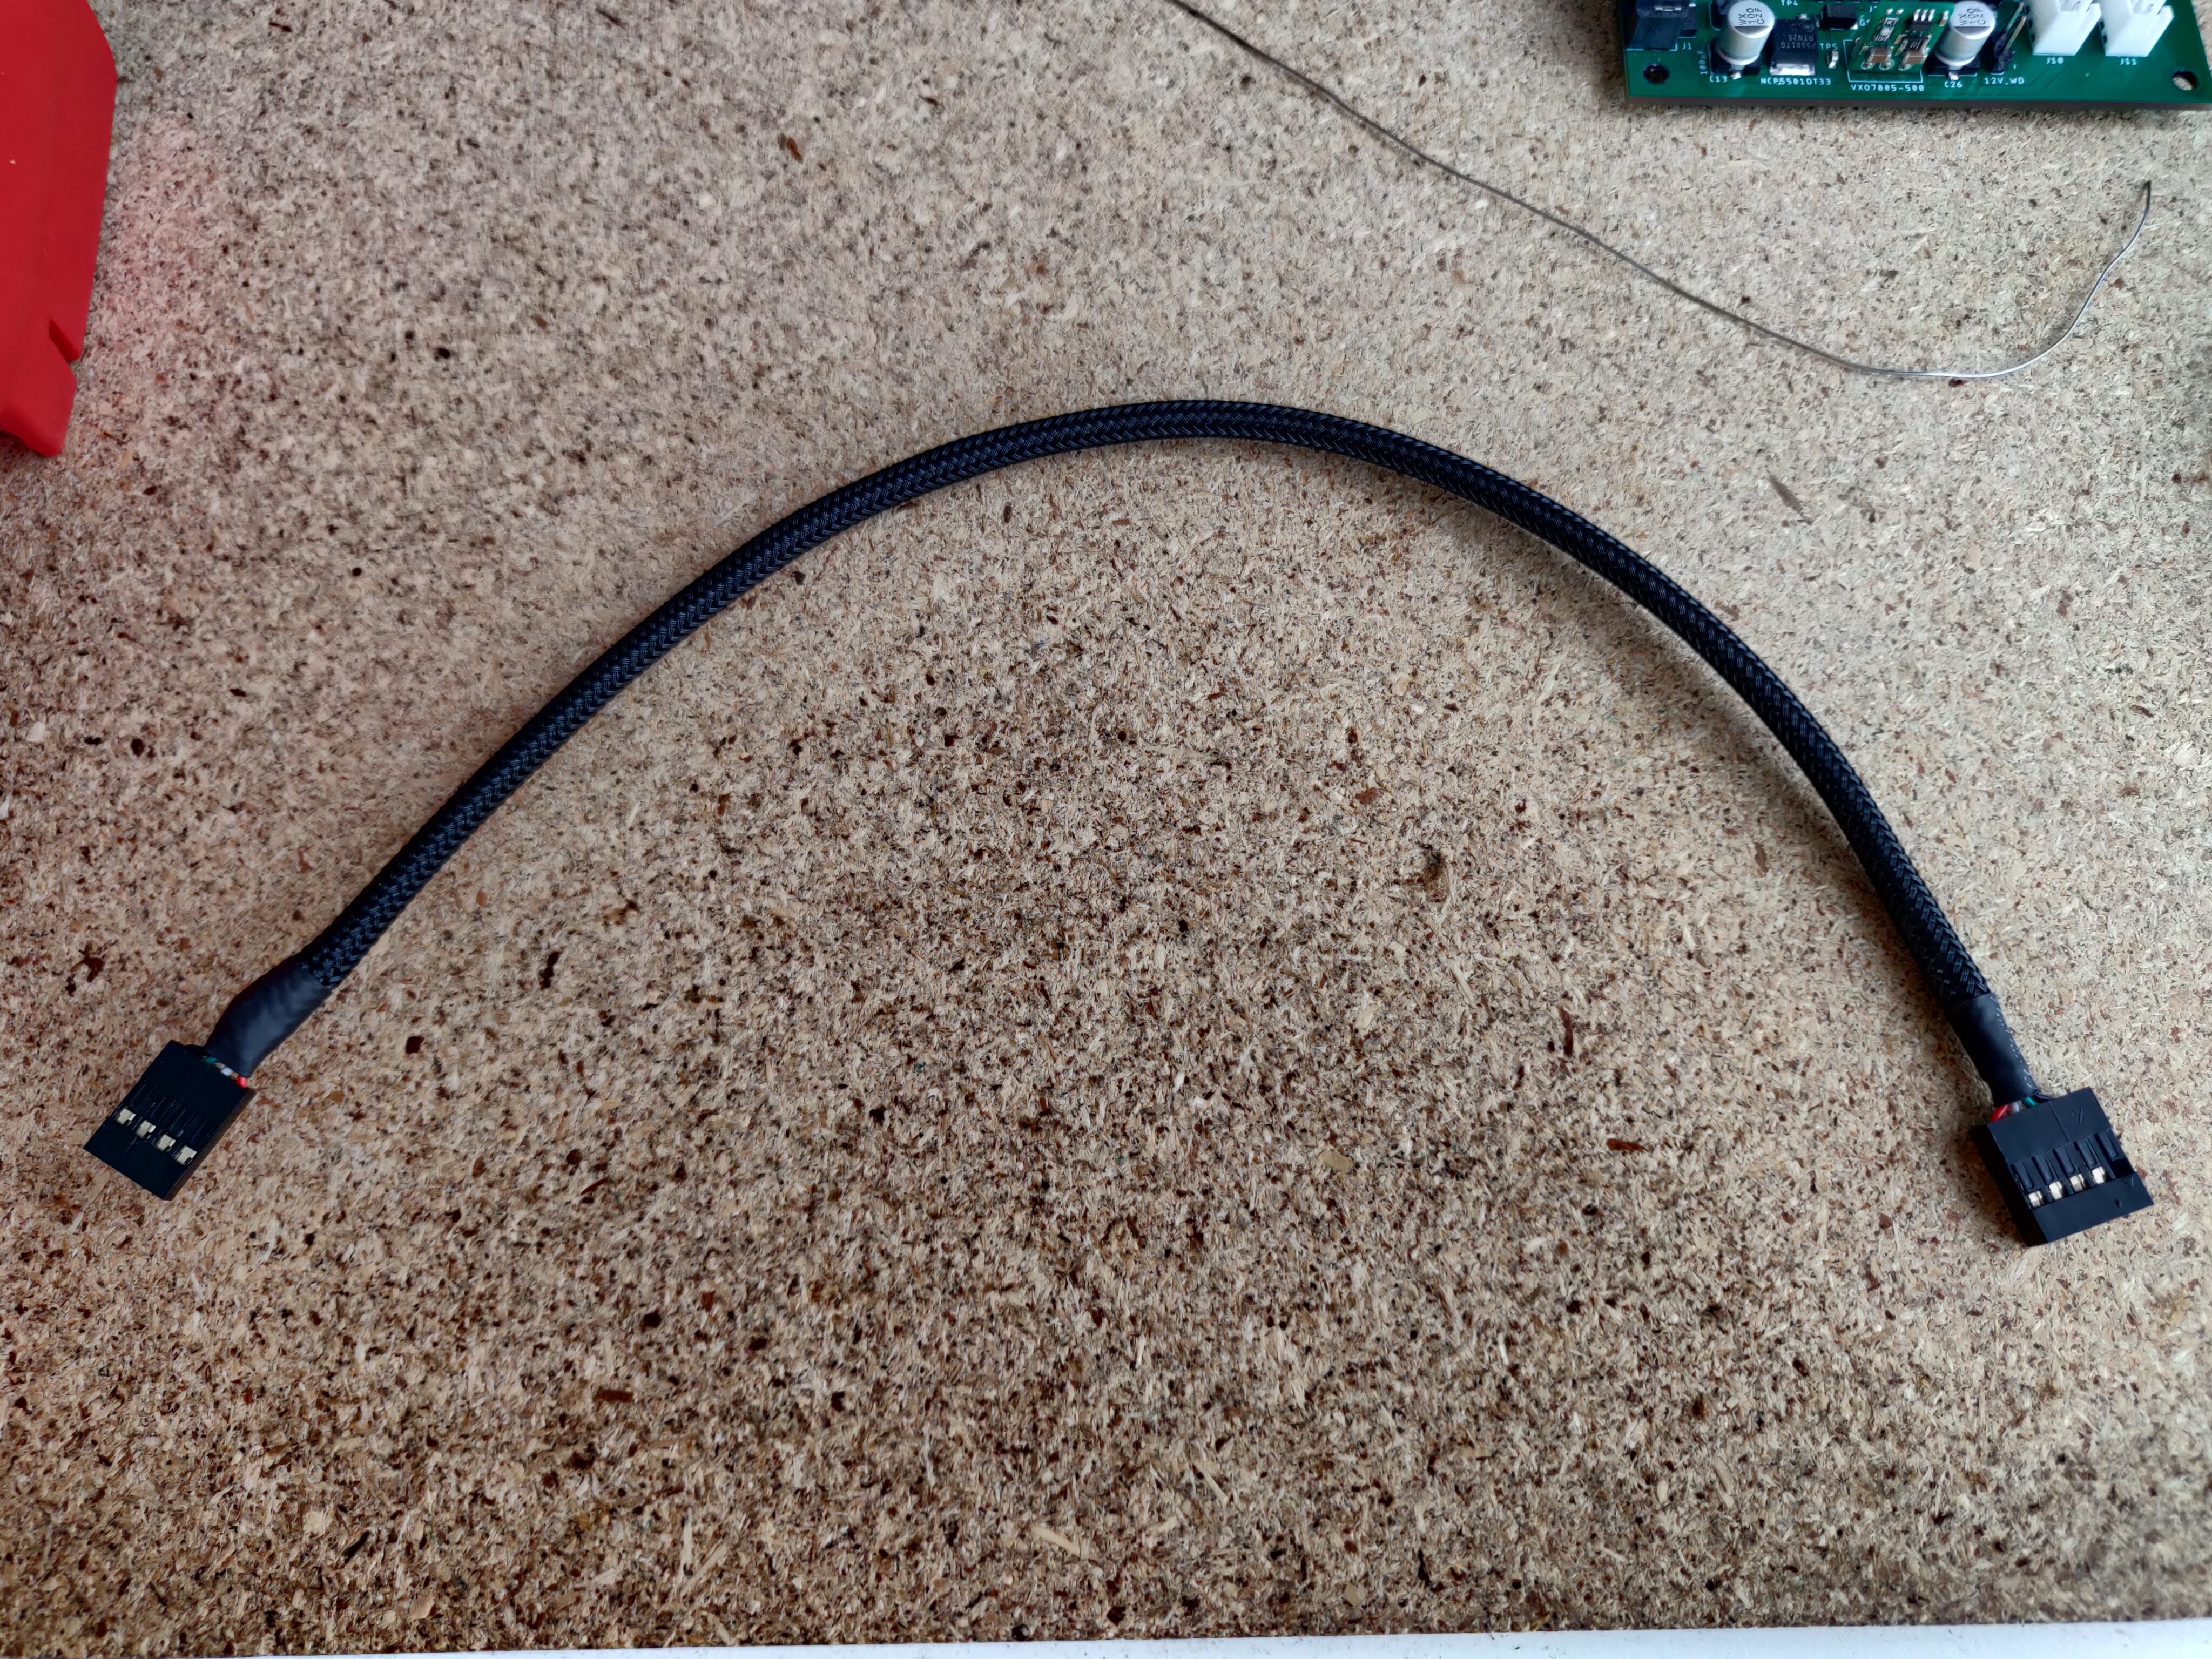
With a USB connection to the controller PCB, it was time to program the case controller firmware.
For one, this included various safety and cooling control features, configuration and status reporting over USB, and so on.
Aside from that, of course, it featured the RGB LED control – here you can see me testing various LED lighting patterns, as well as a “full USB control” mode, which would allow each LED’s colour to be set individually by software running on the PC, more than 30 times per second.
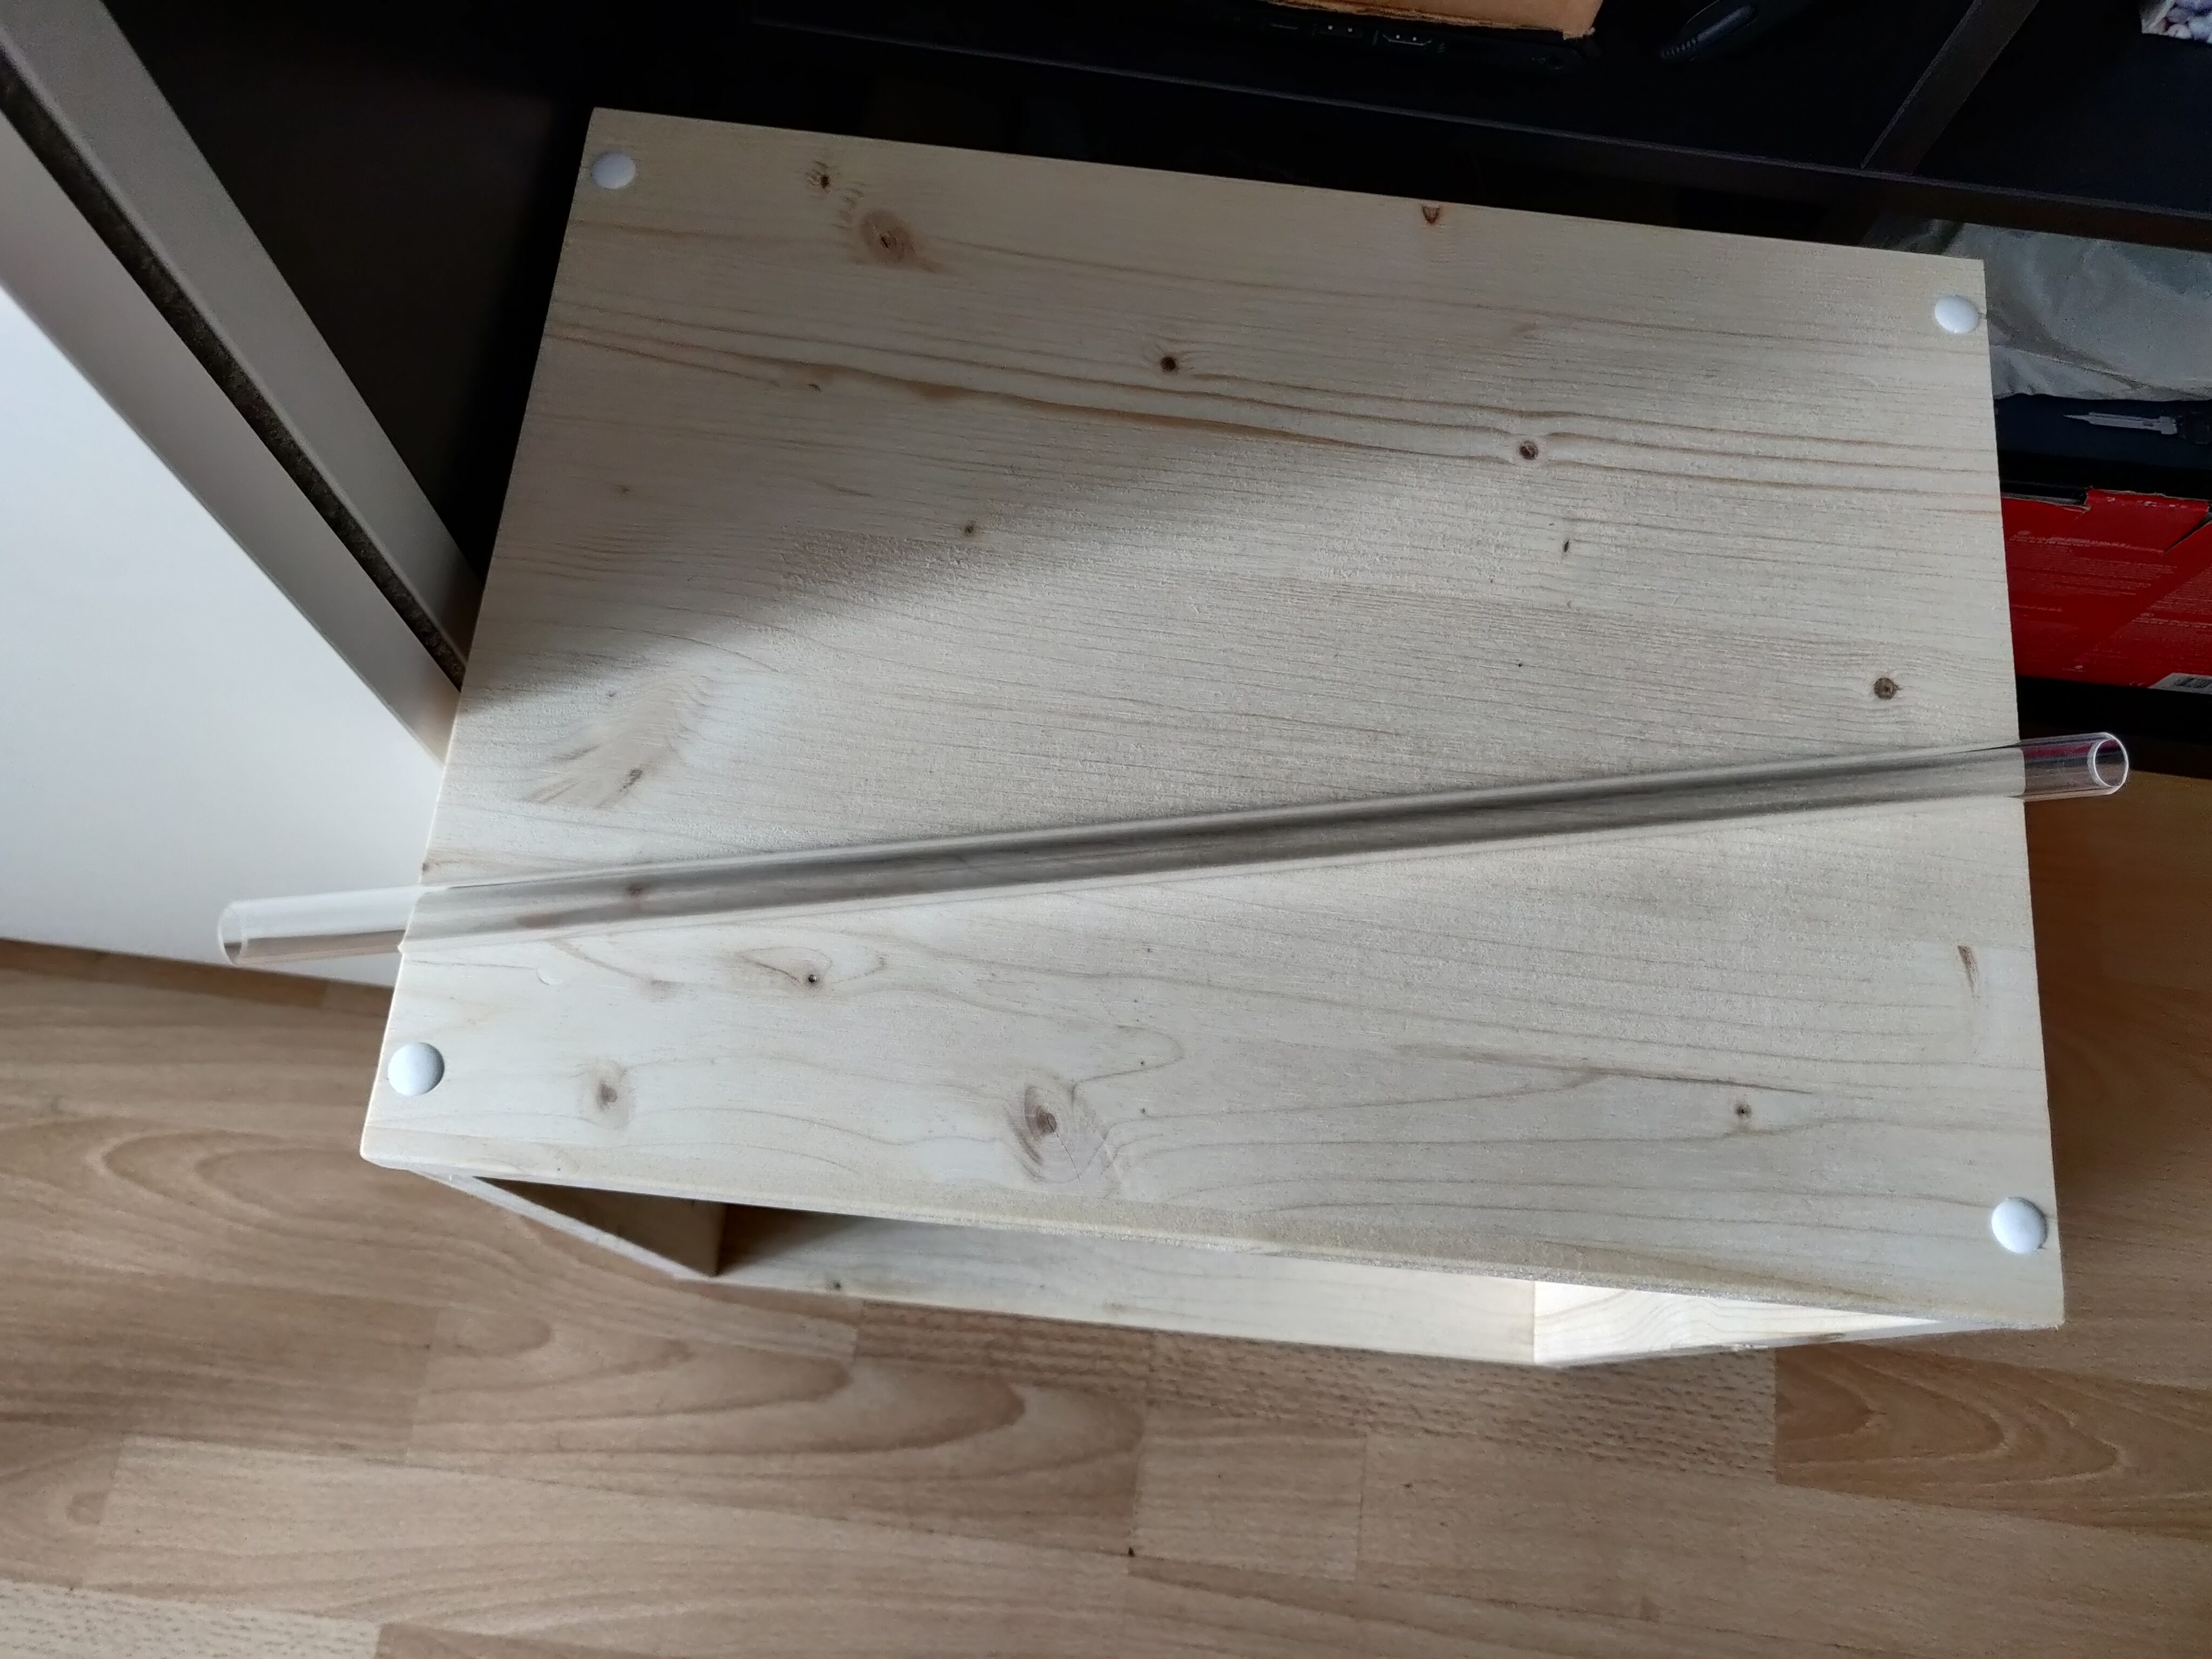
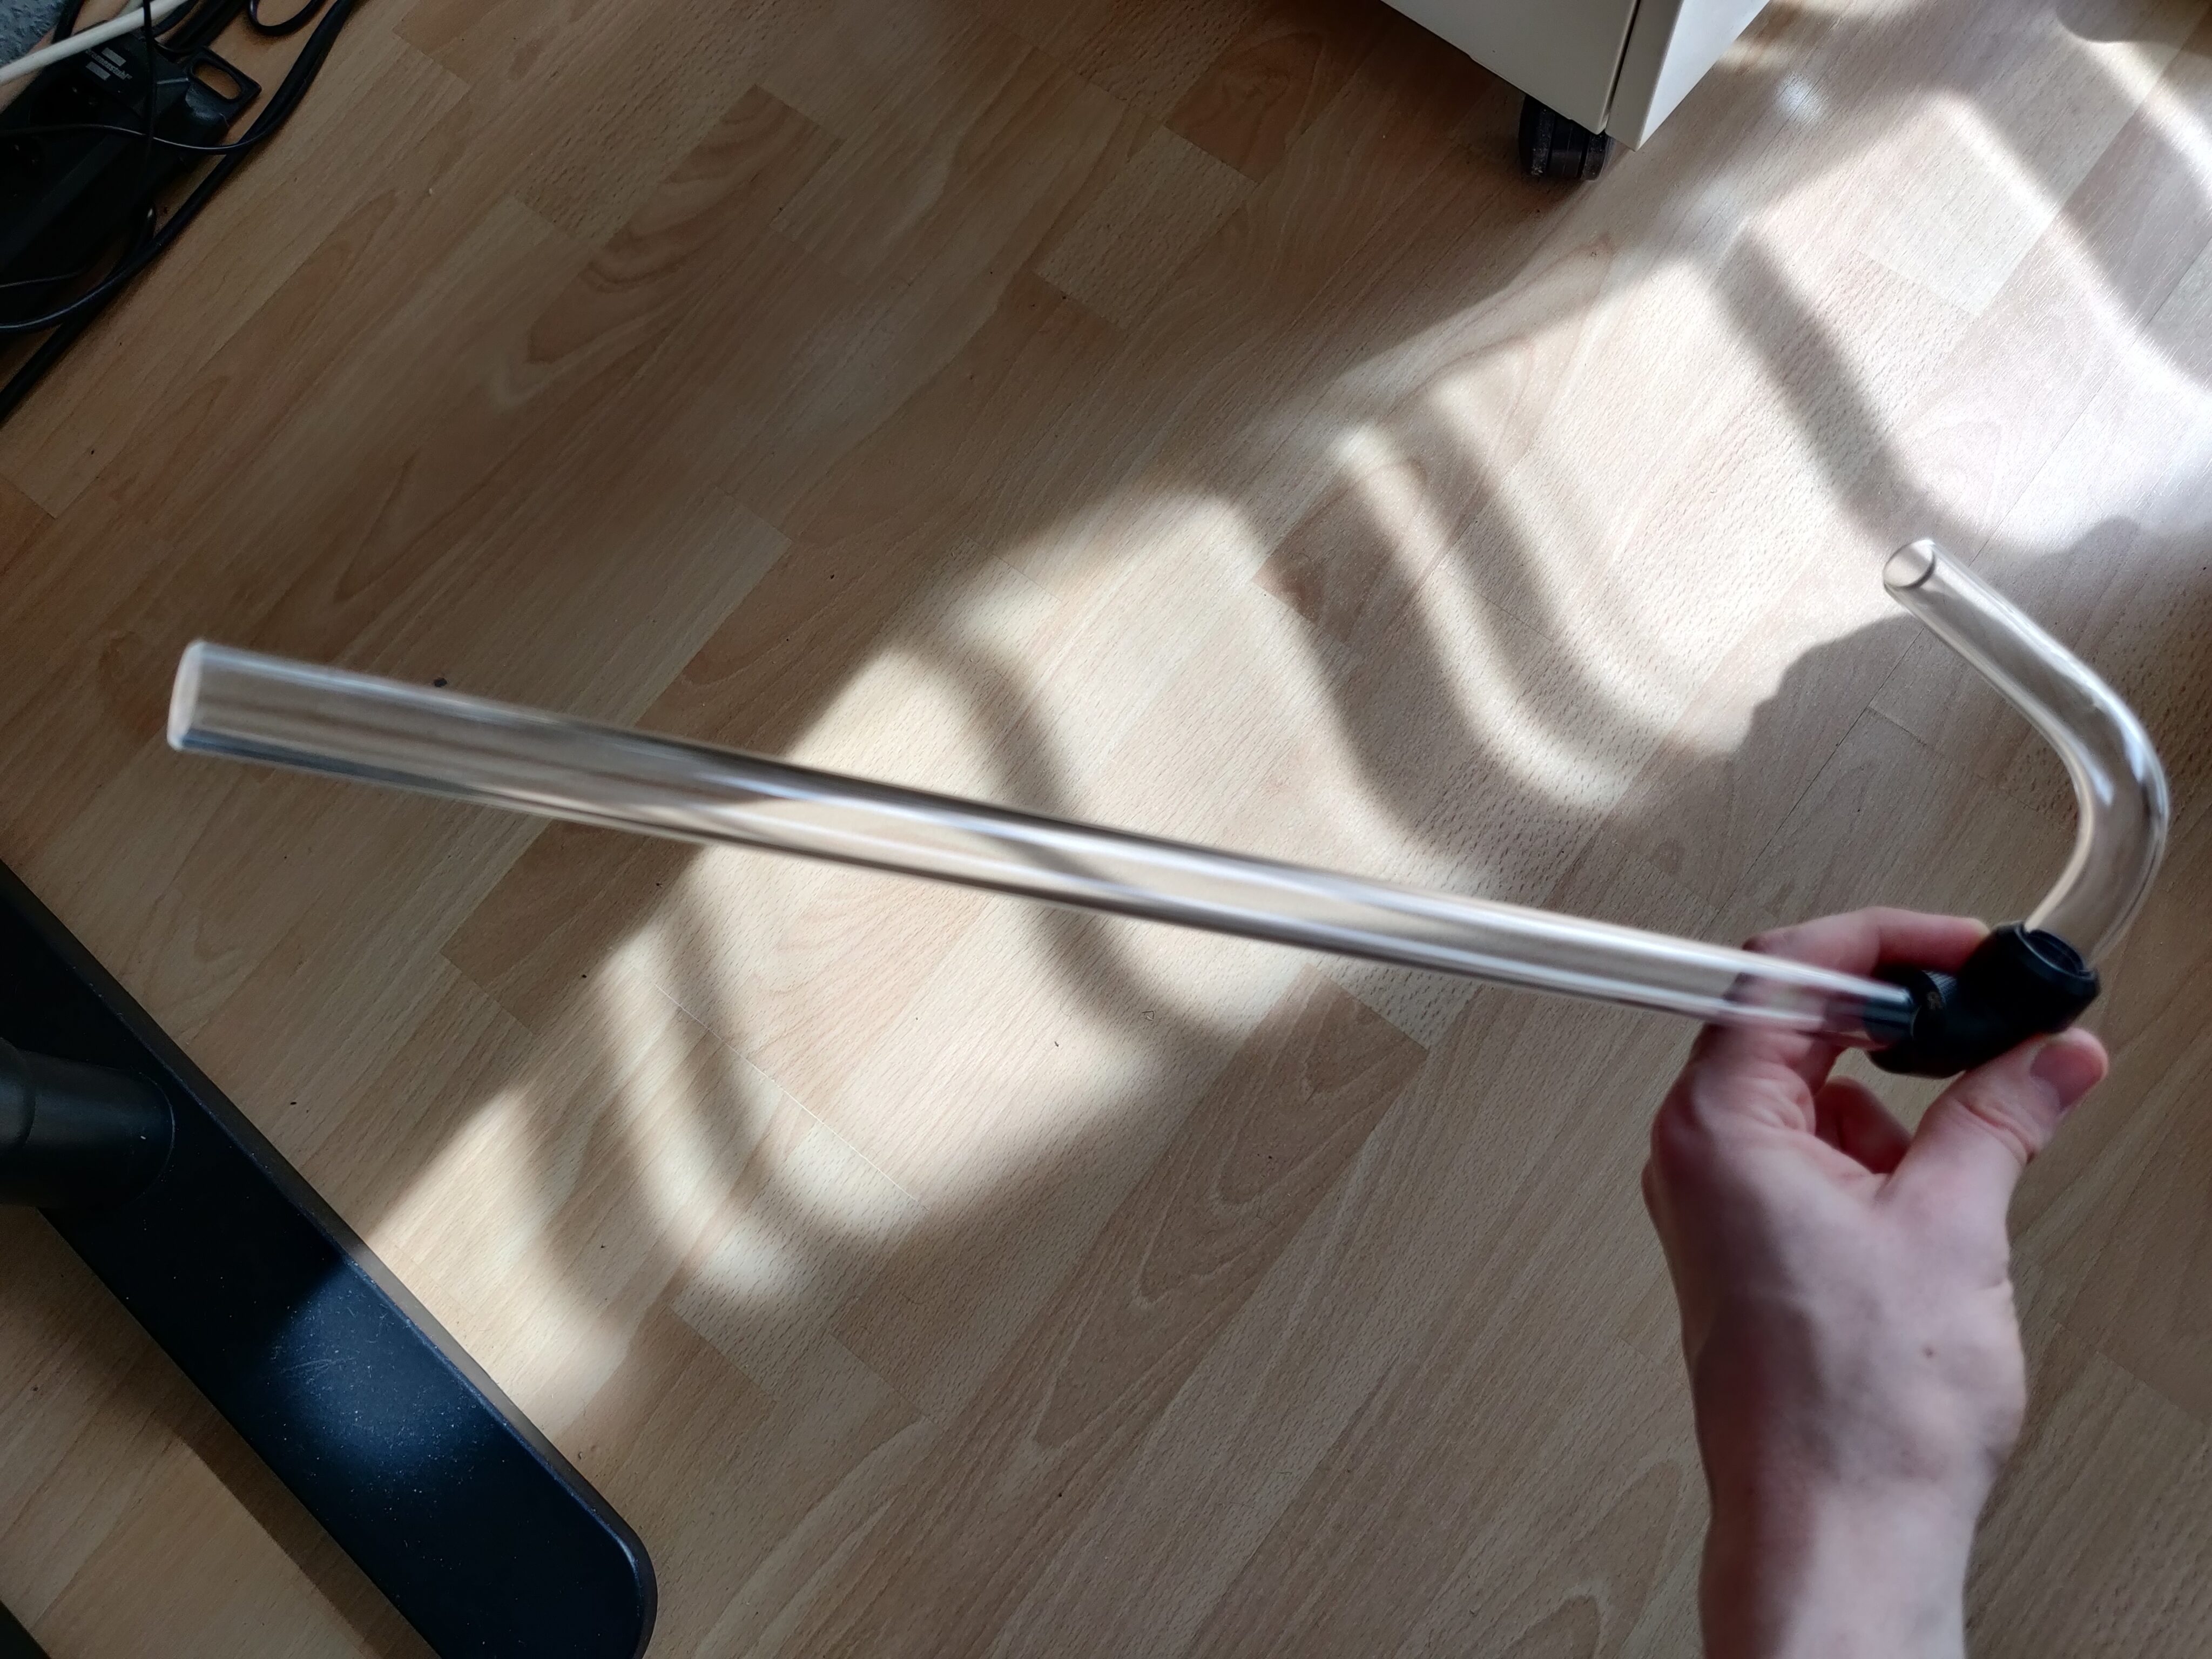
Up next were the fixed parts of the coolant loop: A hard tube (acrylic tube) from the case inlet to the front coolant channel, a small soft tube between the front and top coolant channels, the reservoir, as well as another hard tube from the reservoir outlet to the case outlet.
I decided to use hard tubes where possible here, as they definitely look nicer than soft tubes, in my opinion – but I’d still opt for soft tubes for tight spots (like between the integrated channels) or variable off-angle runs (i.e., for the PC components).
Theoretically, hard tubes can be bent into almost any angles and shapes using heat, but I decided to not deal with that here, just using straight and pre-bent hard tubes that I cut to length.
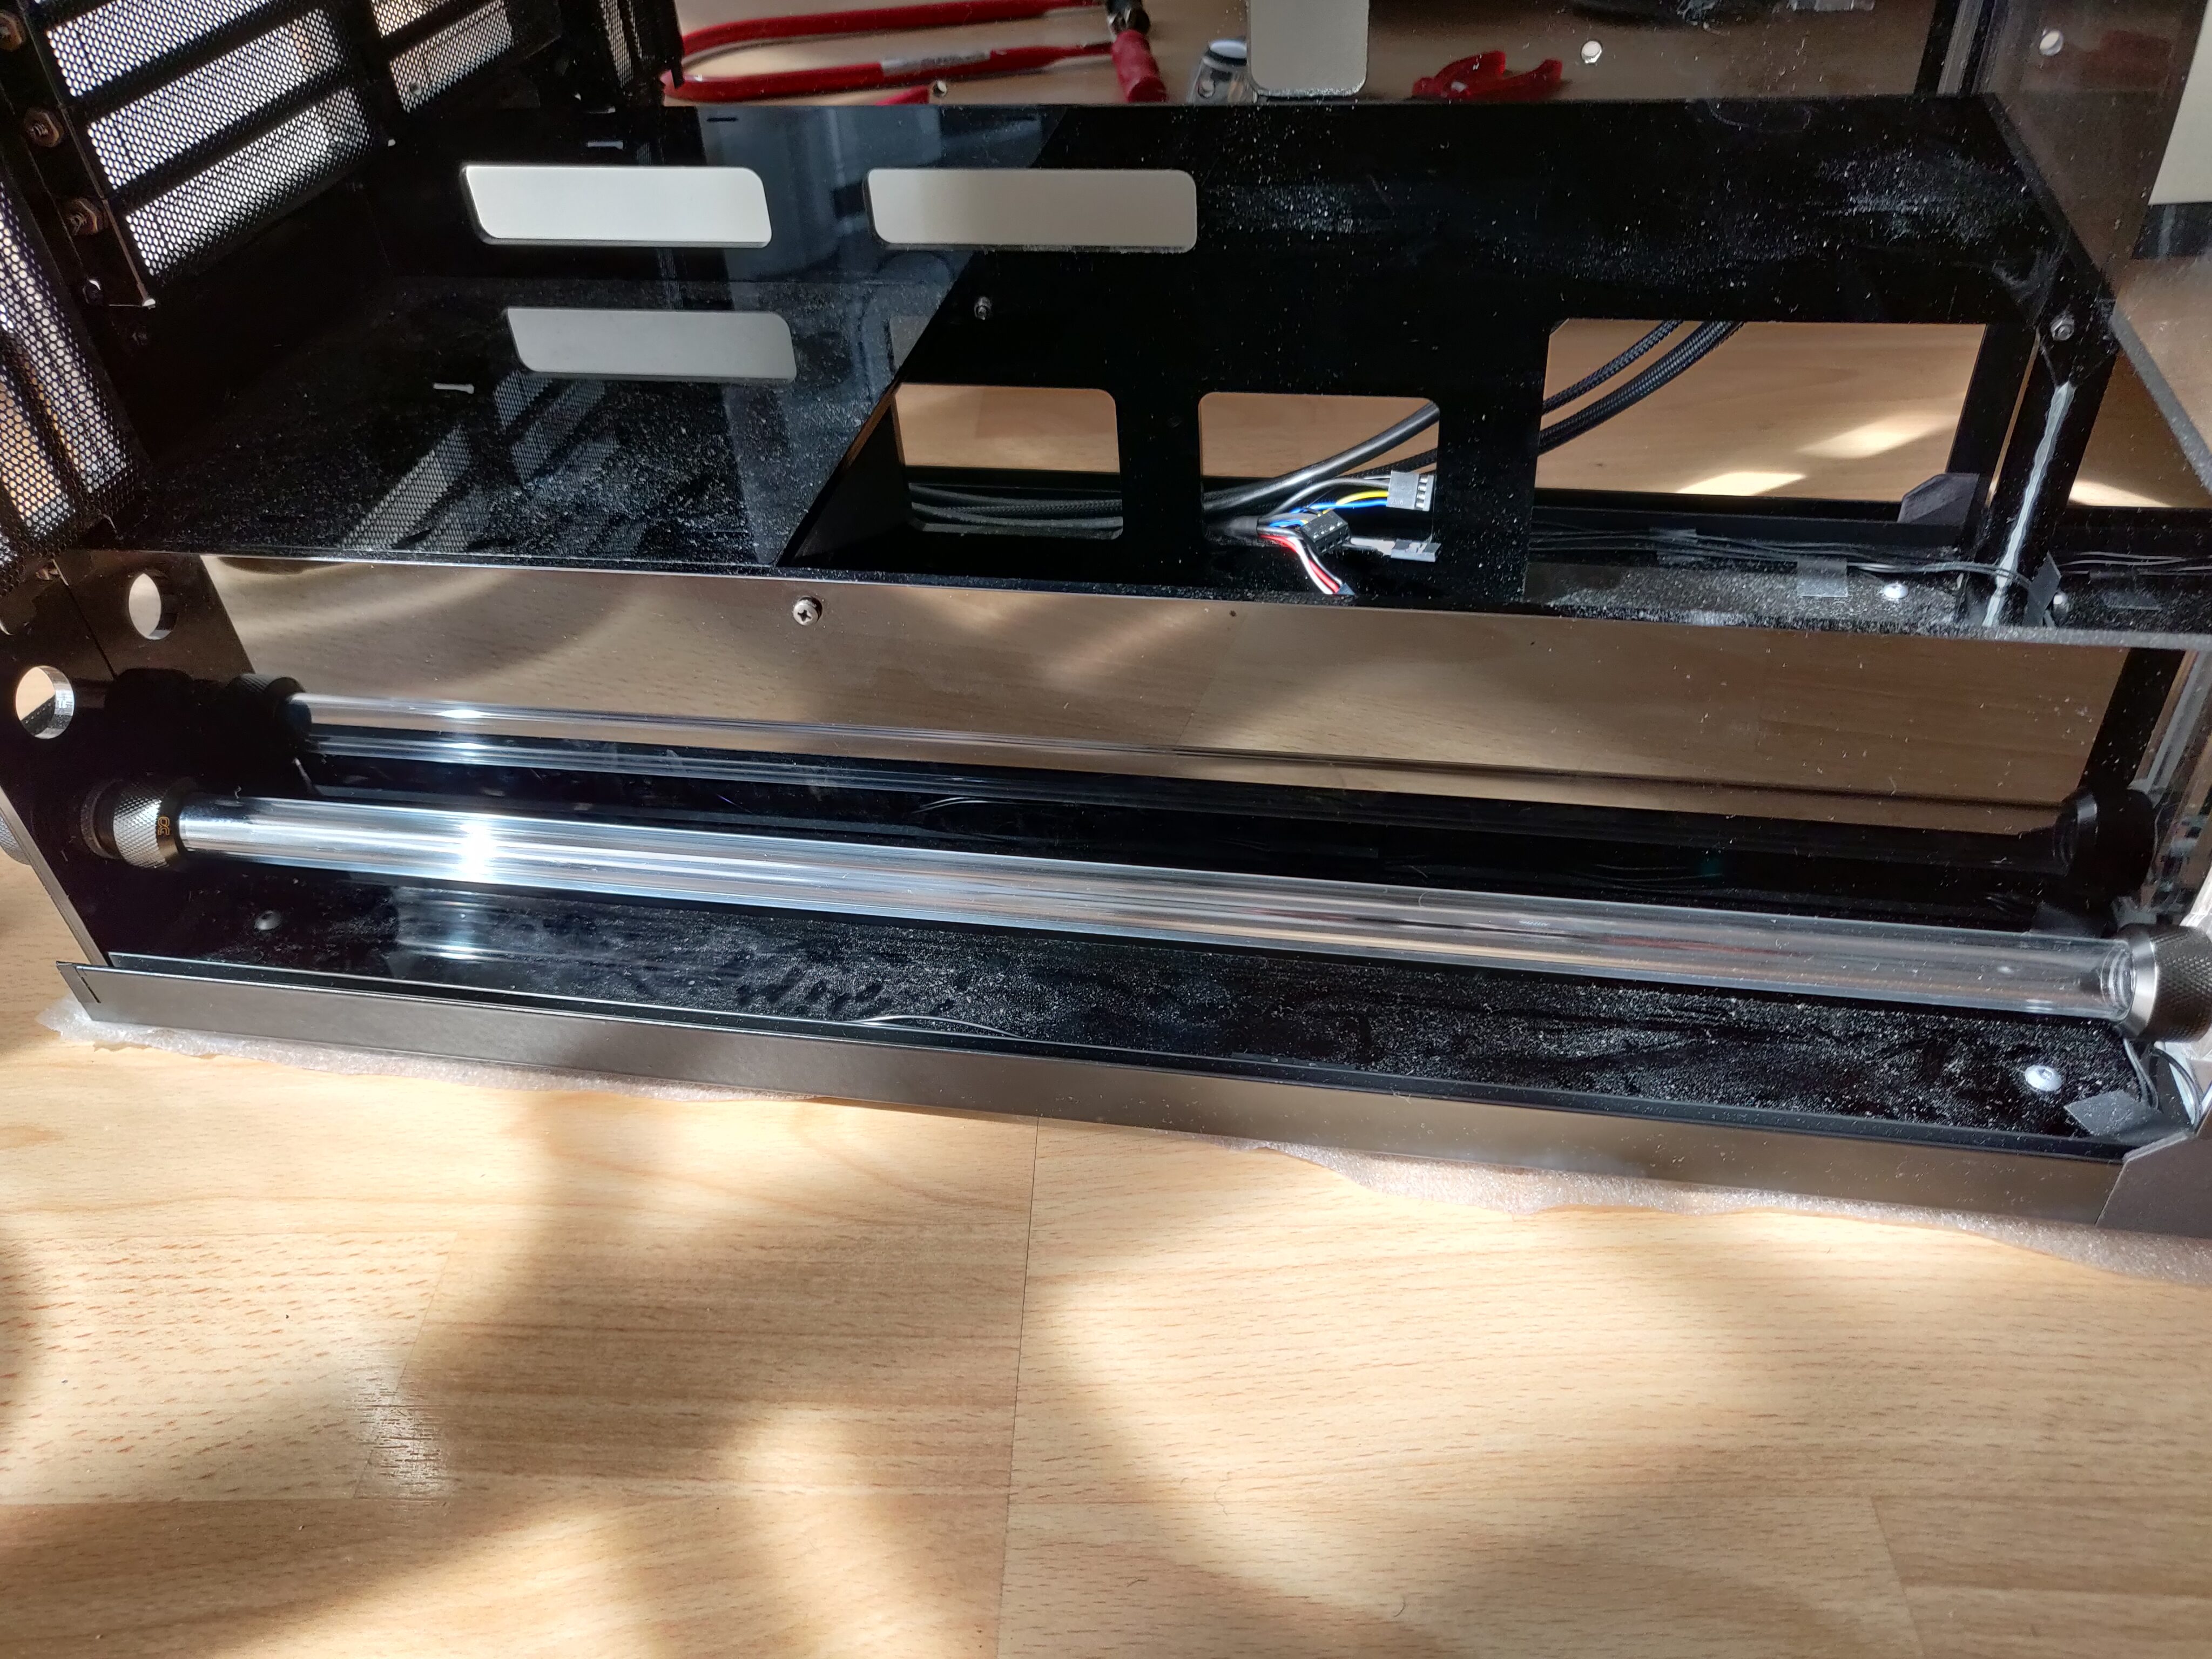
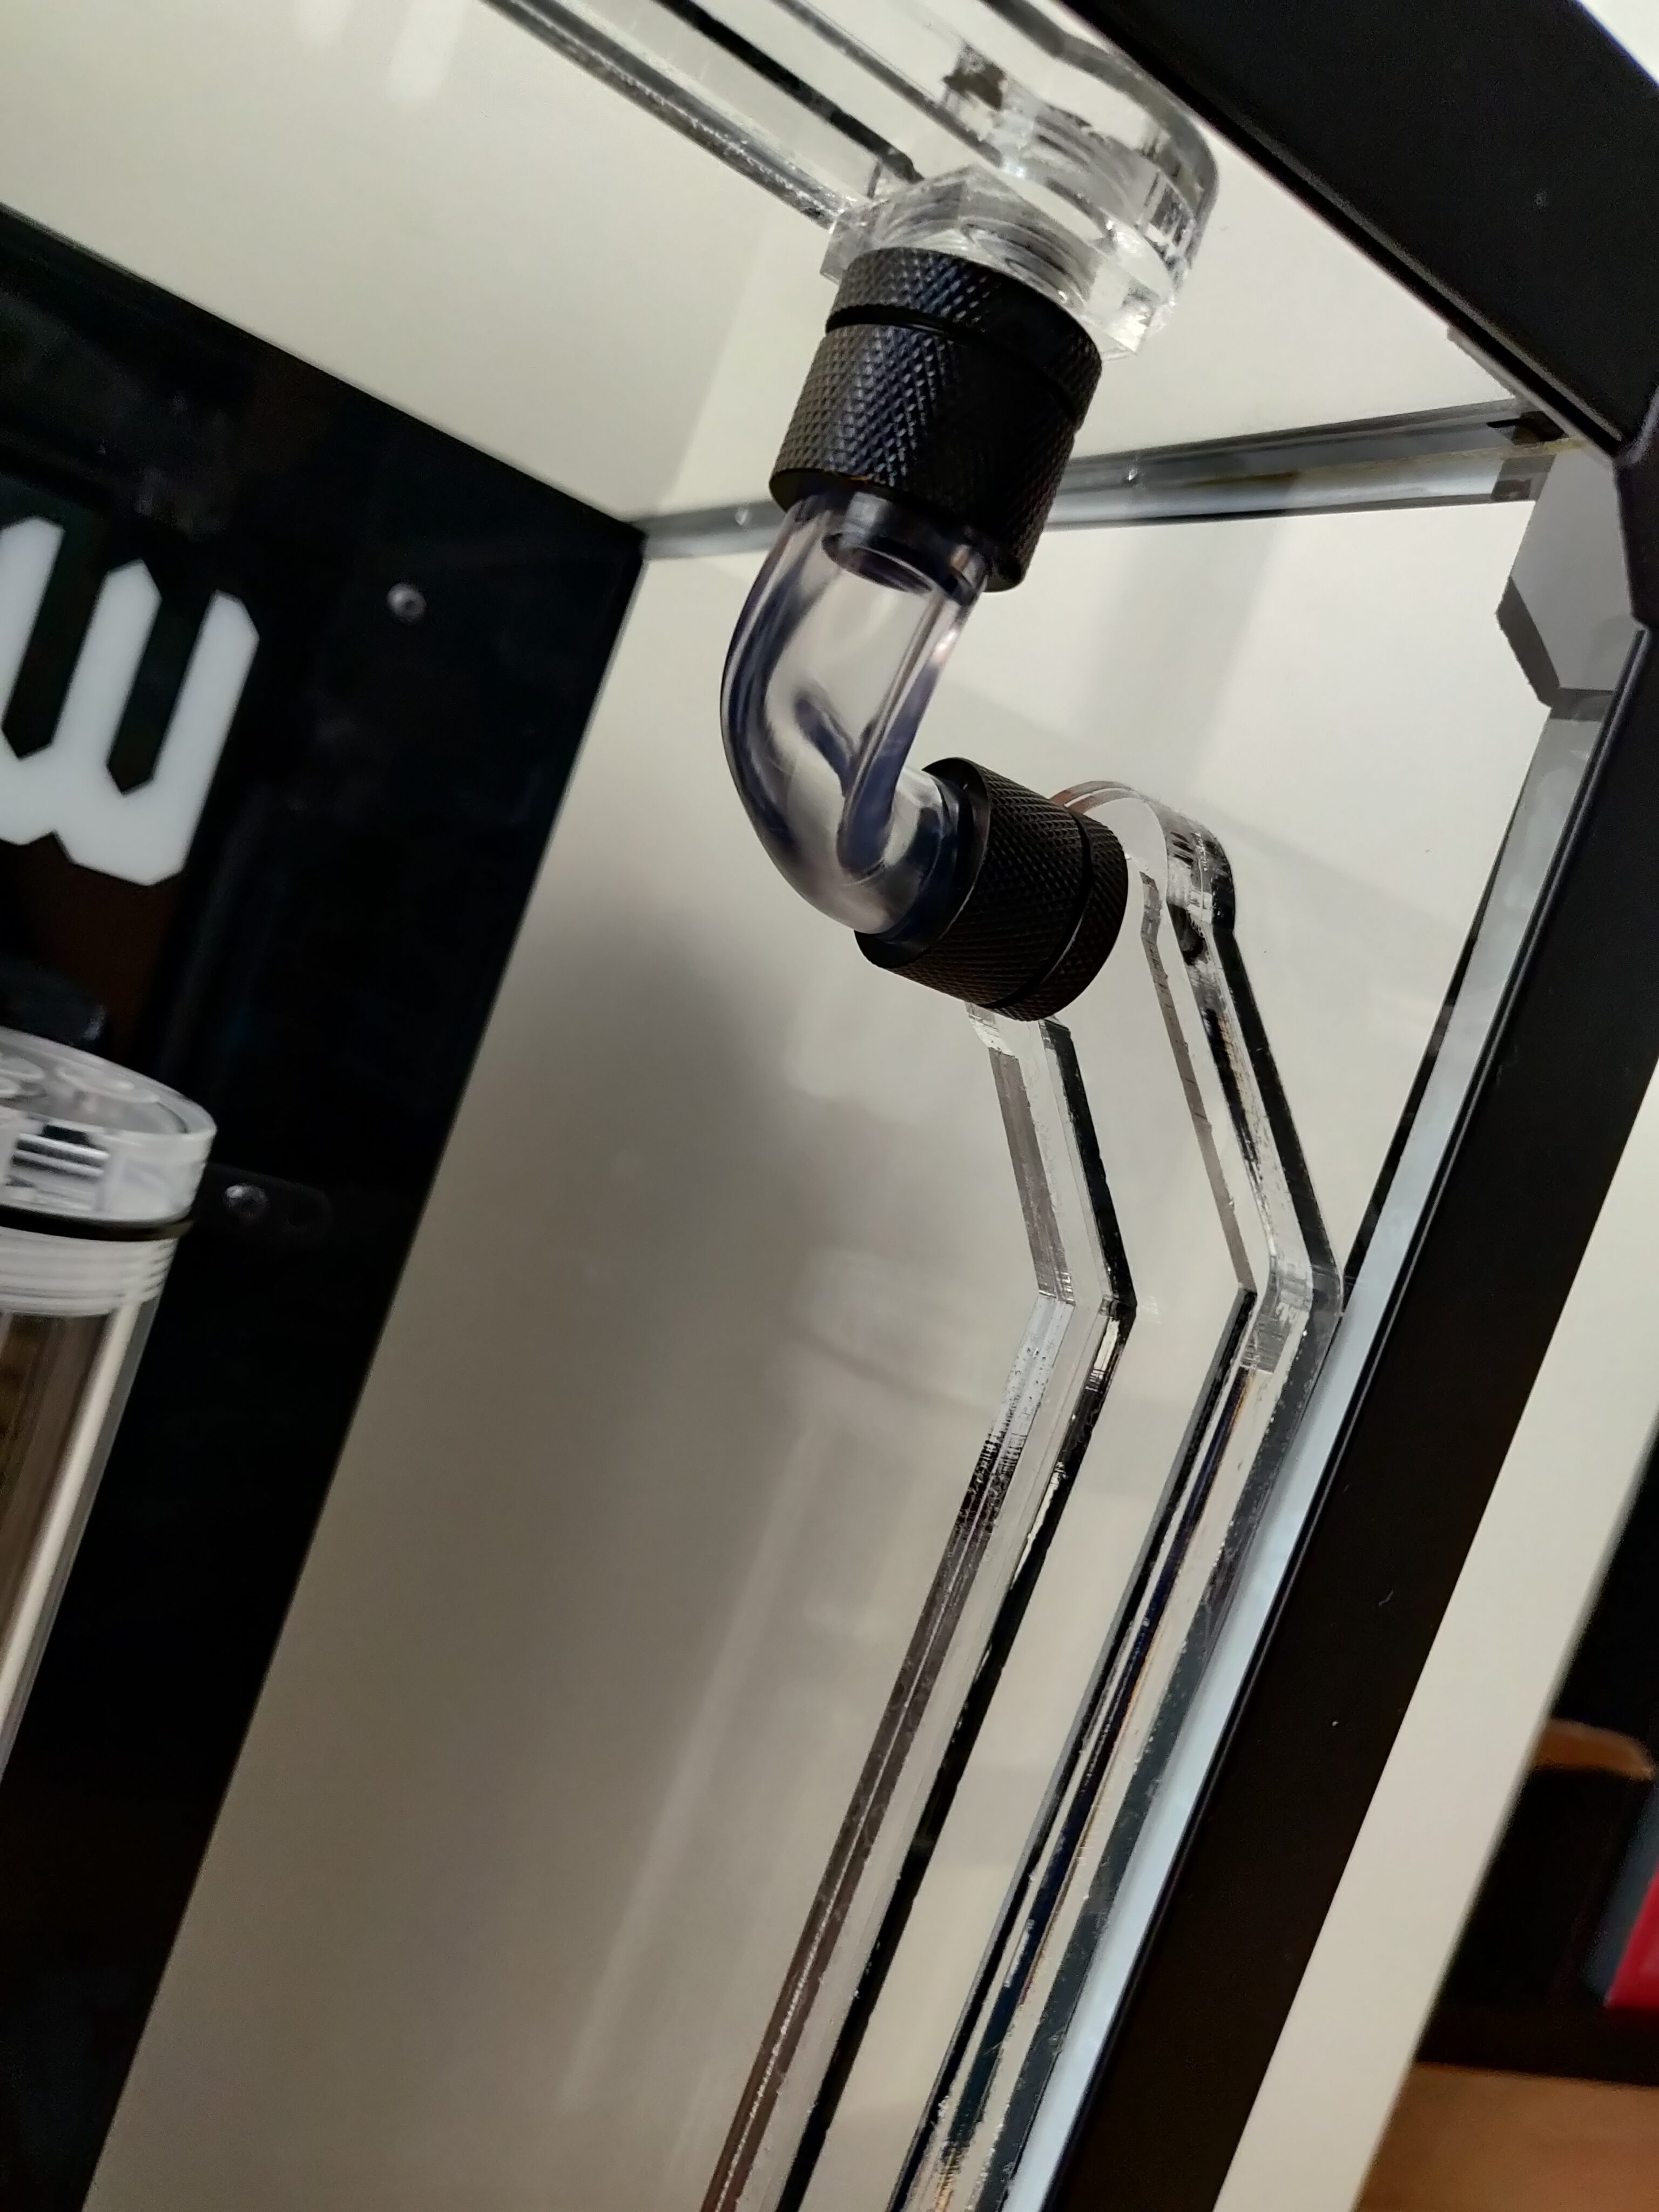
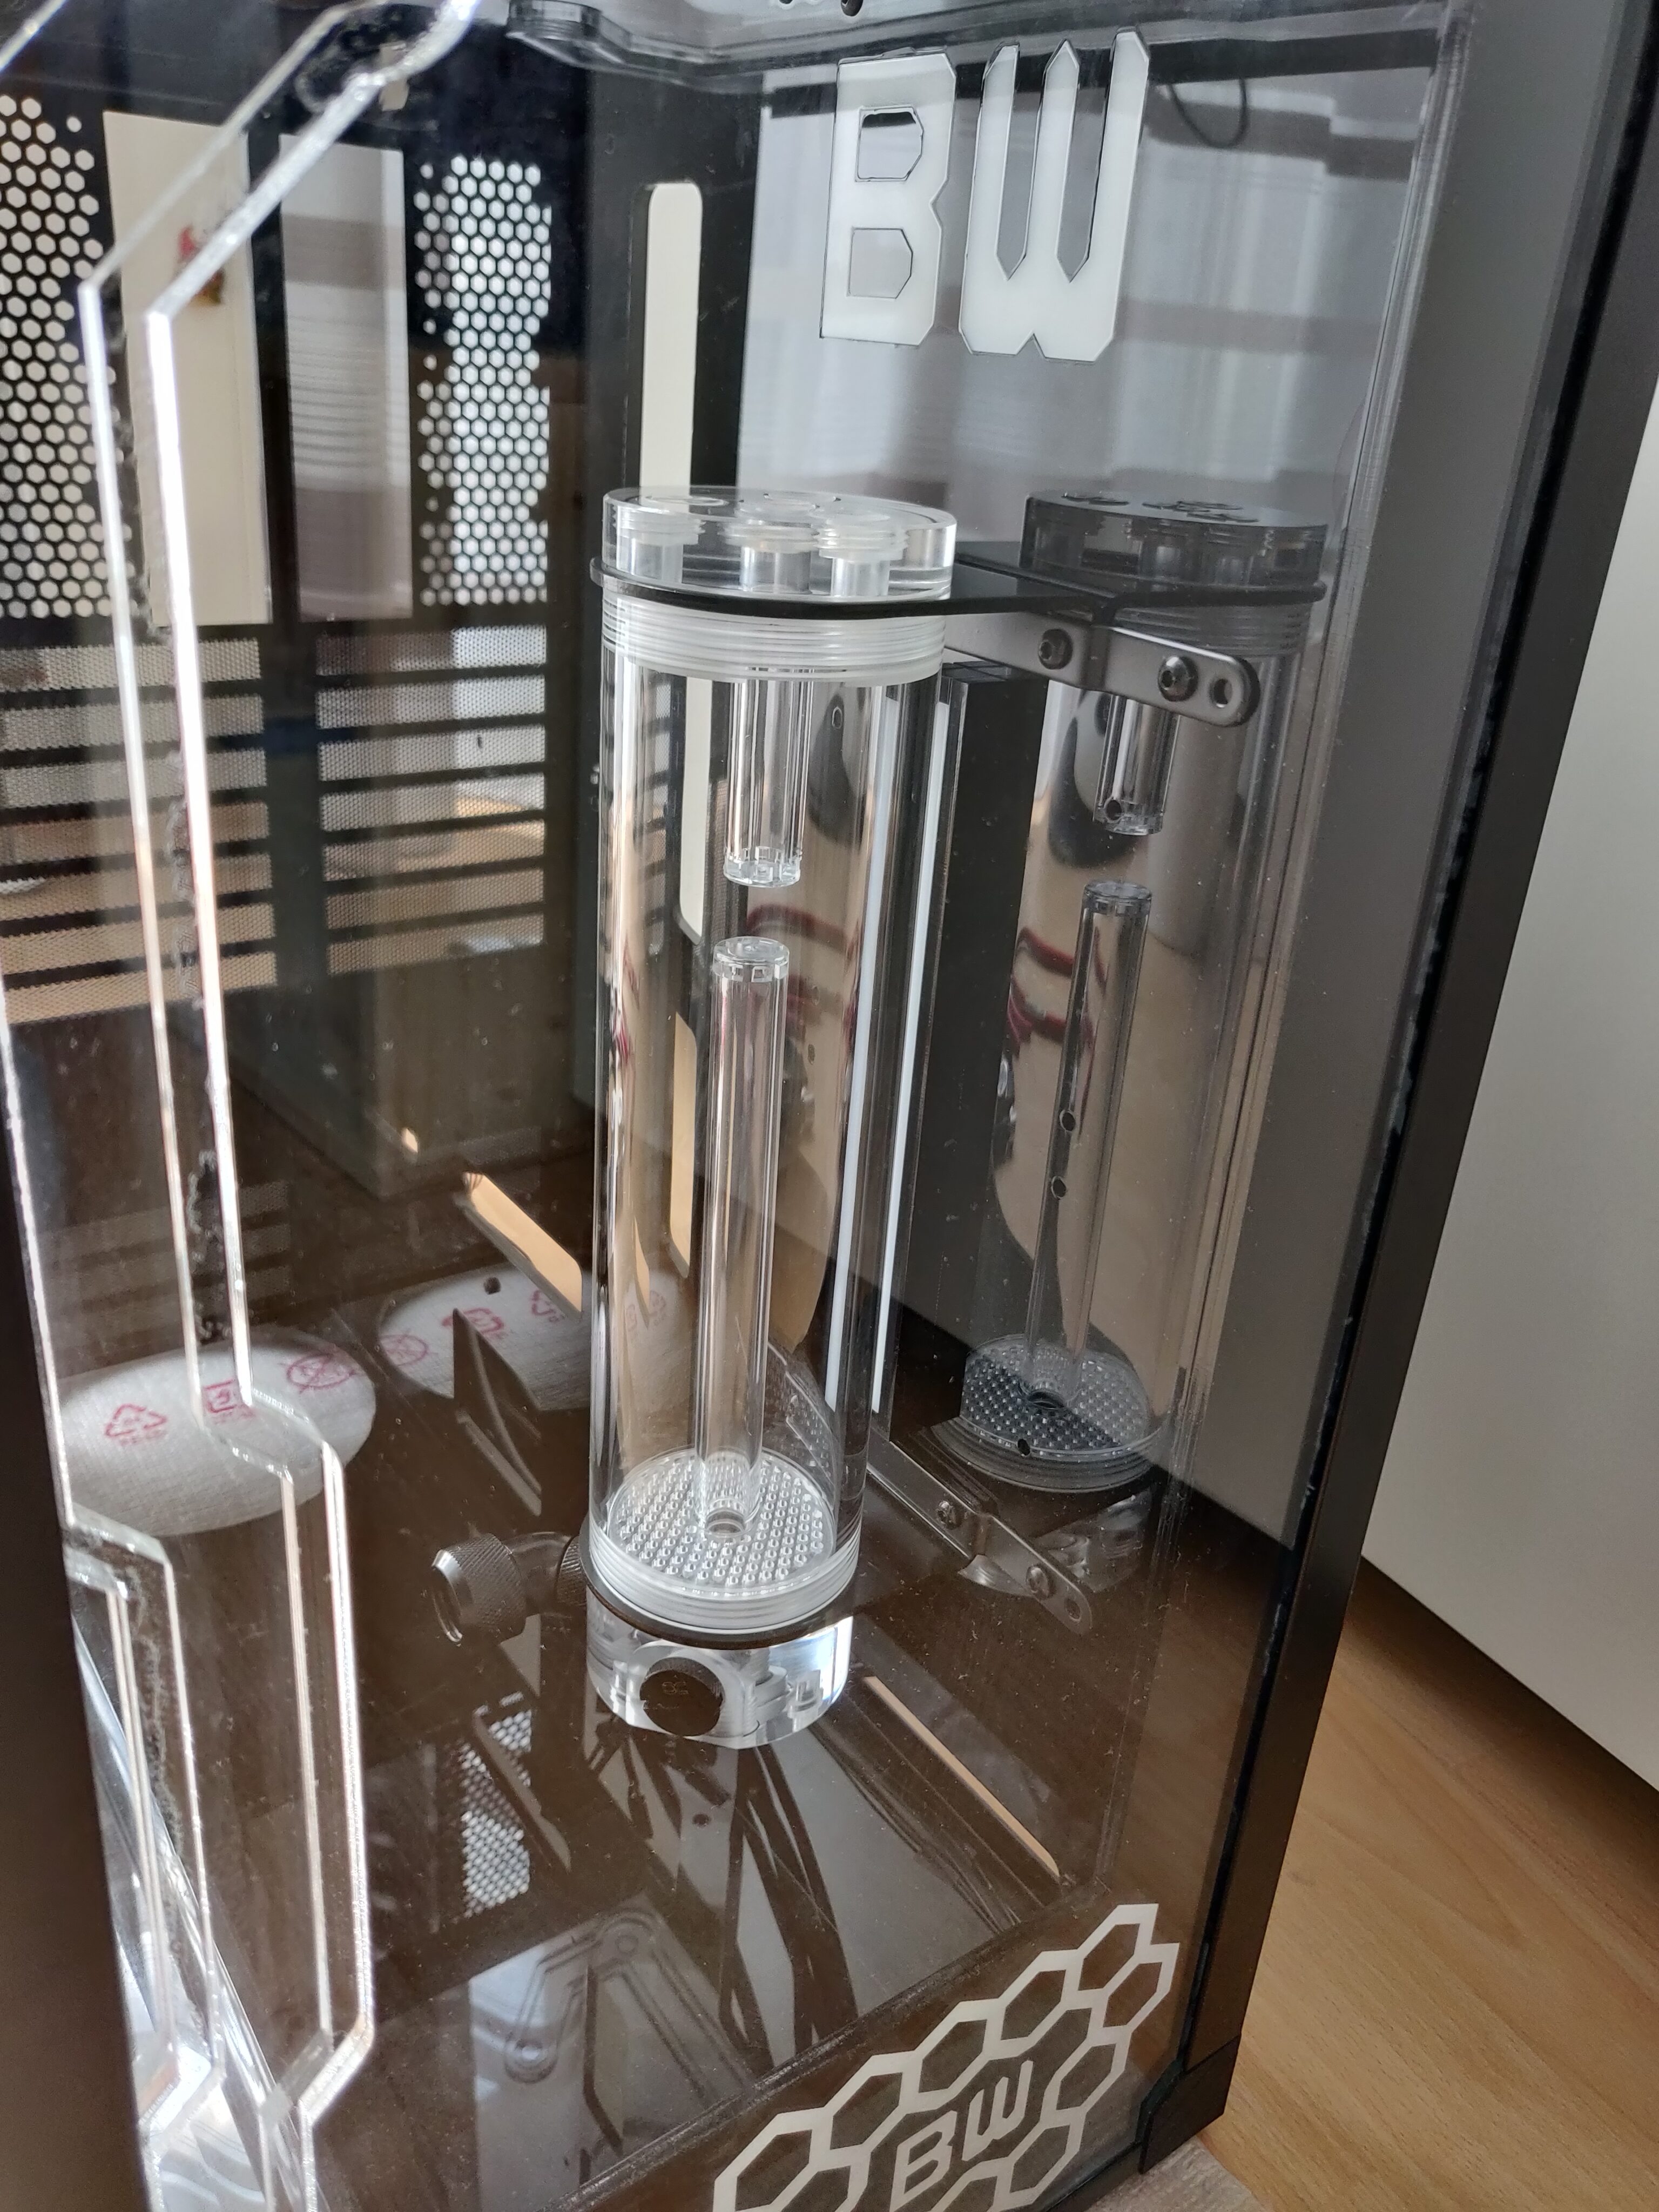
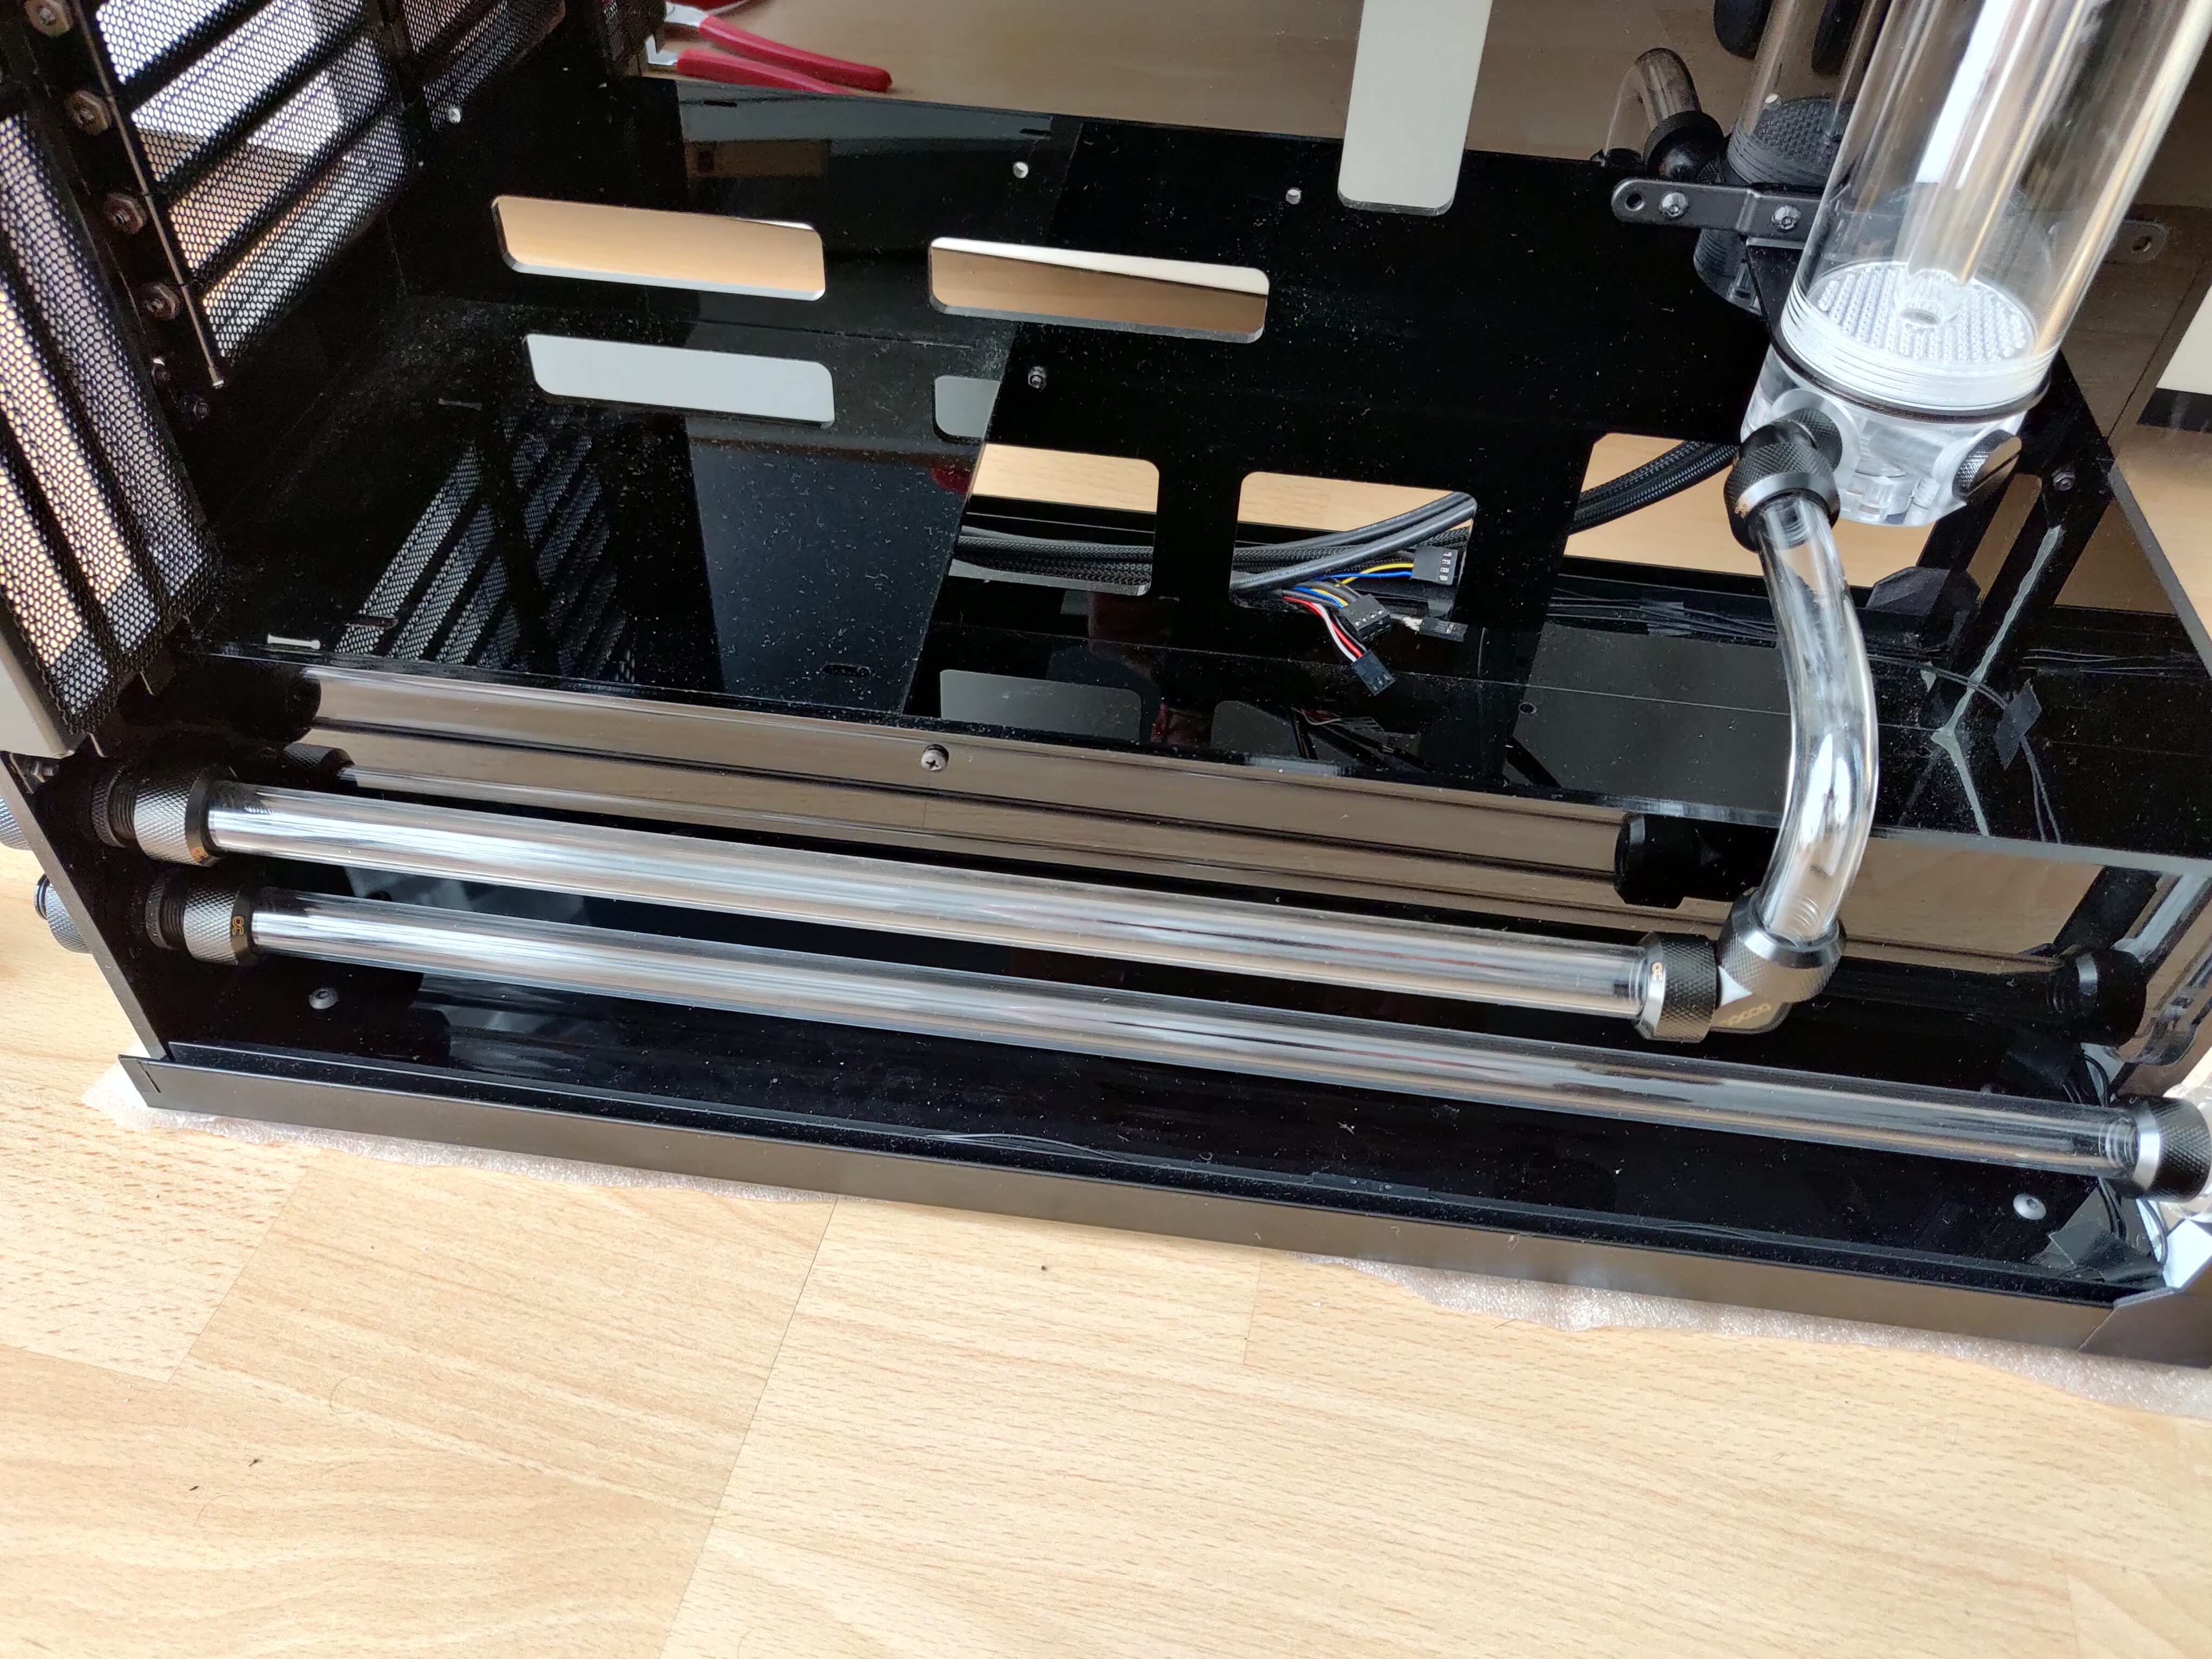
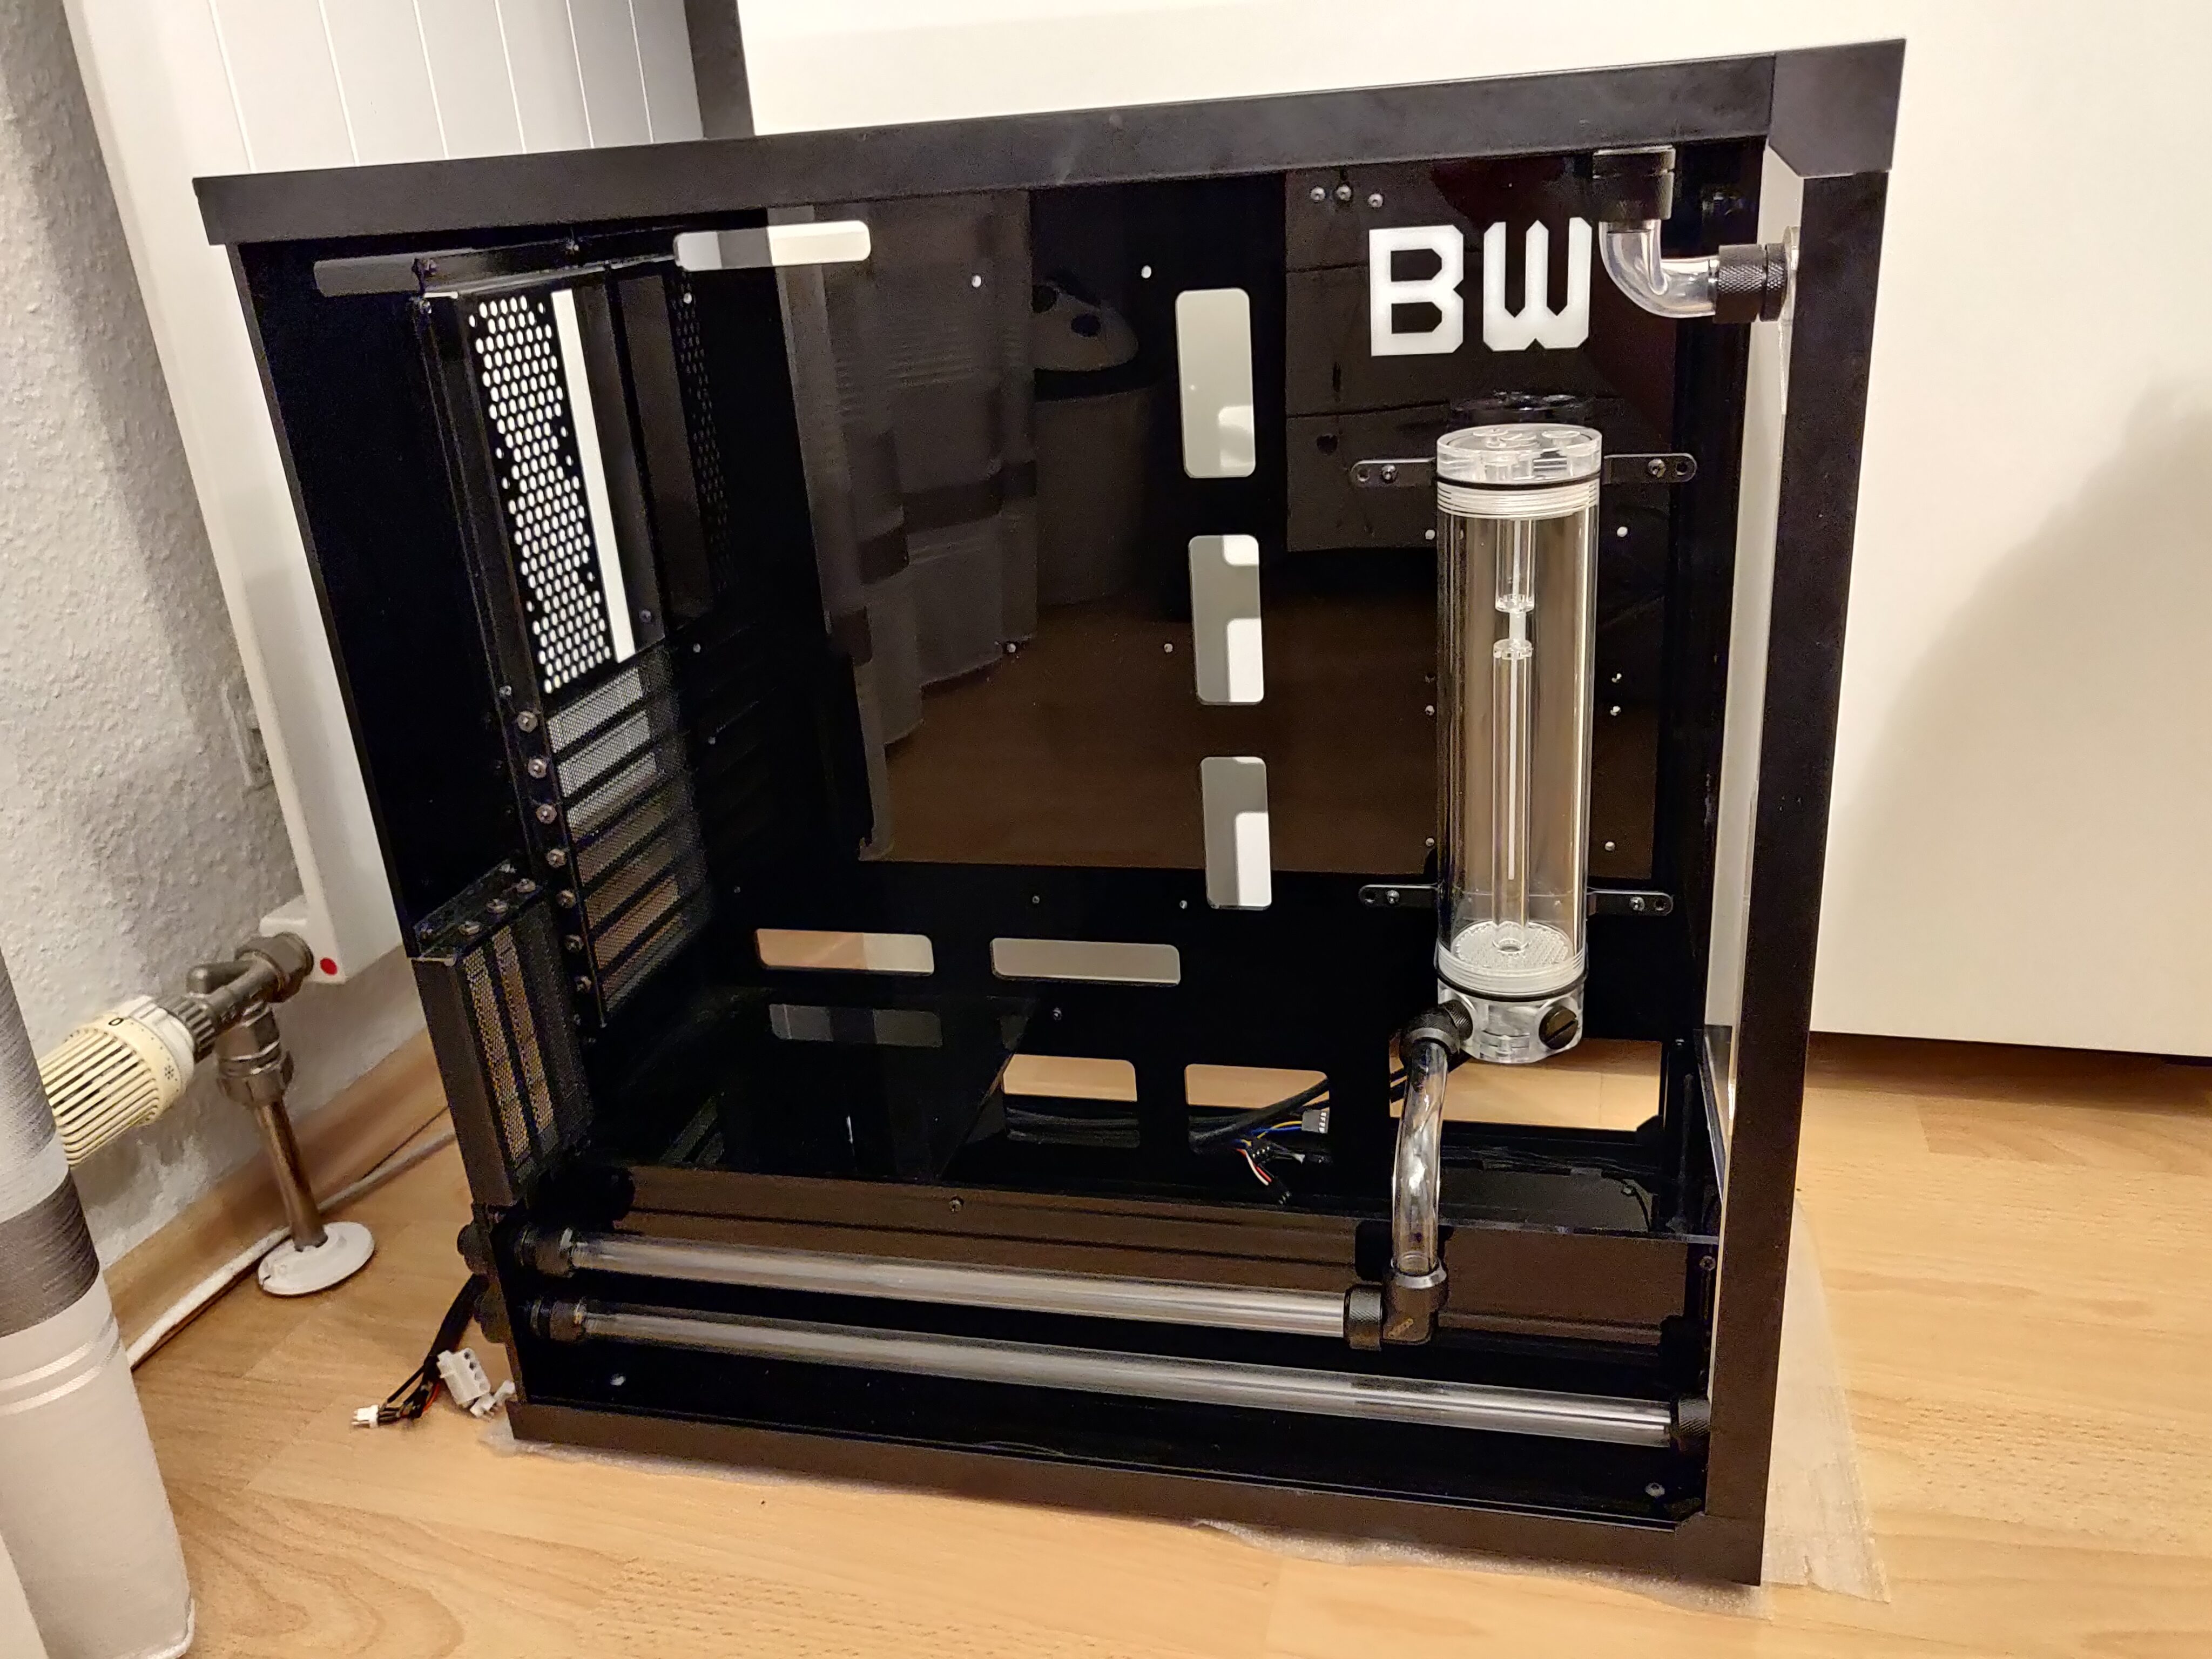
With these cooling components and the remaining PCBs in place, the base structure of the case was complete!
I was really happy with how it looked already.

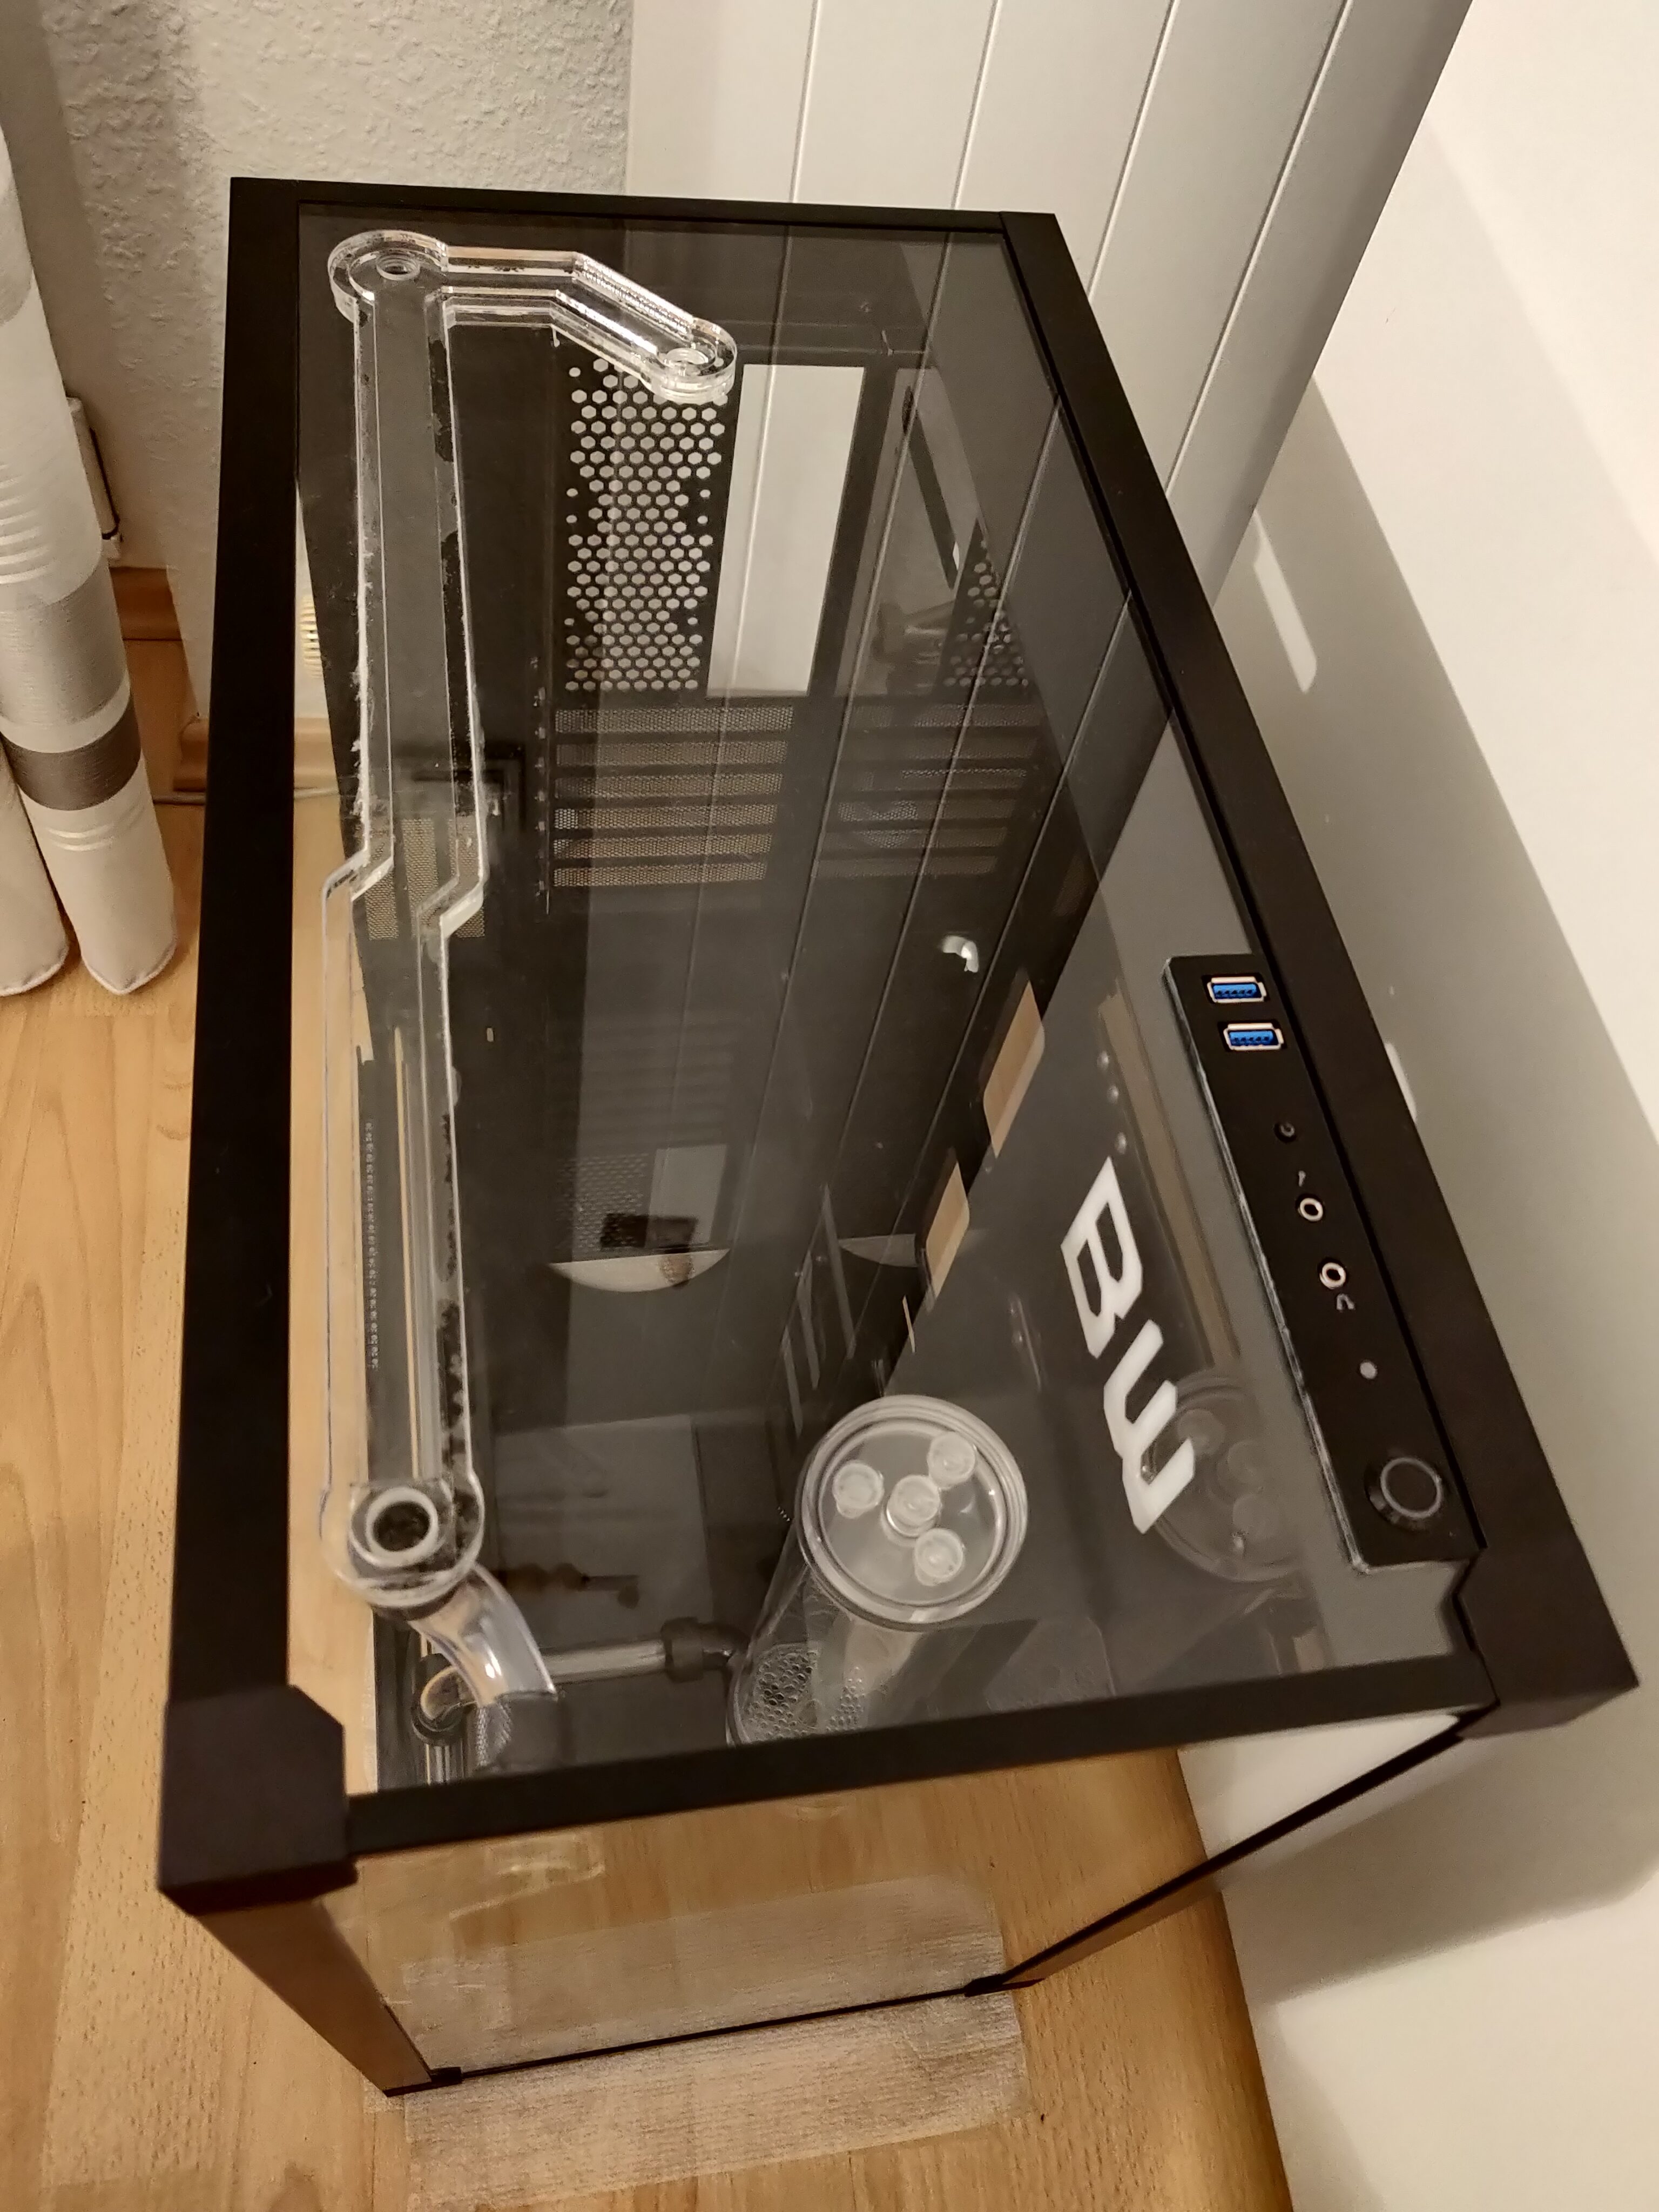
Now I could turn my attention to the hidden parts of the cooling system.
First, I built a little box out of plywood (glued to the inside of the shelf) to house the pump. For noise reduction/damping, I stuffed it with plastic wool (left over from the BlockBox v2 project), and added a similarly damped removable lid.
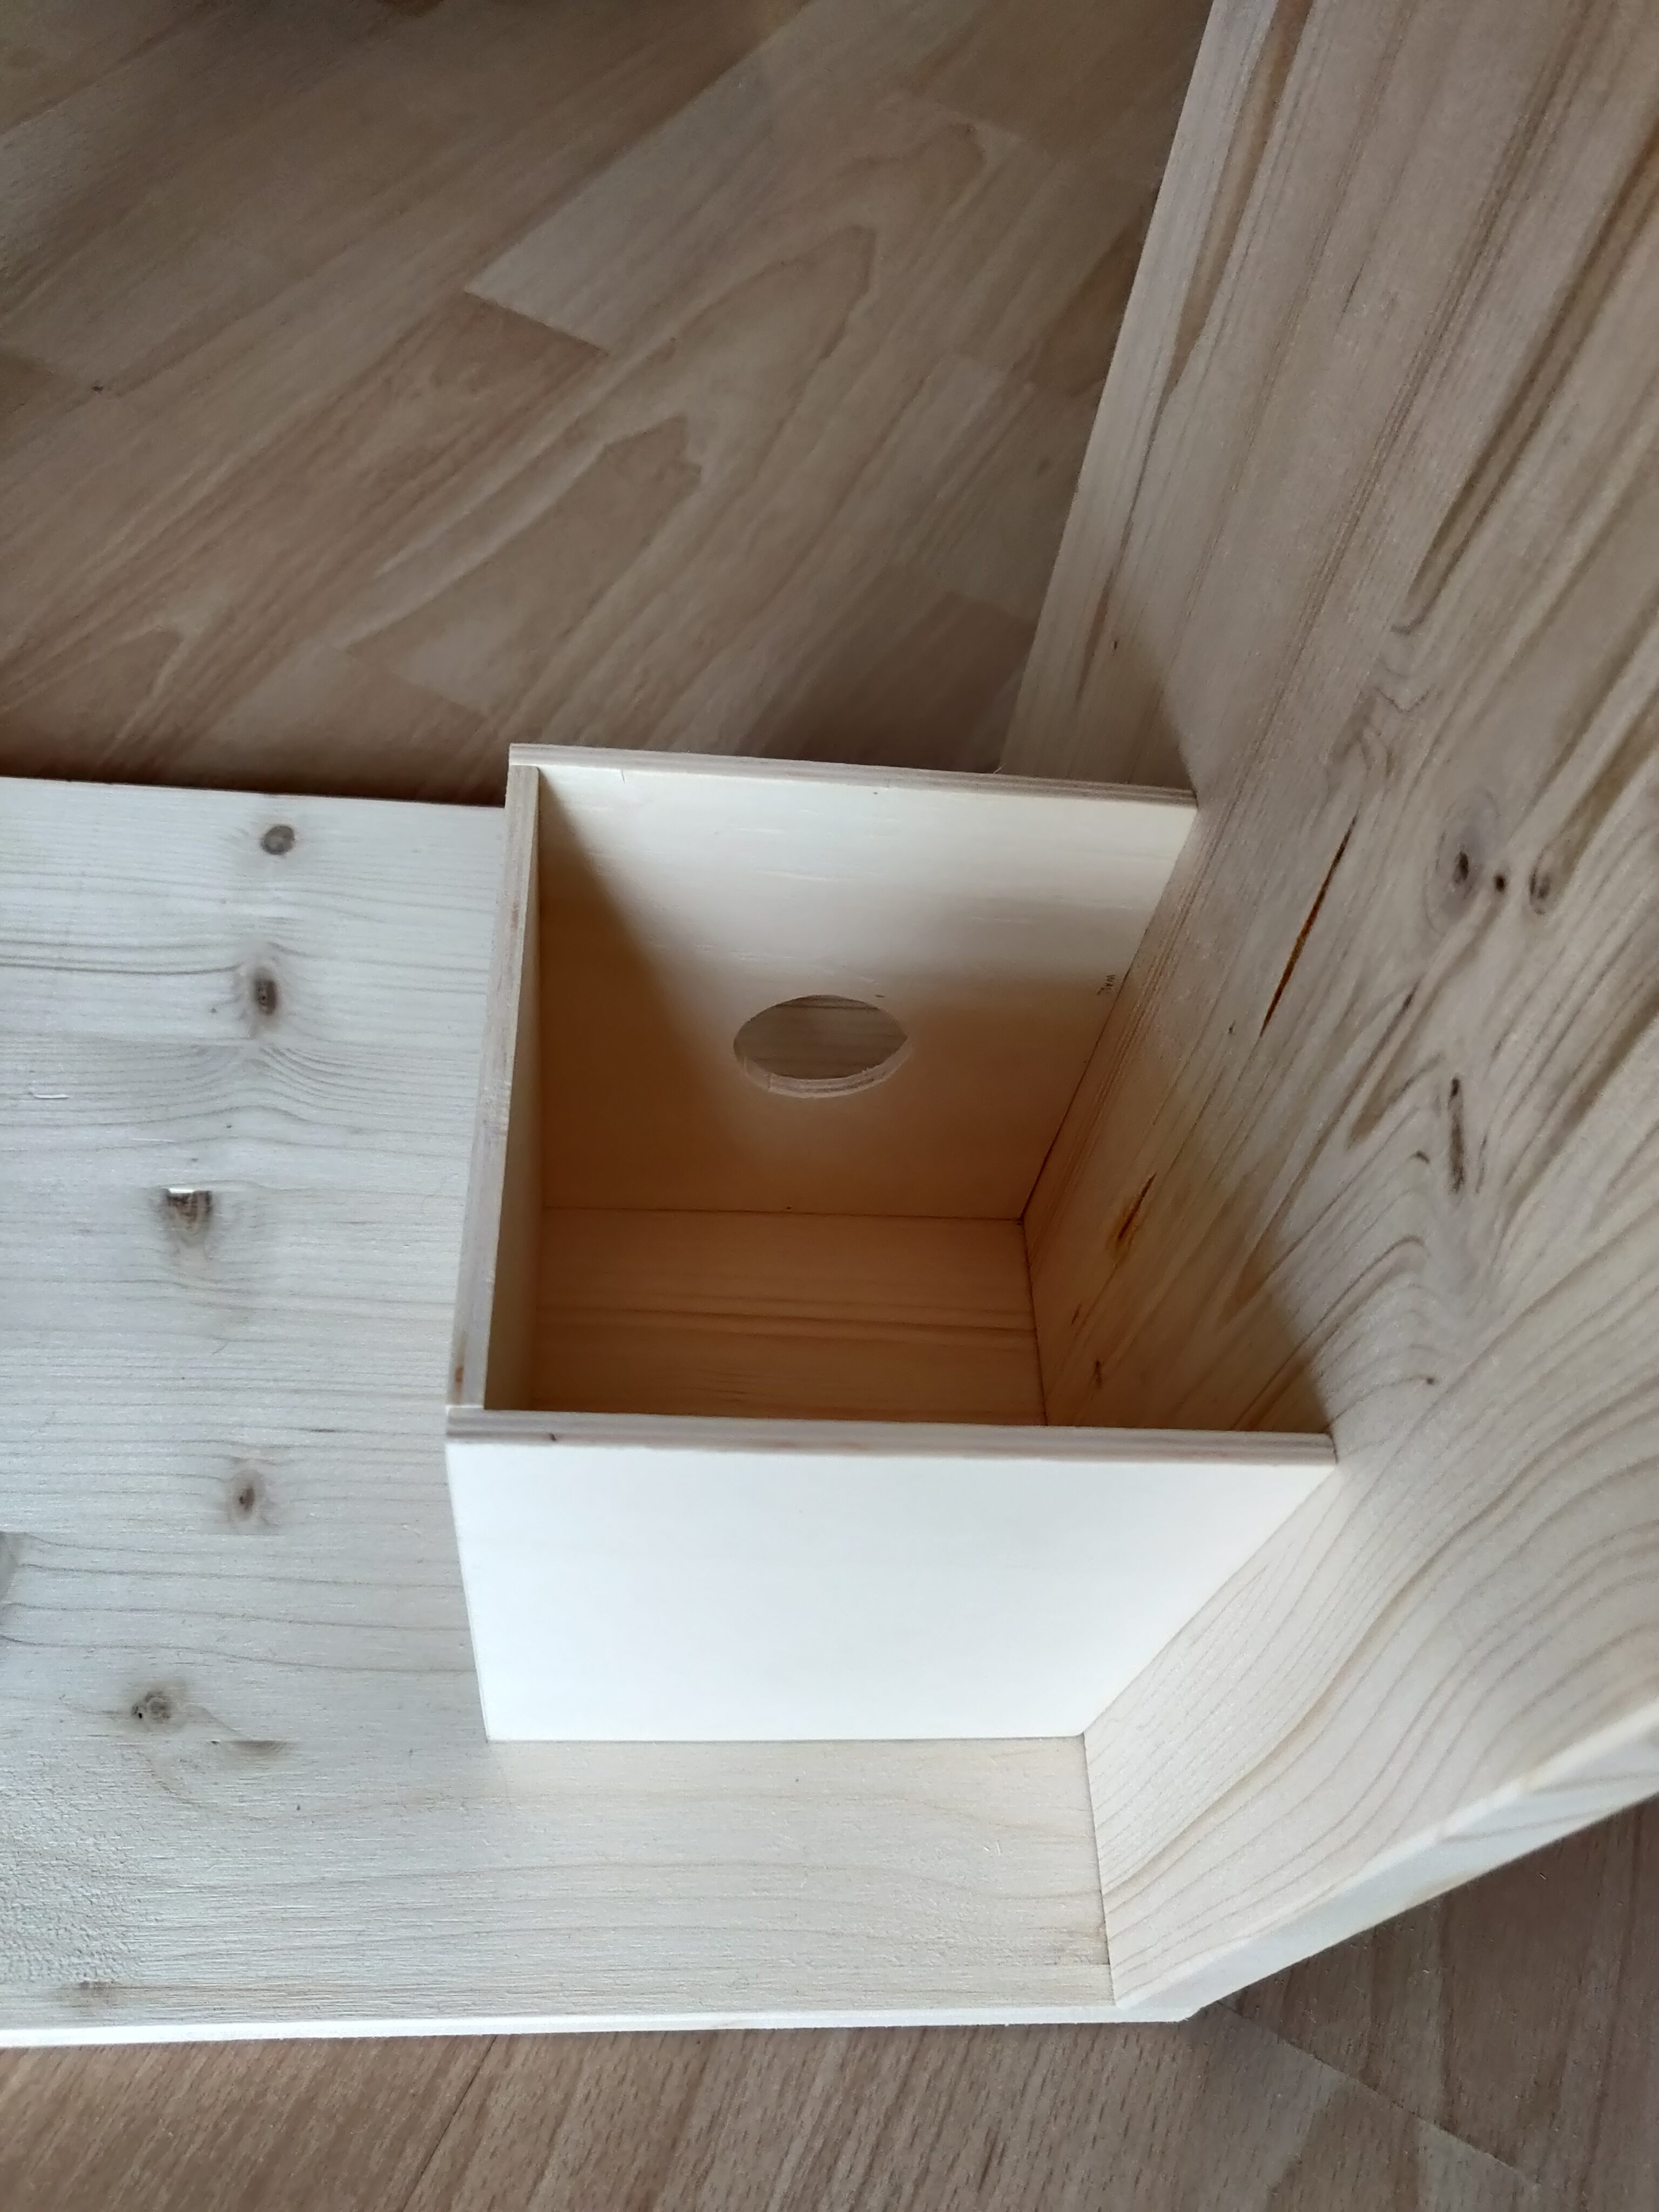
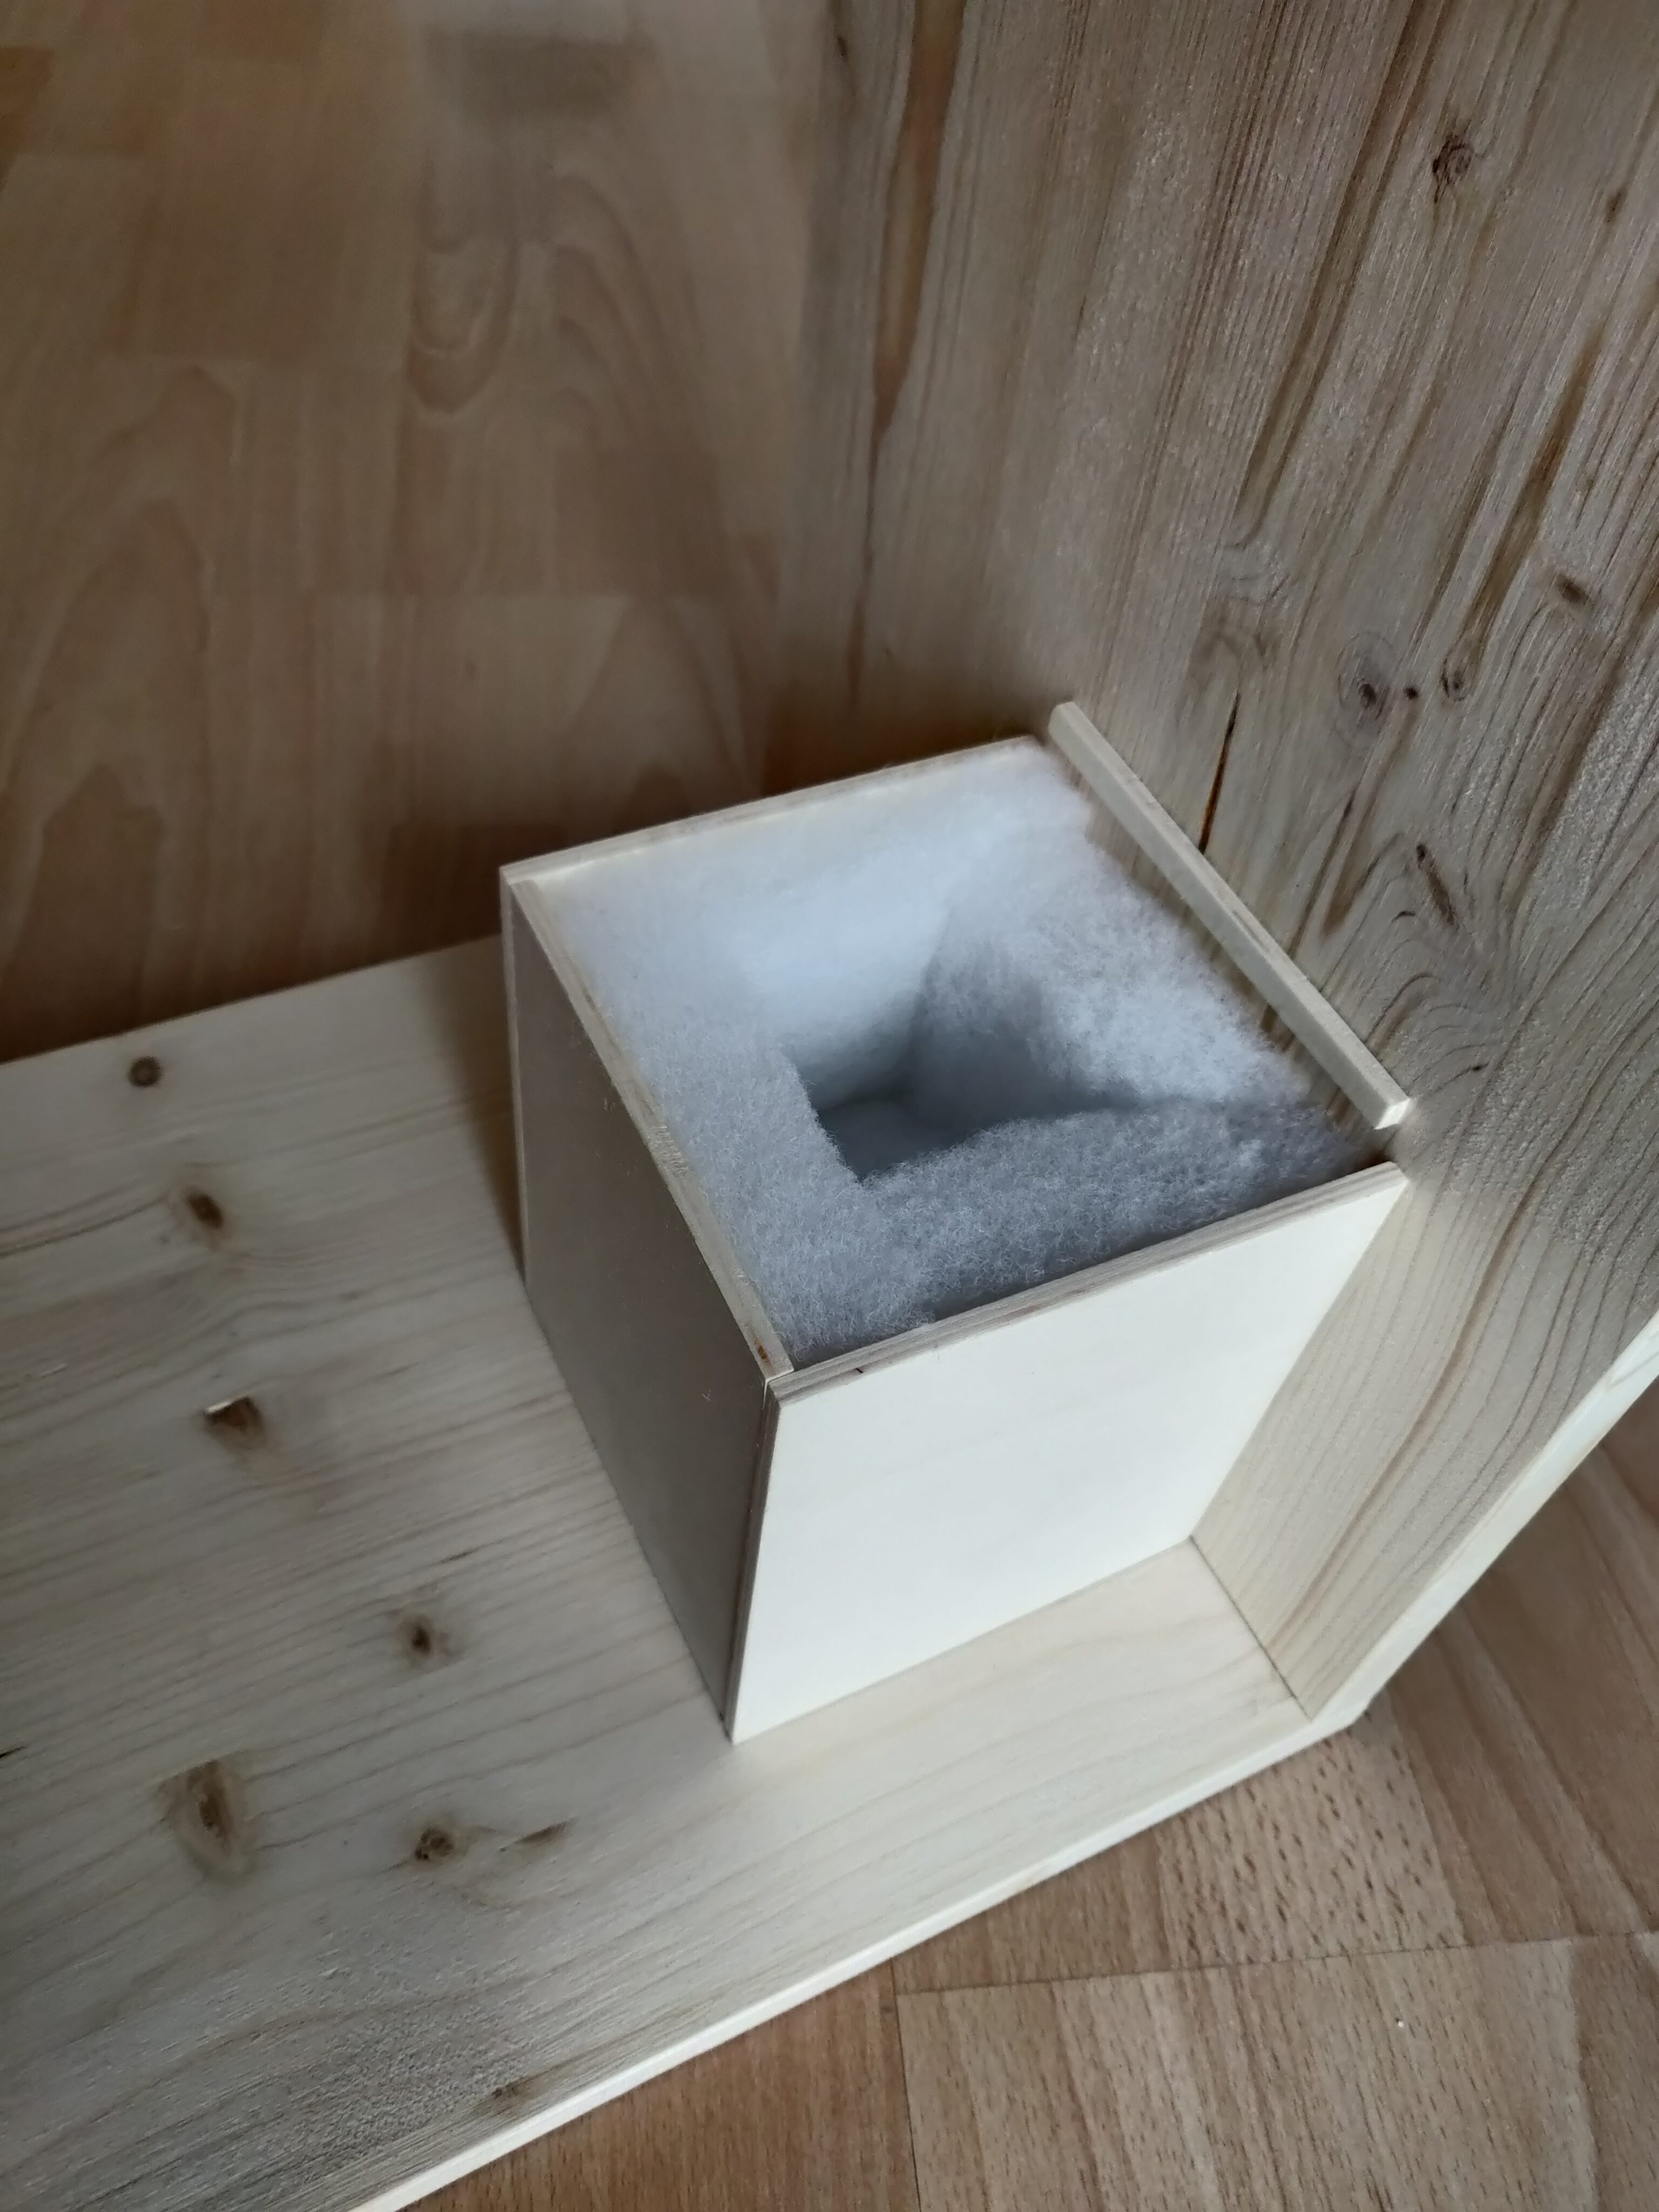
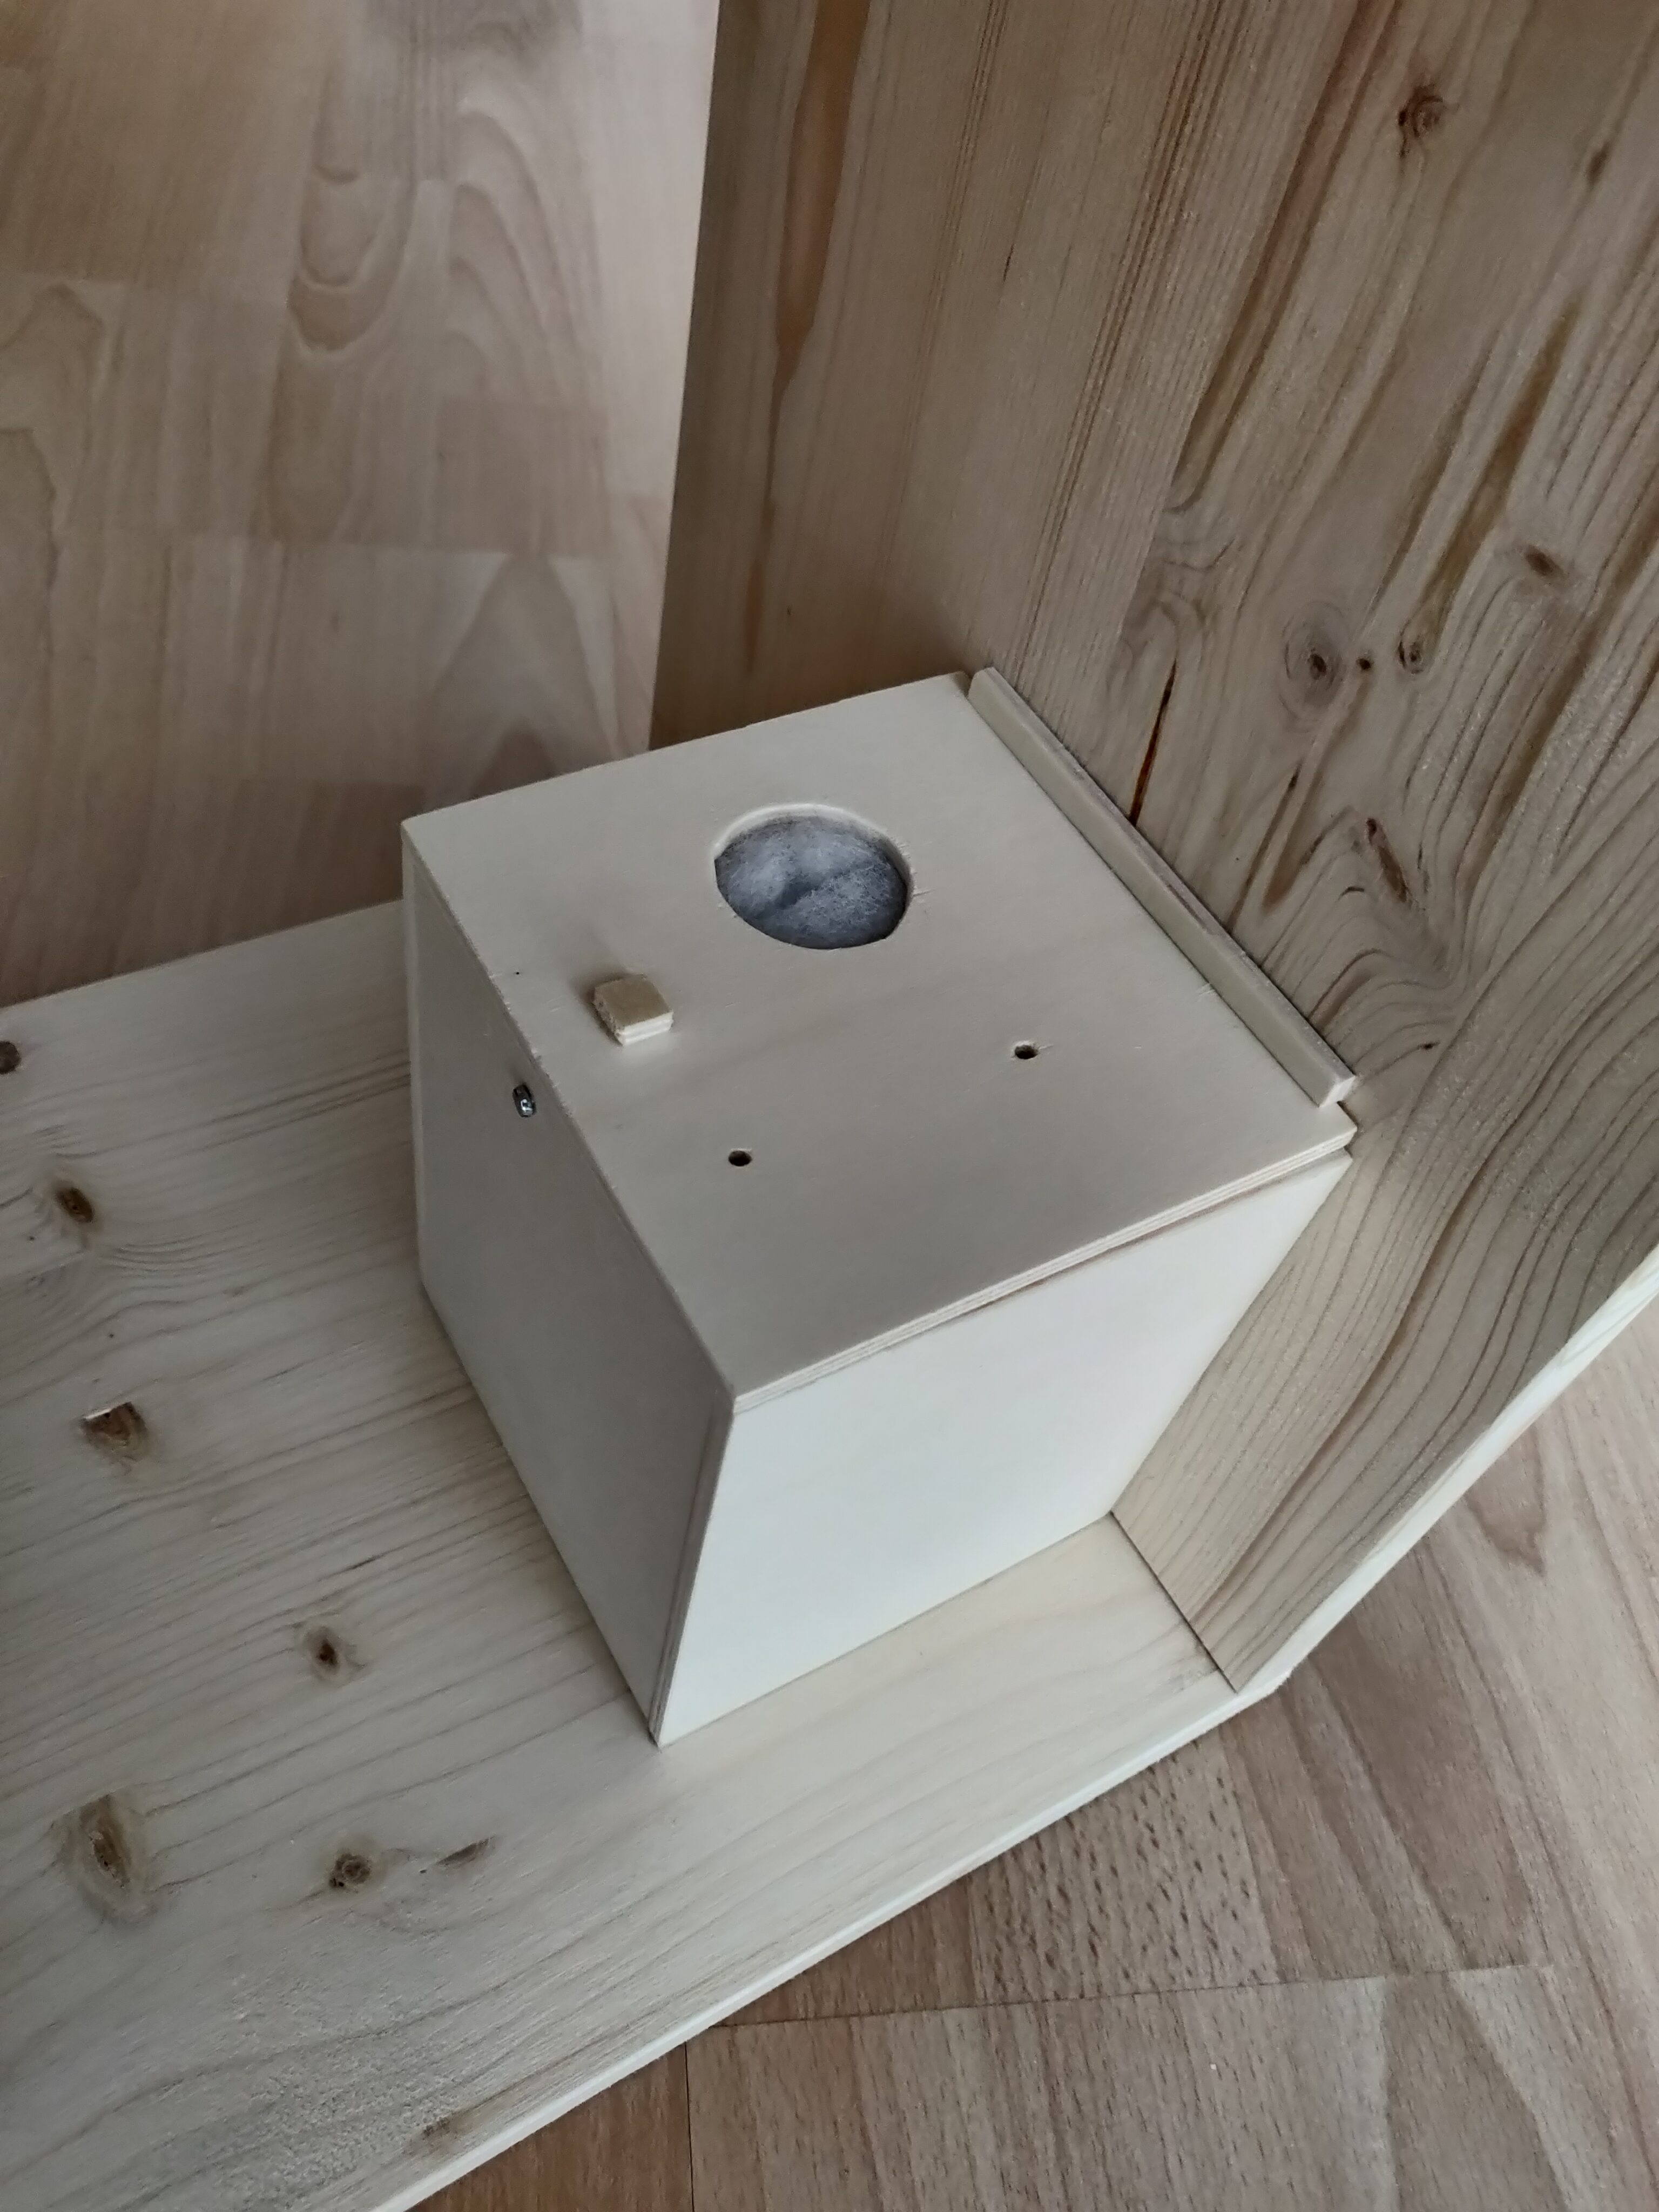
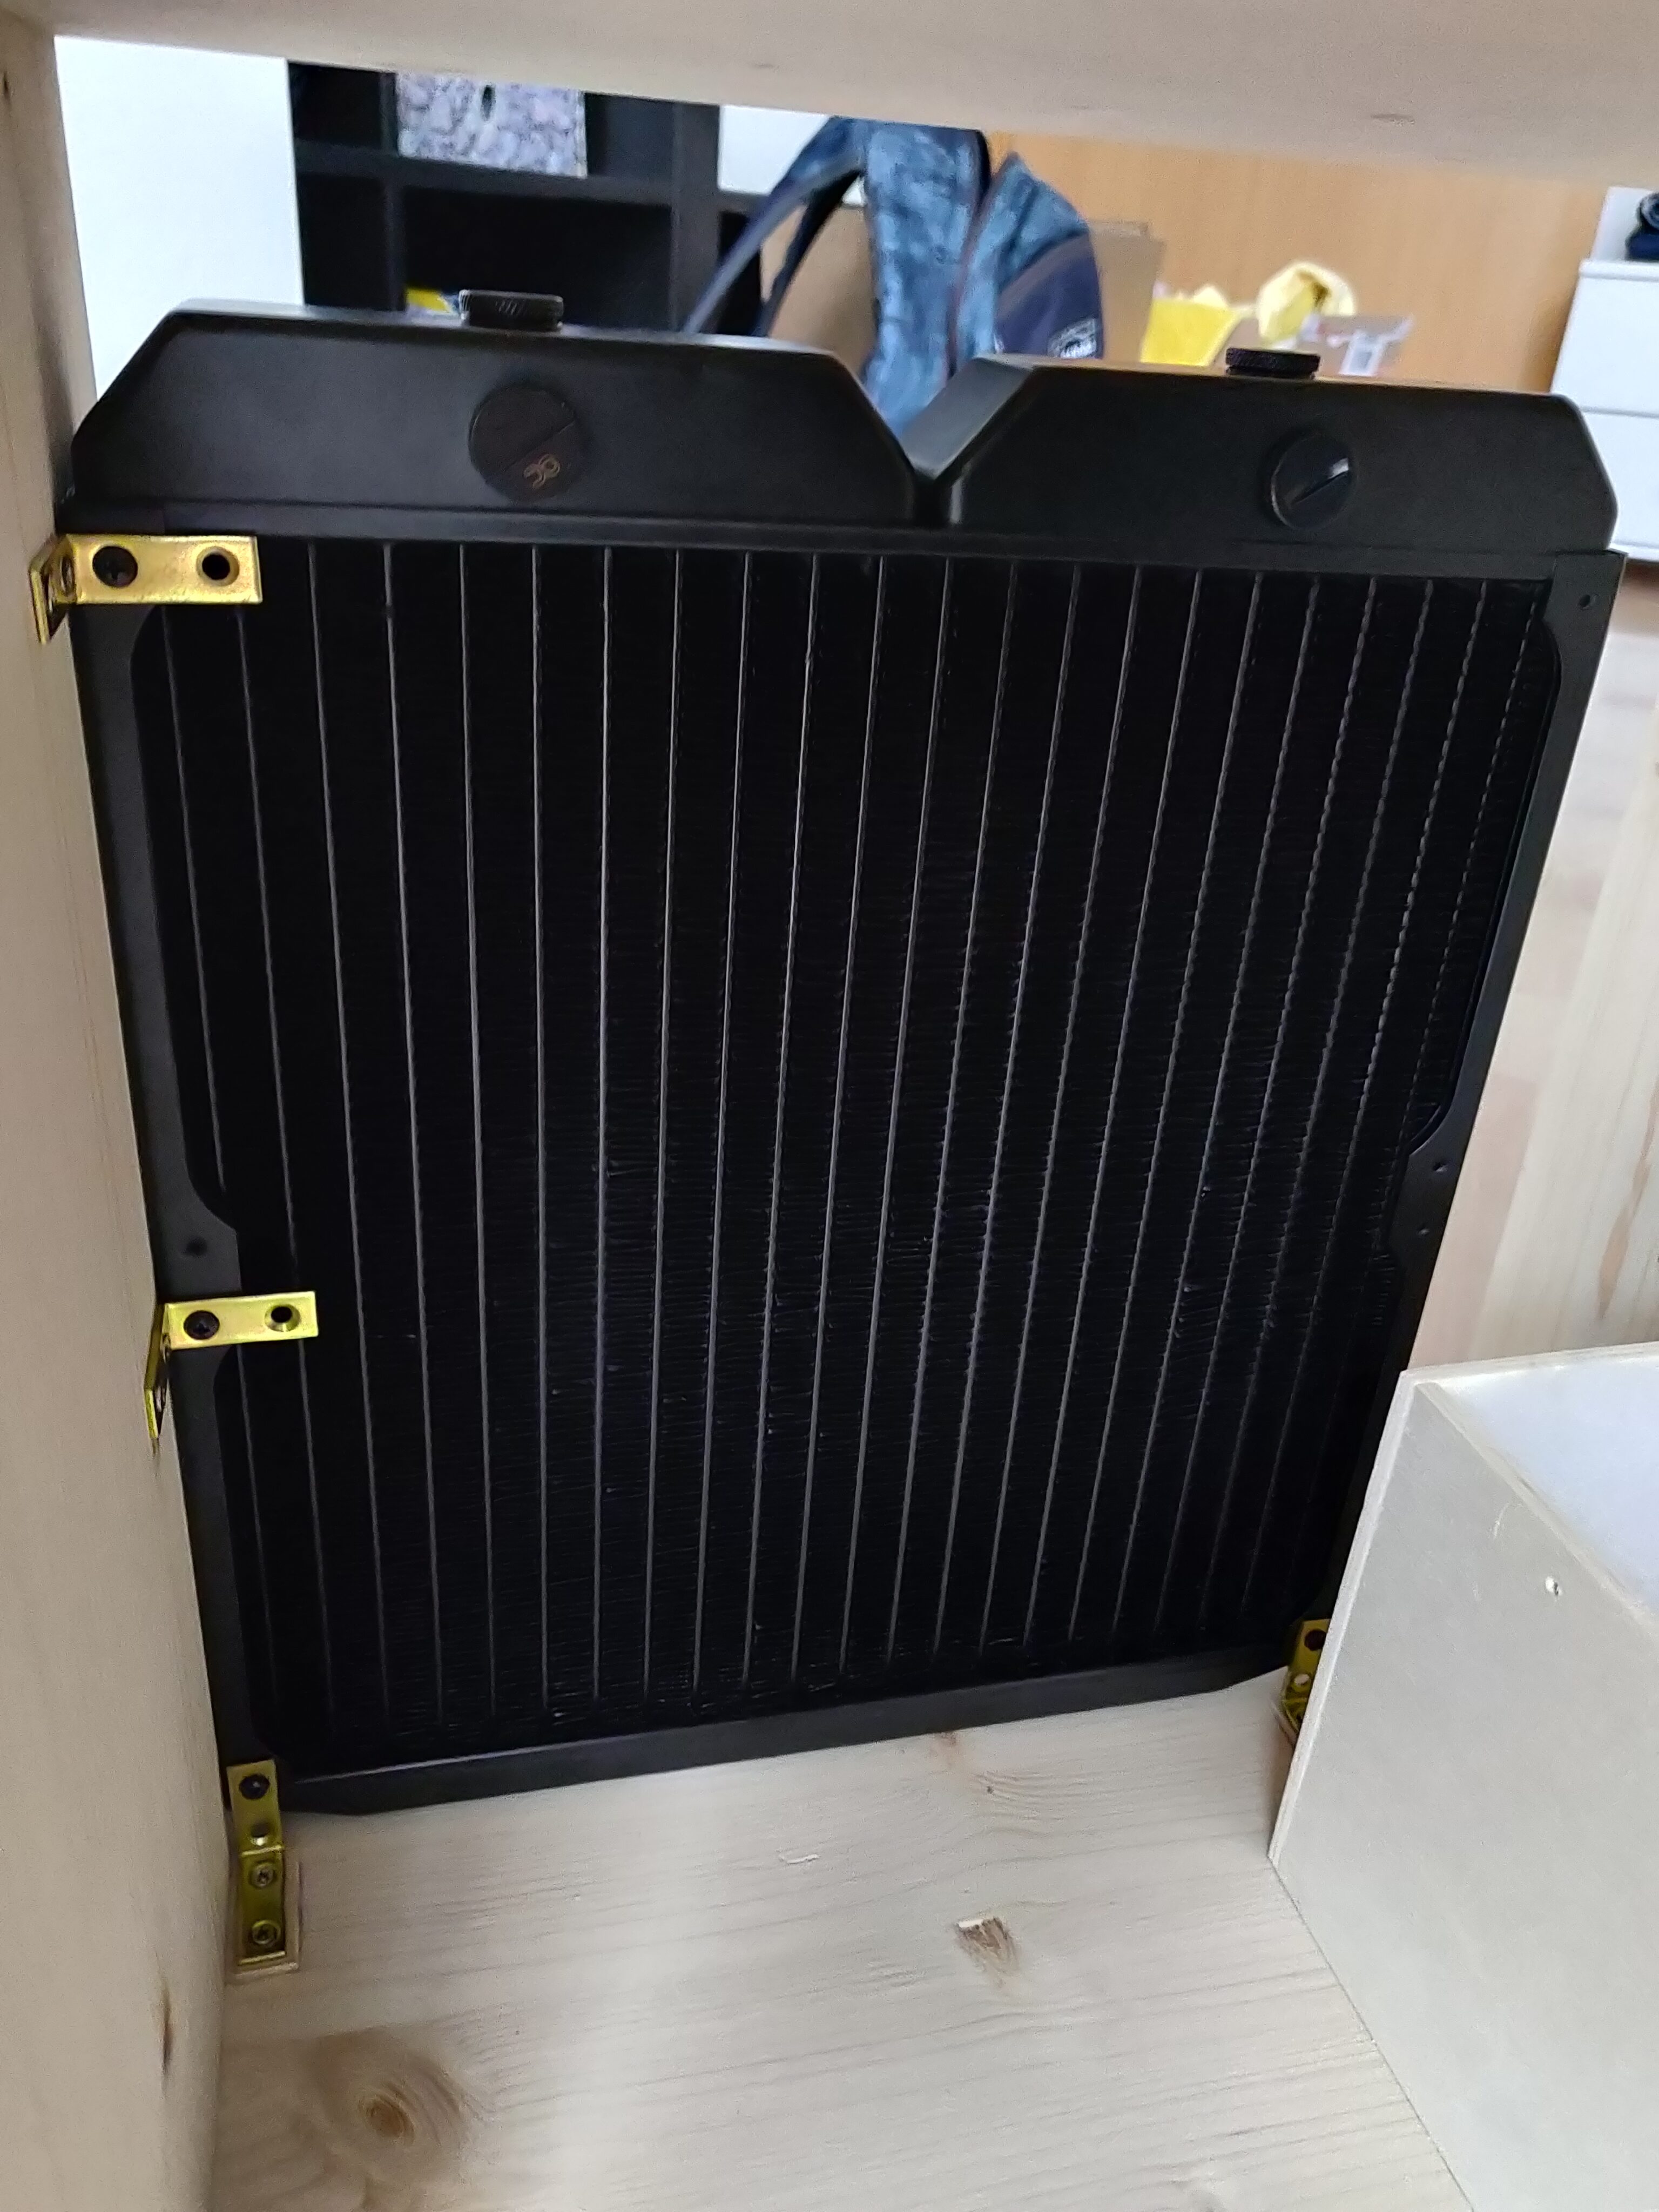
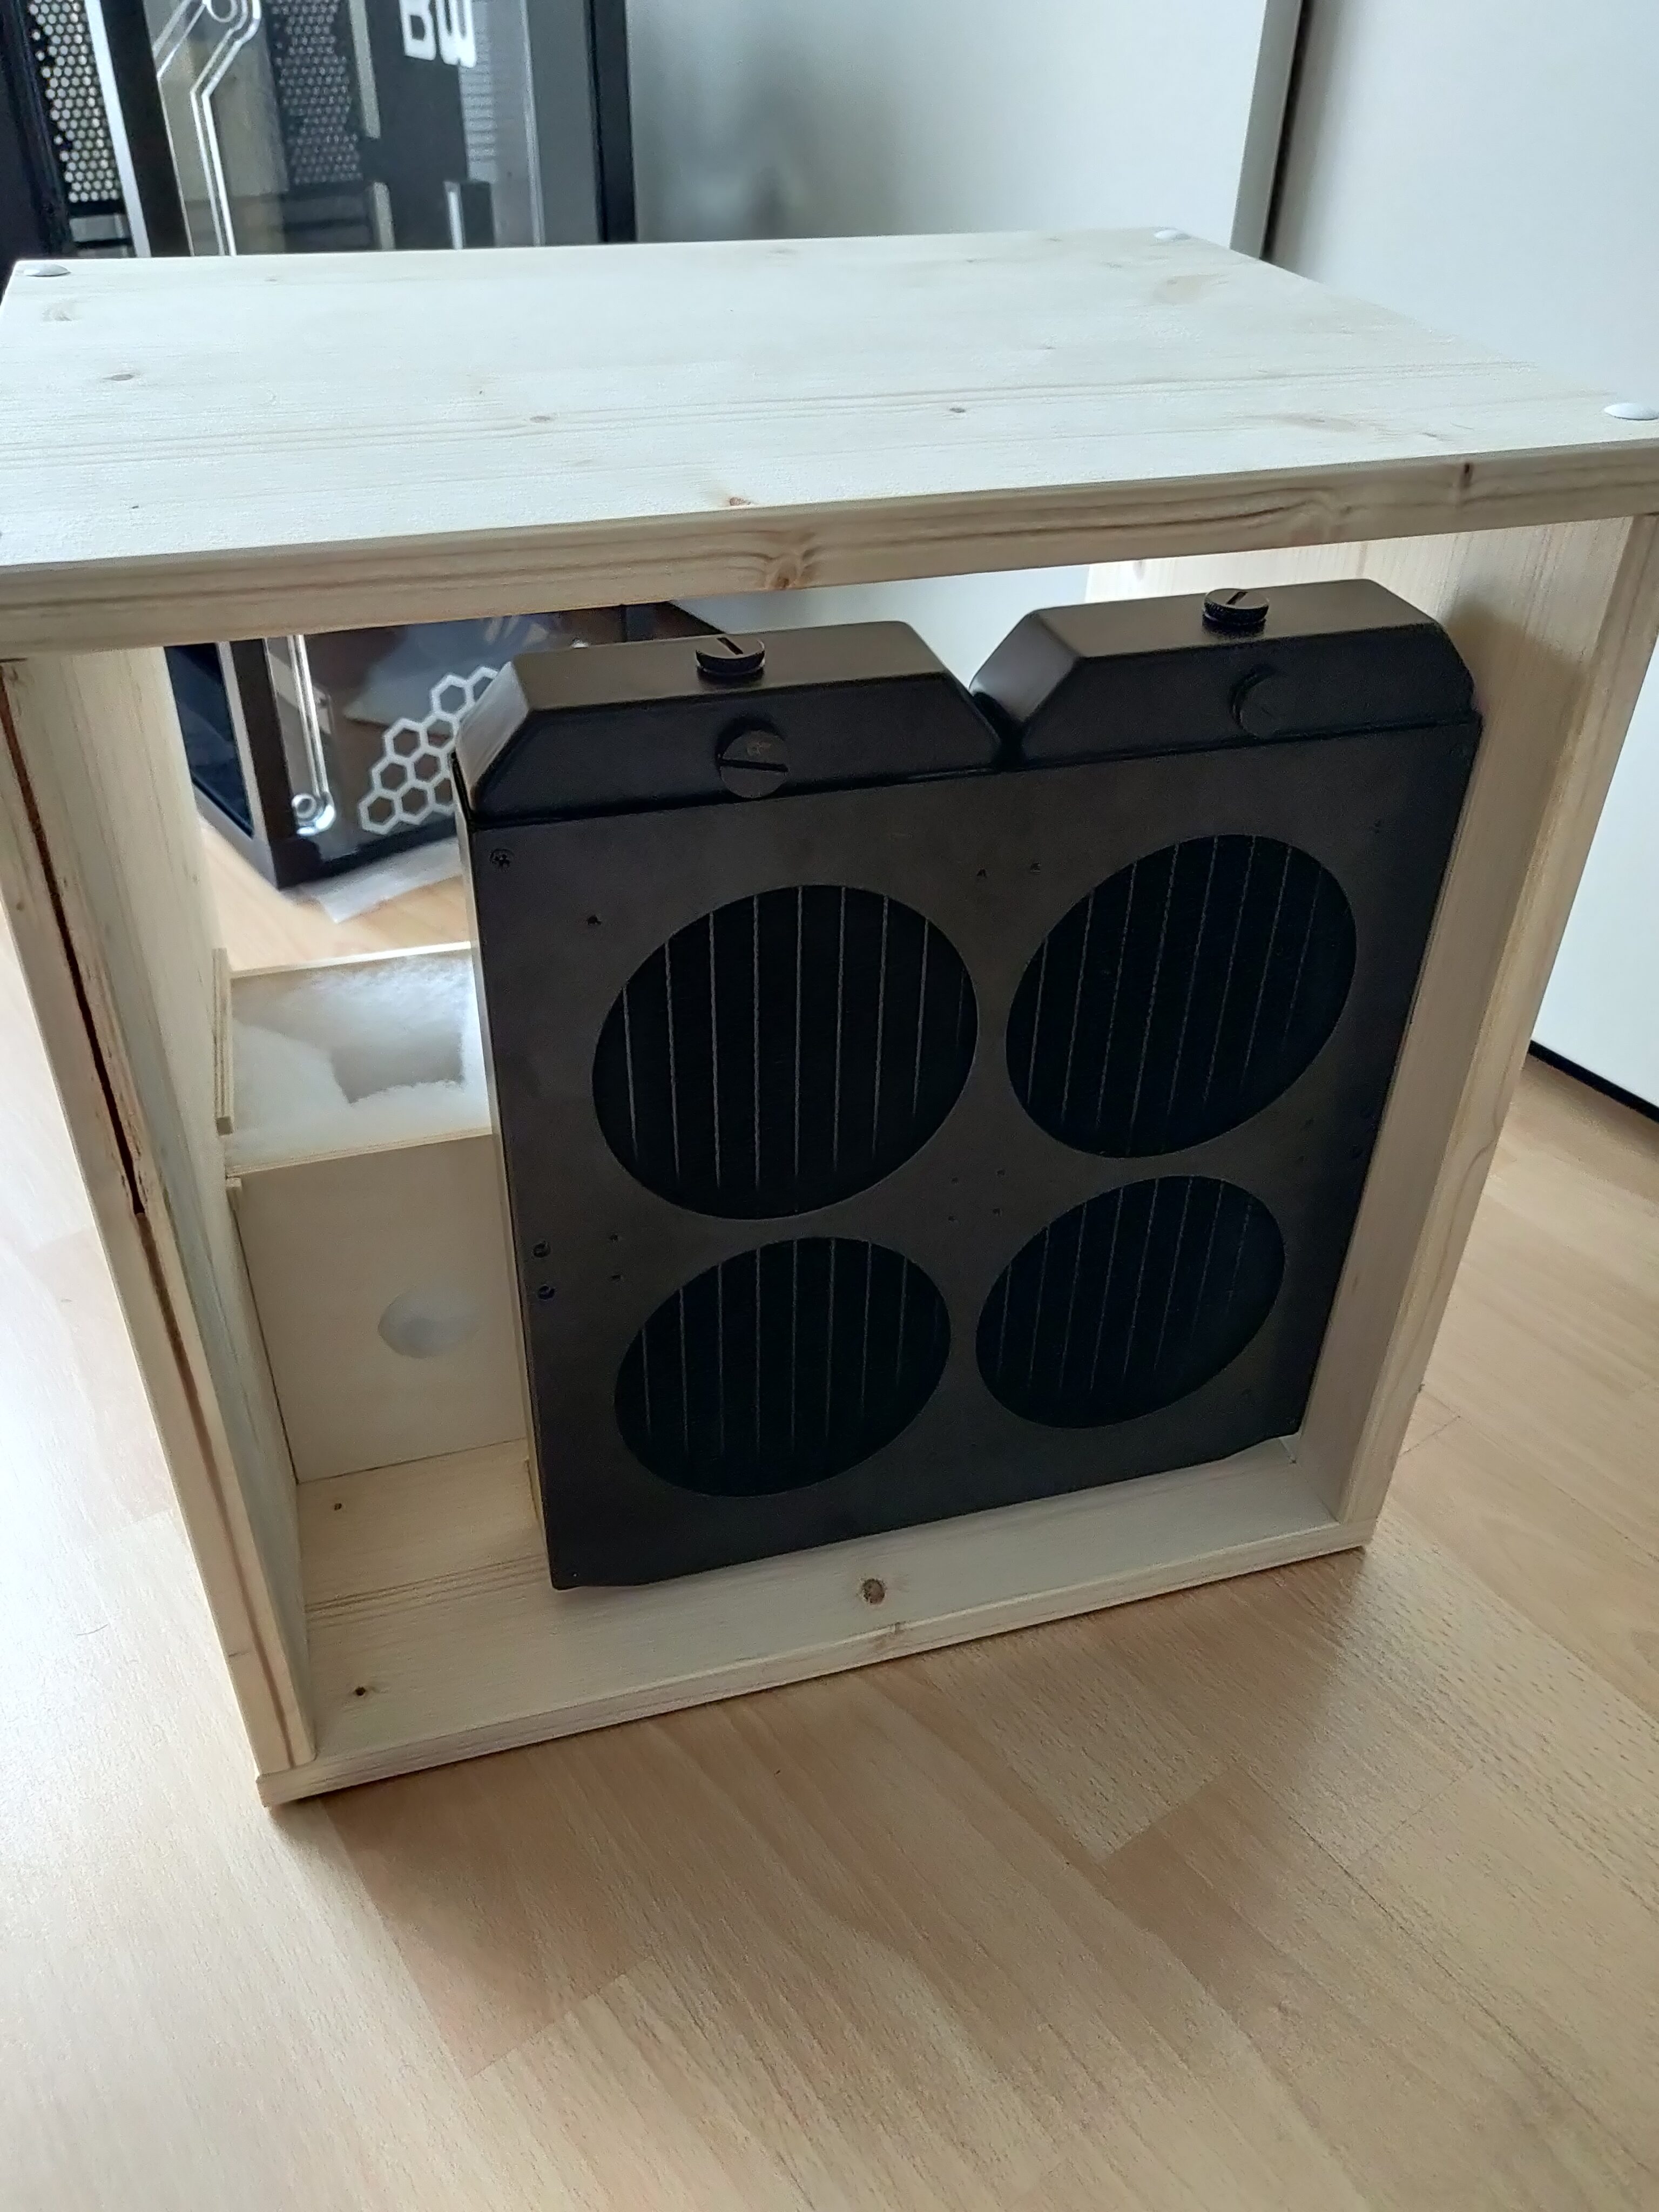
Next, I mounted the radiator to the back of the shelf using some angle brackets. This ensured a firm mount and easy access for cool air to be drawn through the fins.
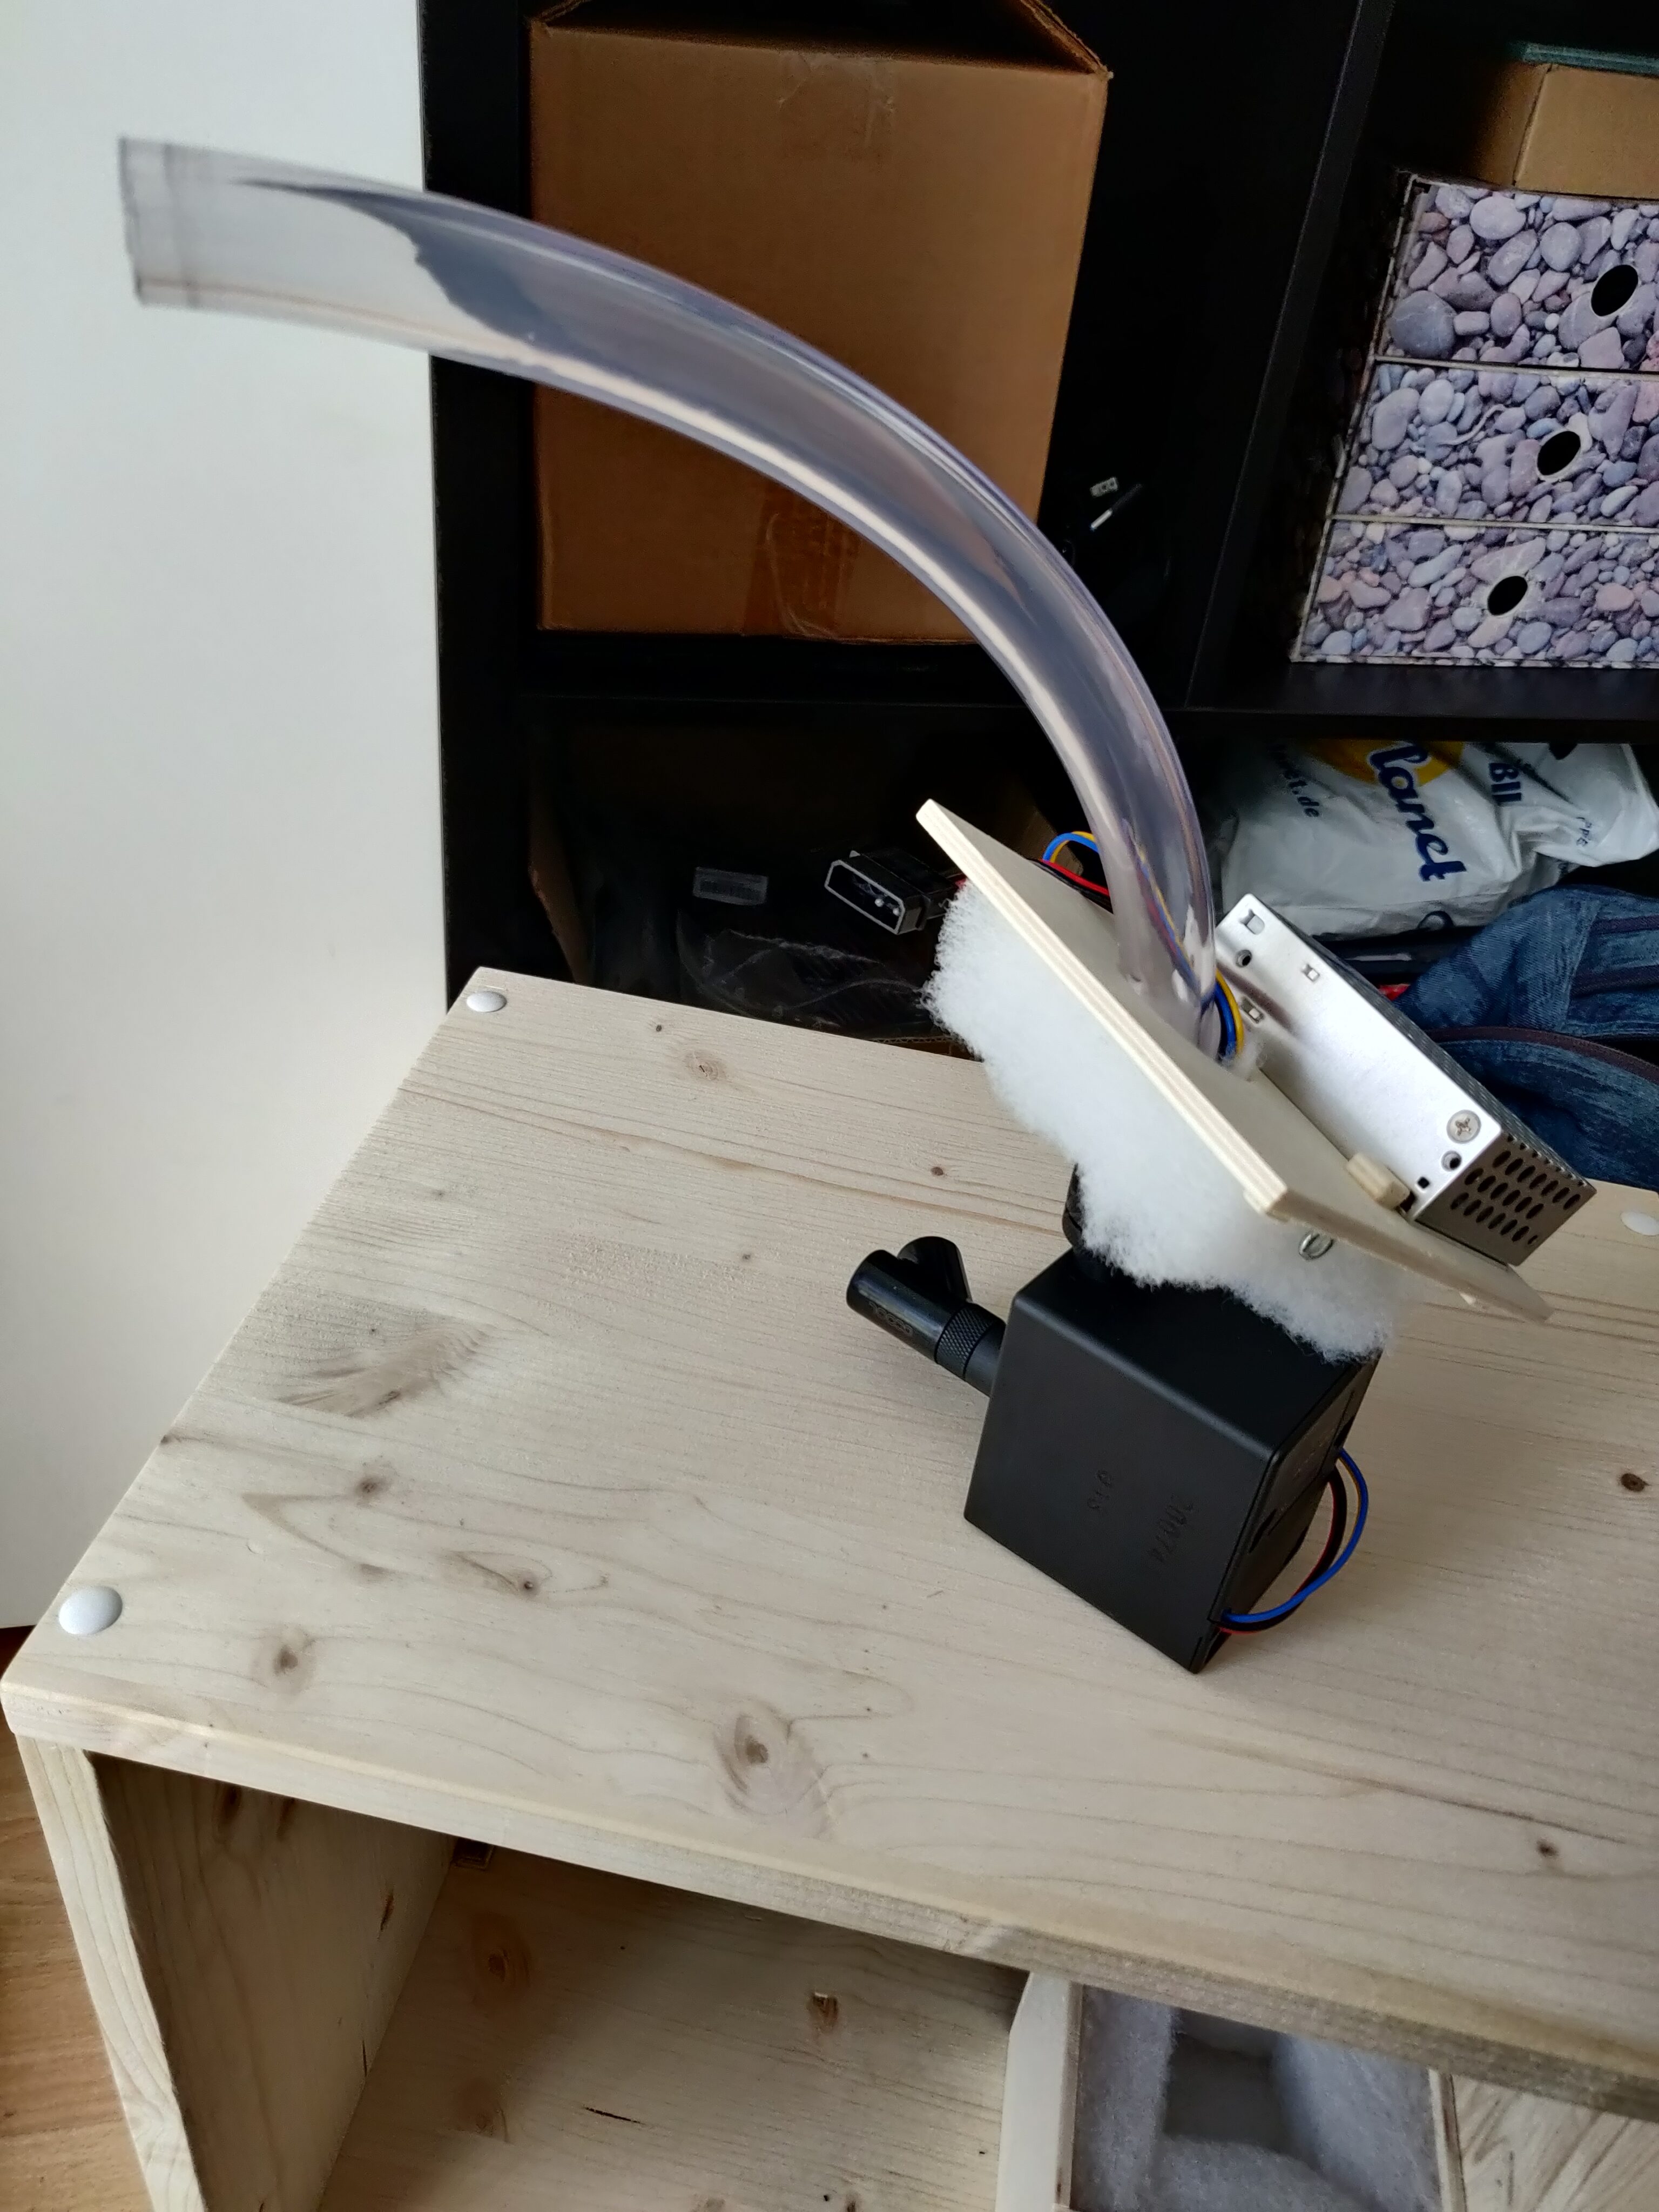
I attached the external power supply to the pump box lid and connected an outlet tube to the pump, threading the lid onto it for easy mounting.
After inserting the pump and closing the lid, I could attach the secondary reservoir and drainage port near the pump inlet, as well as the flow rate and temperature sensor between the pump outlet and the radiator.
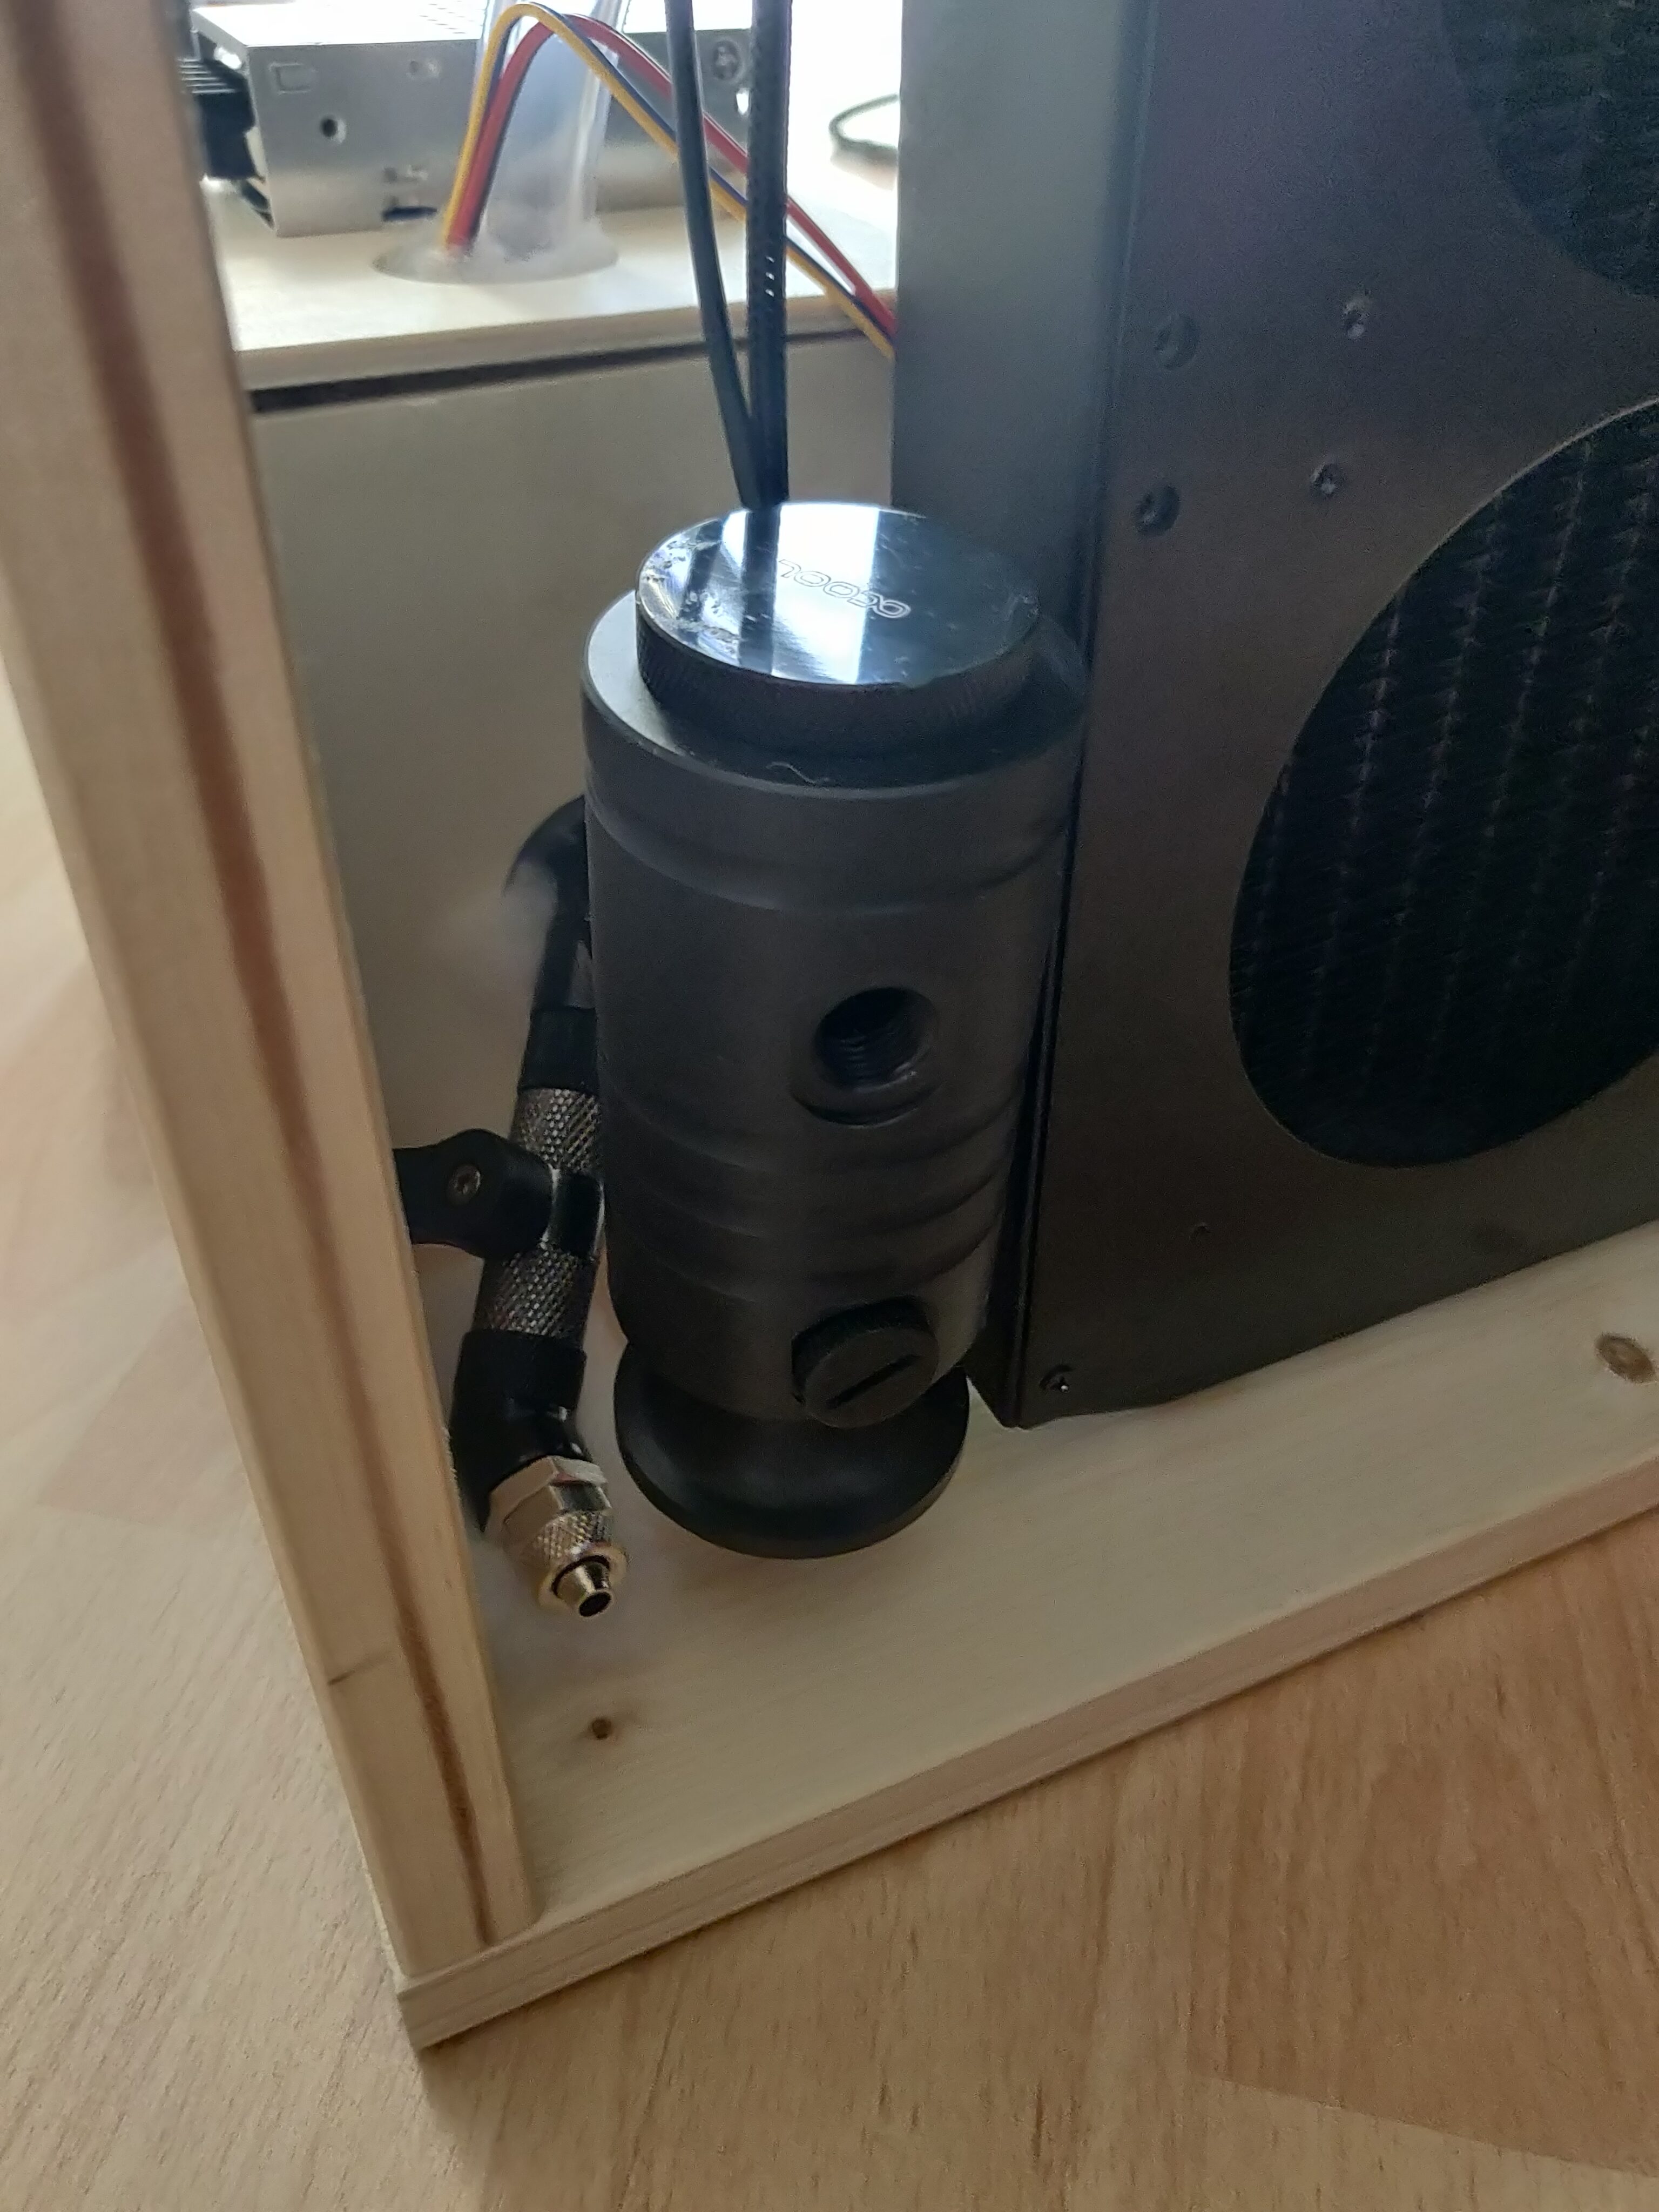
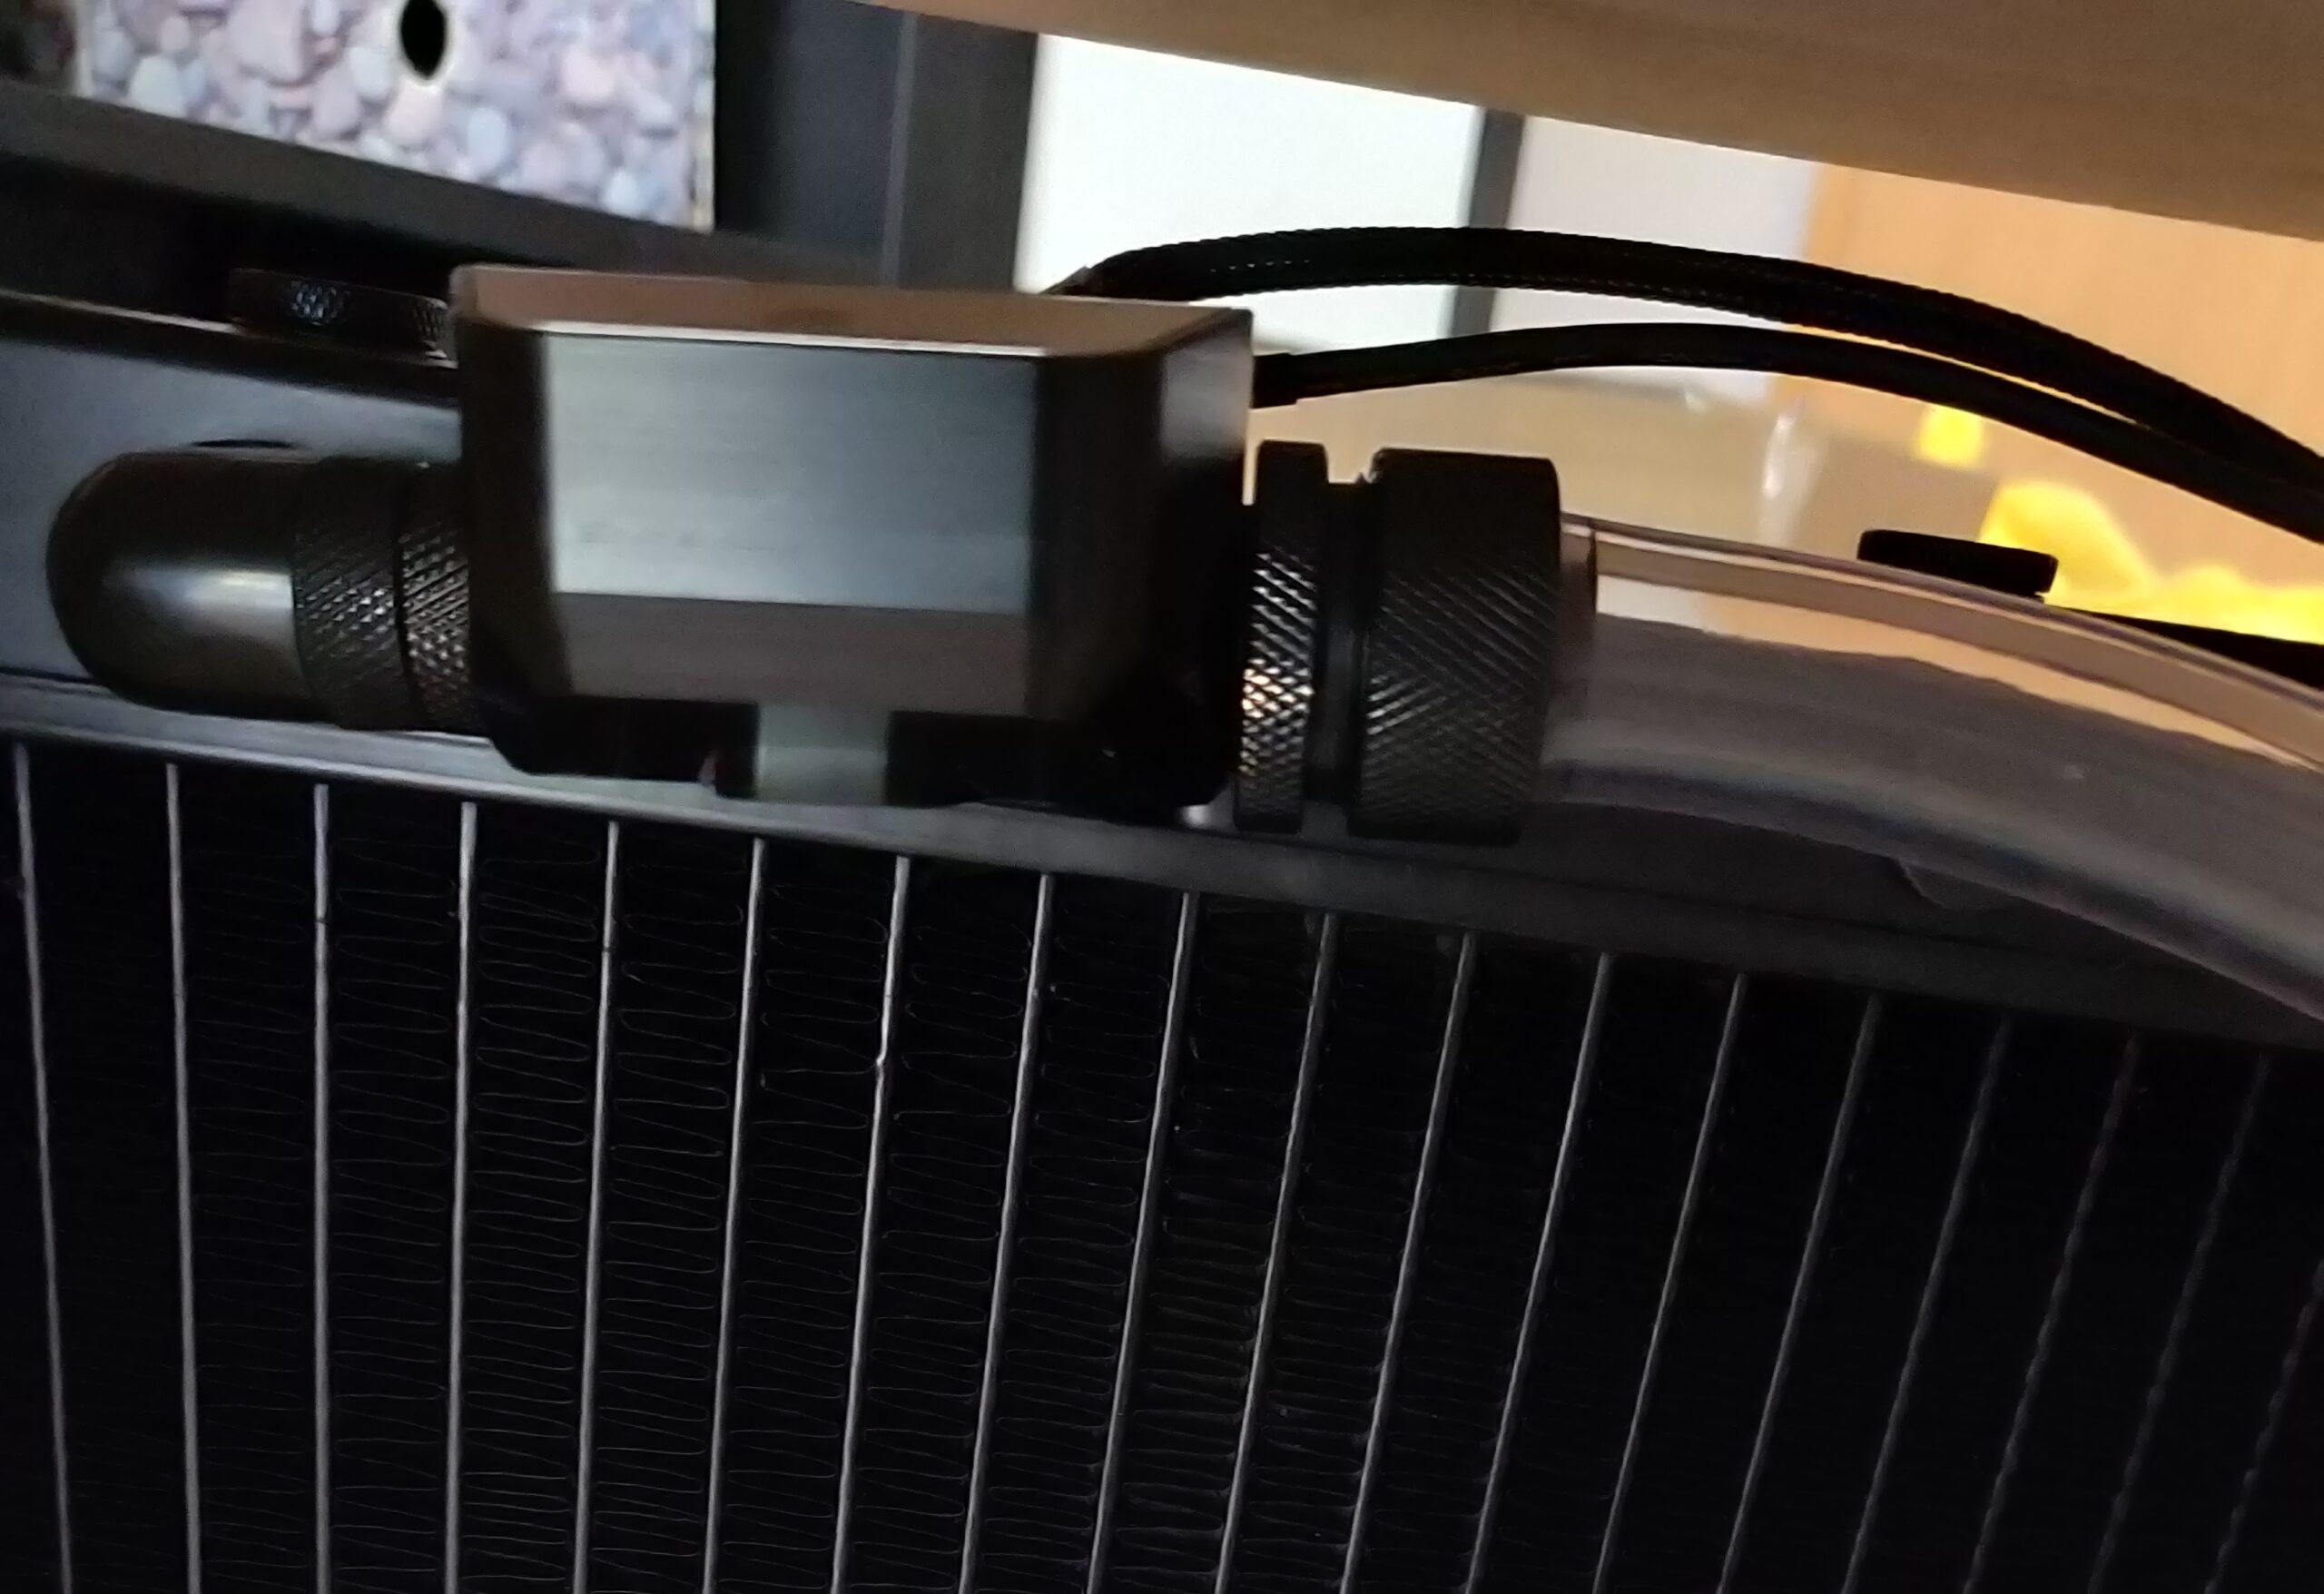
With just a few more long soft tubes and quick connect fittings, the bottom part of the cooling system was complete as well.
This meant that I could finally place the case on top of the shelves and connect it (both the coolant inlet/outlet and the electrical cable).
Finally, I completed the coolant loop by attaching the CPU and GPU cooling blocks with some more soft tubes.
Of course, they were not attached to any PC components yet, but this allowed me to close the loop, test it for any potential leaks, and even fill it with some liquid (pure distilled water) for the first time, thanks to the external power supply!
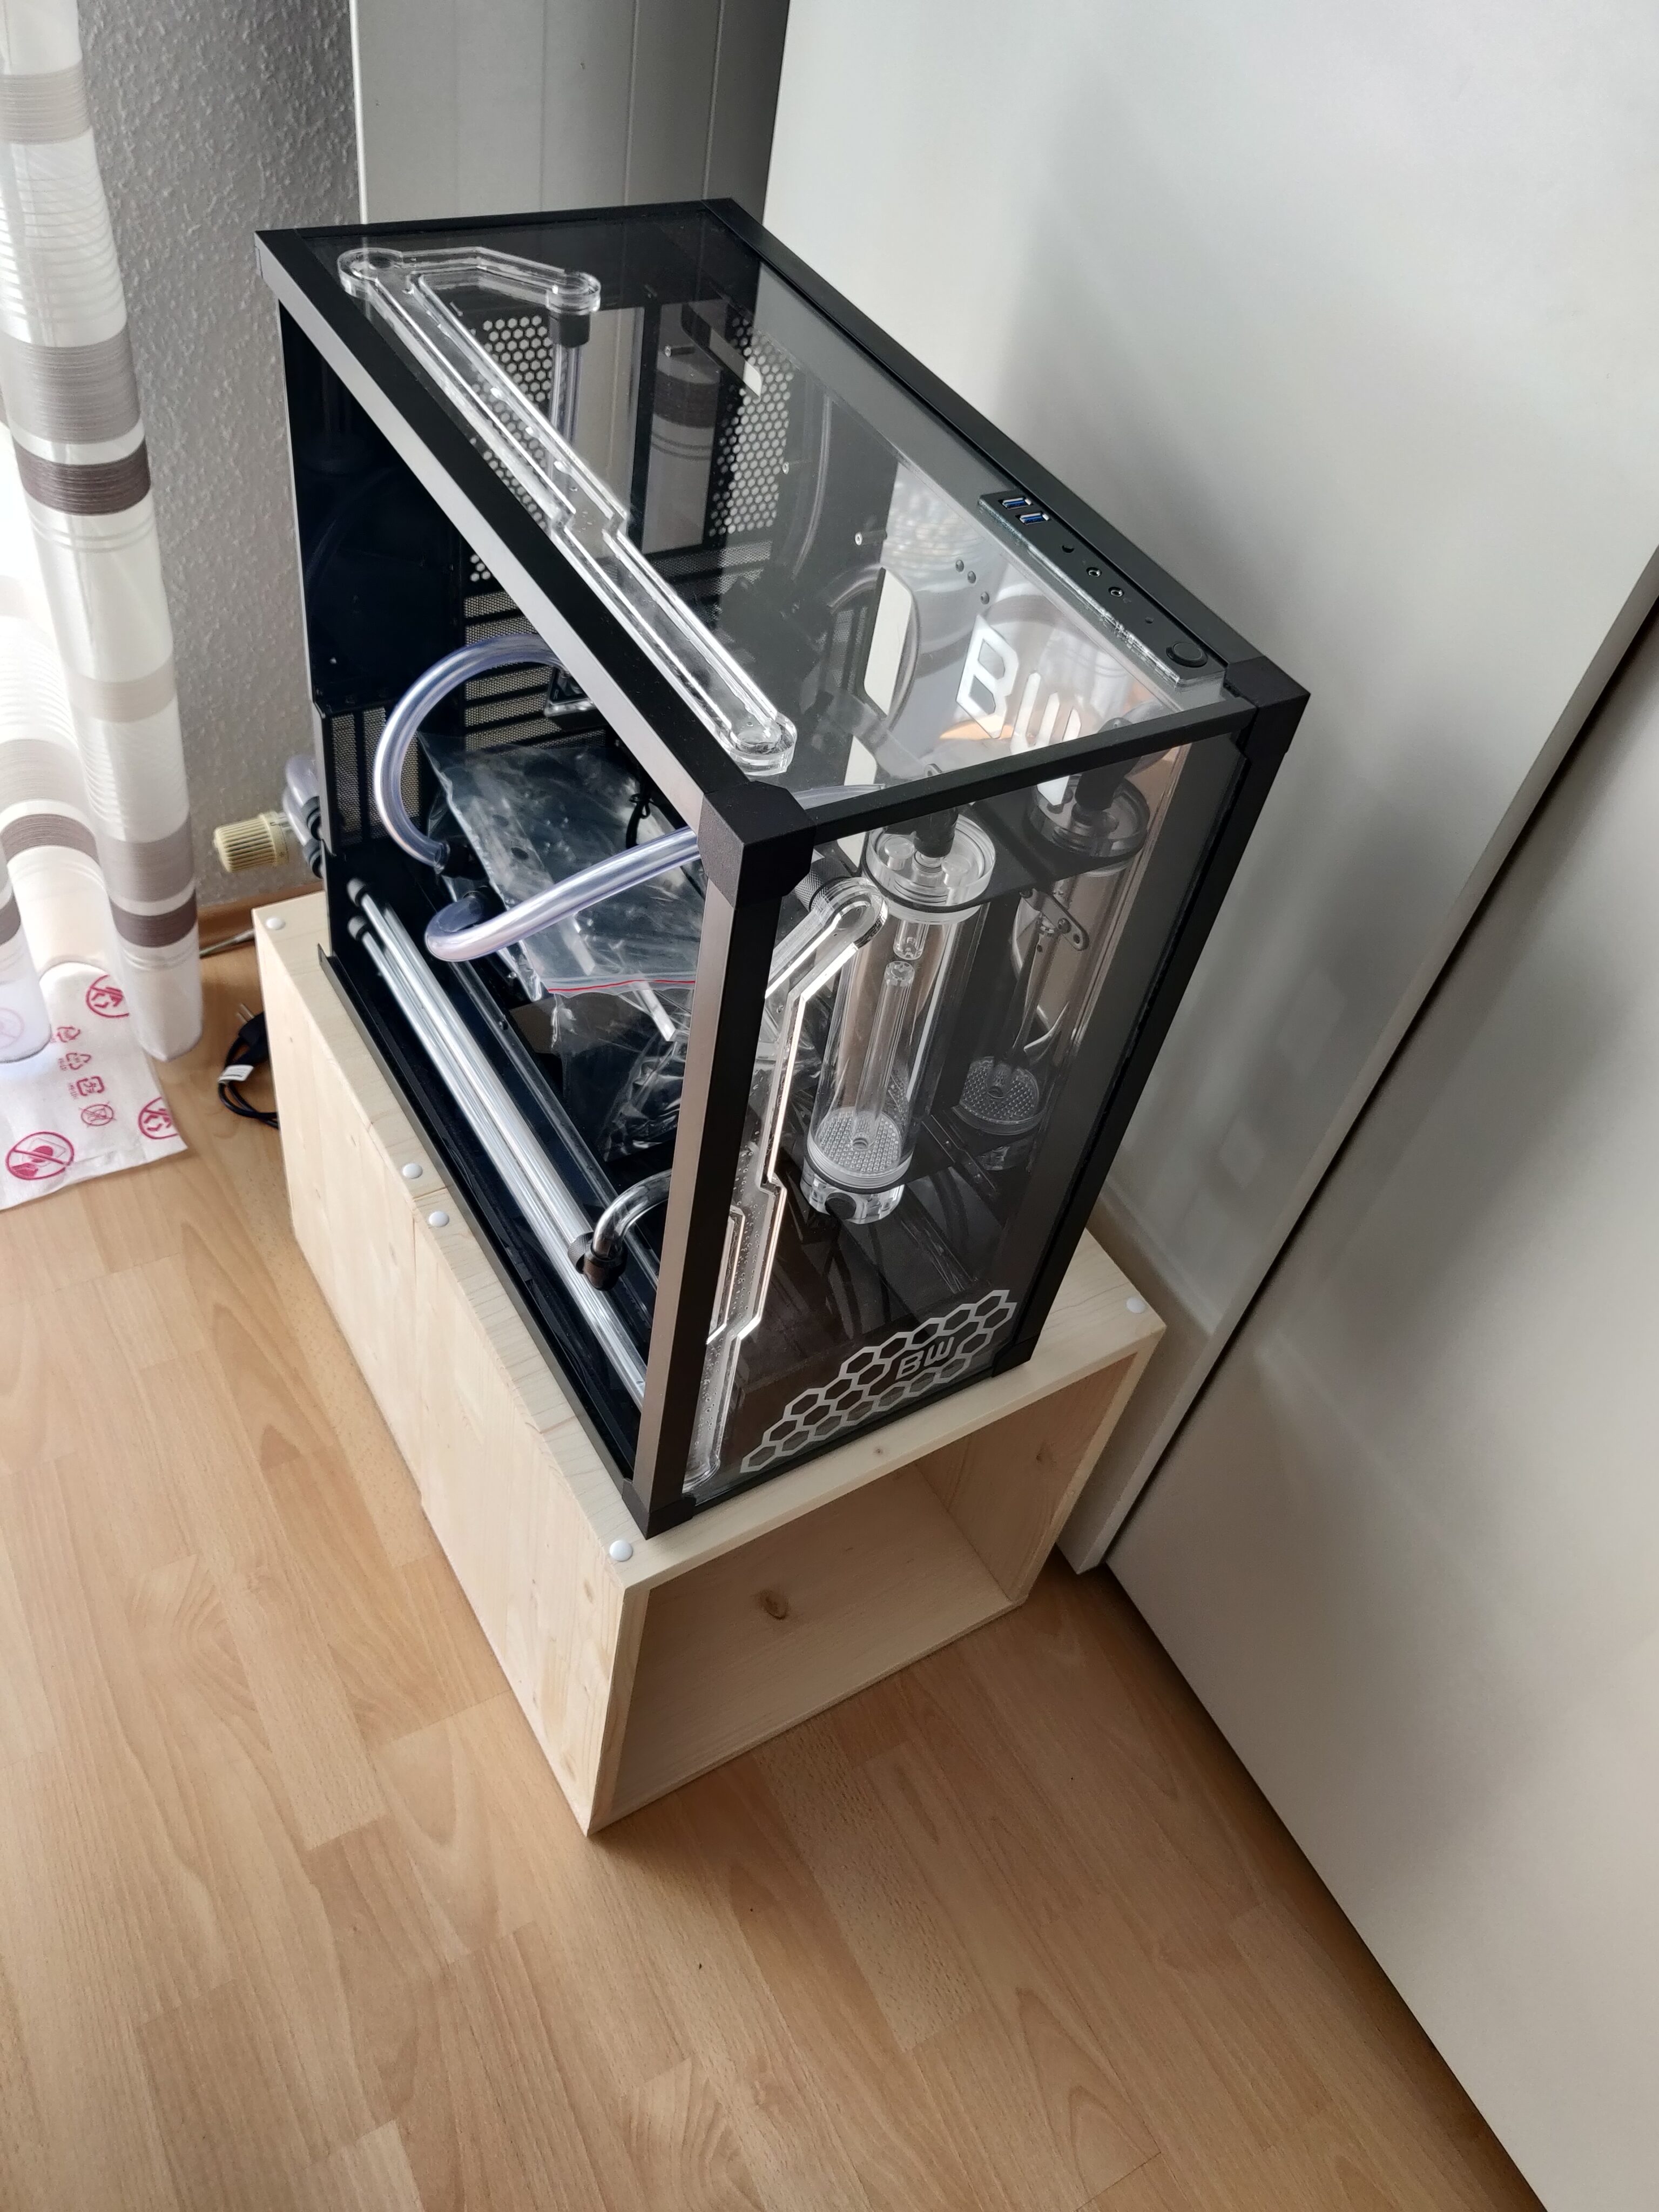
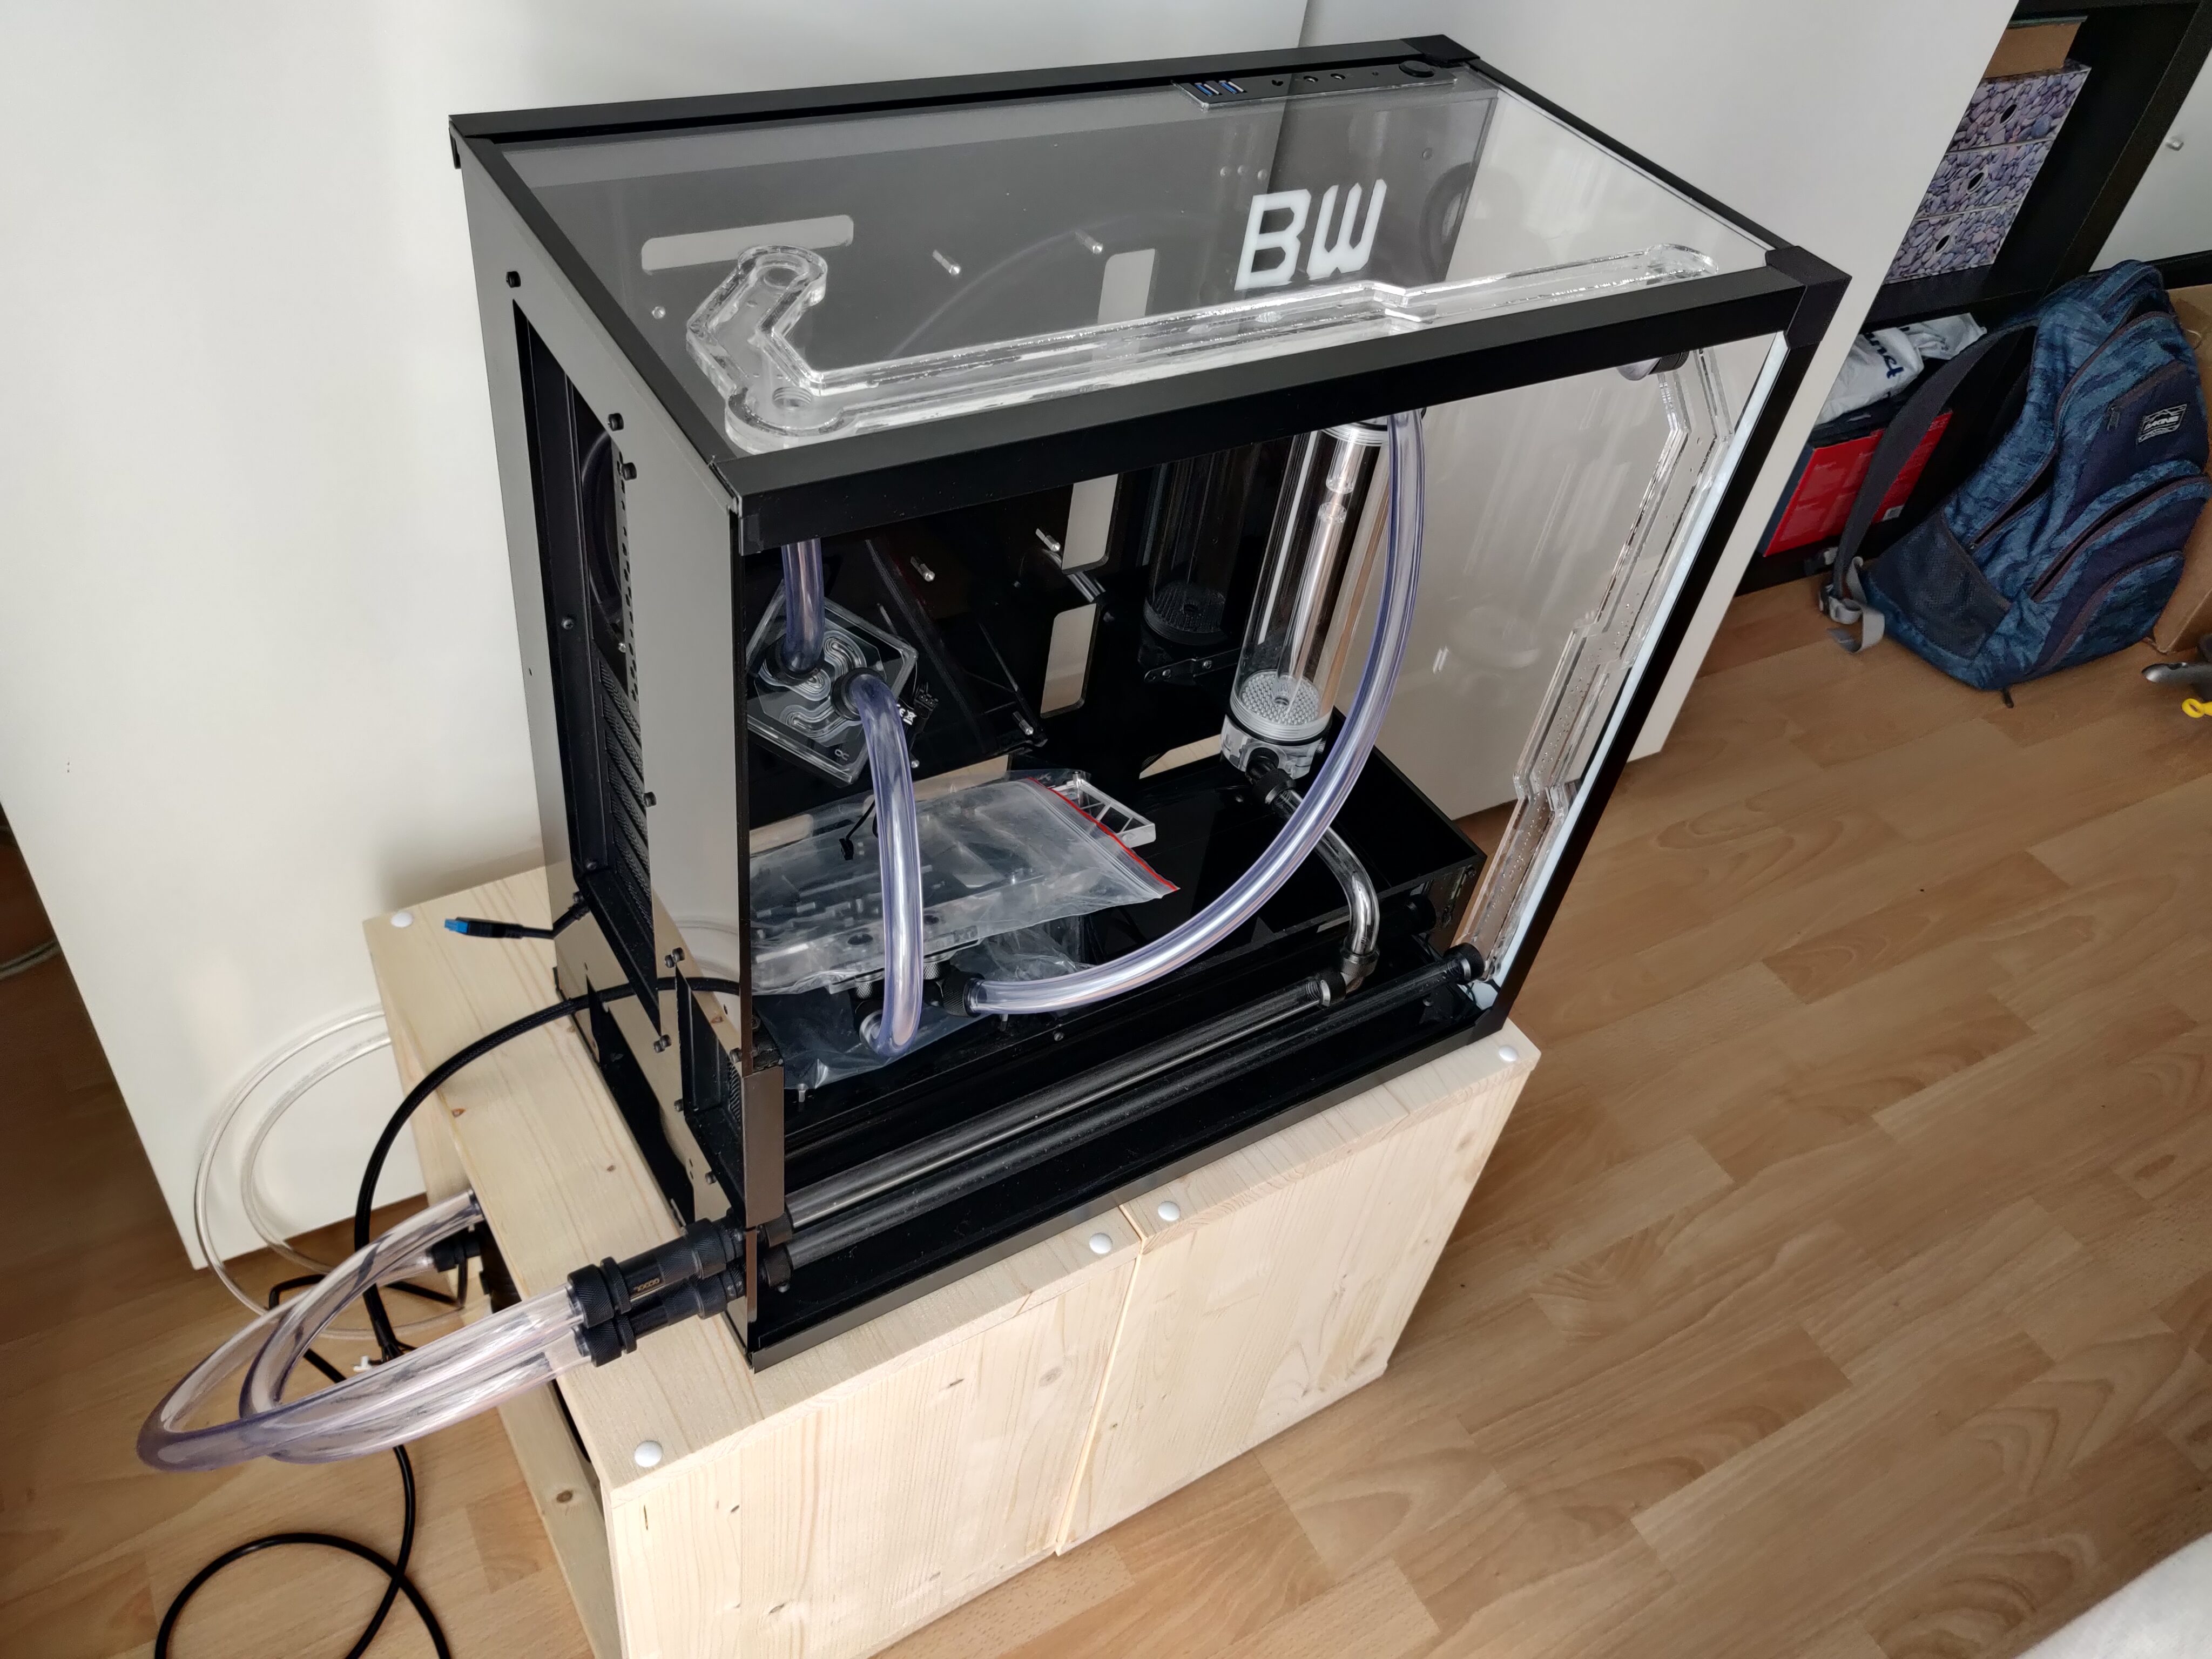
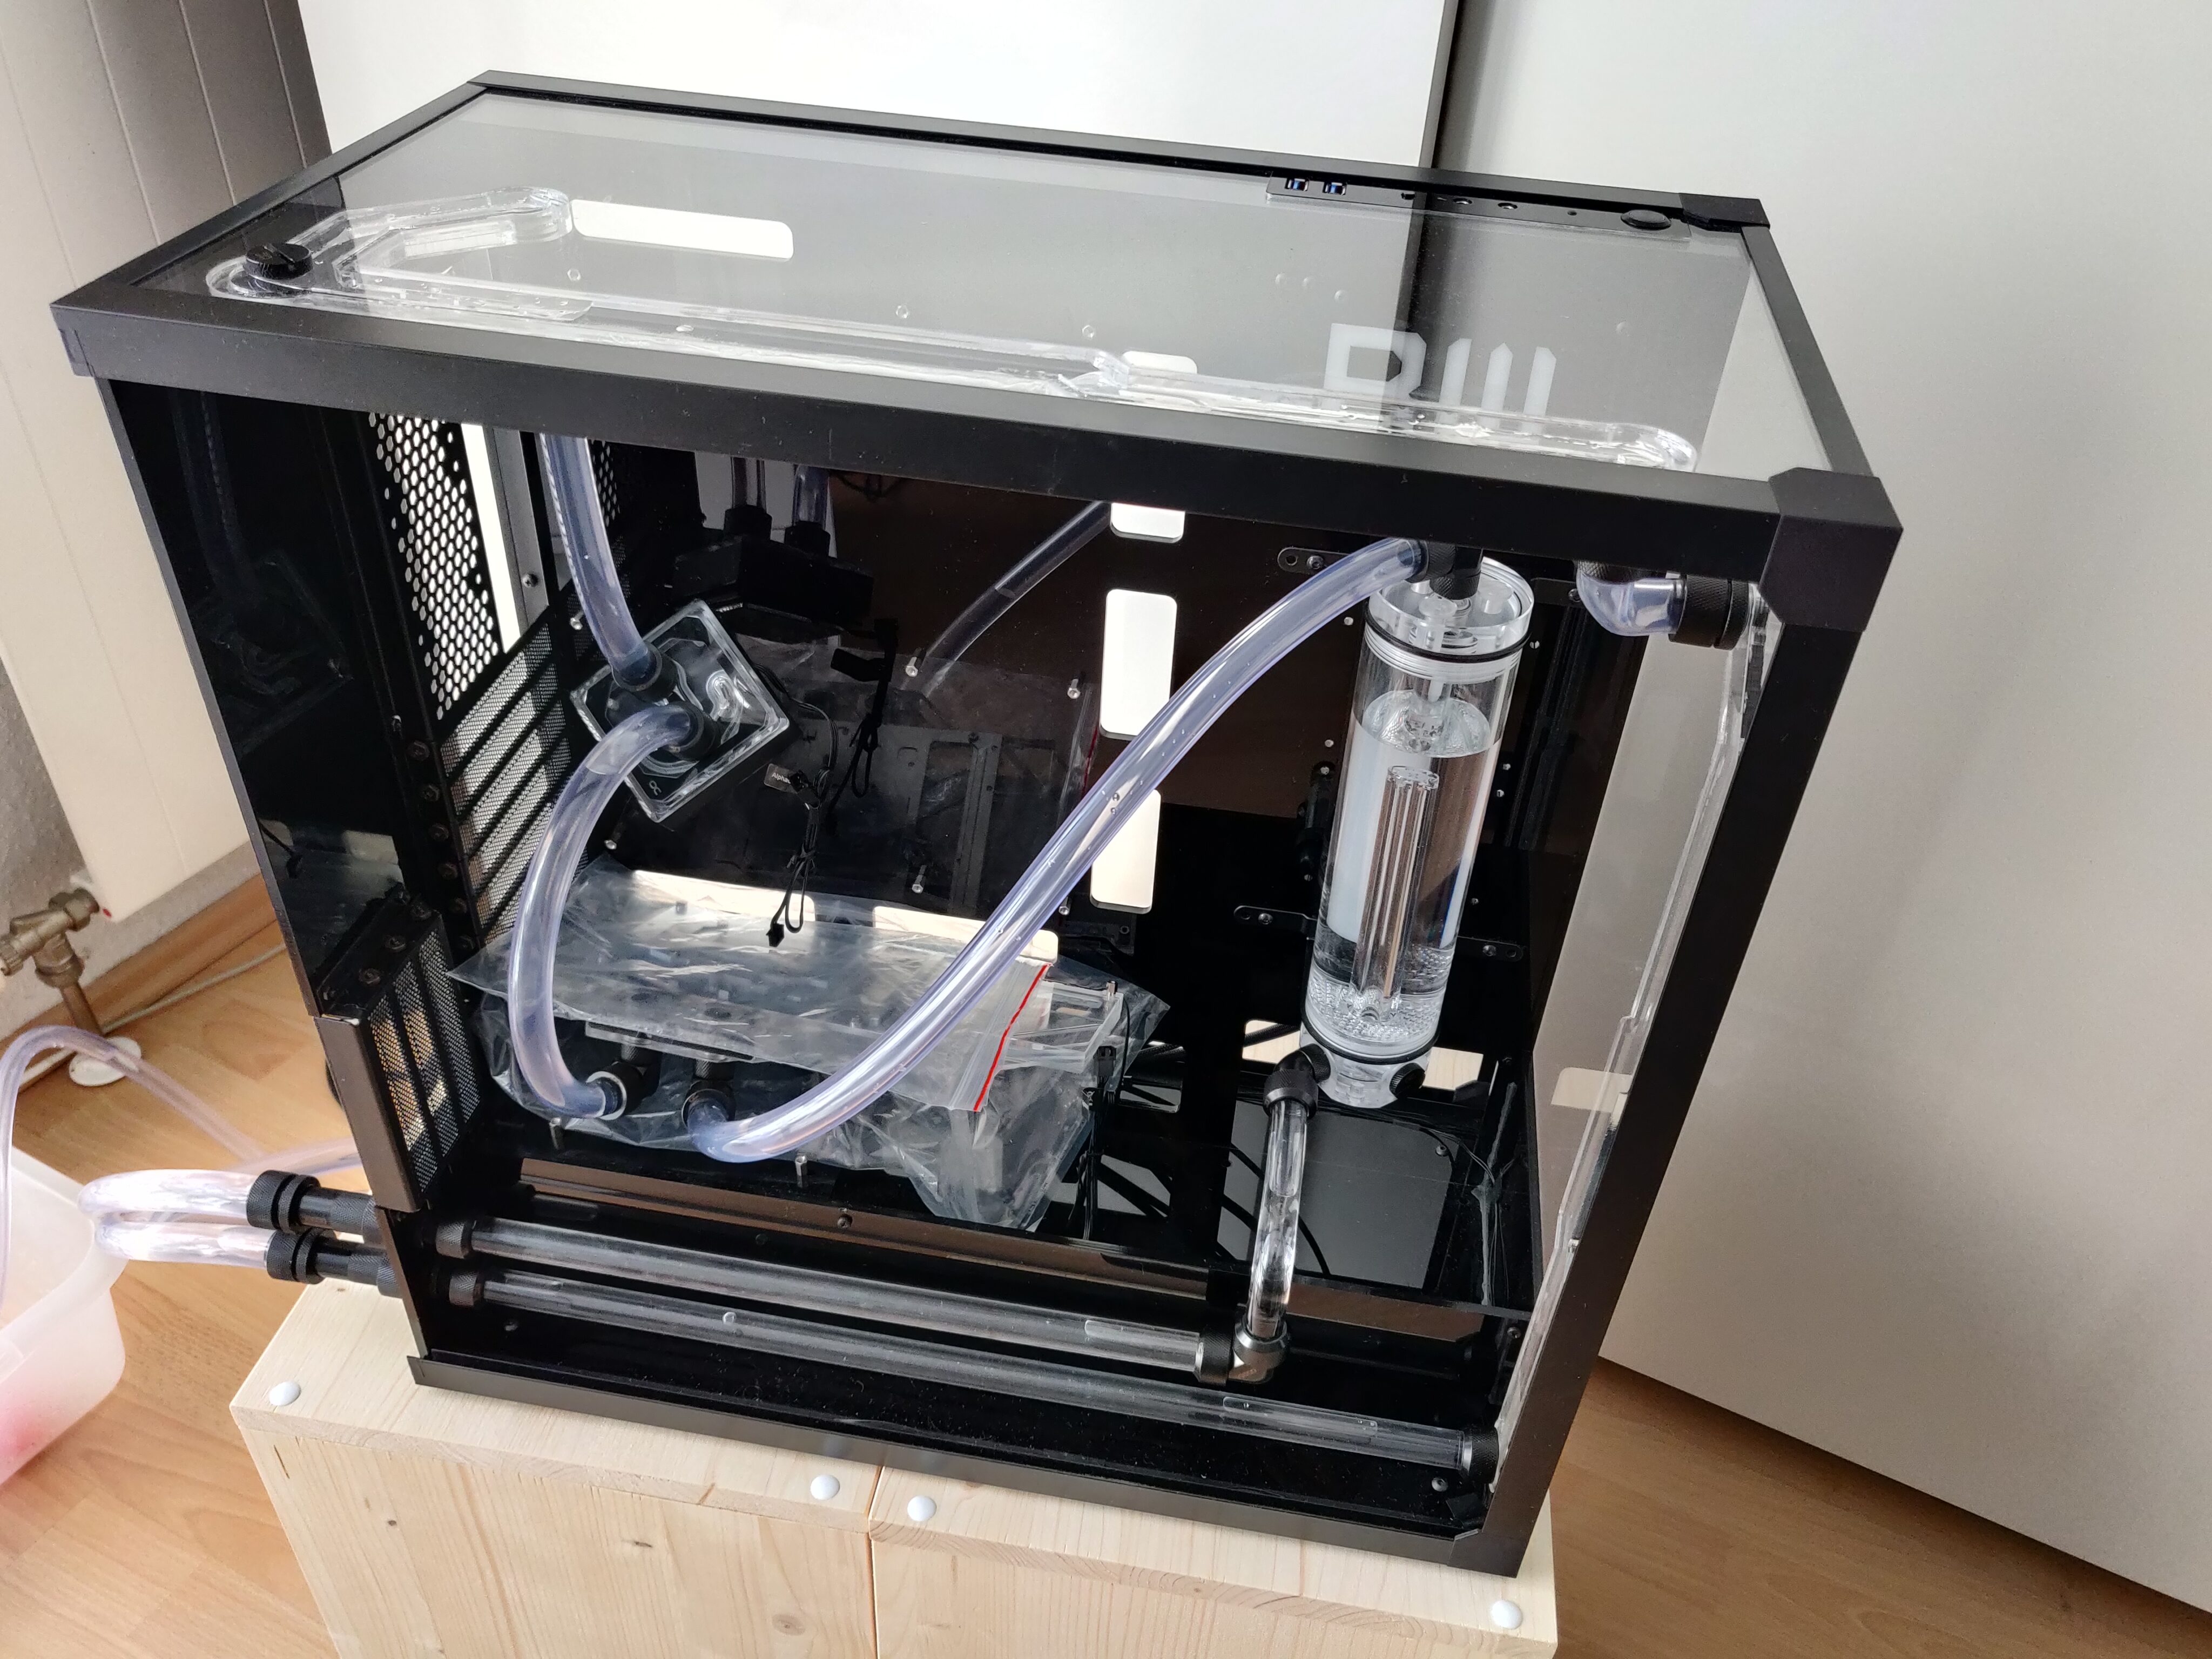
Now that every part of the case and coolant loop was confirmed to work, I could transfer my actual PC components into it!


