Tag: battery

  • BlockBox v2: The Build, feat. CNC machining

    Just like before, the build process started with the electronics. So it was time to order new circuit boards and components.
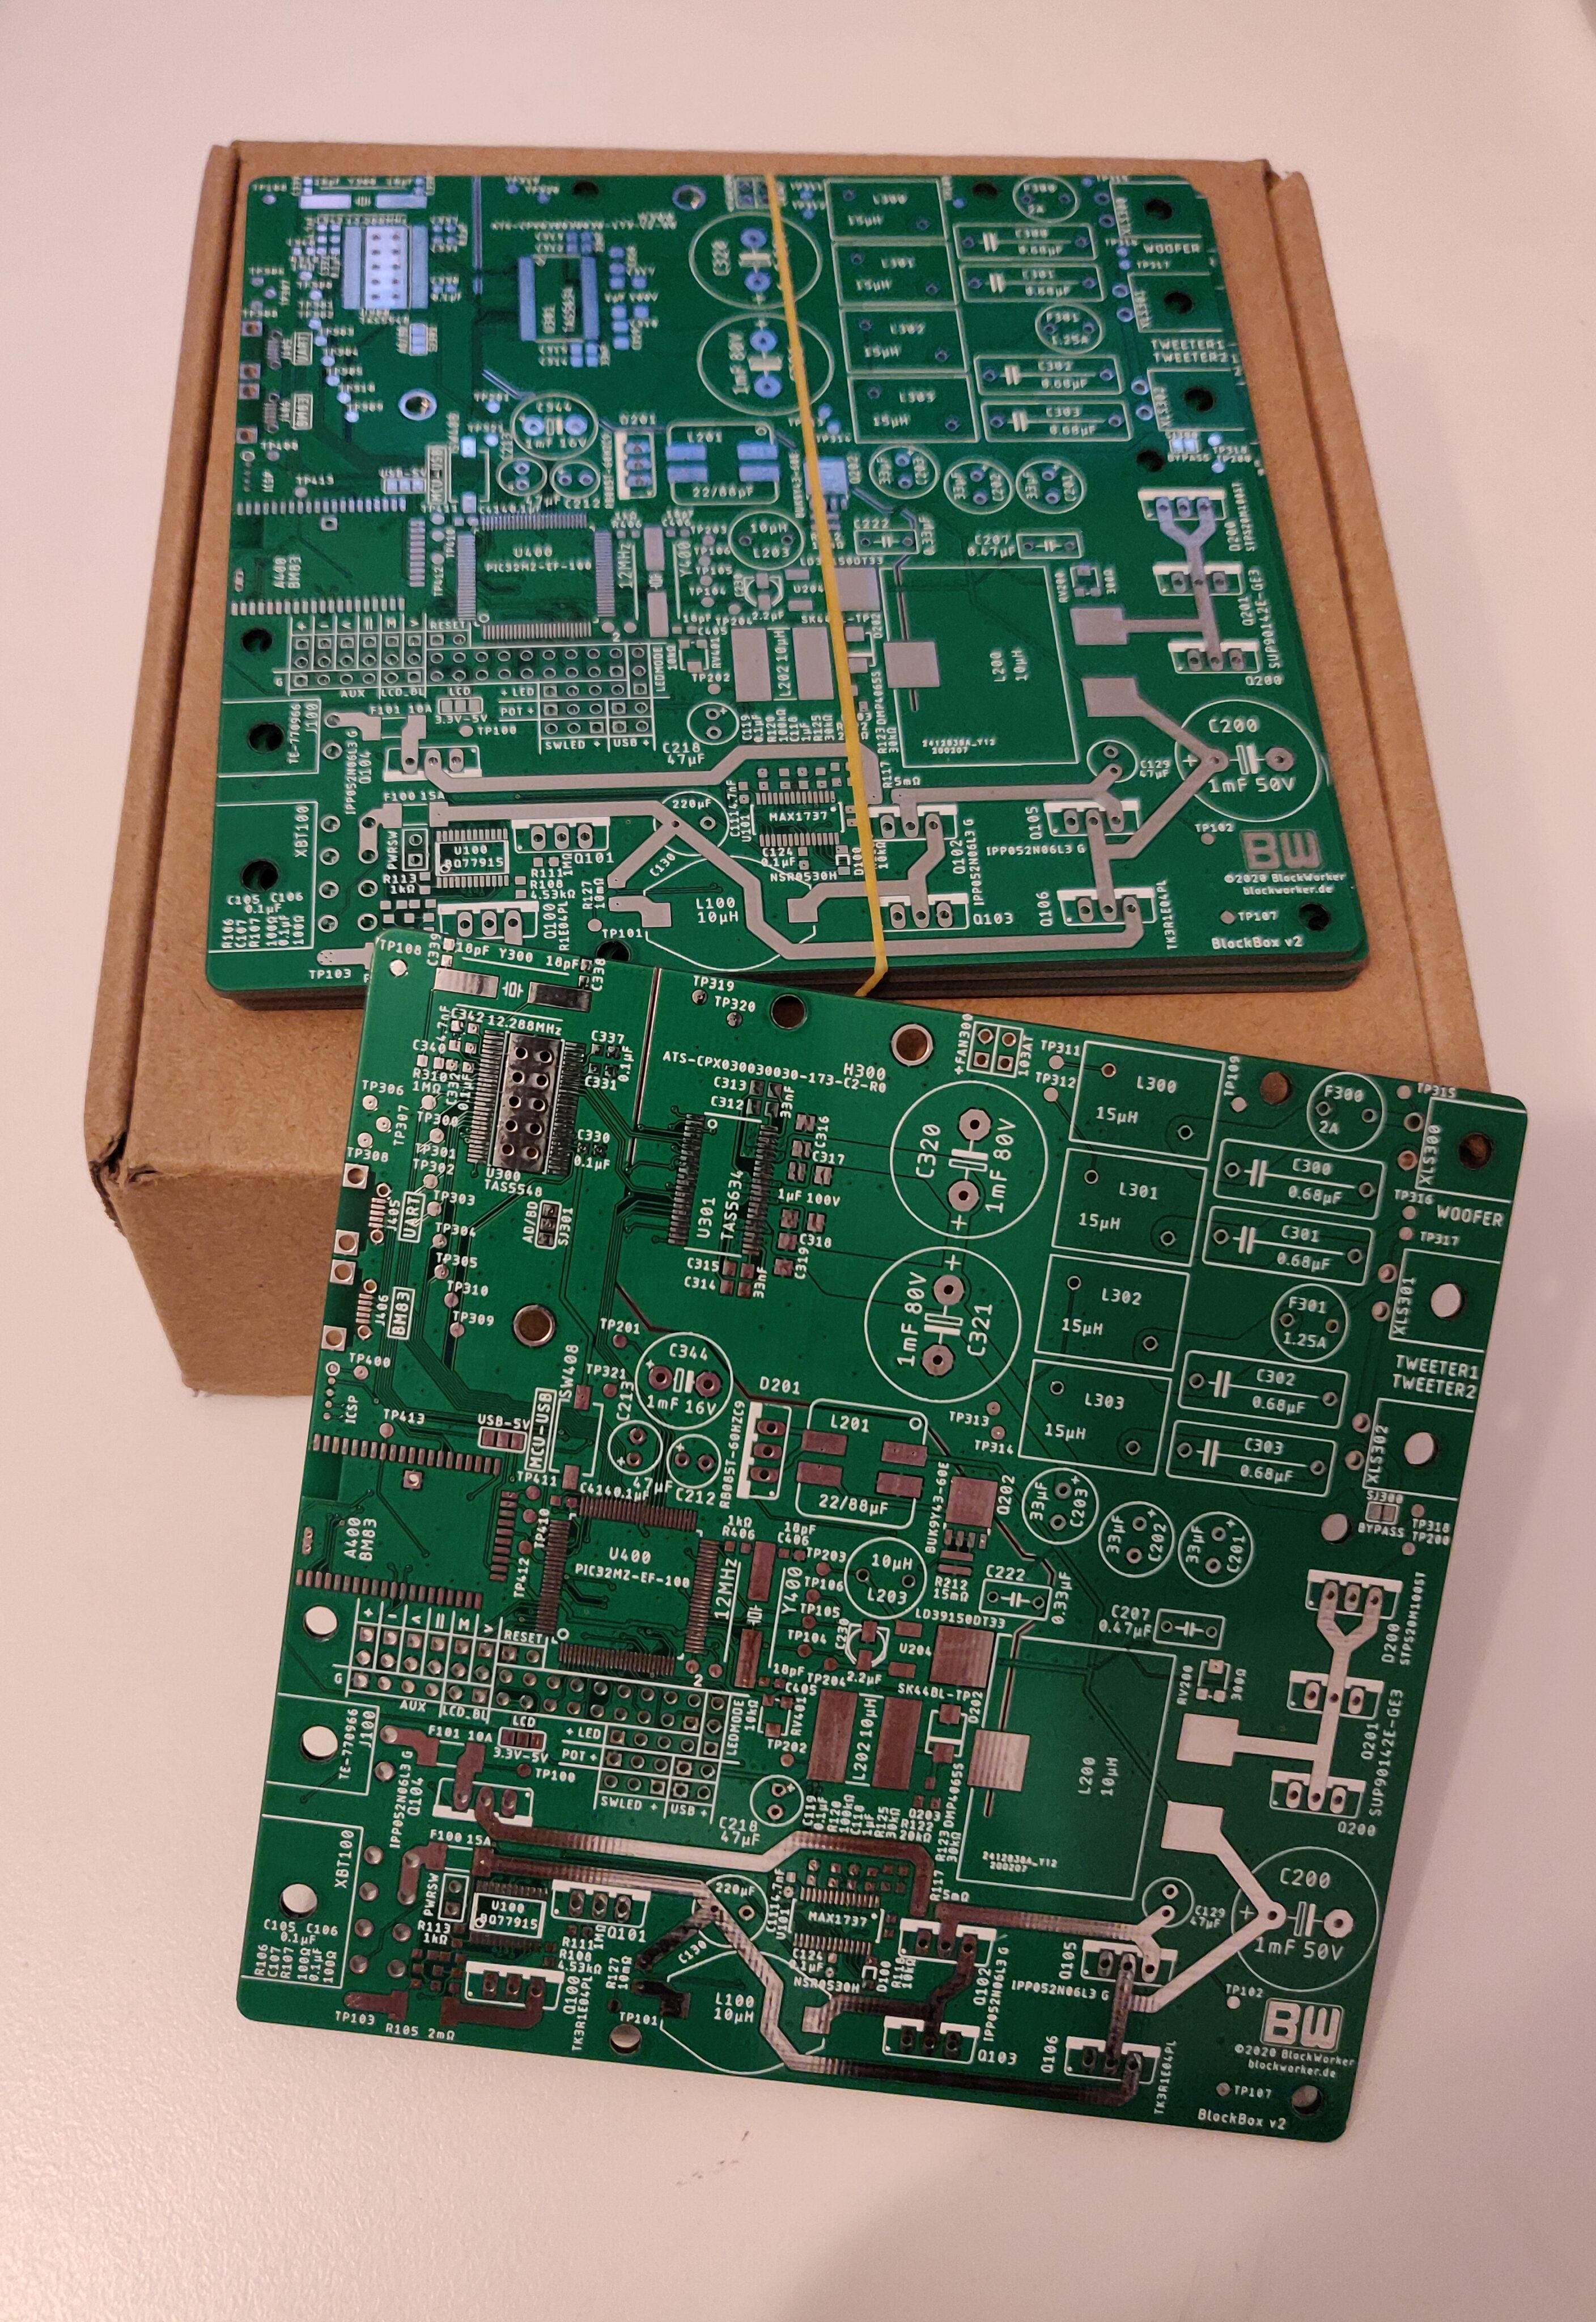
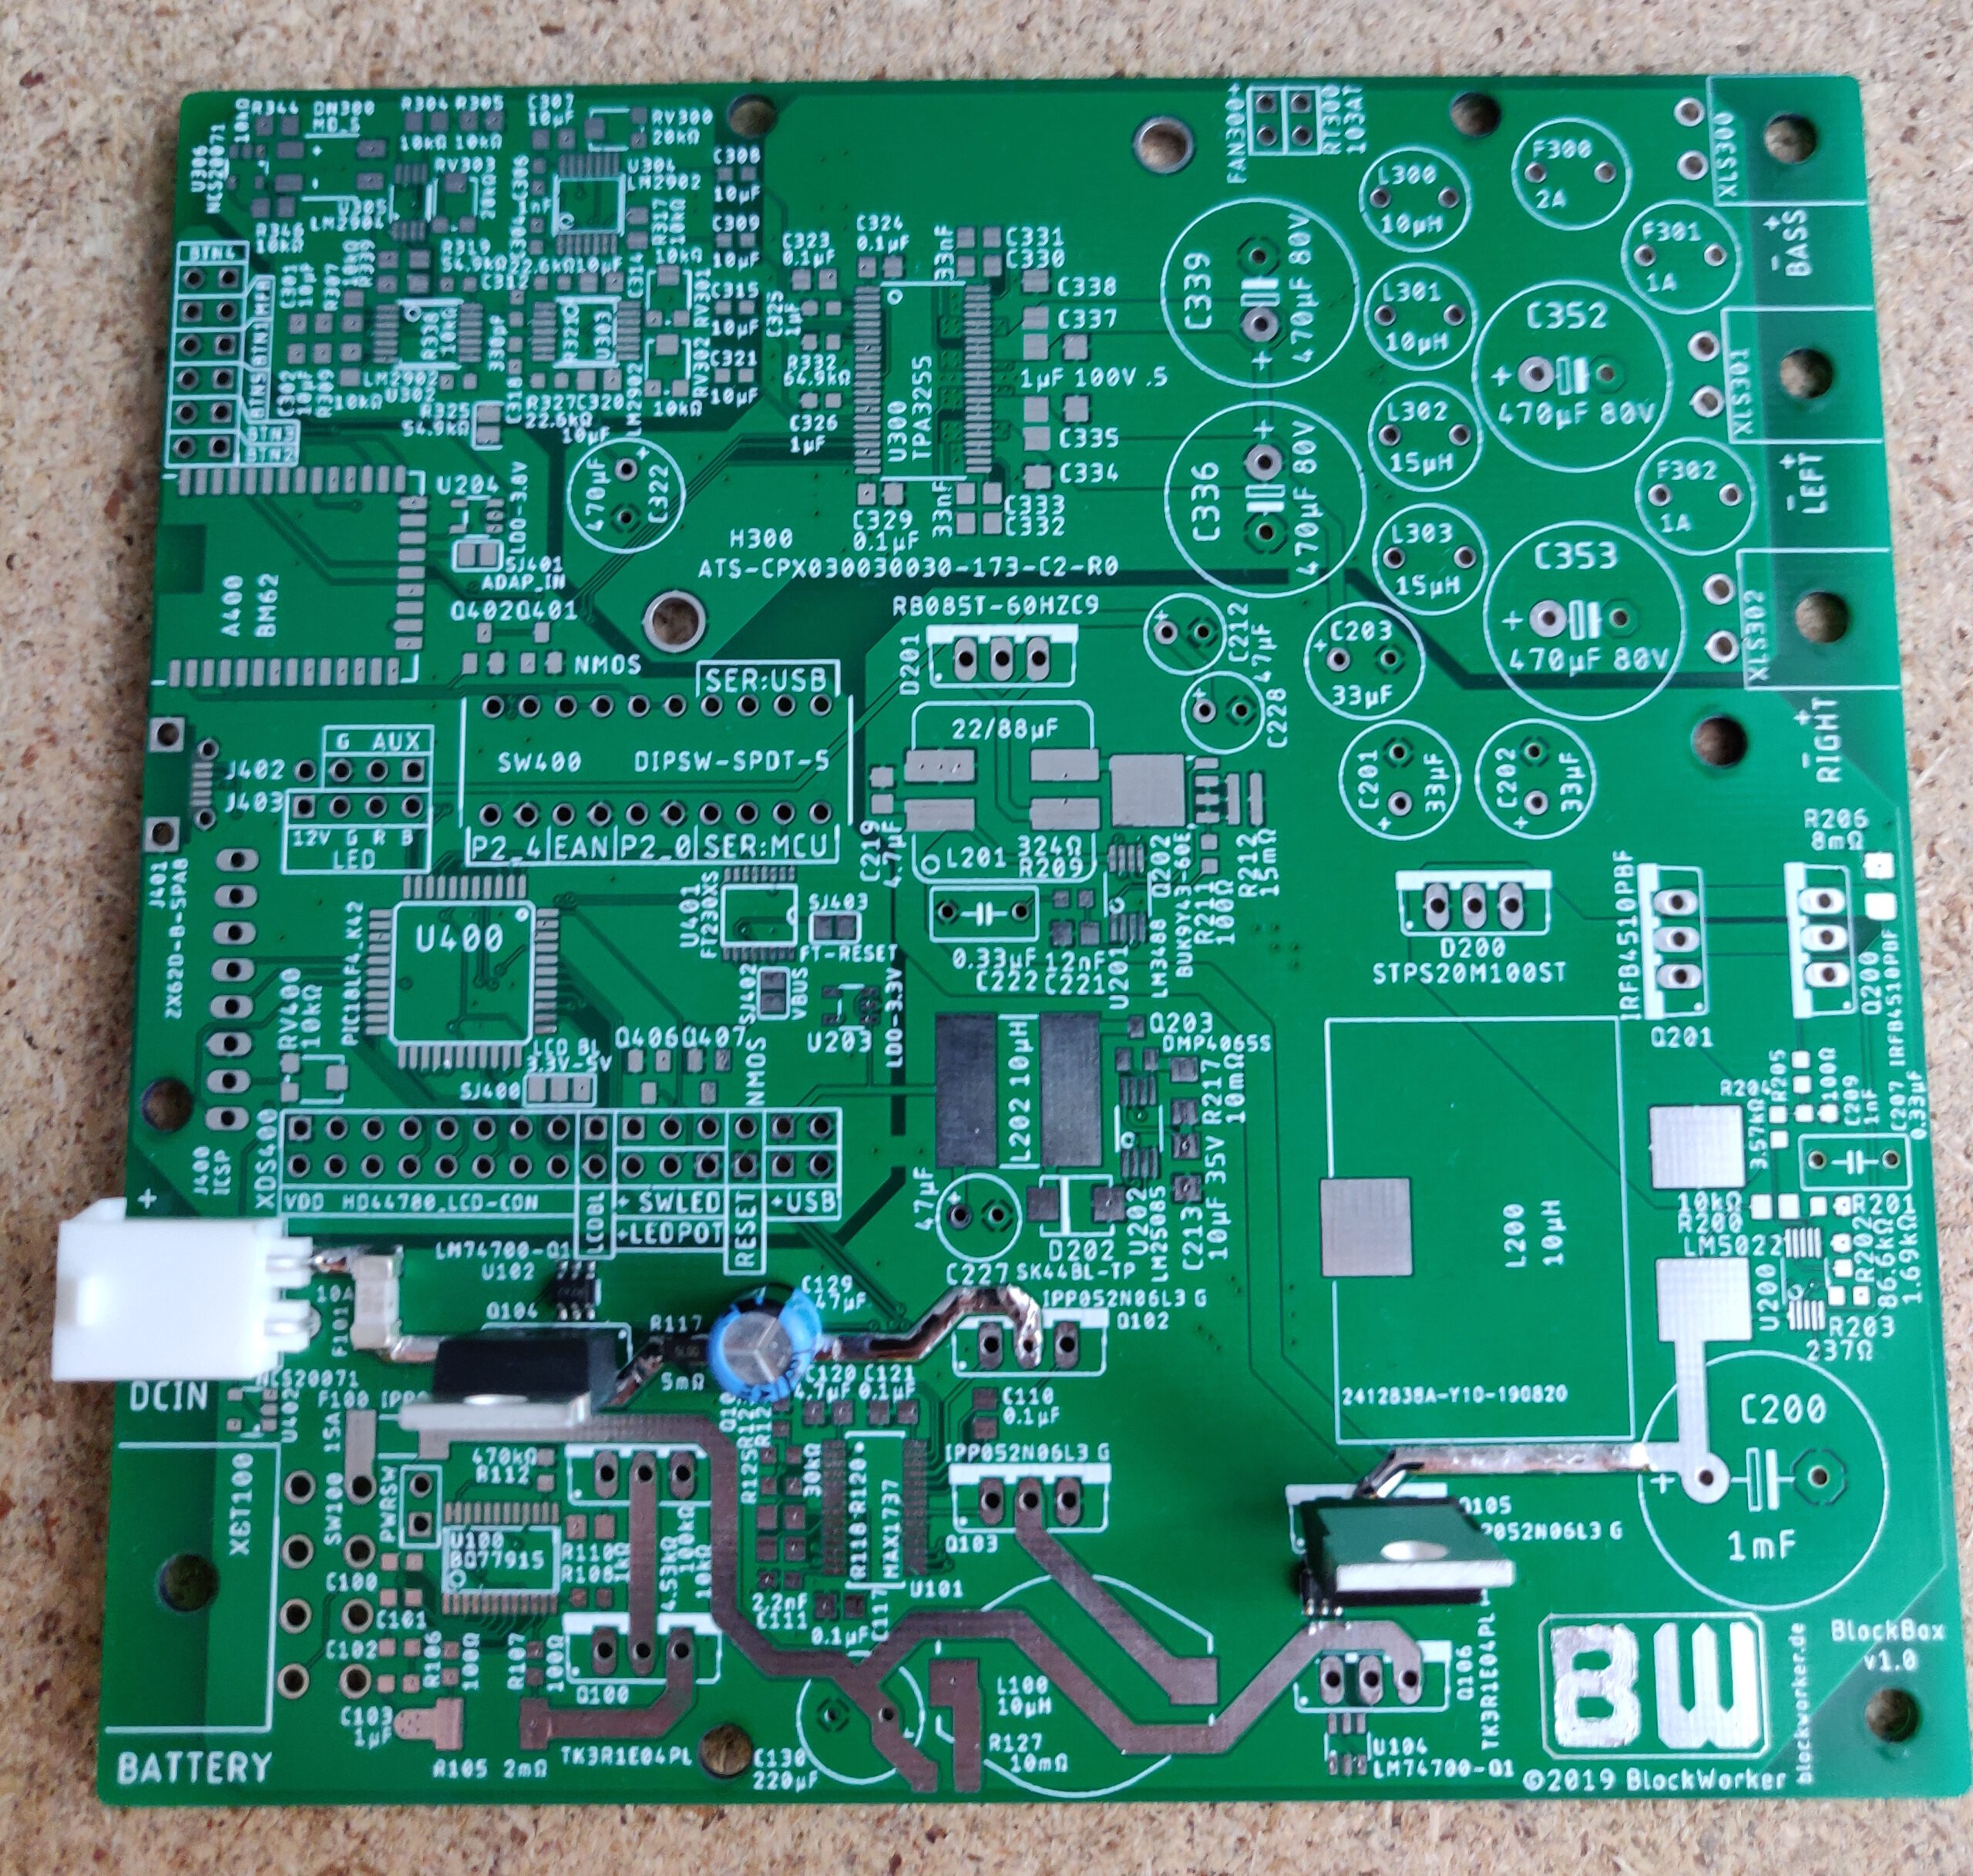
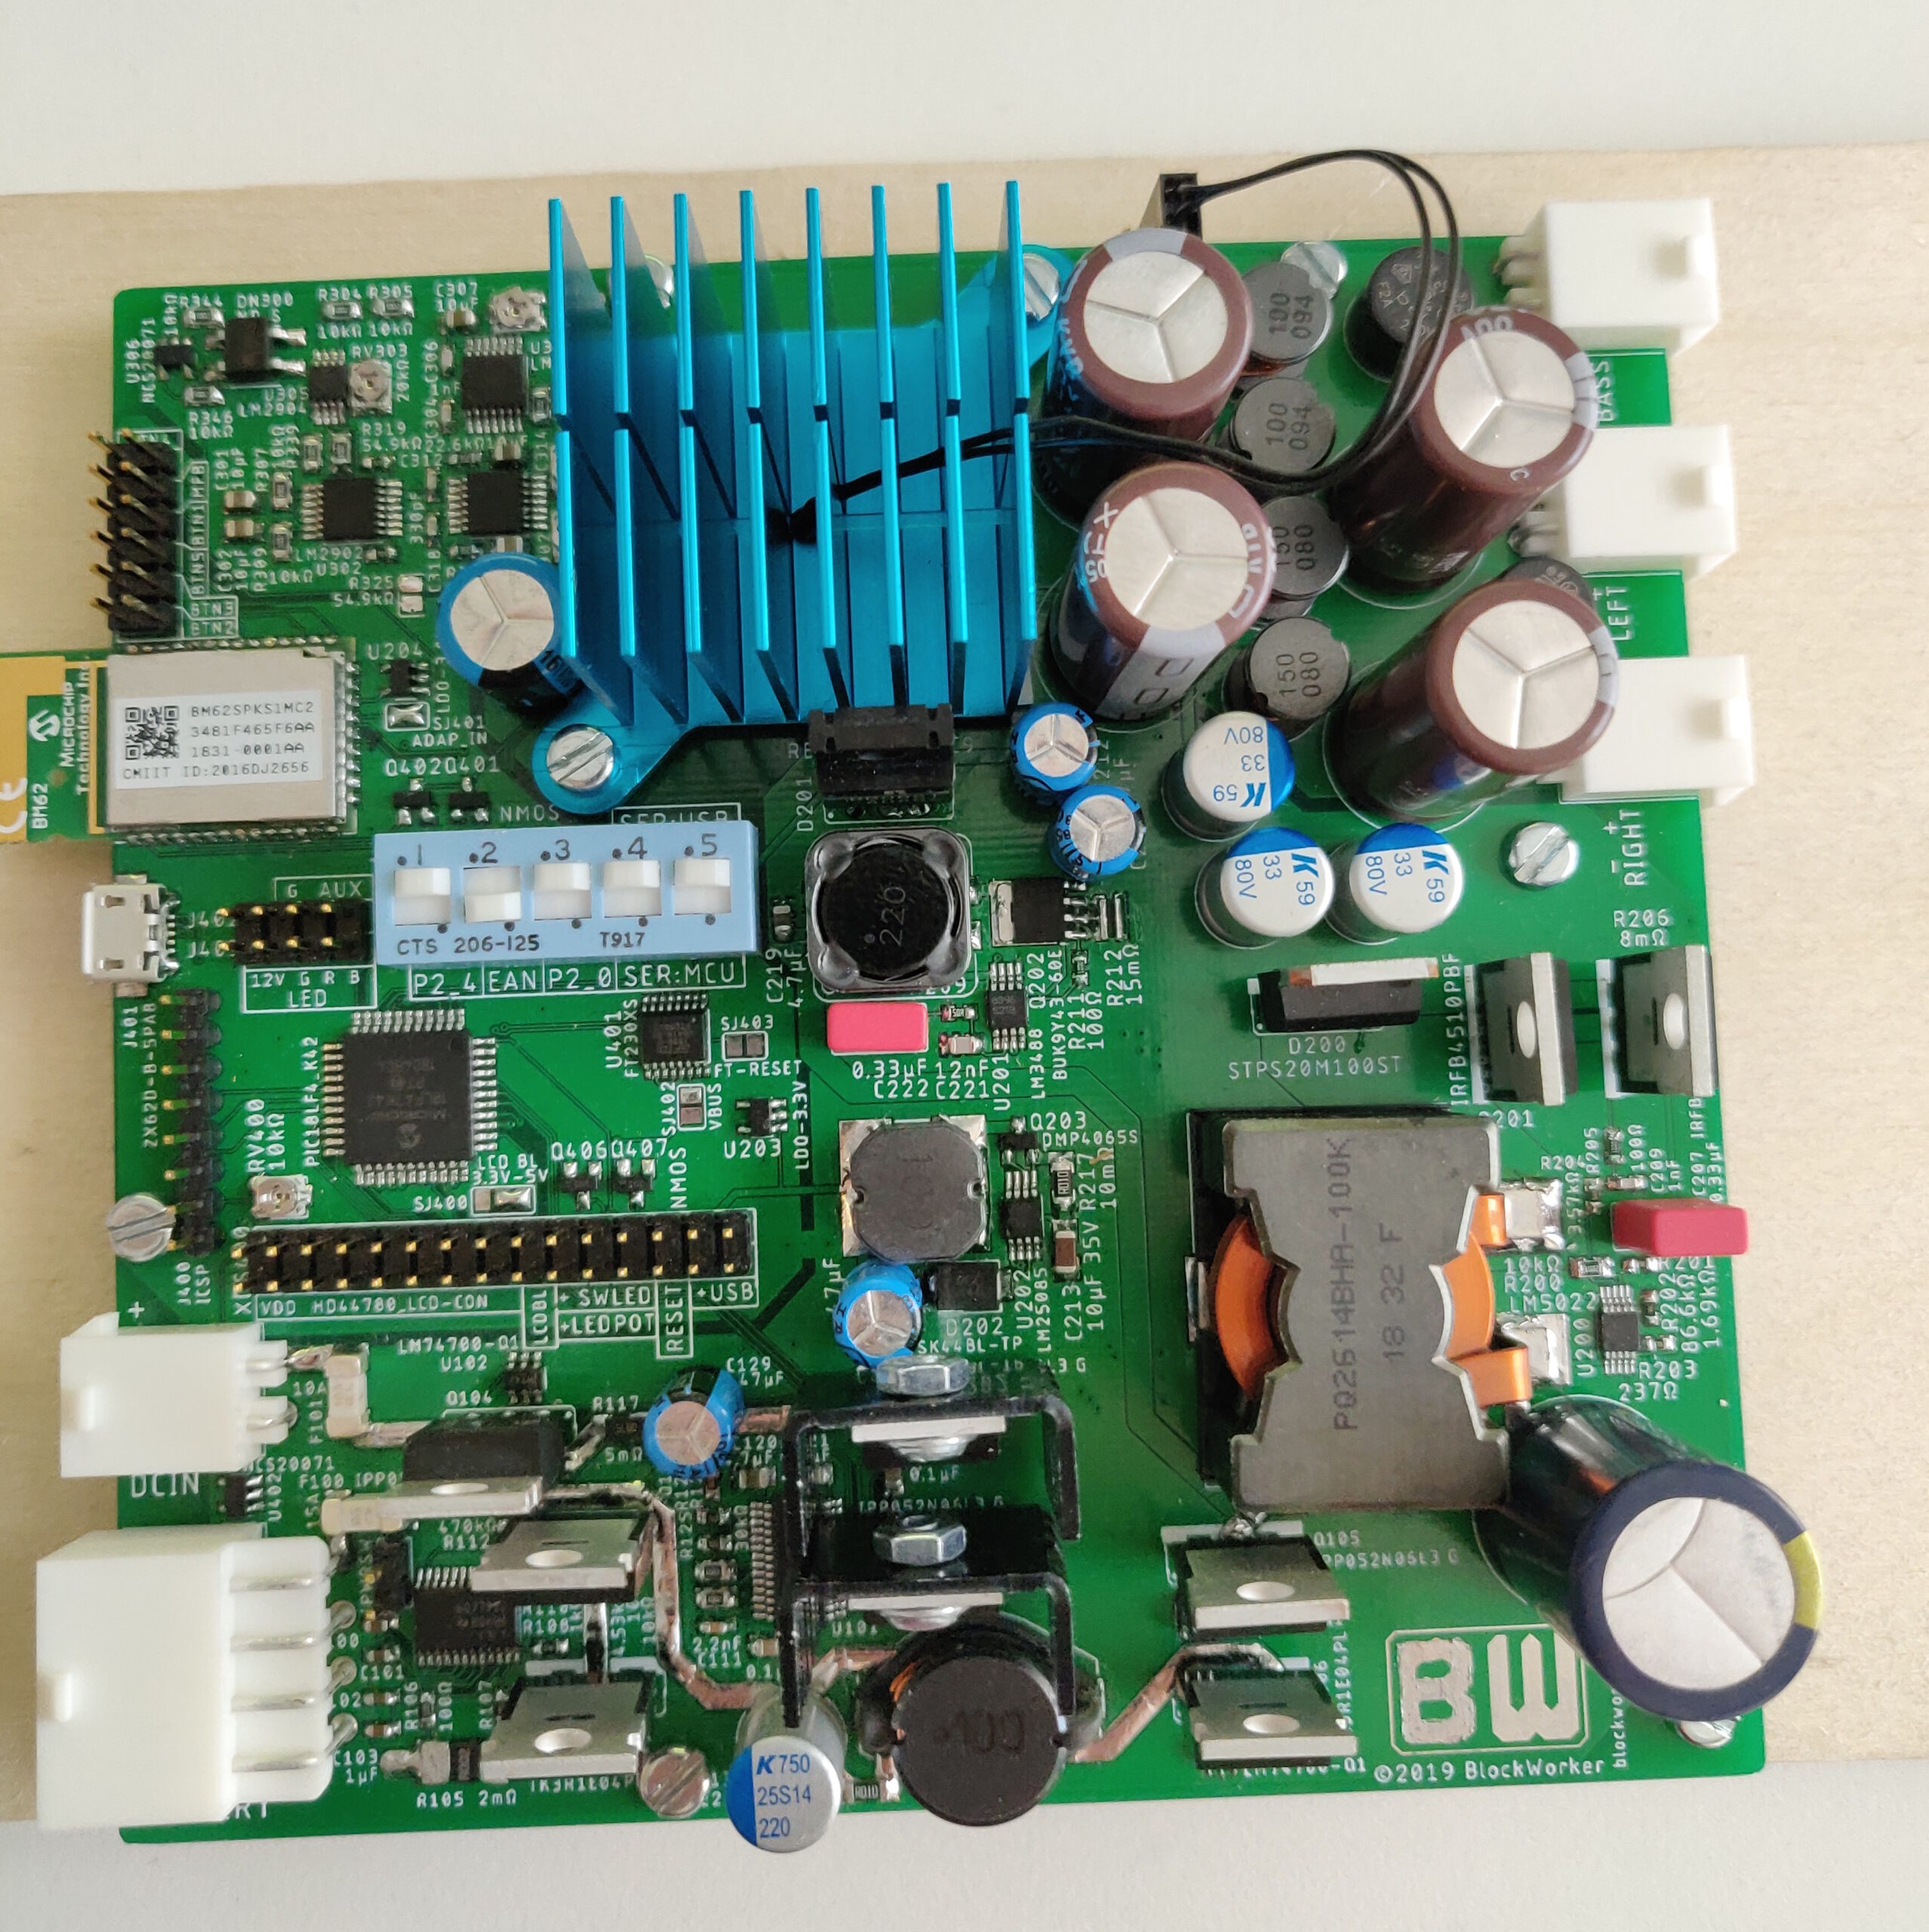
    Building the electronics for this second speaker followed the exact same procedure as I described for the BlockBox v1, so I won’t repeat it here. In the end, I had another nice circuit board that looks just slightly different from the first version (shown without the amplifier heat sink here).
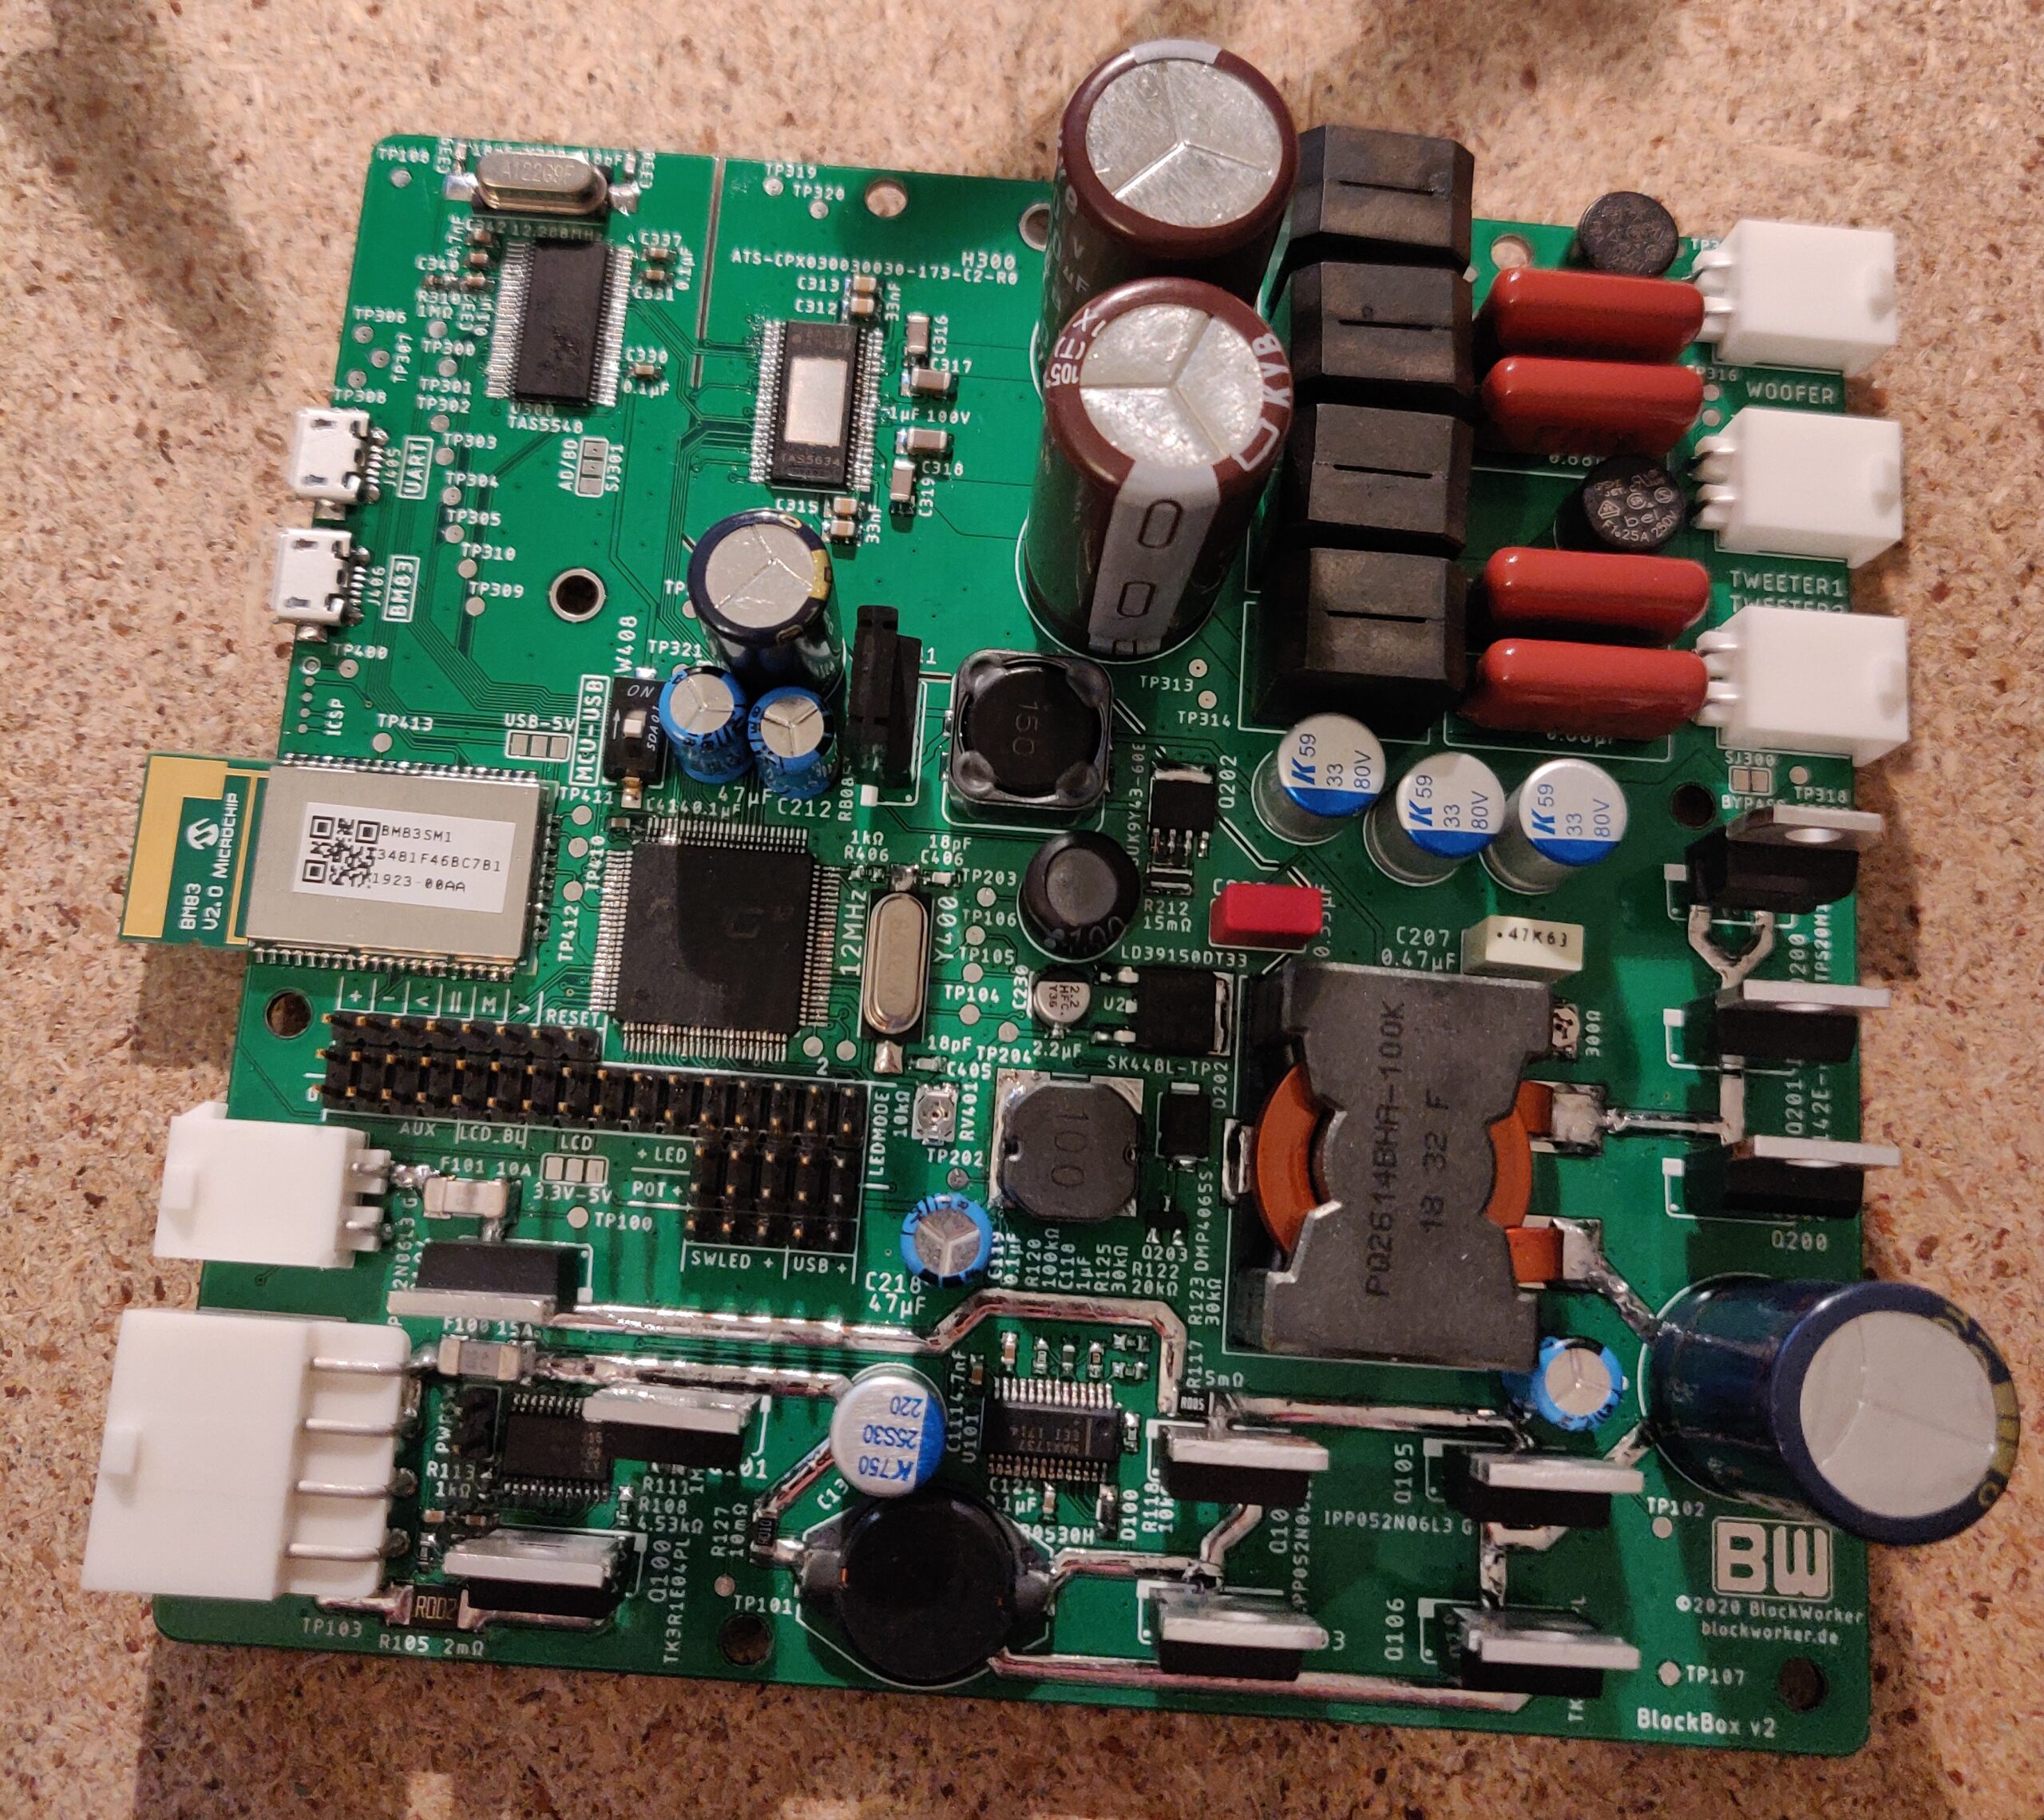
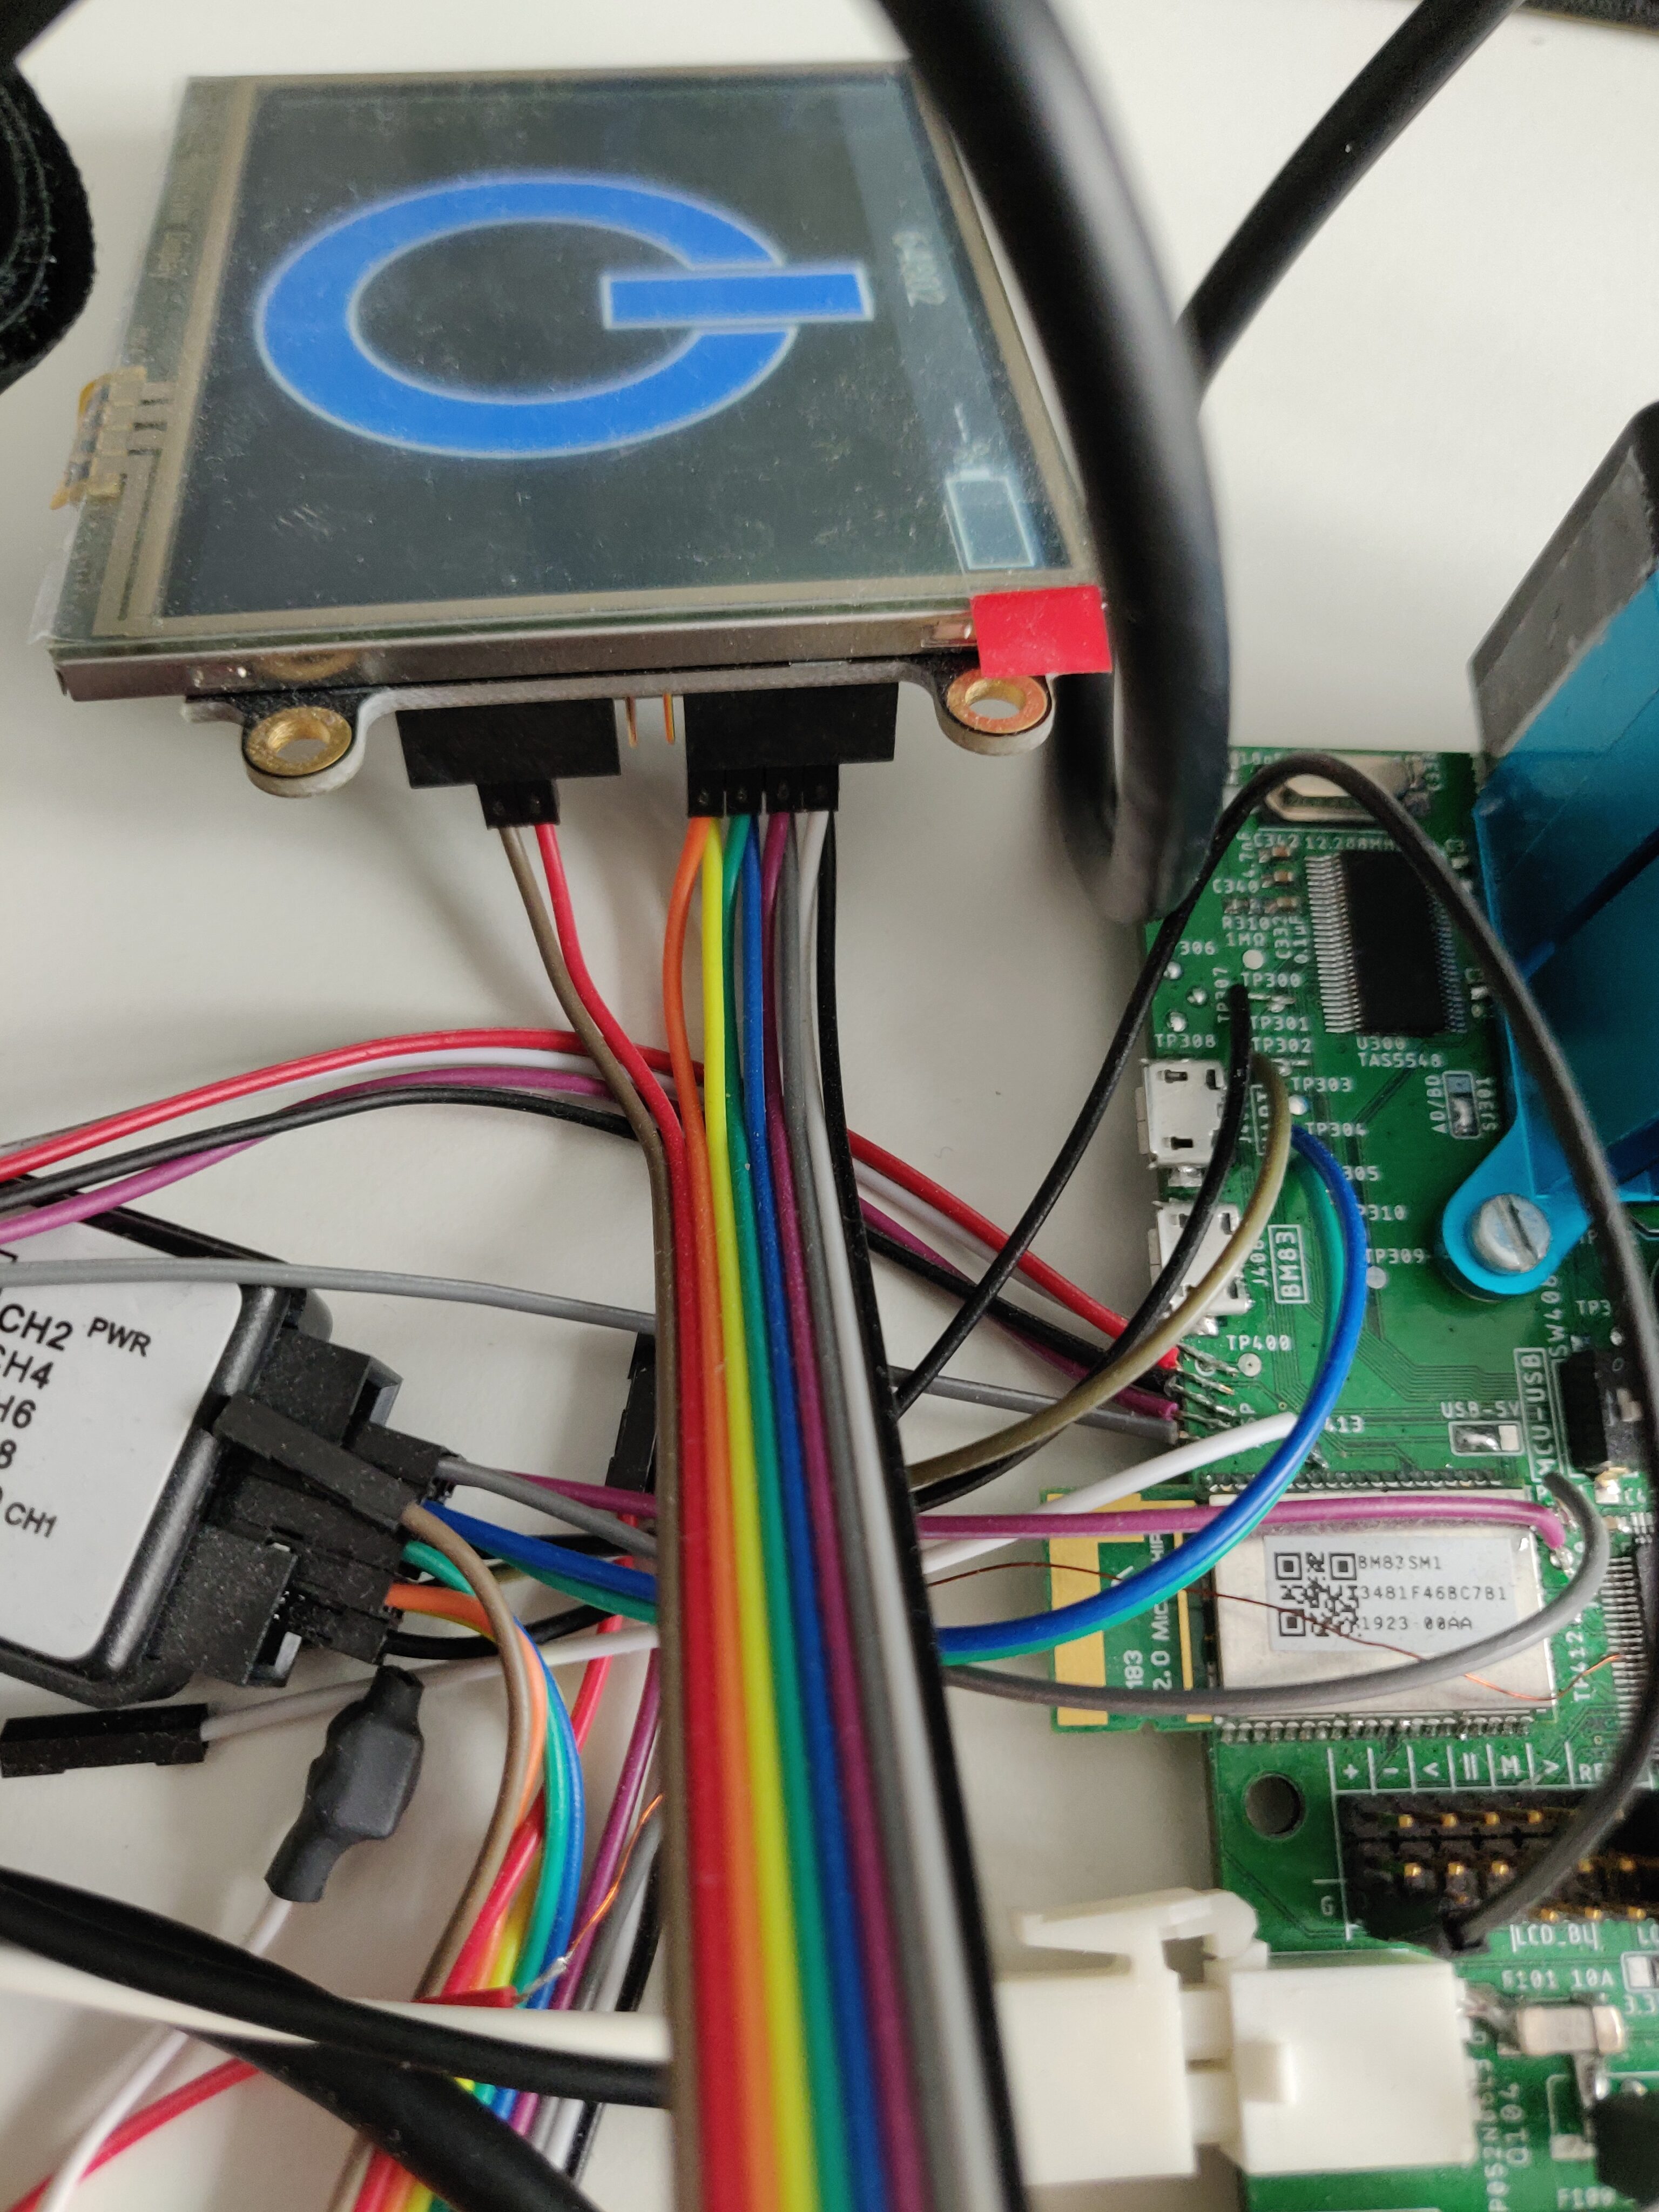
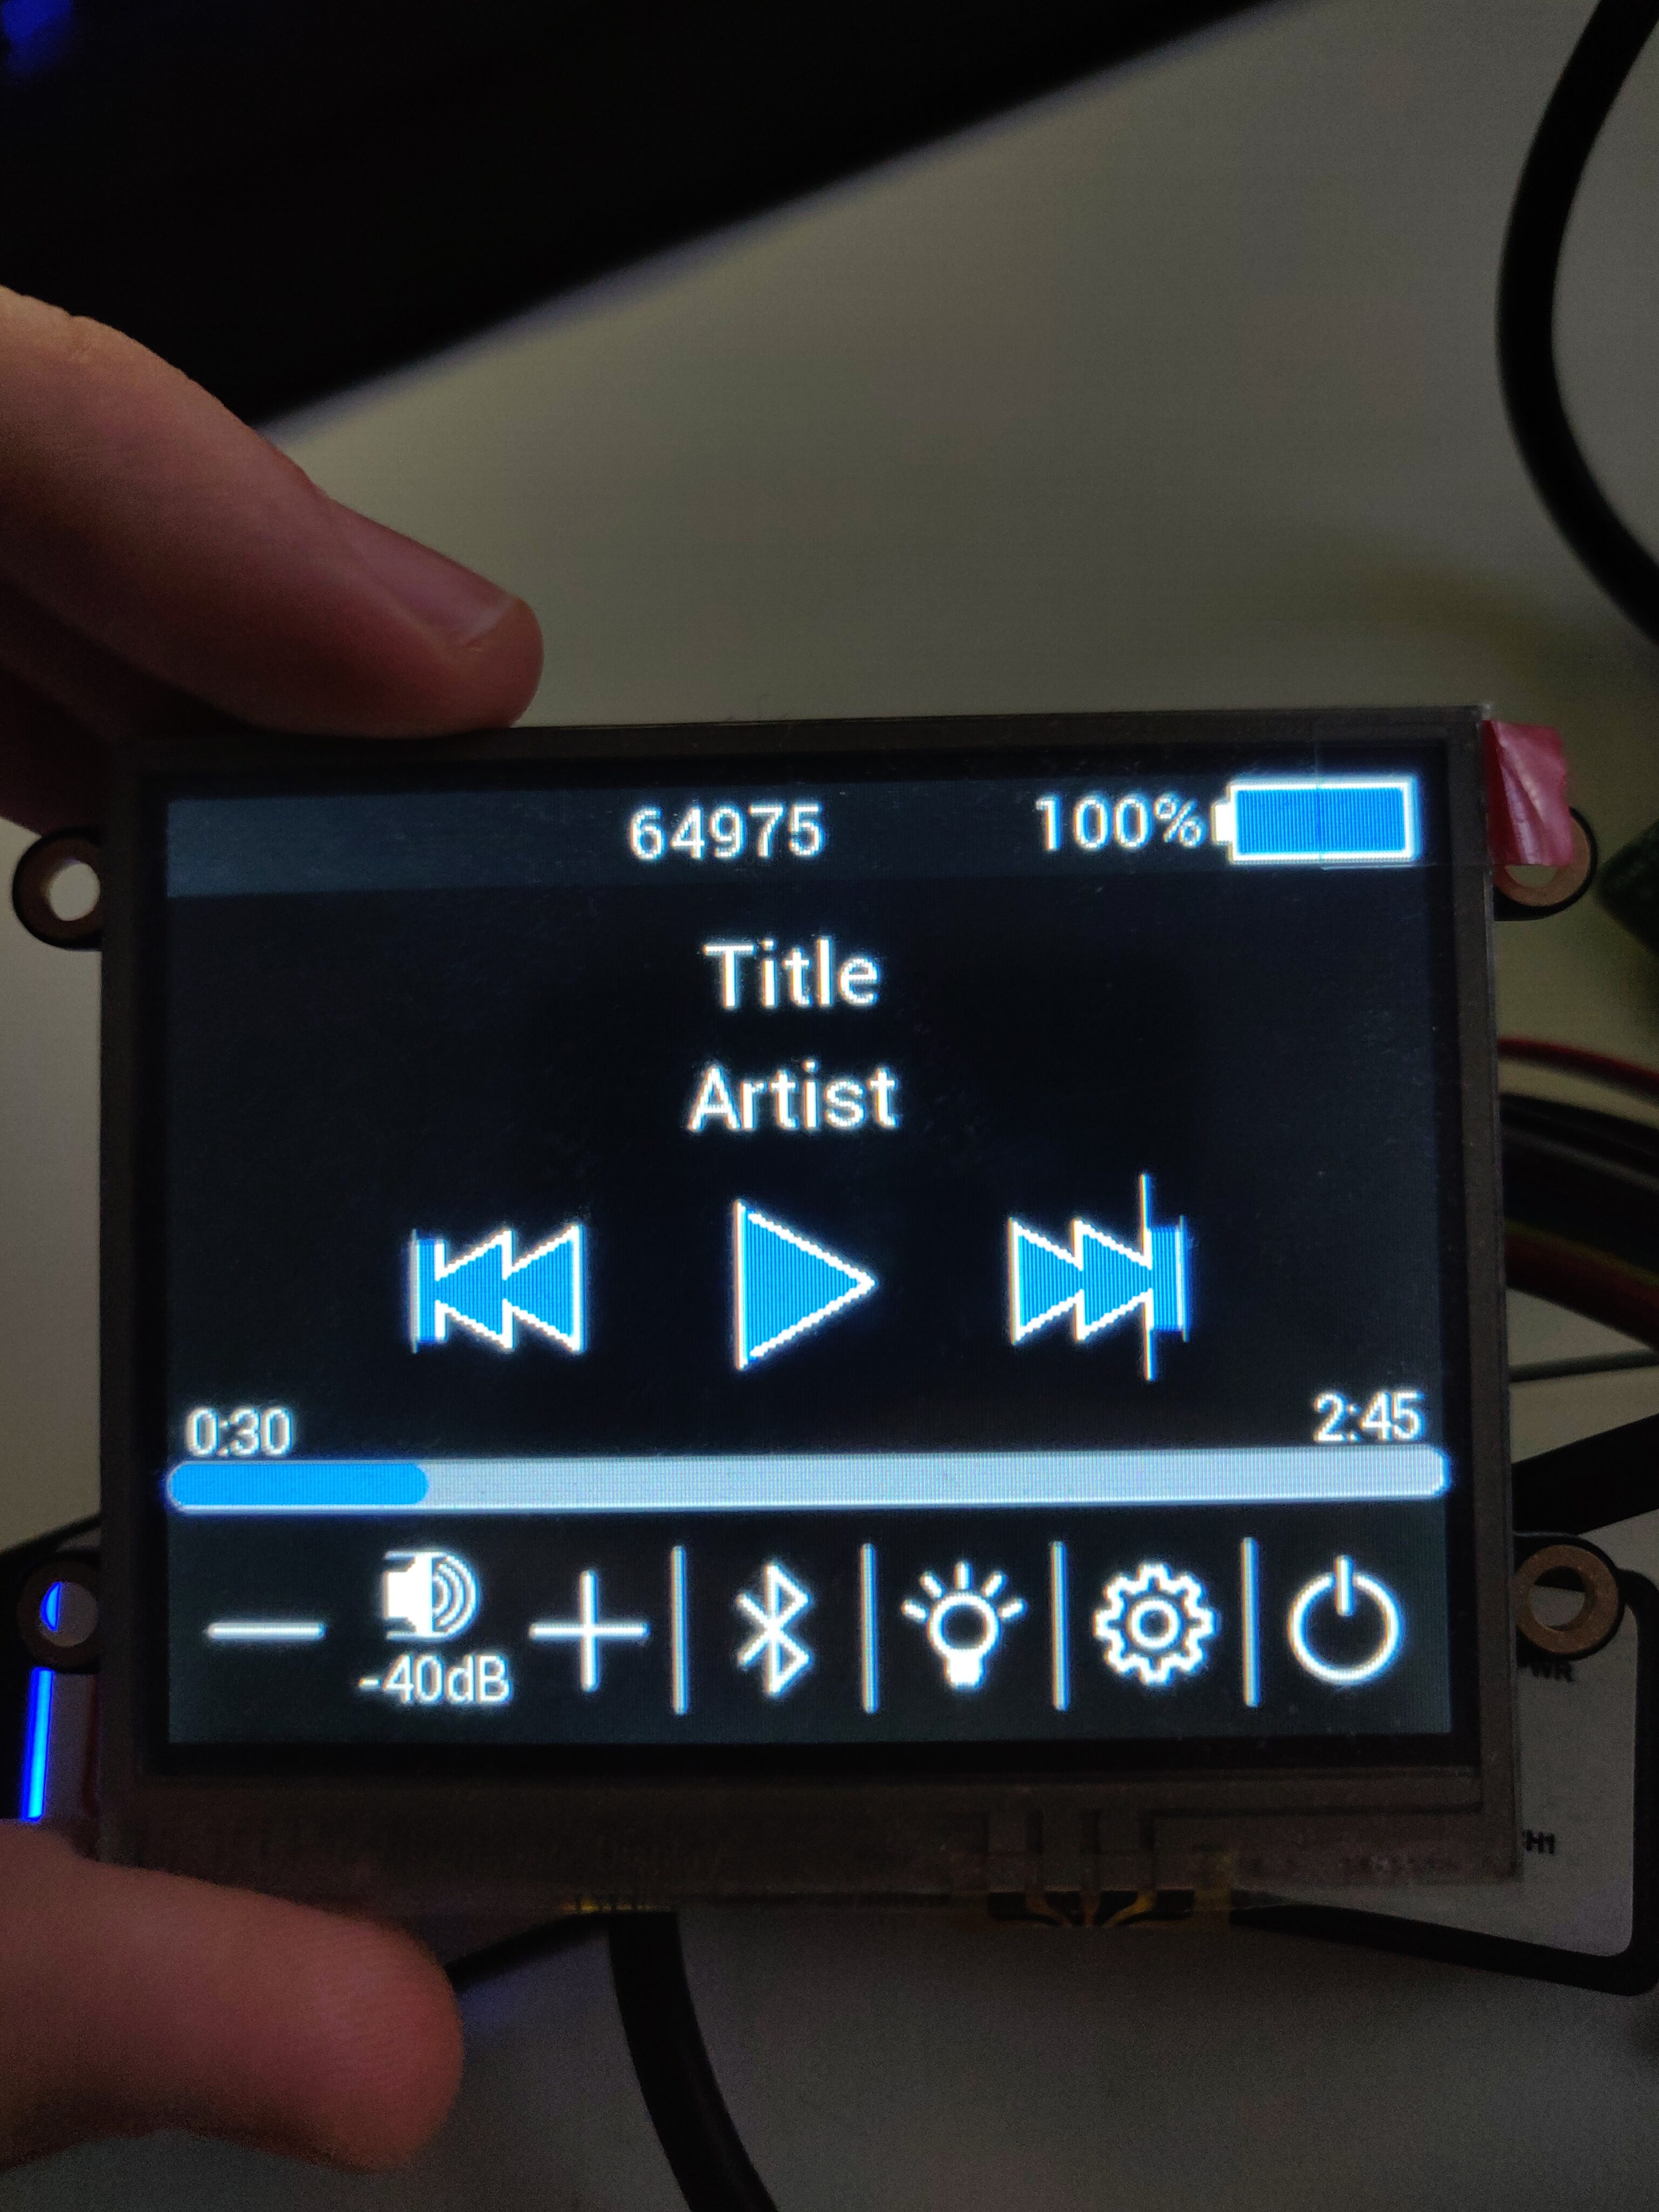
    Then, it was time for firmware development. This would be a much bigger task than it was for the BlockBox v1, again, because I had to implement a central system controller, as well as touch display communication.
    I was able to find a community-made library/driver for the FT81X graphics processor in the display module, which certainly made the job easier, though I had to make quite a few modifications to make it work on the PIC32MZ microcontroller. Aside from that, I implemented my own serial communication drivers for controlling the digital audio processor, Bluetooth module, LEDs, and other peripherals, as well as some central system management logic connecting them together, and of course a user interface for the touchscreen. The firmware source code is available in the same GitHub repository as the electronics design files, though I cannot guarantee anything about its correctness, completeness, and especially code quality (I was quite careless sometimes back then).
    When it came to building the enclosure, however, I knew that my methods from the BlockBox v1 would not be viable any more. Making smaller and simpler shapes using my hand saws may have been possible (even if tedious), but the more complex and much bigger pieces needed for this project would just be too much to ask for. Especially considering the idea I had for LED-lit logos on the sides, which require quite significant precision.
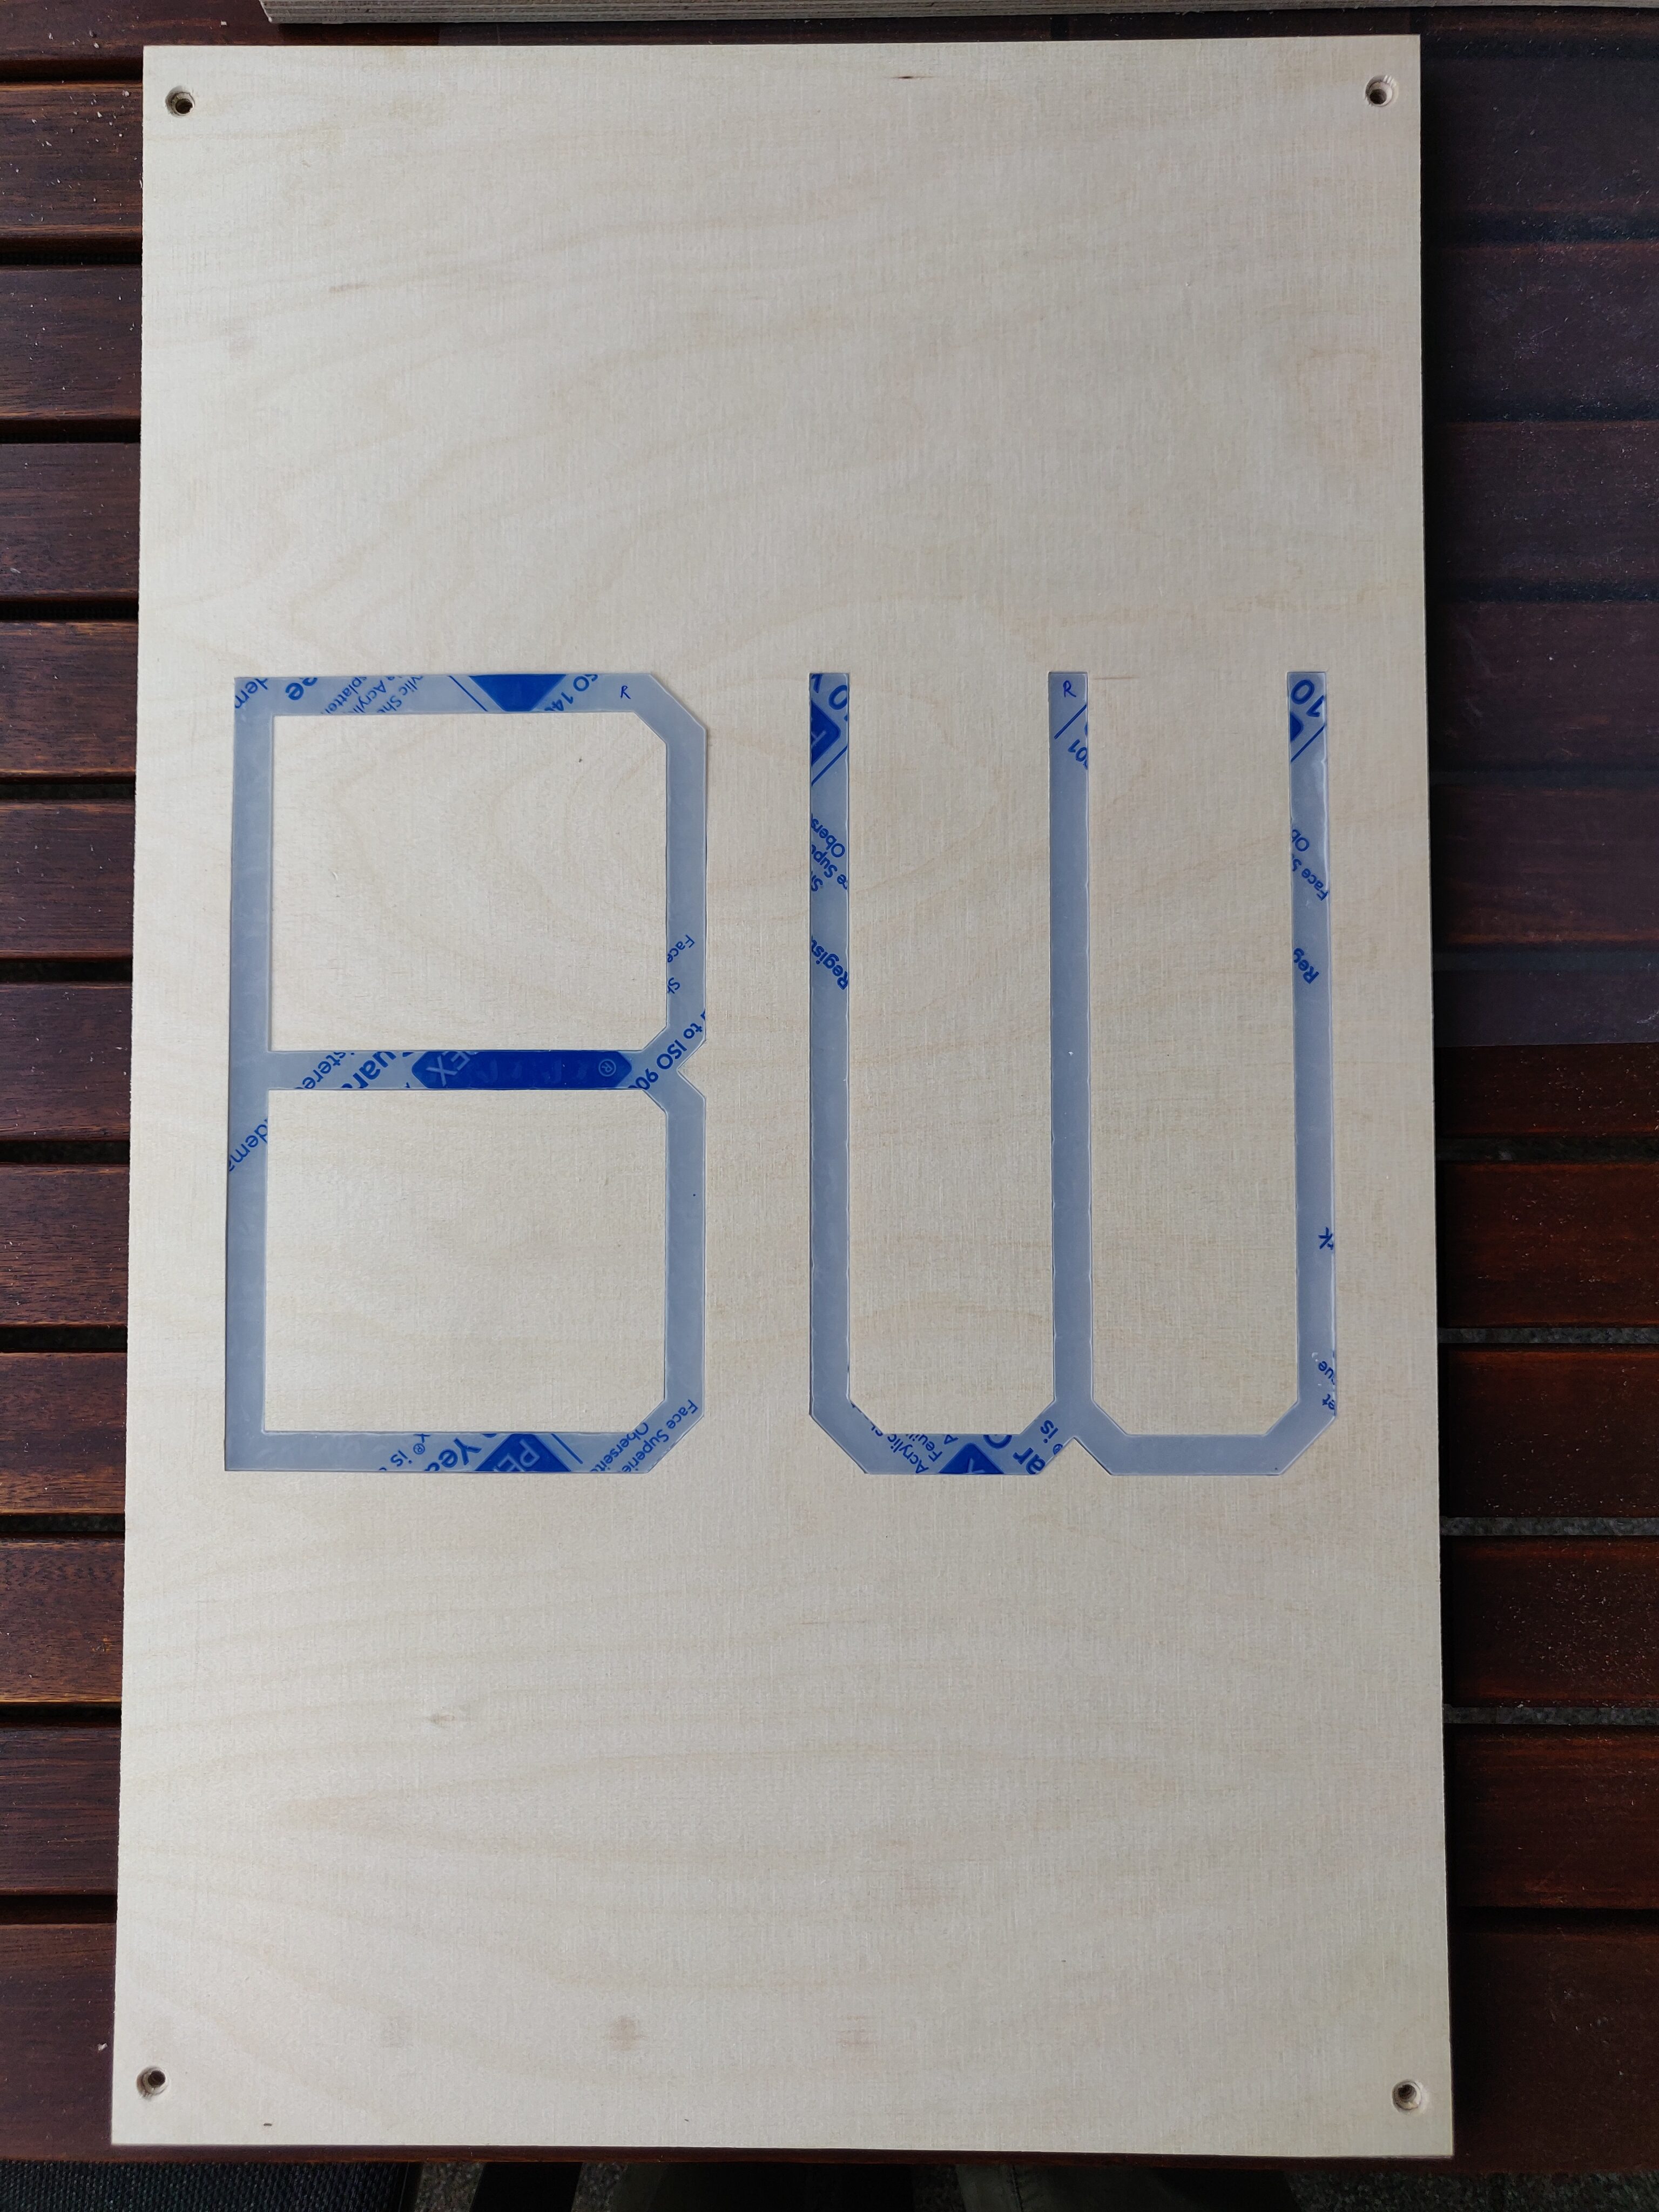
    The translucent parts for the LEDs, as well as some black decoration and cover plates, were laser cut out of acrylic plastic, which I was able to order relatively inexpensively.

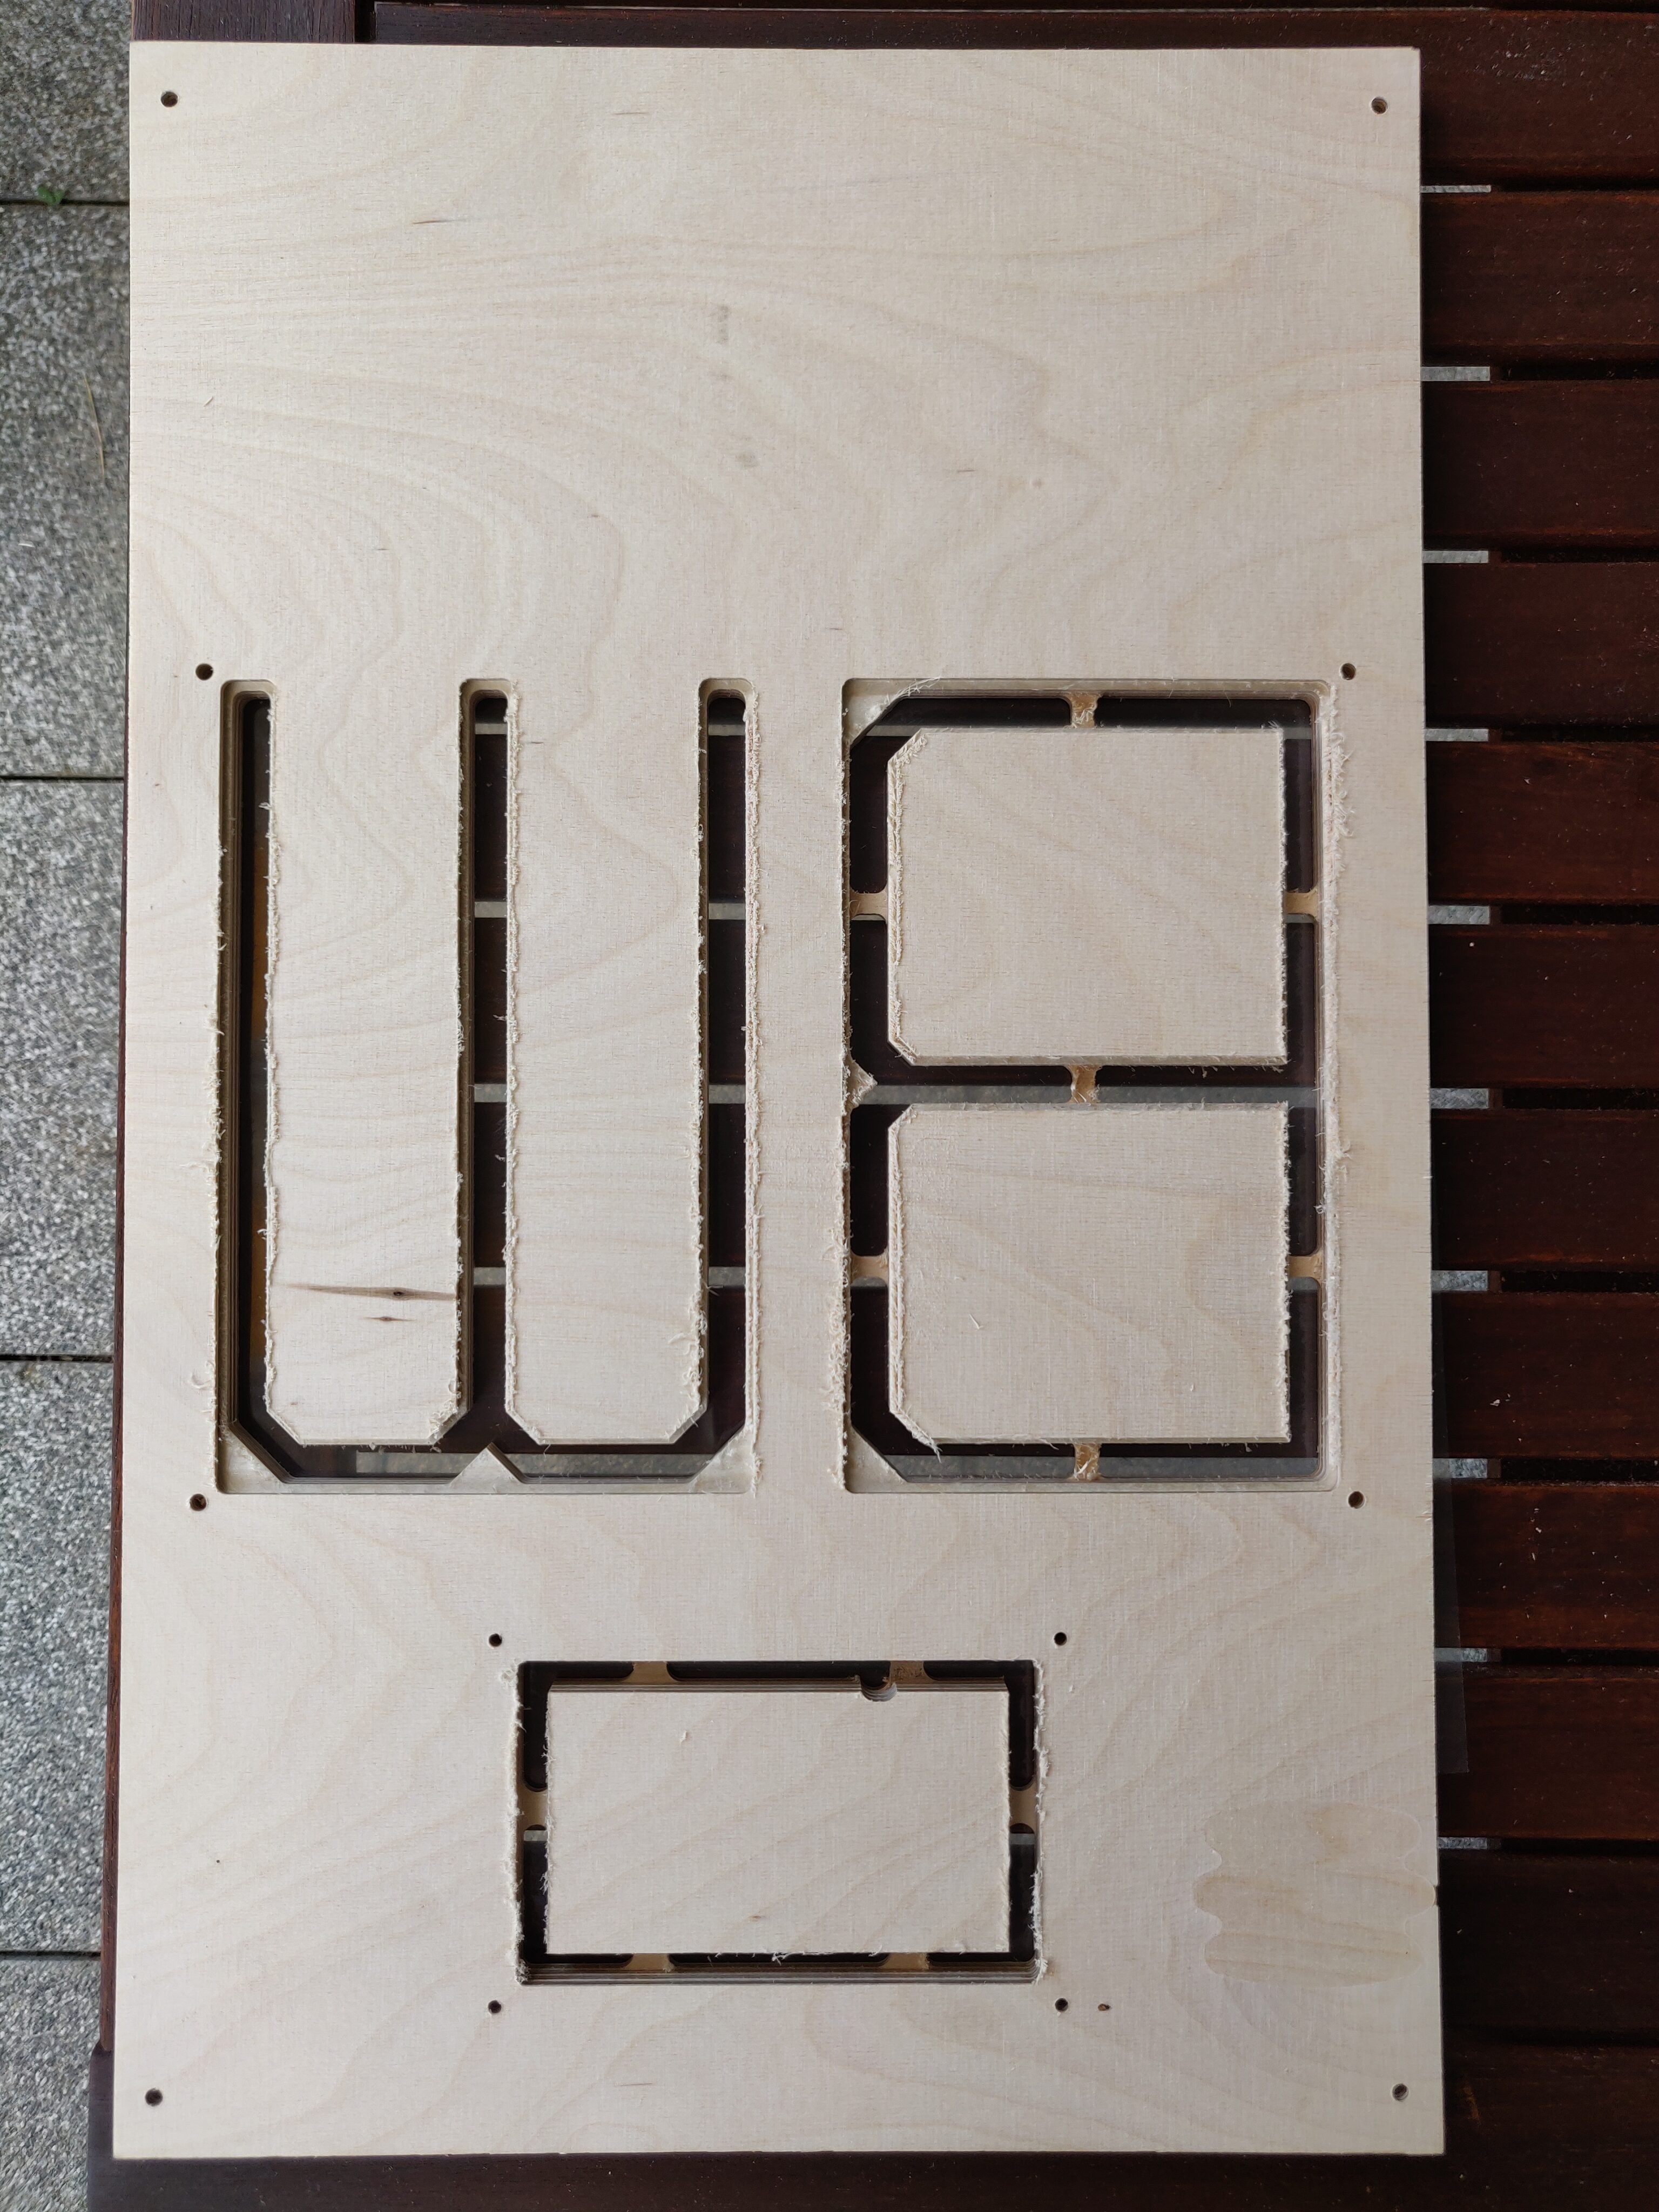
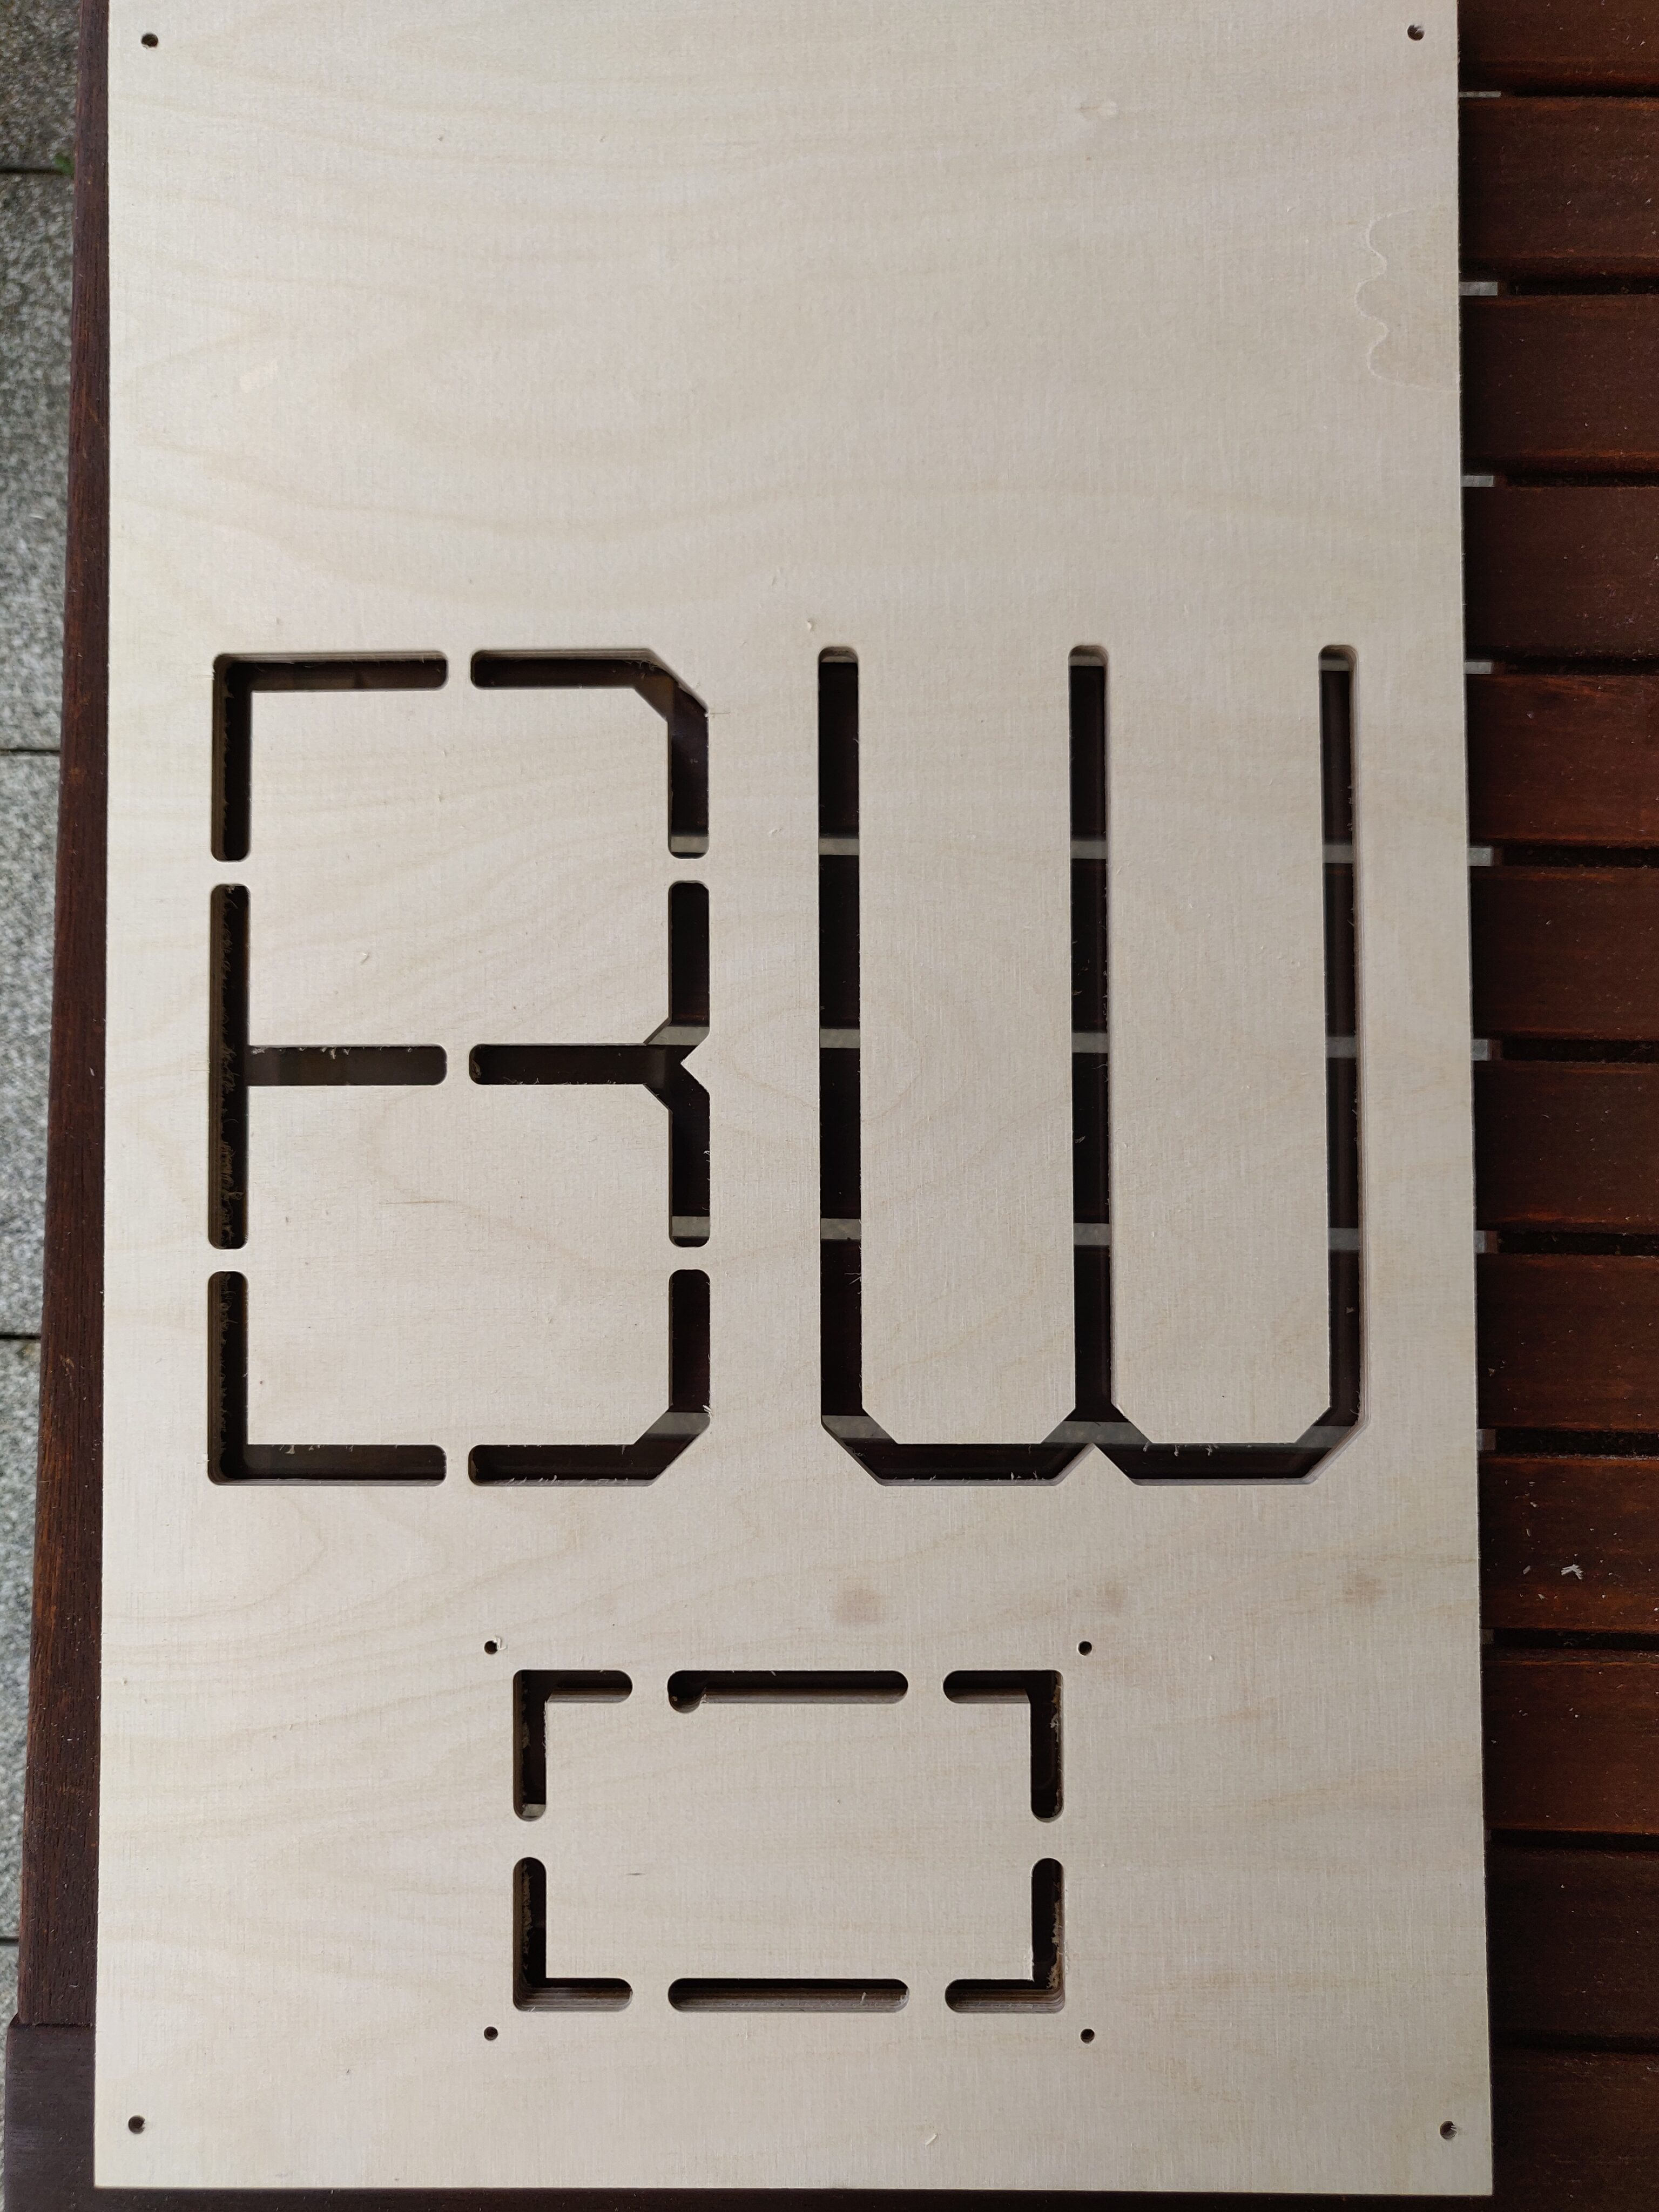
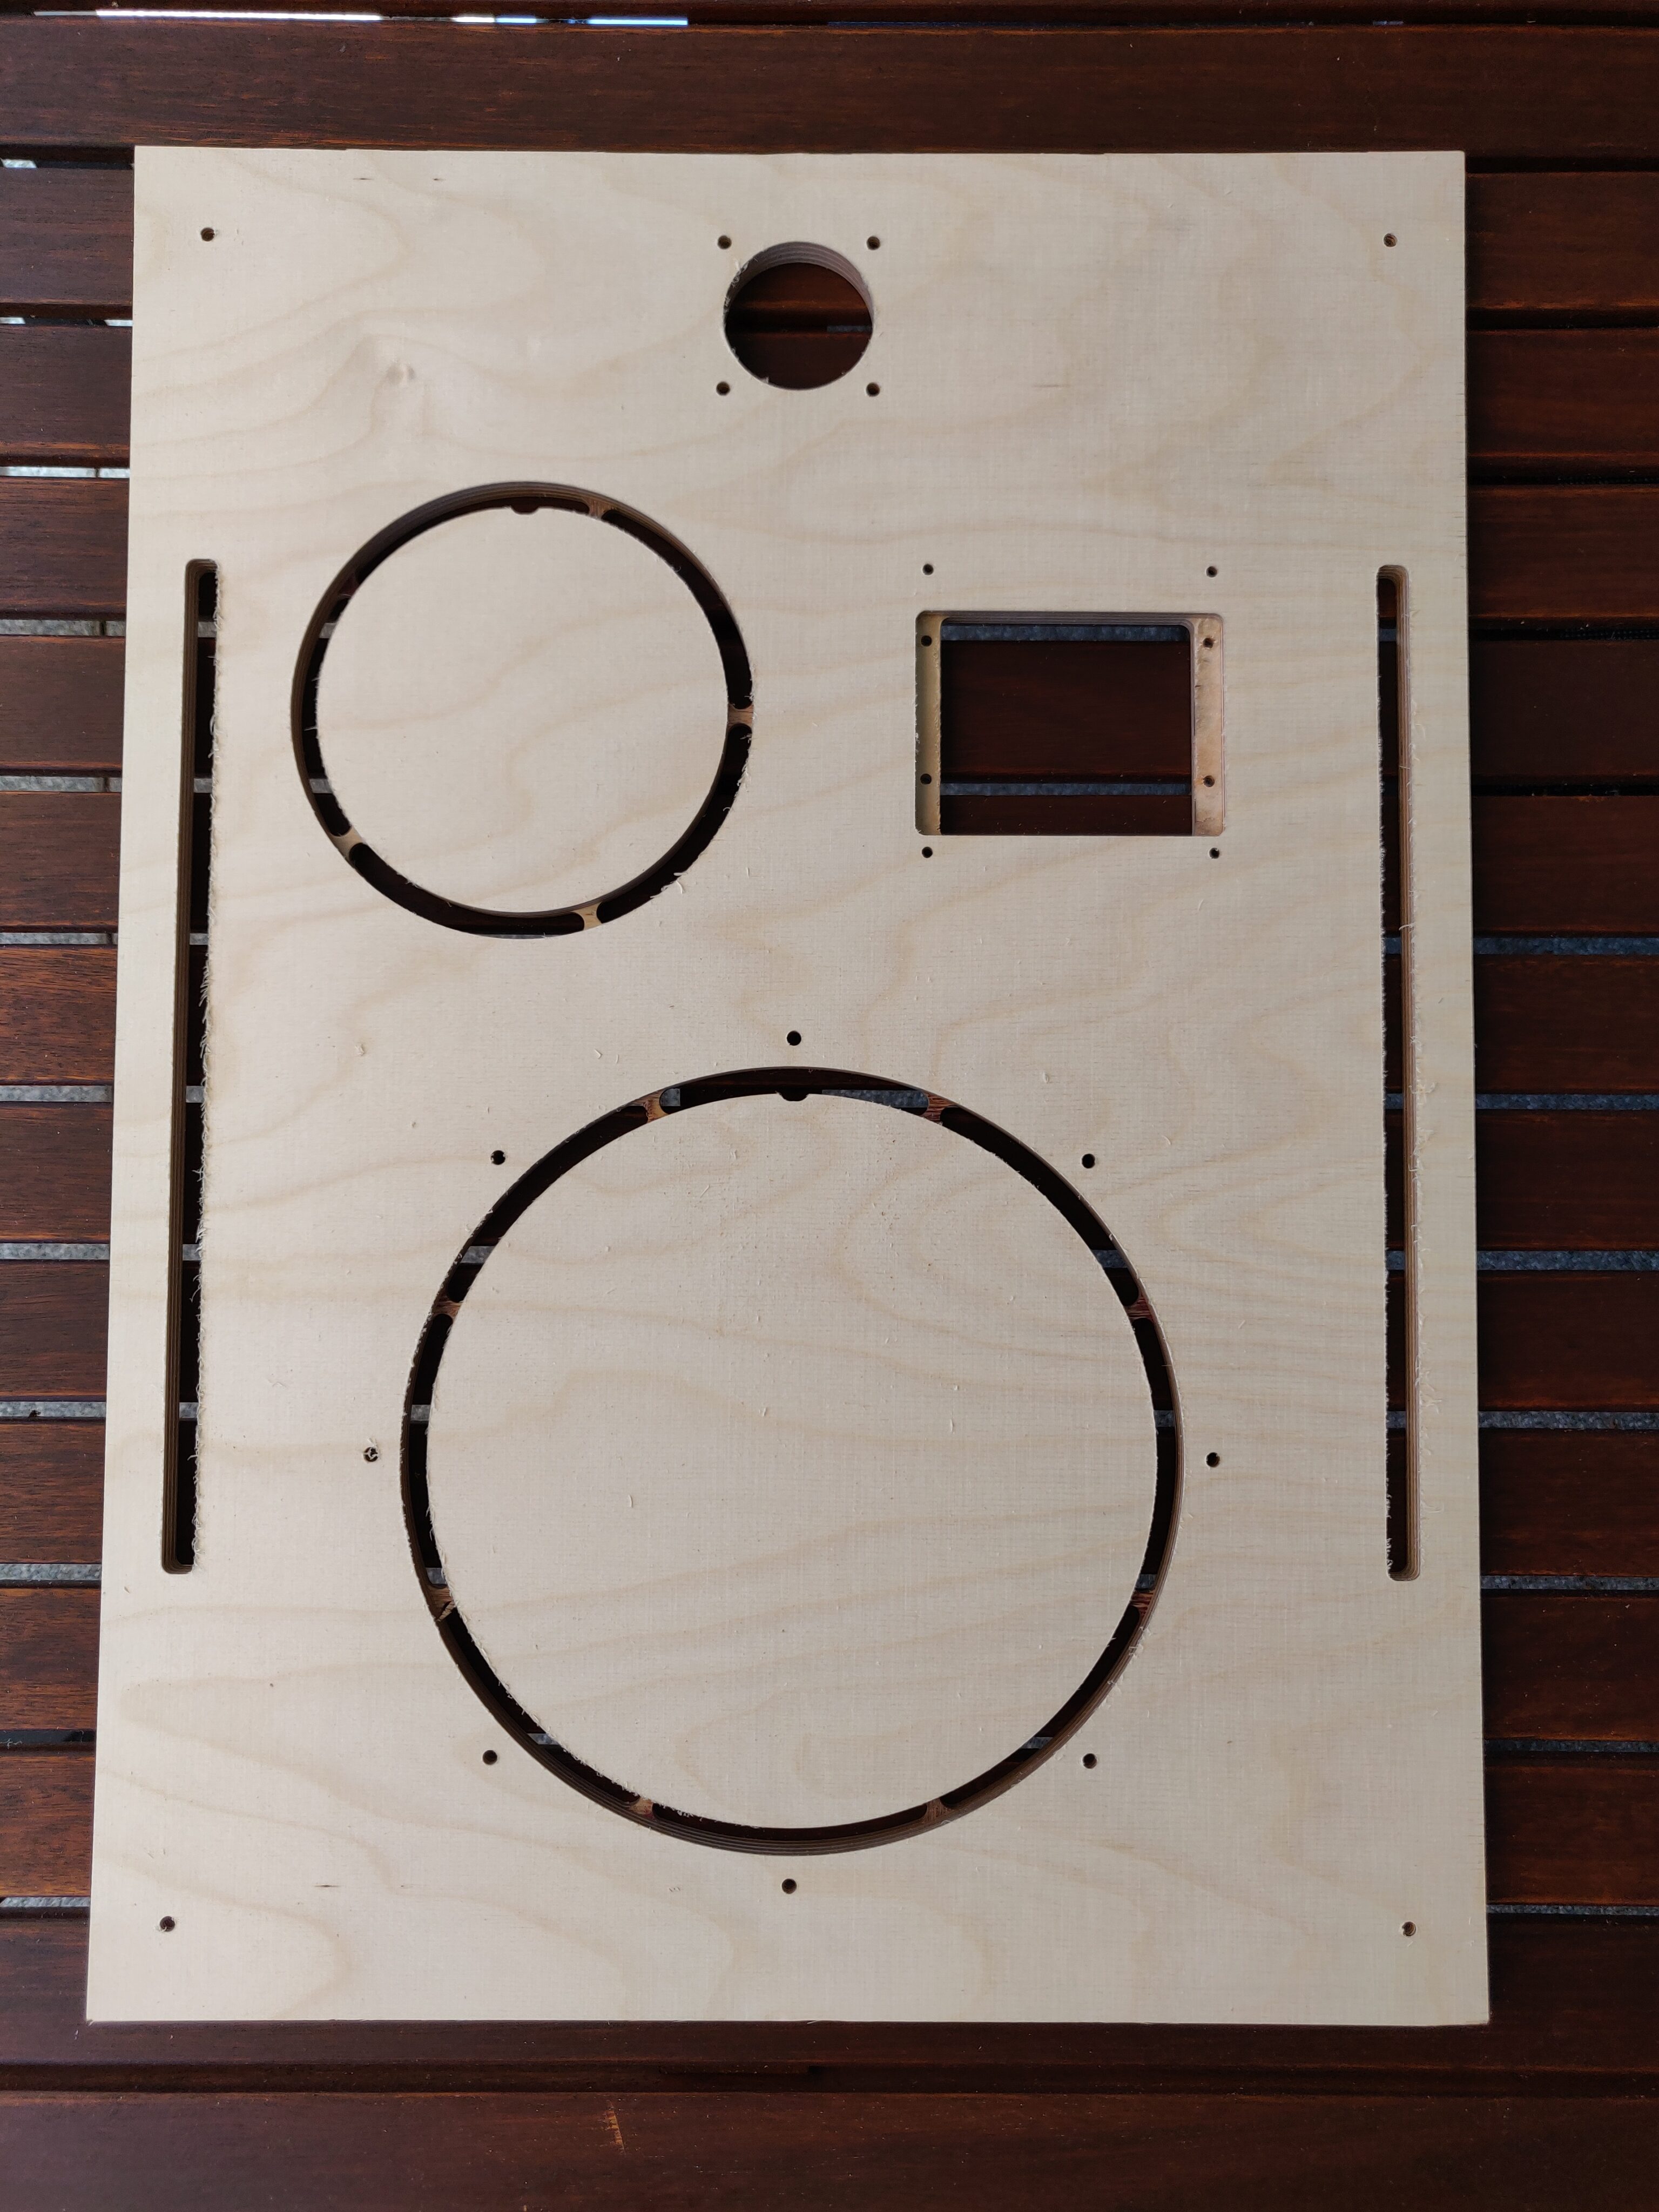
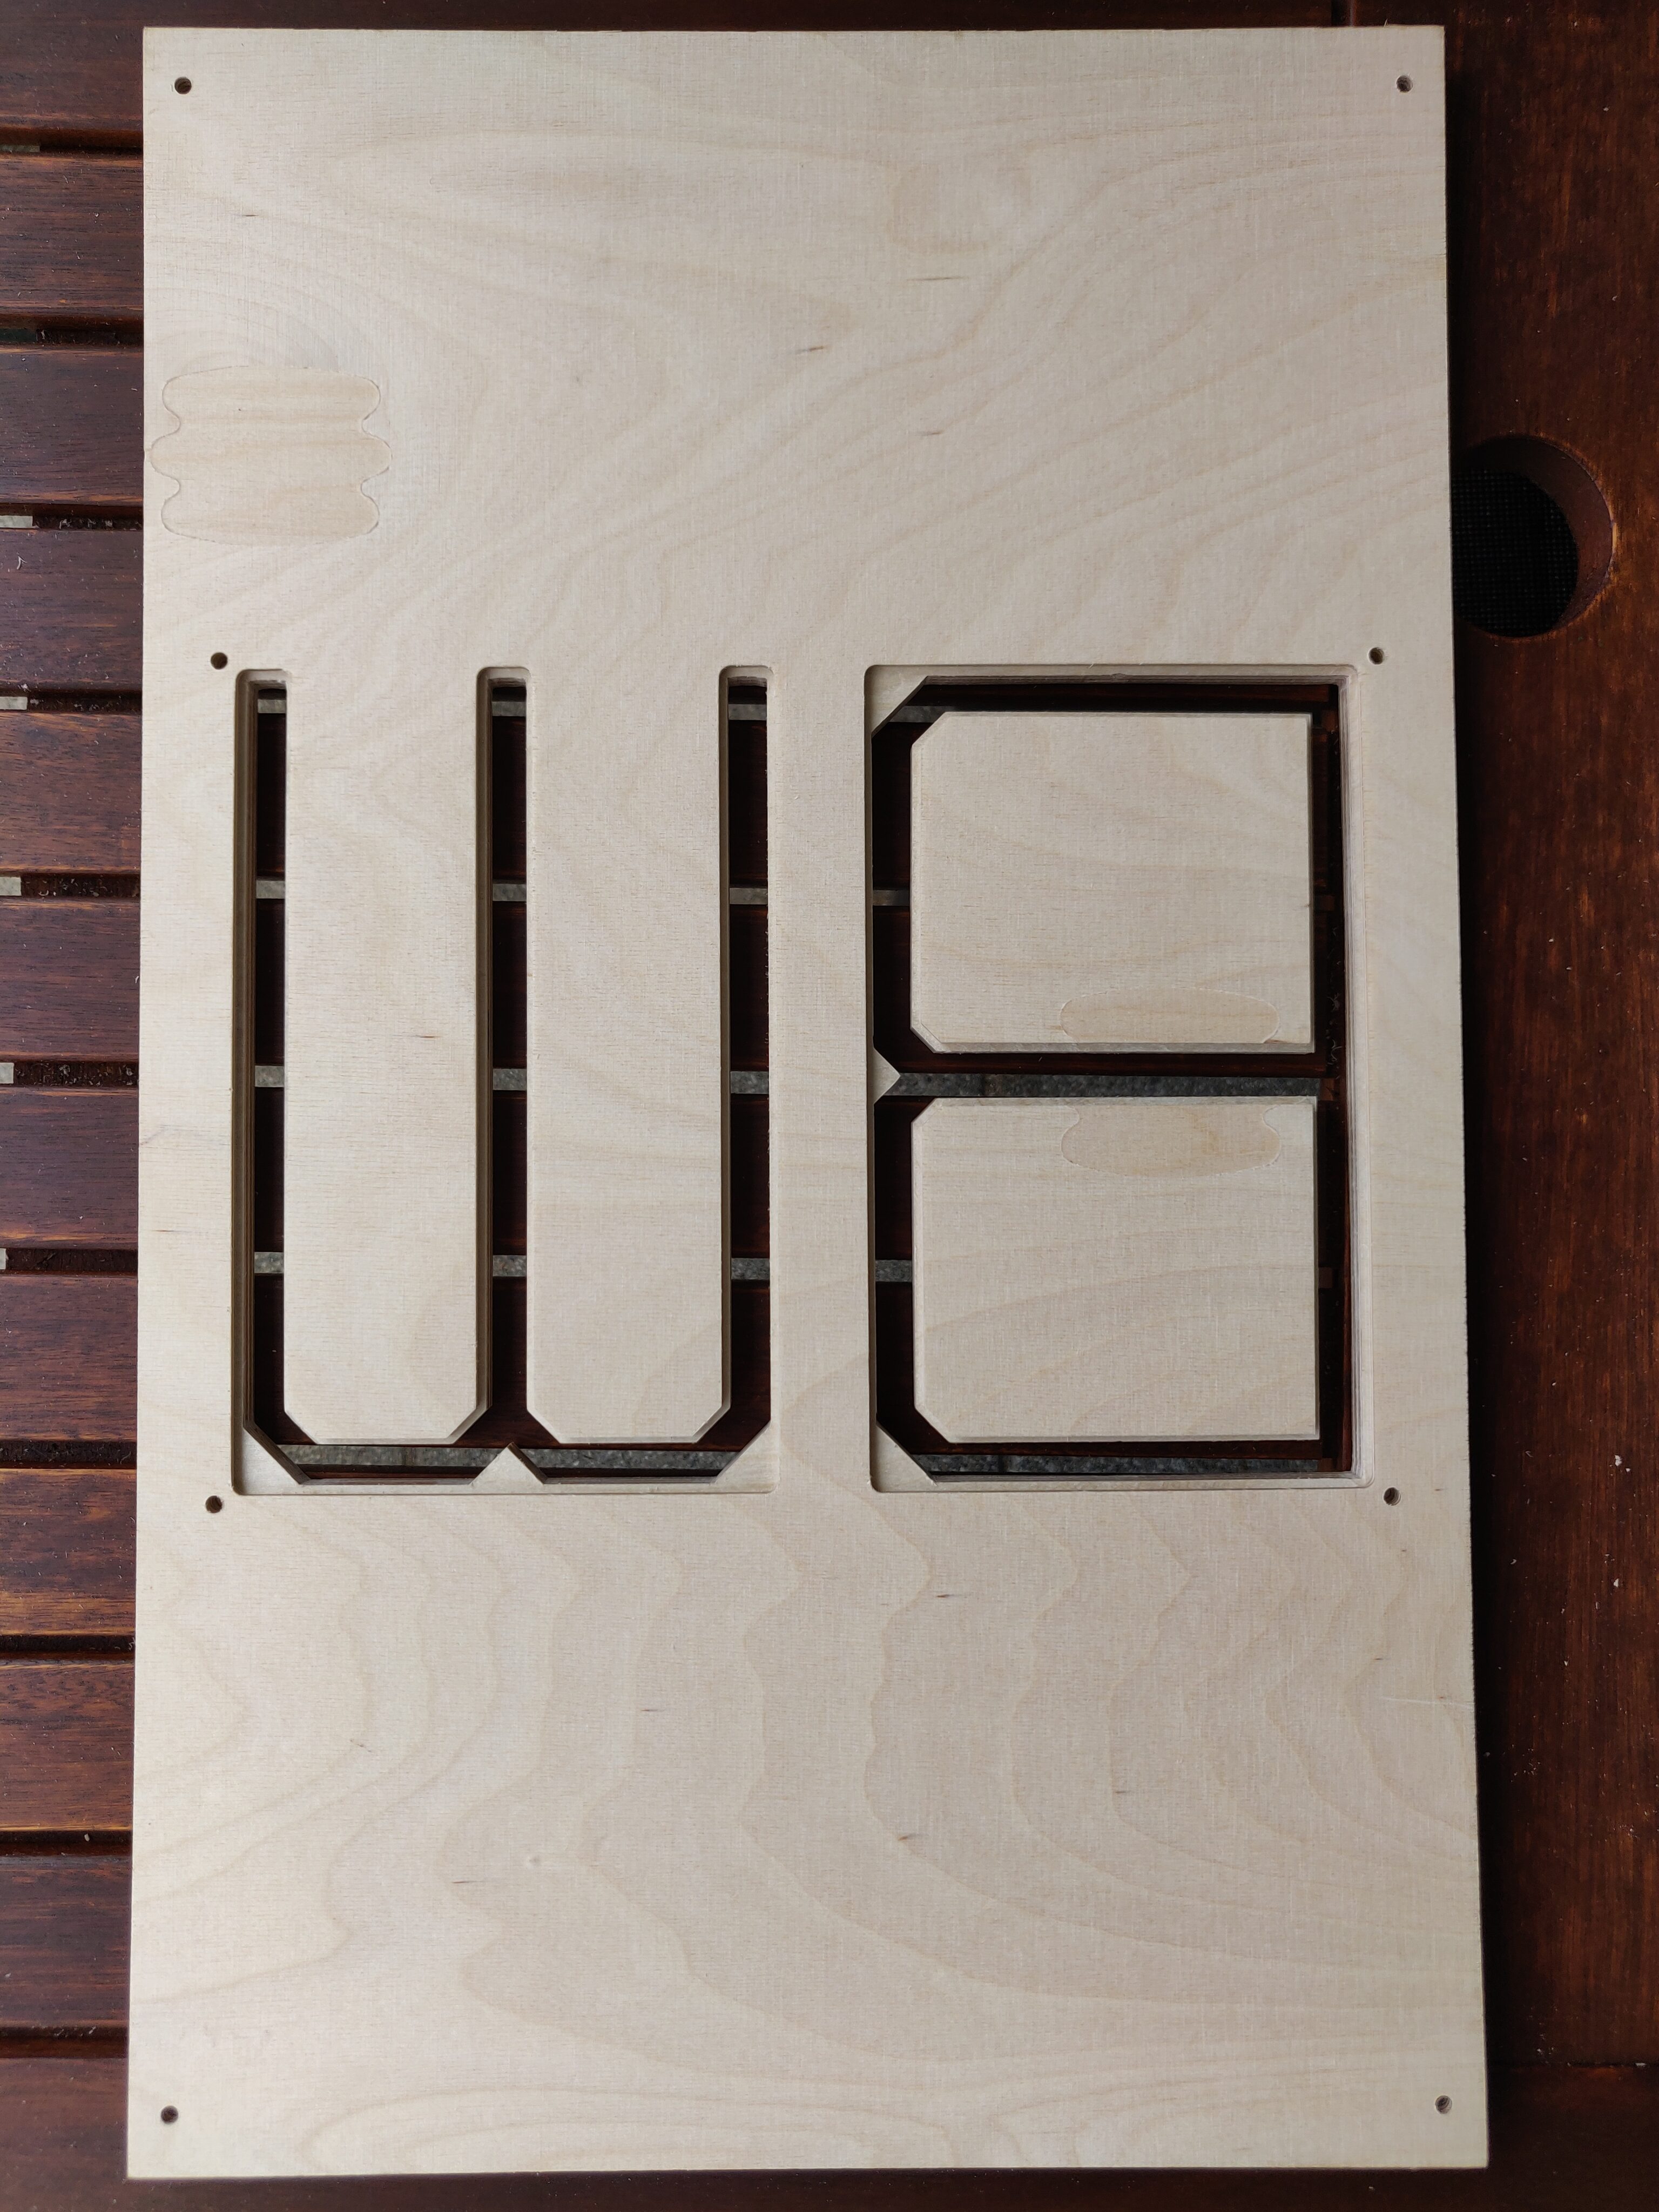
    As for the main enclosure walls, I decided to use CNC milling – thankfully, though a personal connection to a machine shop at my university, I was able to do so for free, as long as I brought the materials and my own CNC programs.
    Materials were easy, I just ordered some plain 12mm plywood panels, already cut to the sizes I needed, and got a small piece of aluminium plate stock for the connector panel.
    The CNC programs were more complicated – Fusion 360 has some great tools for CNC programming based on my CAD design, but as I’d never done anything like that before, it took me a while to research, understand, and learn the basics of machining and CNC programming.
    In the end, it was time for some machining.

    This could be milled much faster with a higher tool RPM, but this machine can’t do more, as it was mostly designed for hard materials. Anyway, I was not in a rush.

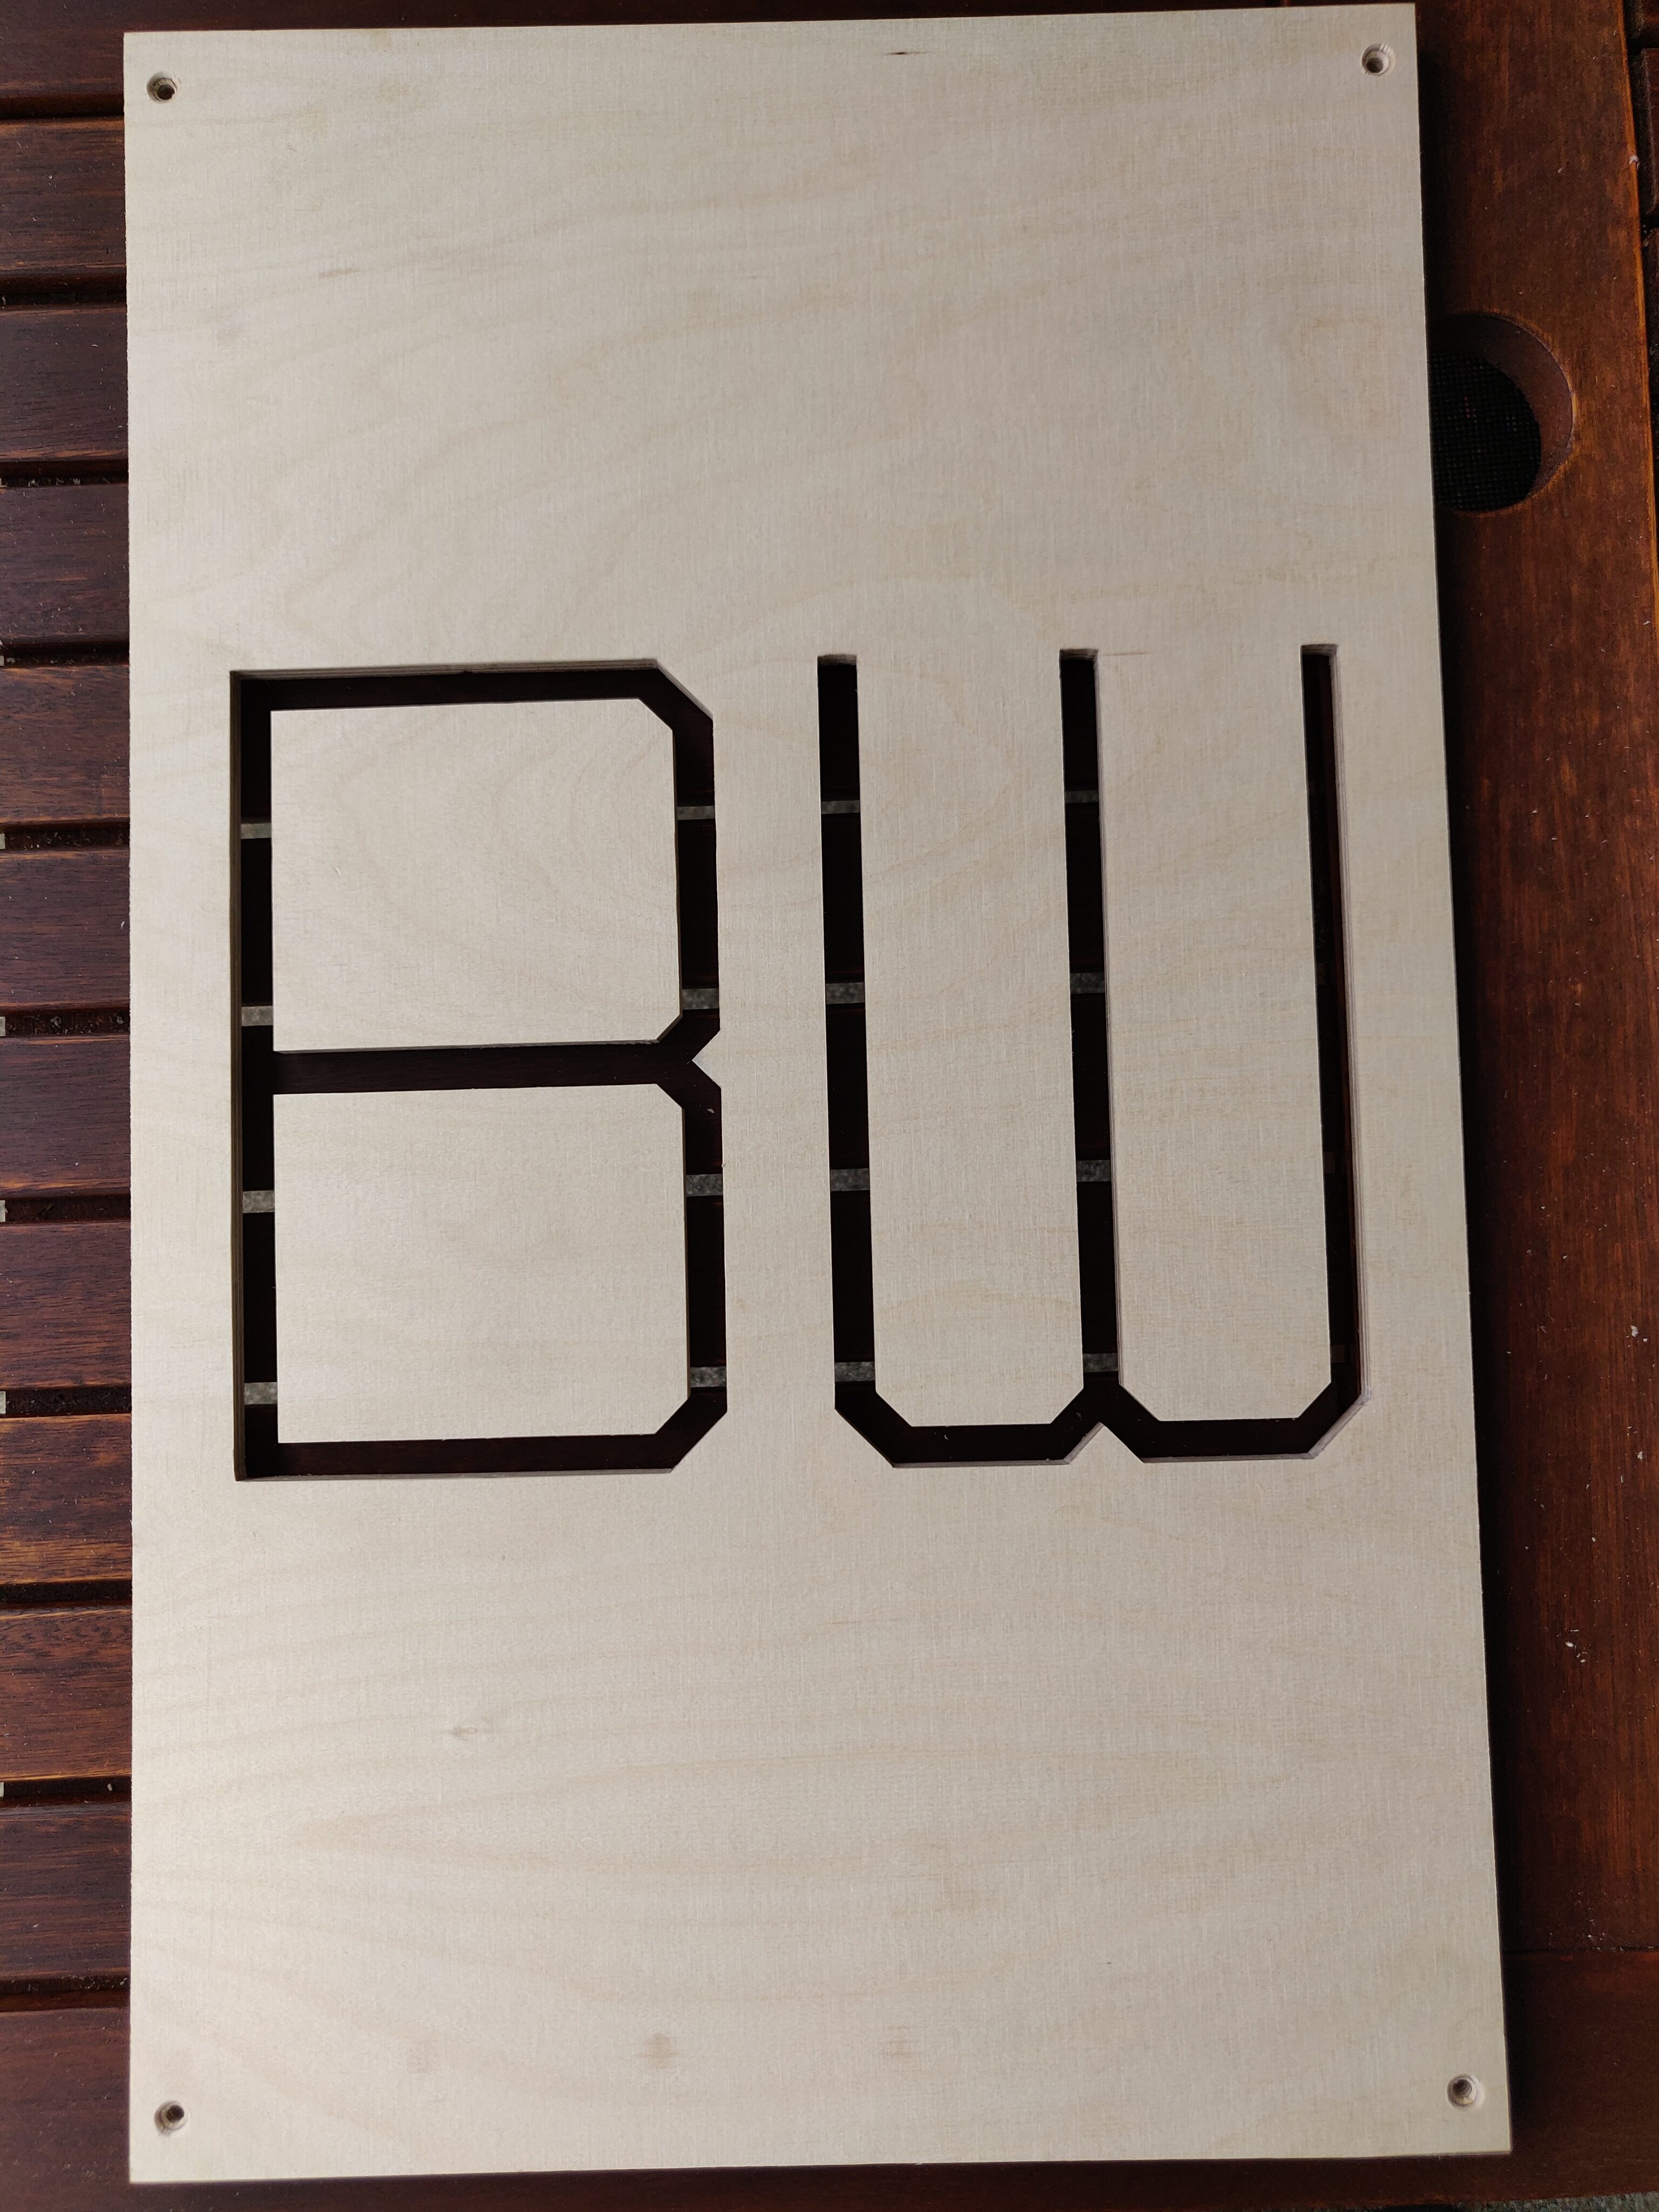
    With that, I had some rough-looking side panels, which would need quite a bit of post-processing to remove extra tabs and pieces, sand down sharp/rough edges, file away unwanted internal corner radii, and so on.
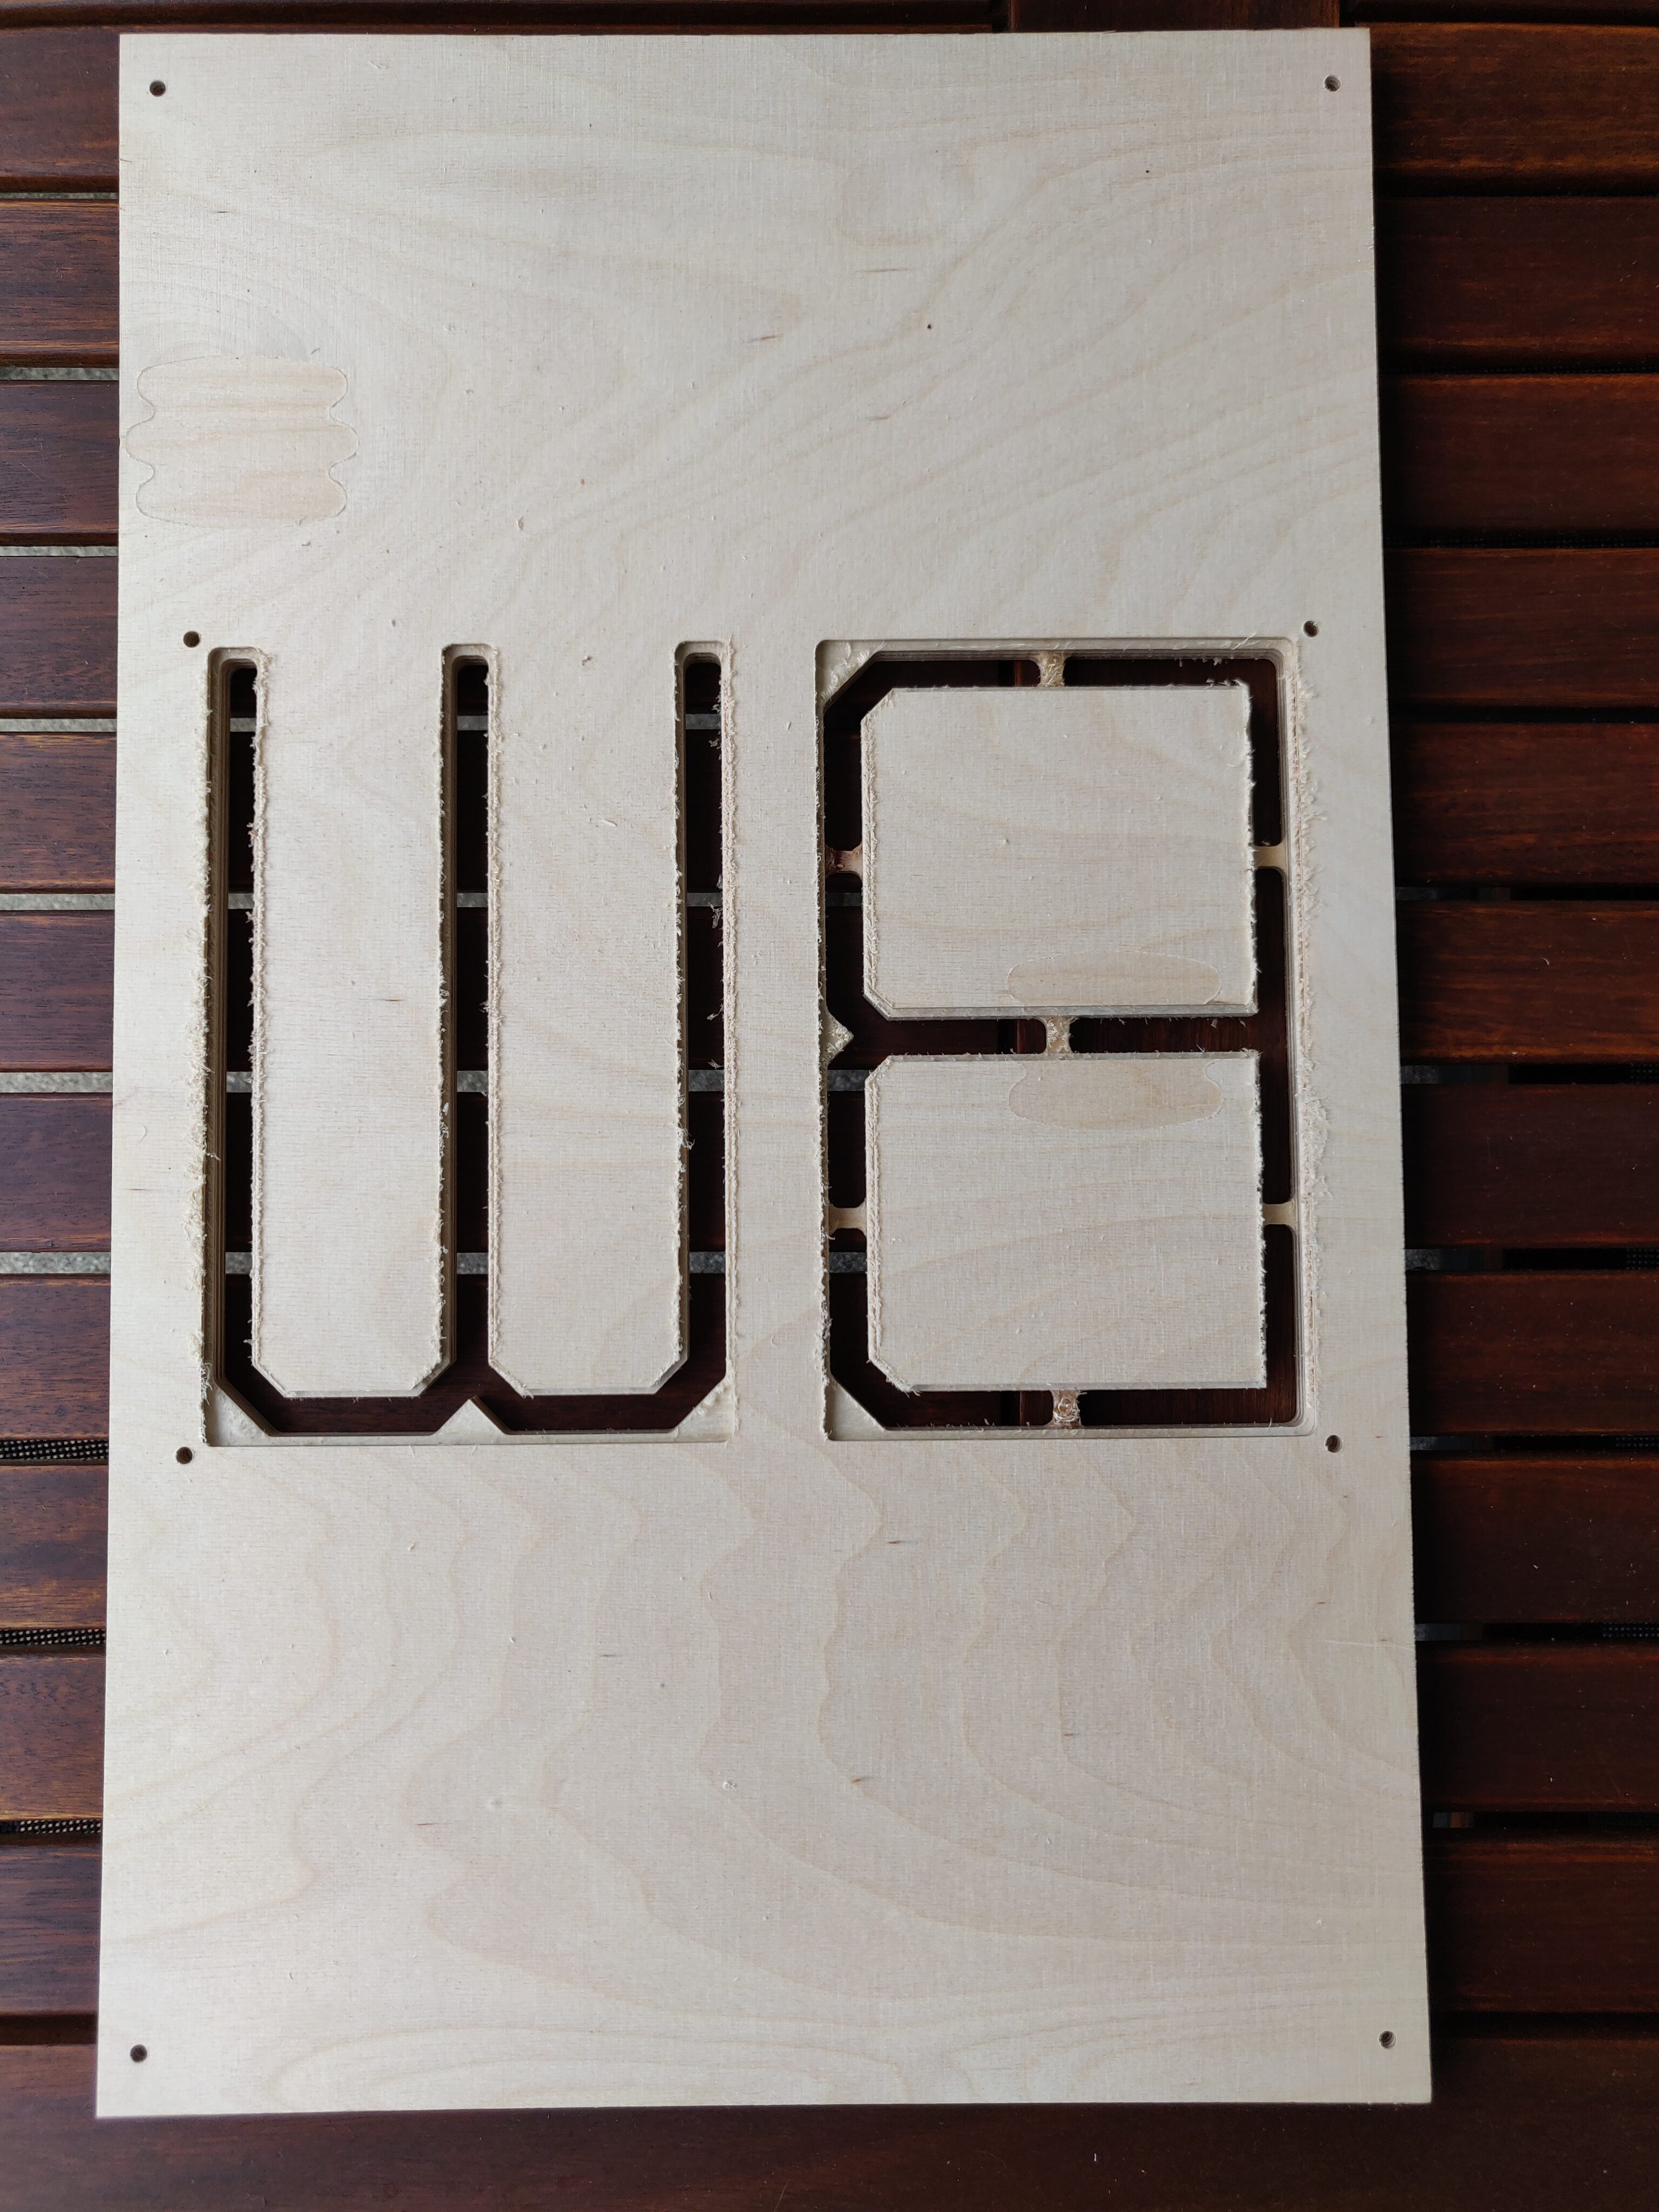
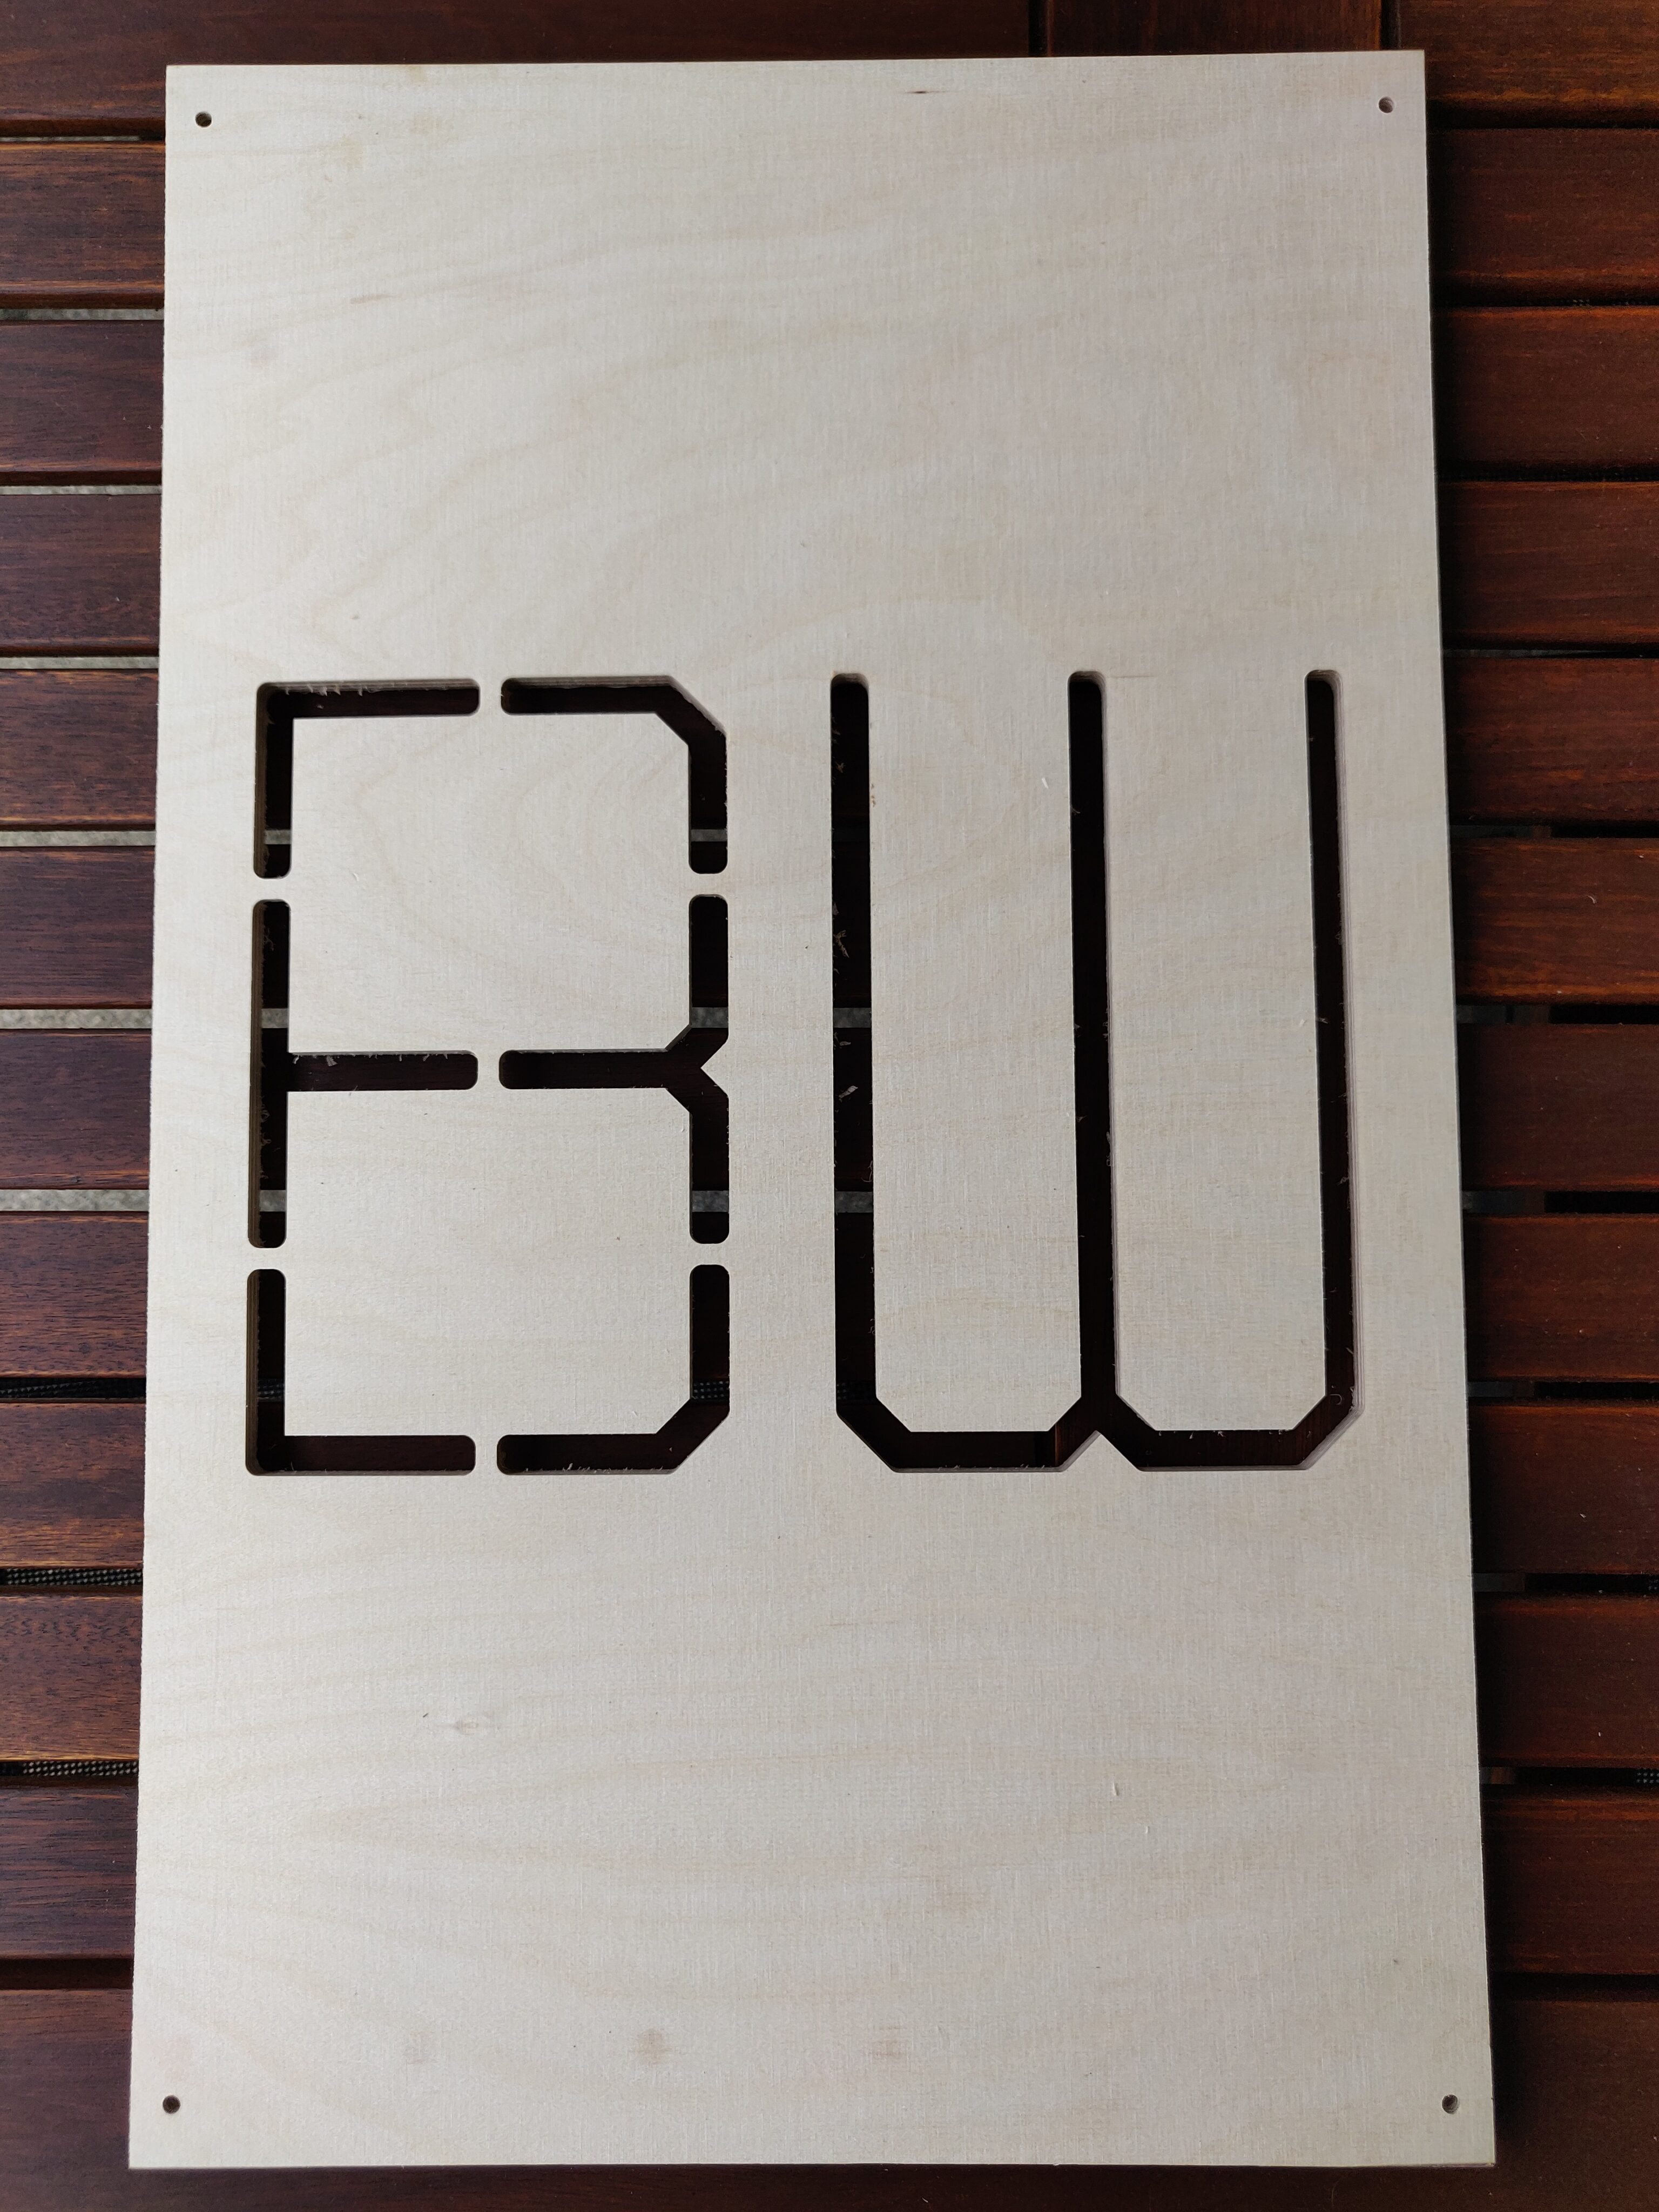
    After post-processing, they looked much better, and also fit the acrylic pieces nicely.
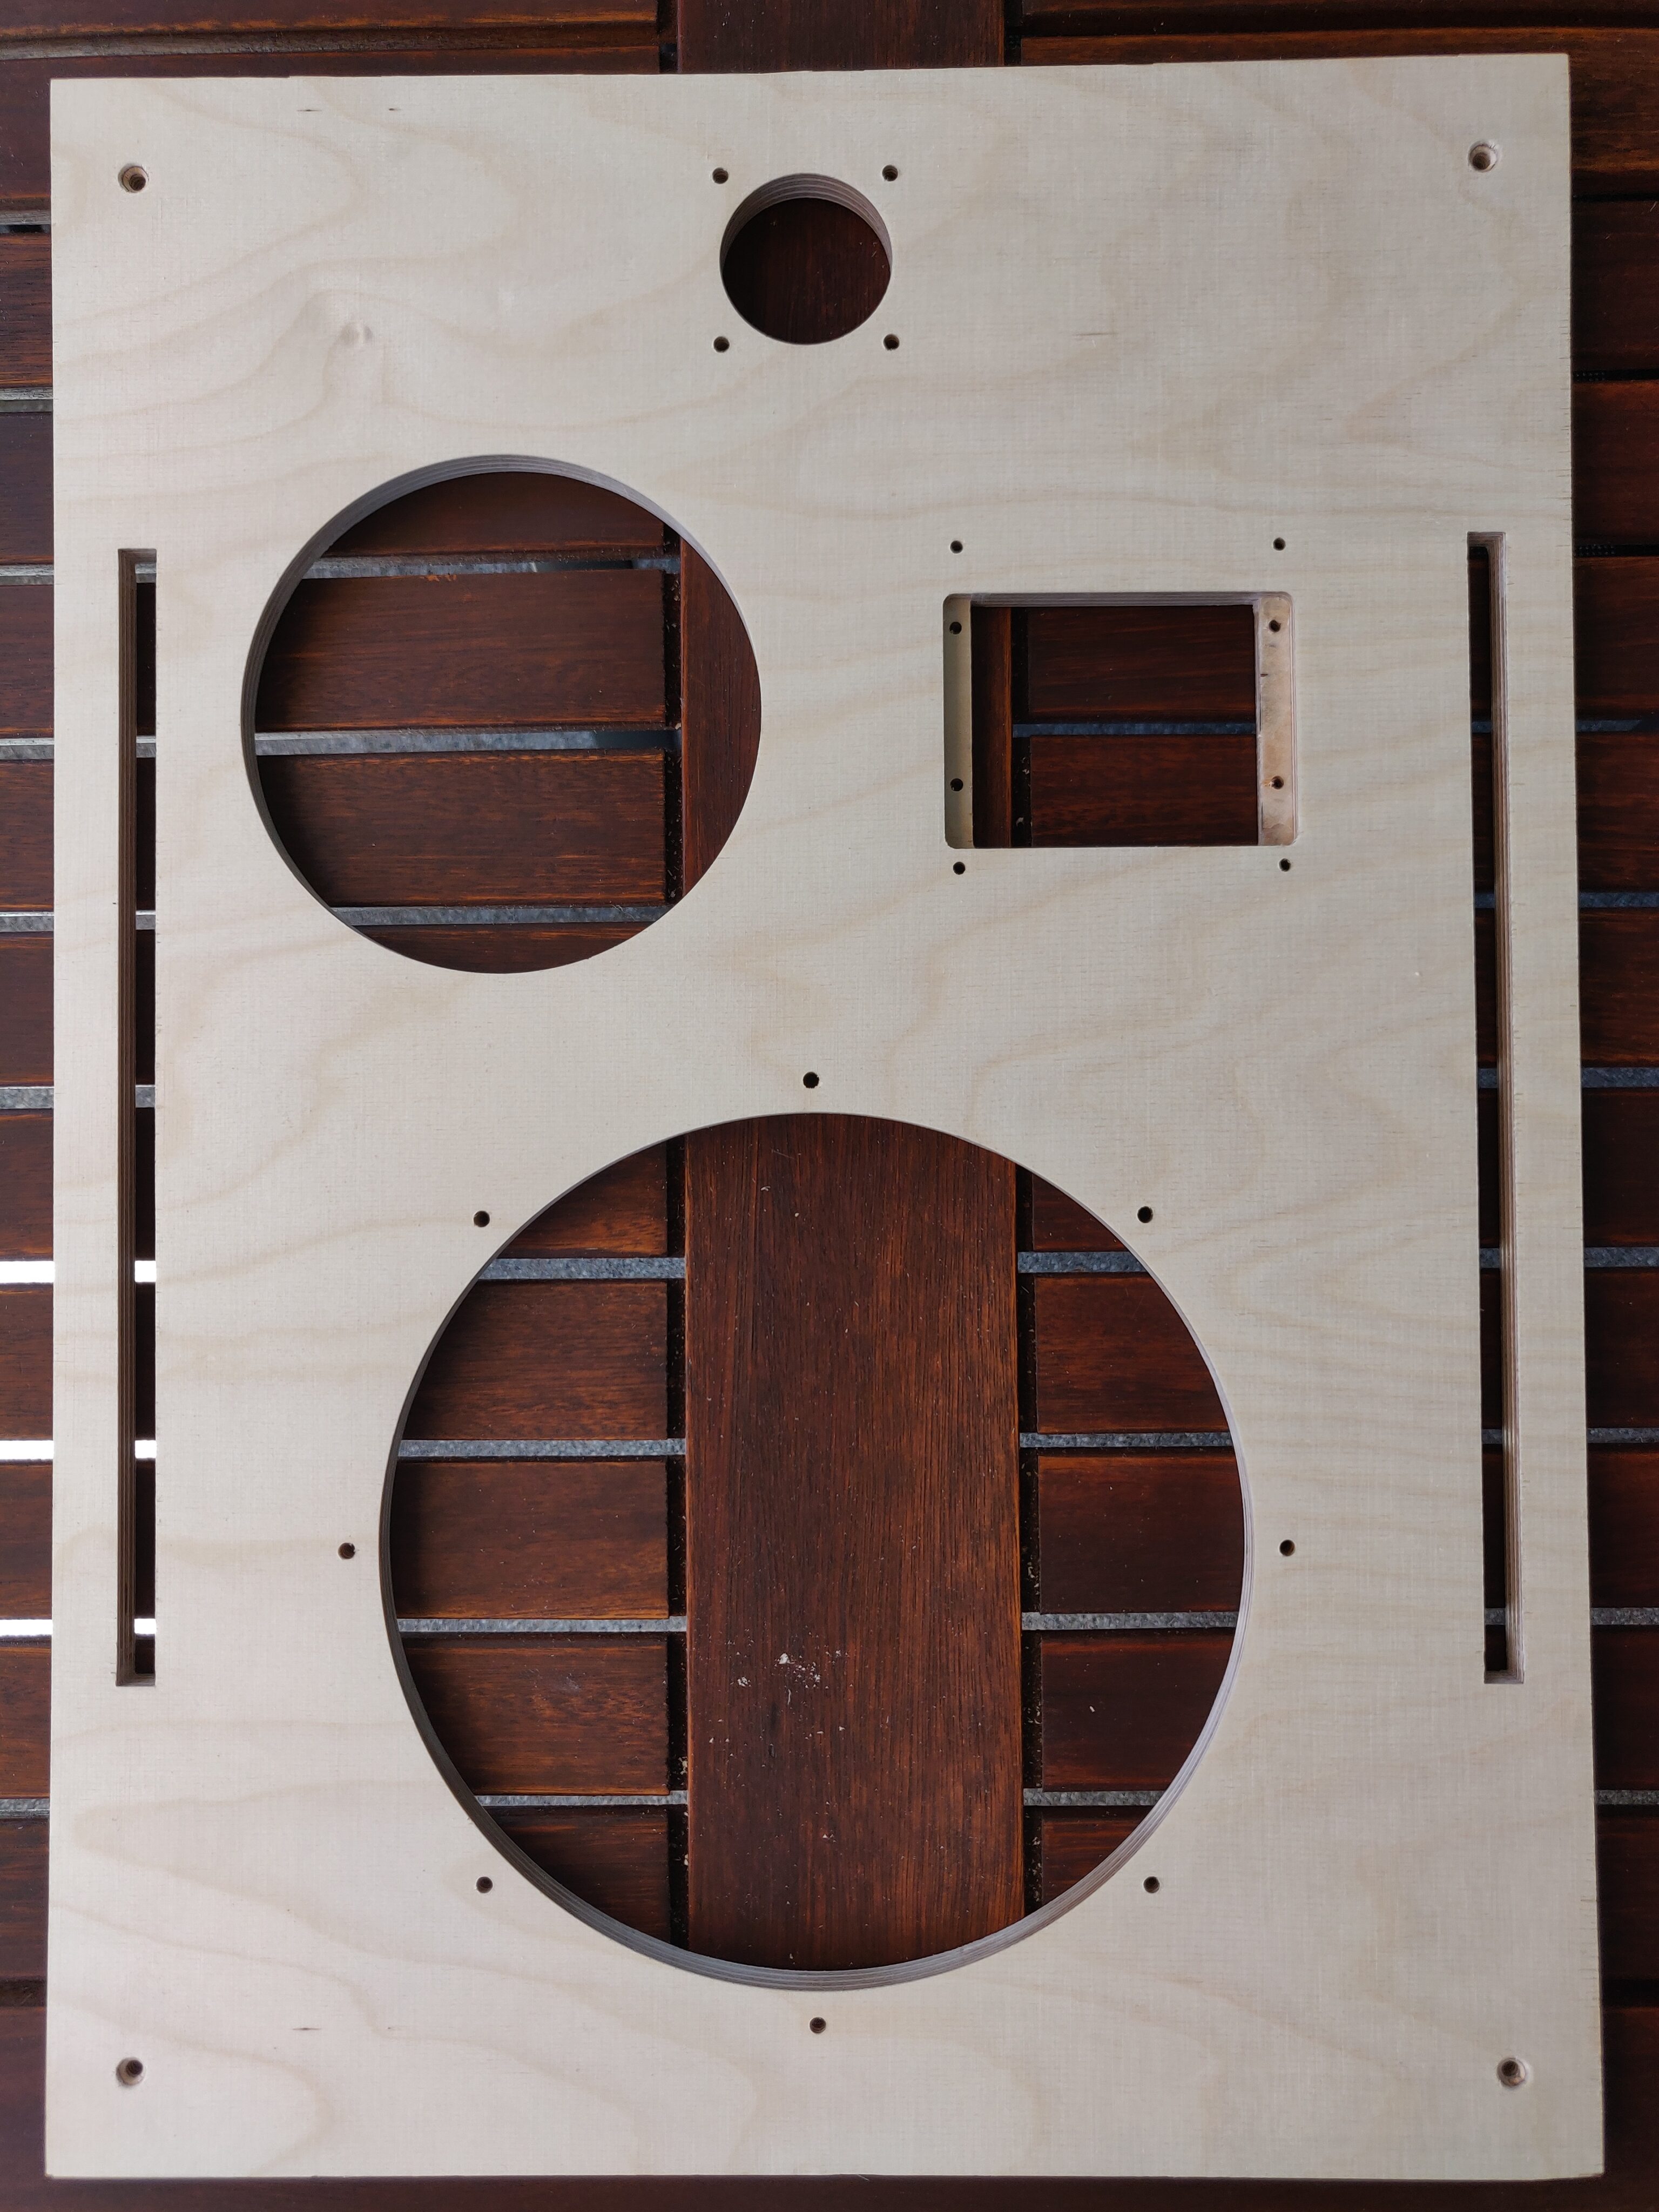
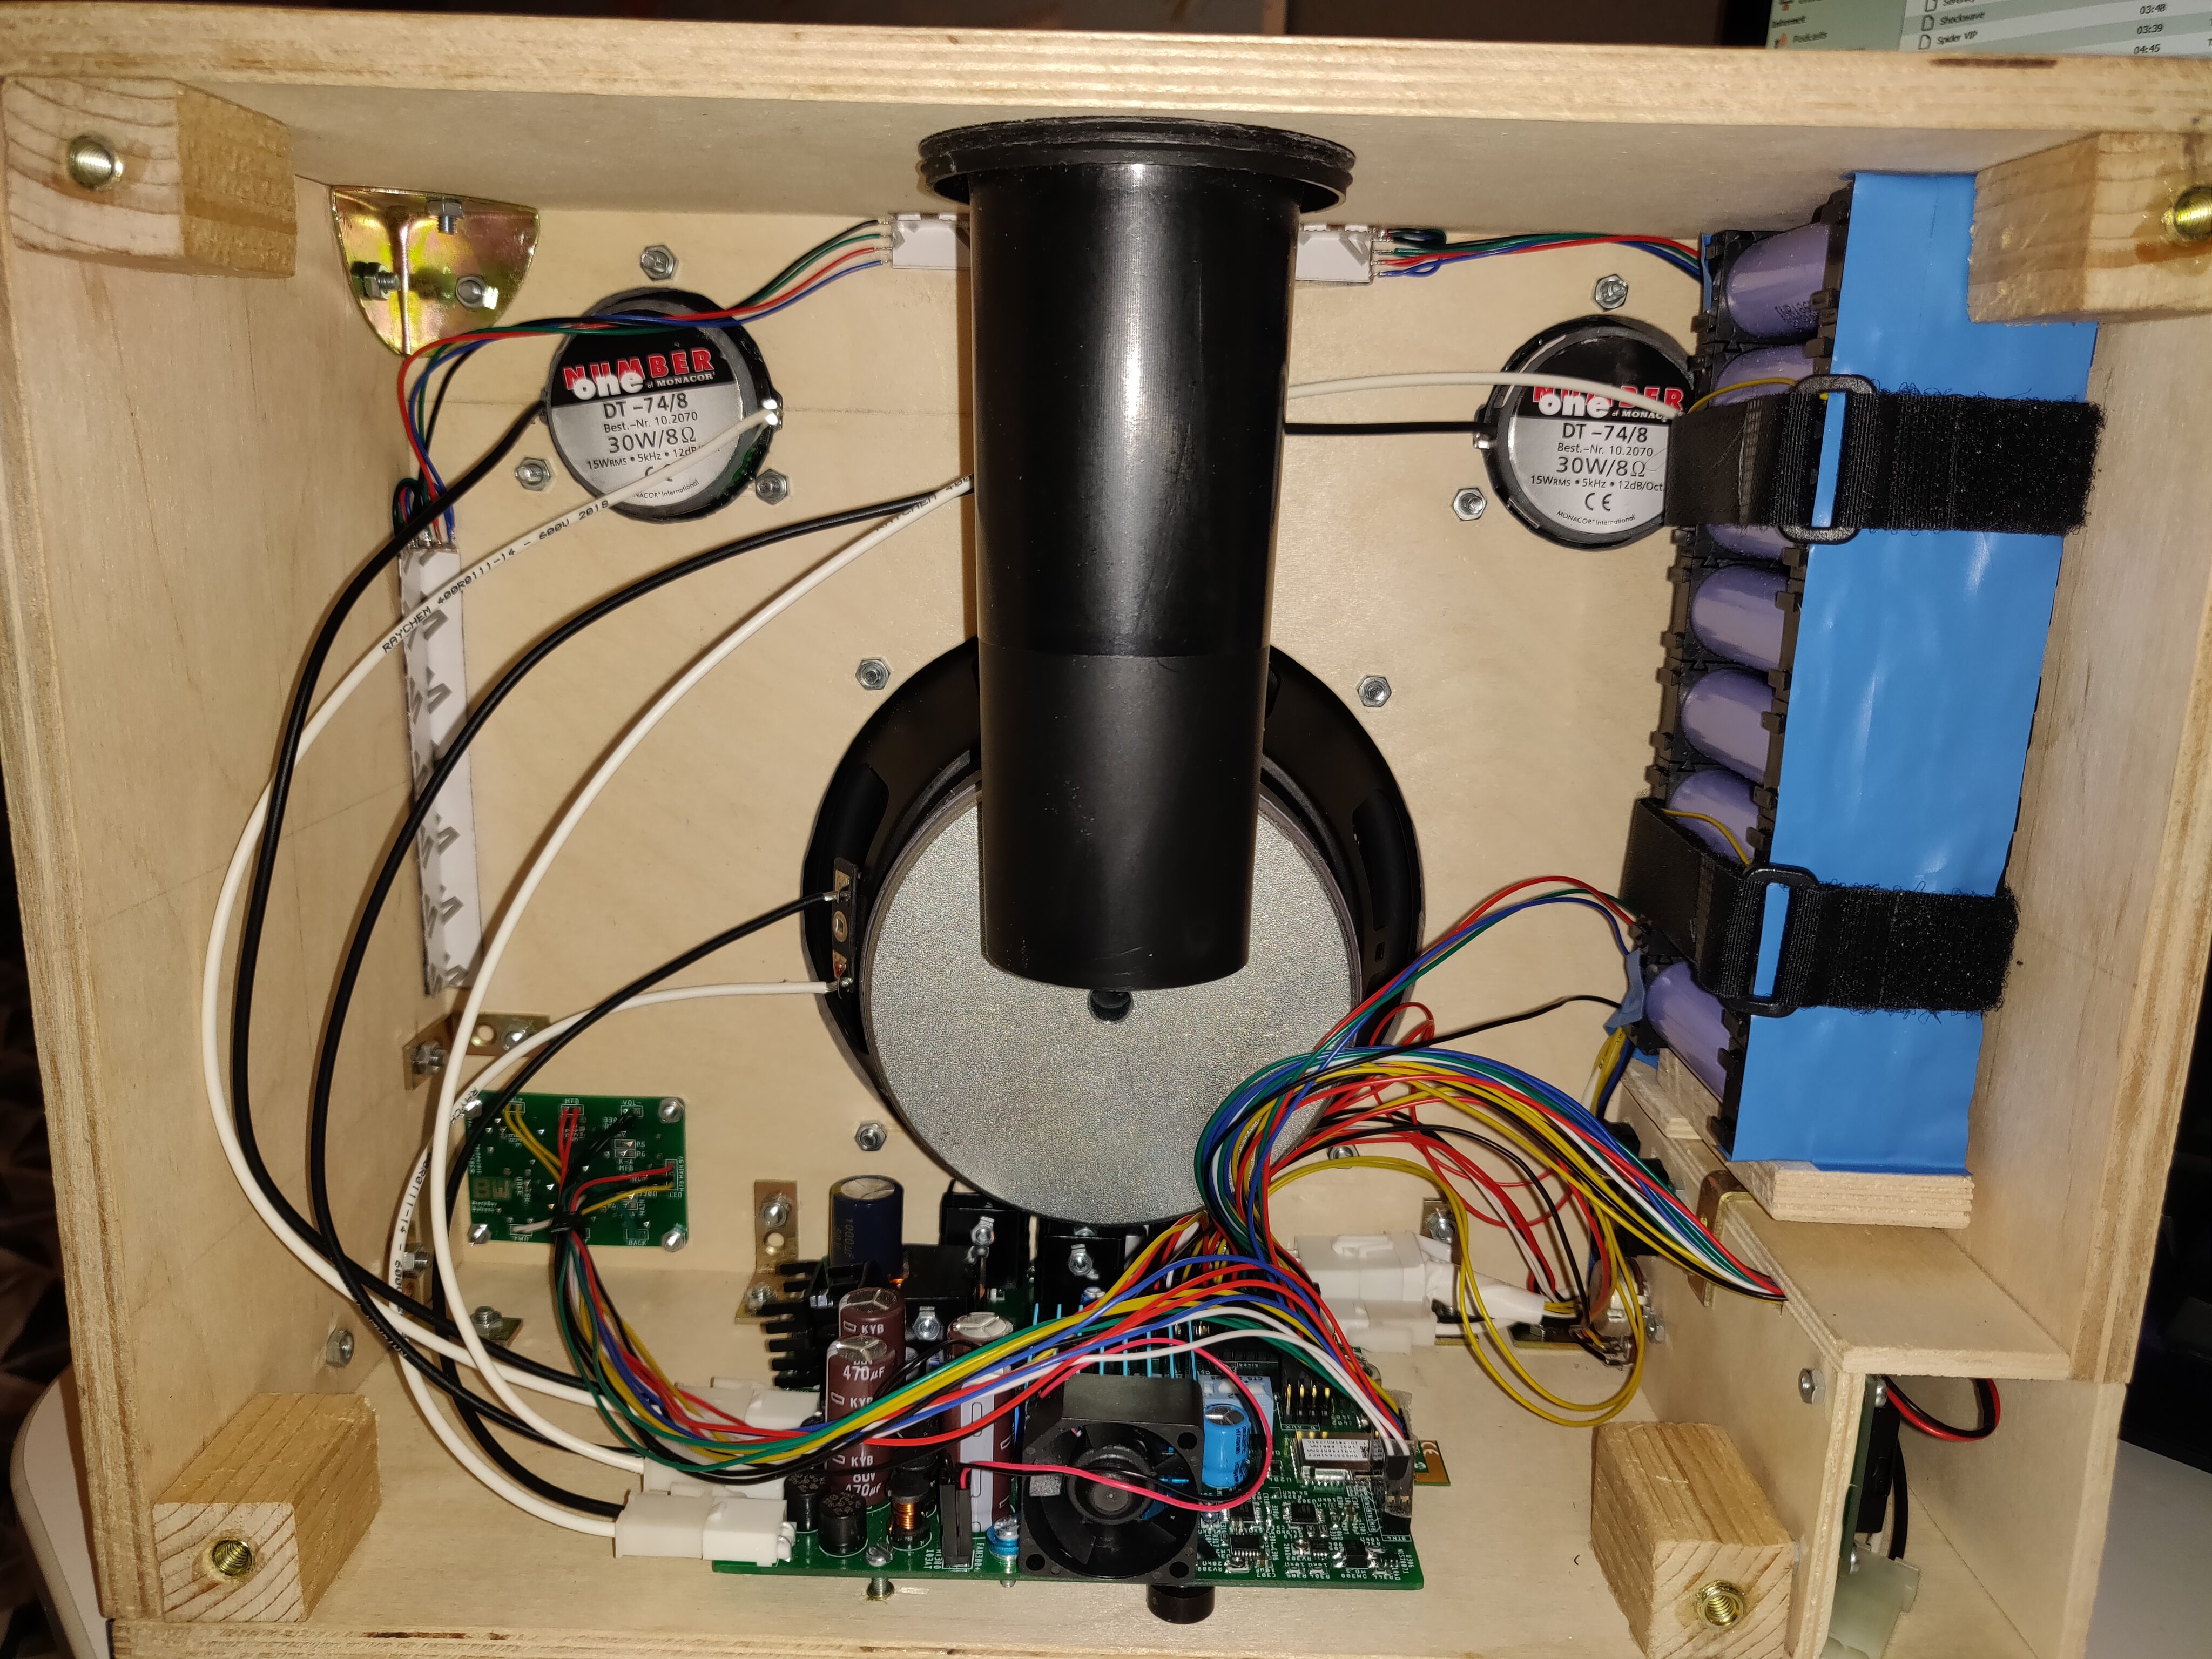
    Now it was time to assemble the speaker. I built the main wooden box by screwing the walls together using metal corner pieces, then hand-cut some extra plates with LED strips to go behind the acrylic inserts, installed the drivers, port resonator, display, circuit board, connector plate, battery, and some plastic wool for acoustic damping inside the enclosure.
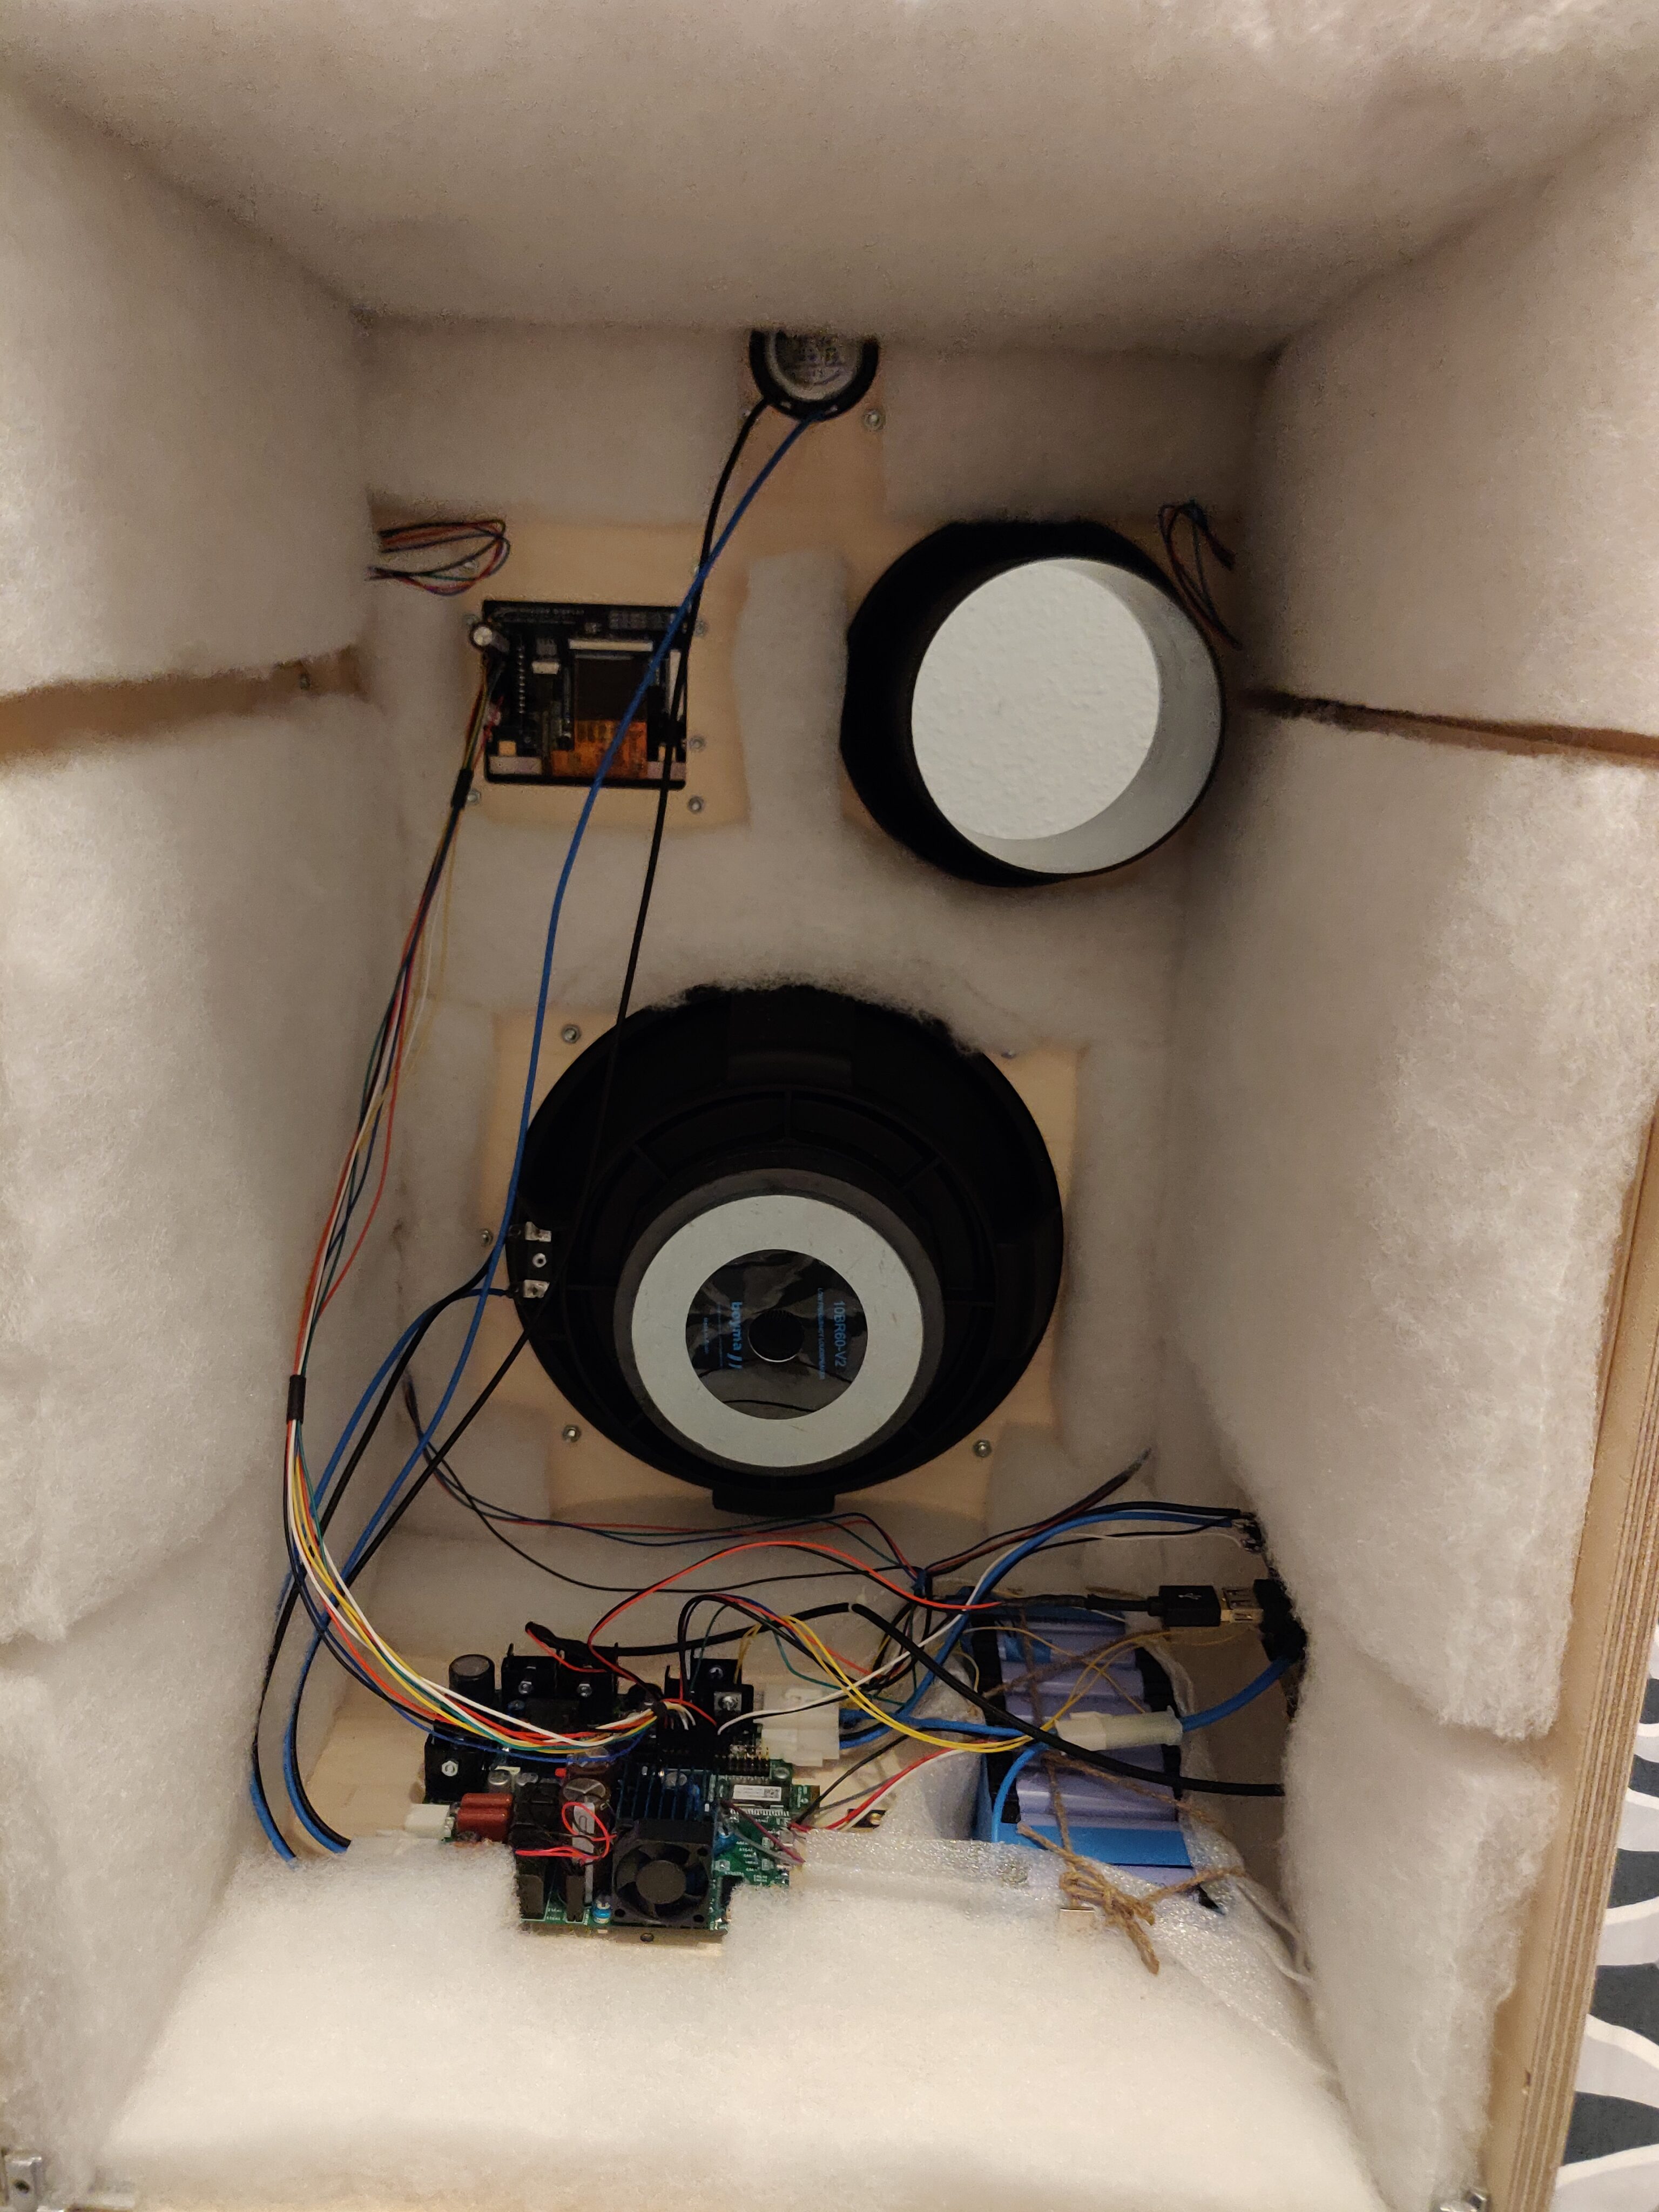
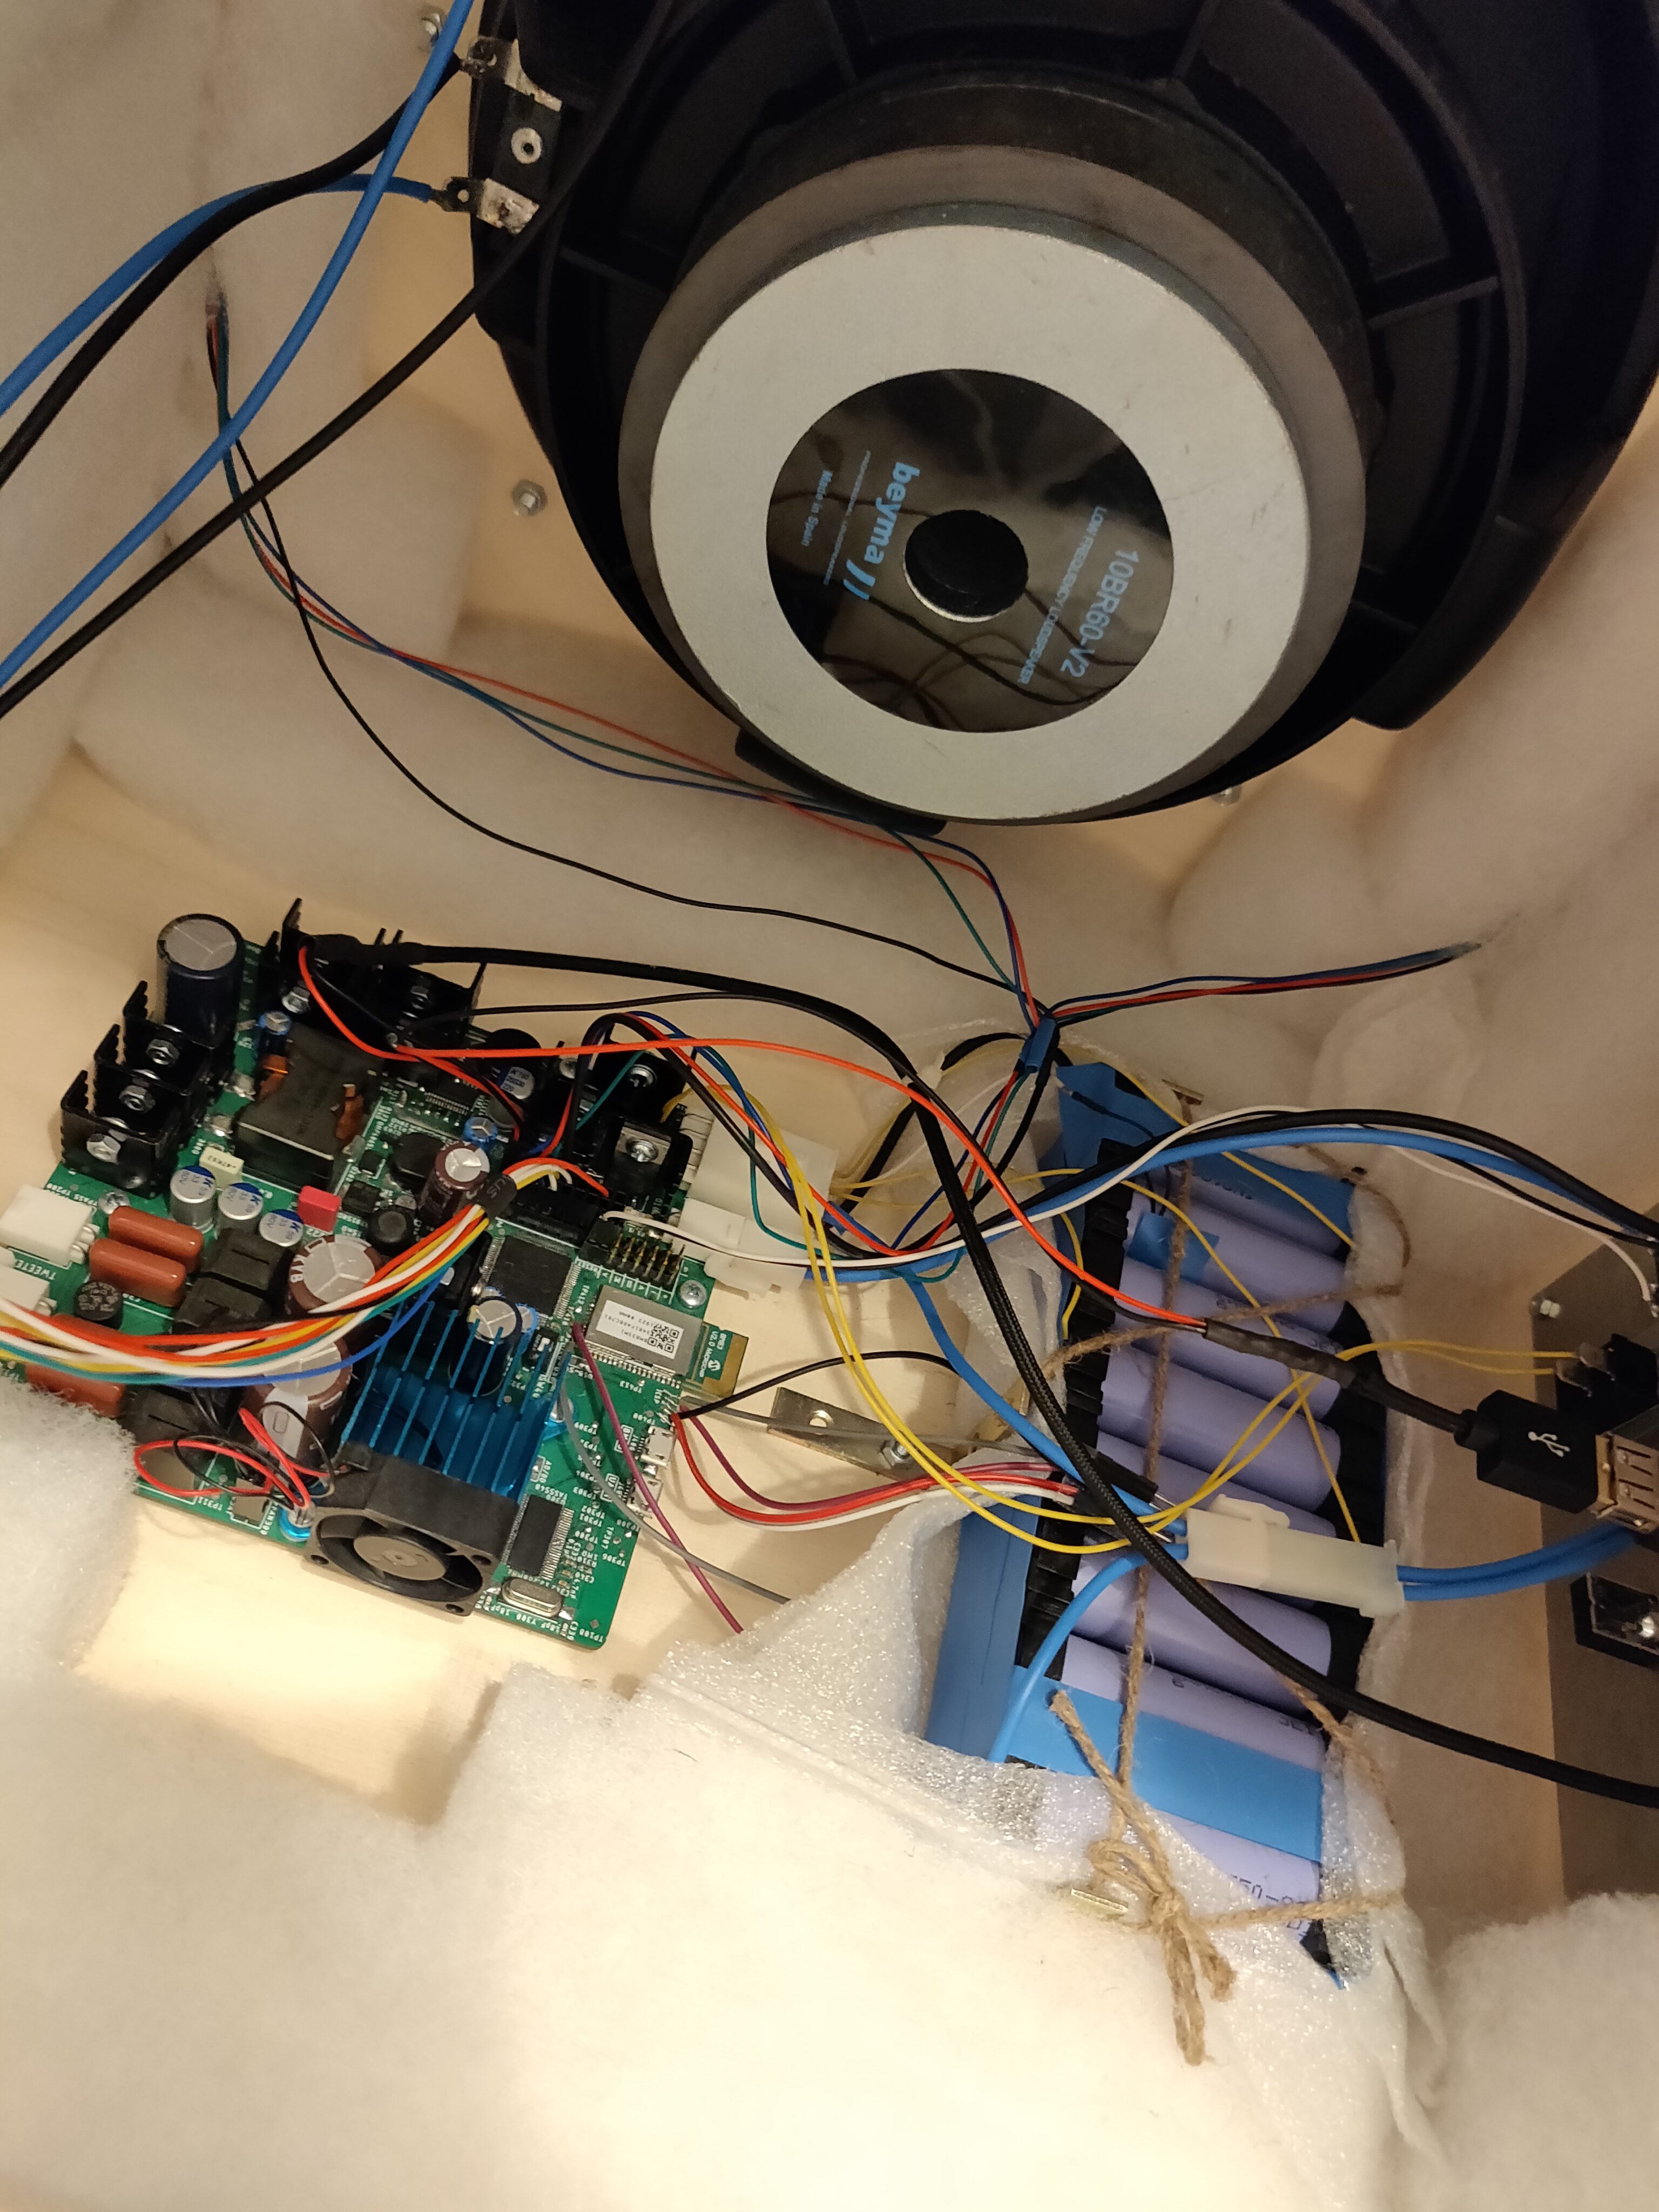
    With everything connected and closed up, the BlockBox v2 was complete.
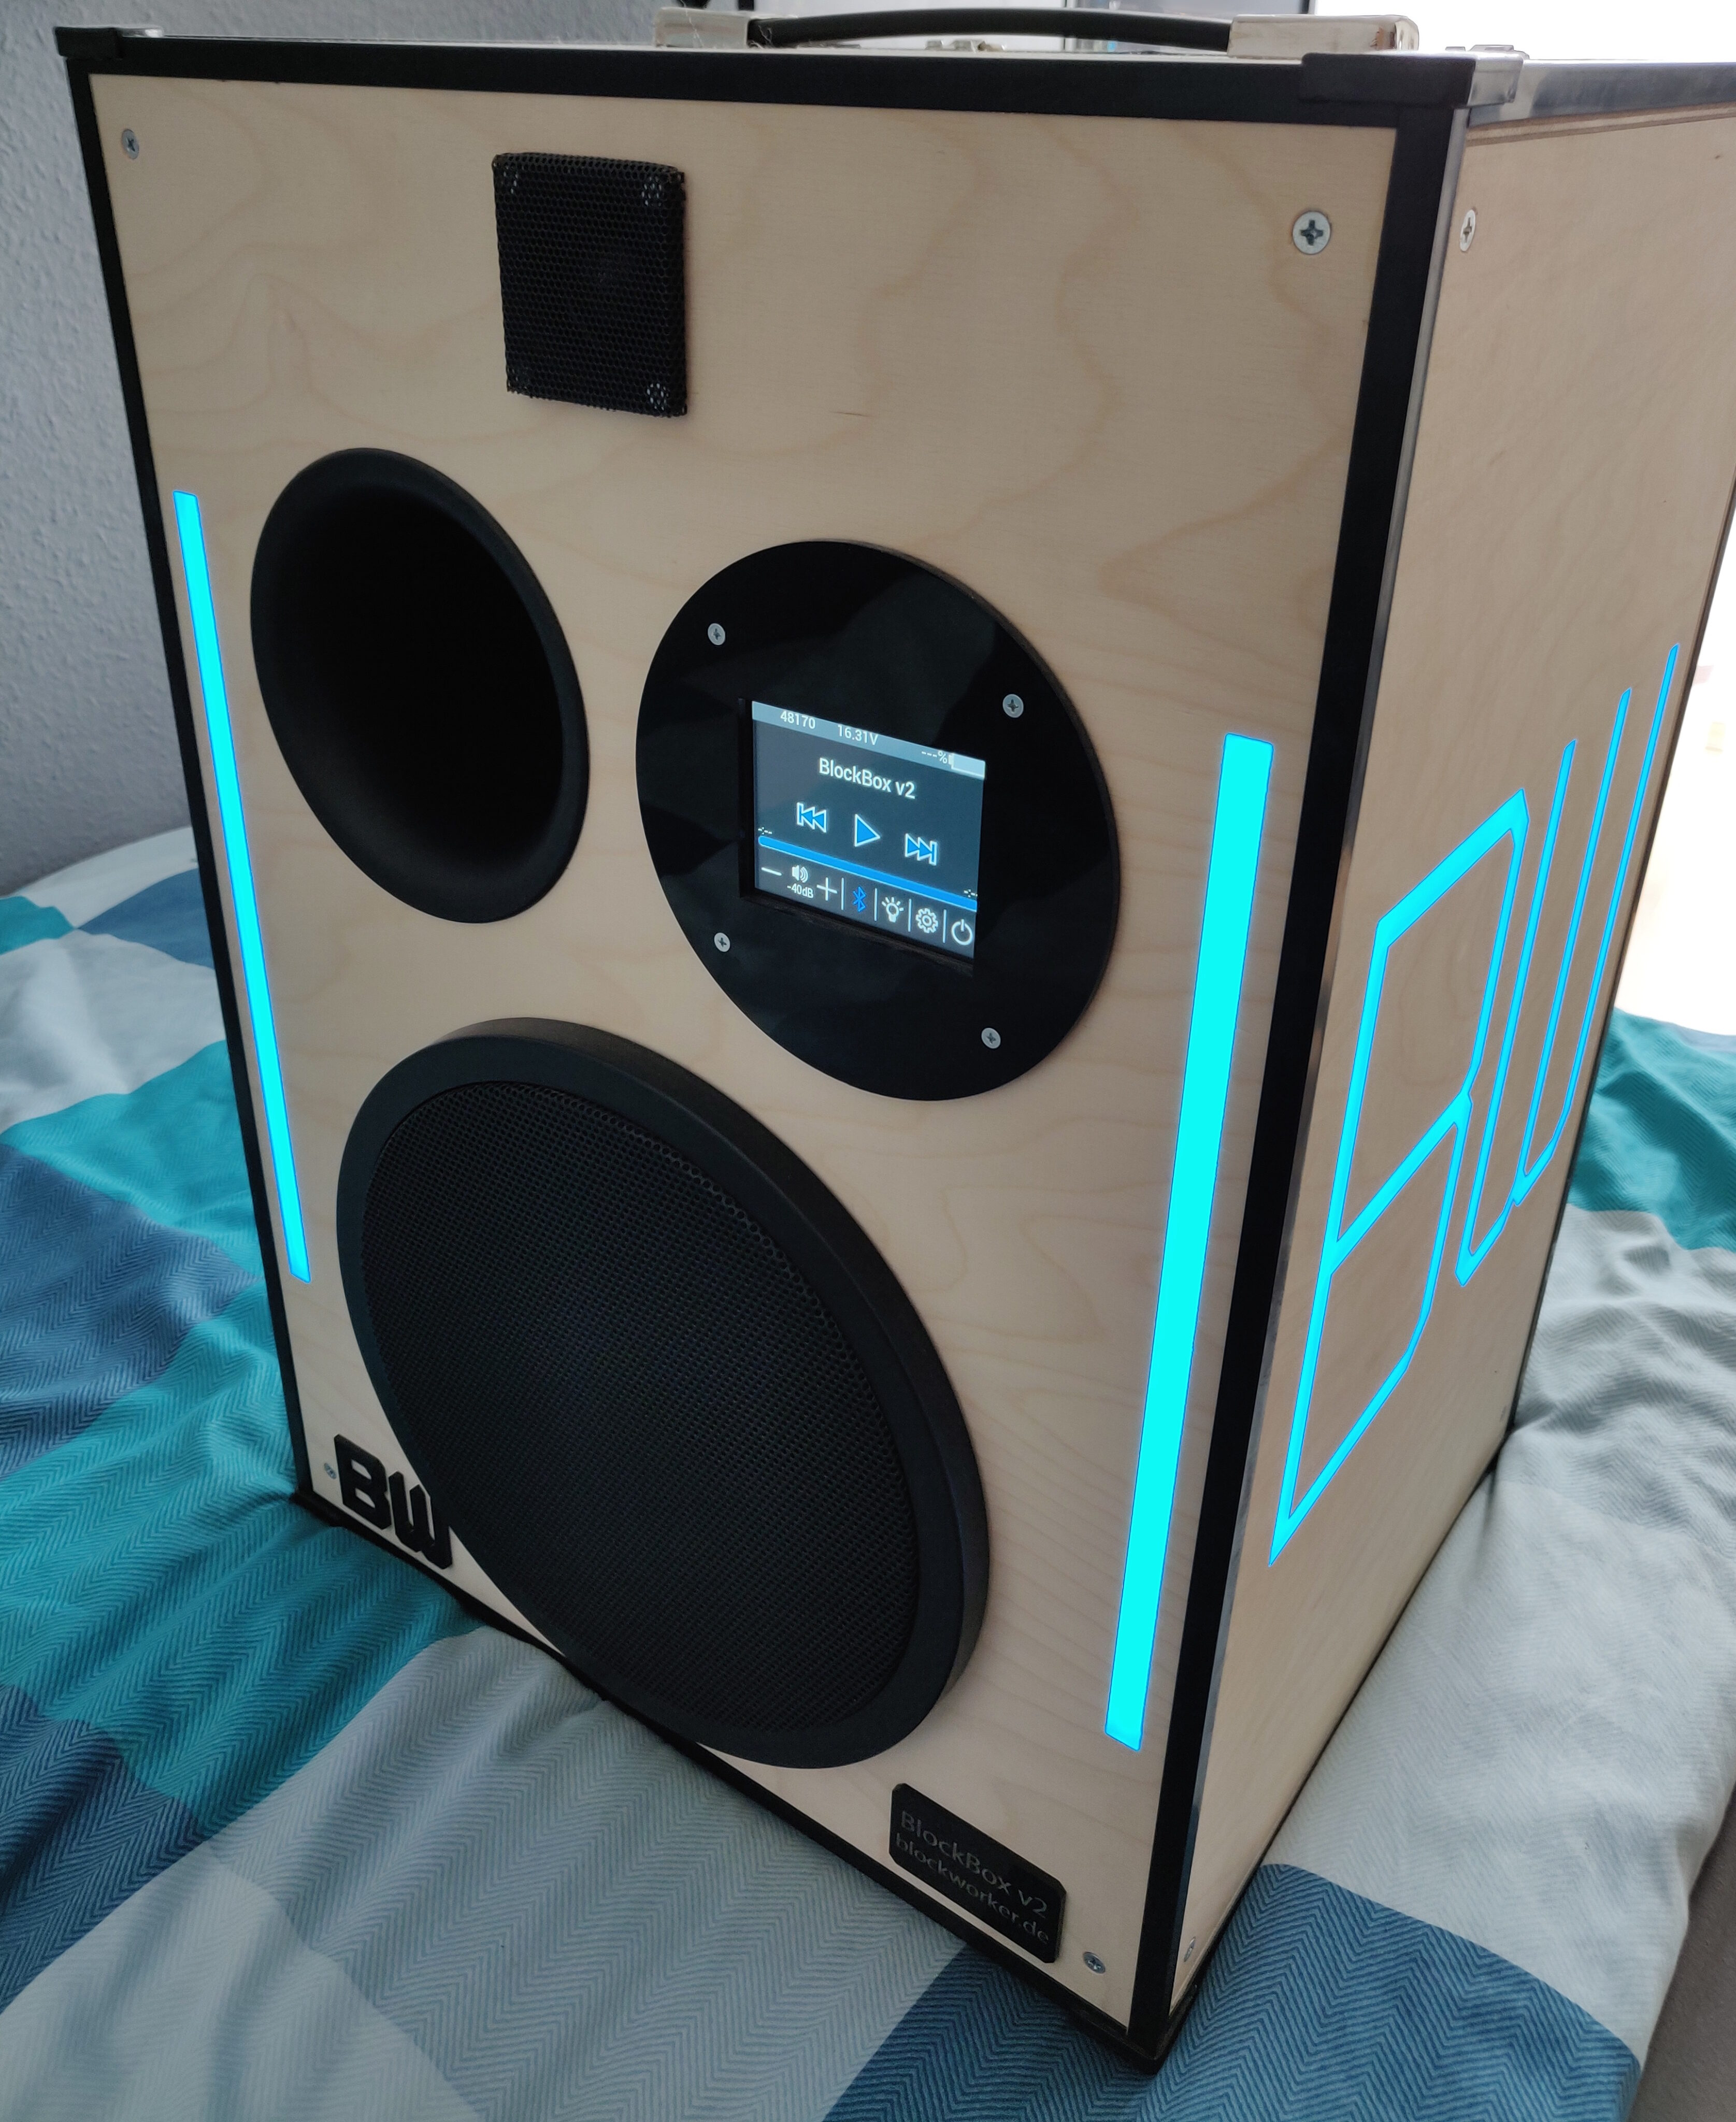
    However, since my circuit had a nice digital audio processor that I could control, I decided to improve the sound a little more, using some EQ optimisation.

  • BlockBox v2: Electronics Changes

    When I started designing the BlockBox v2, not much time had passed since the completion of the BlockBox v1, so my level of knowledge and experience was similar. I had noticed some mistakes in the original design that I would correct, but decided to leave most of the circuit design untouched, wherever I couldn’t see anything immediately wrong with it.

    The first major difference I had to address was the addition of the touchscreen display for user interaction. I looked around at different display options, eventually picking a good and affordable 3.5″ module by Newhaven Display, which offered a sunlight-readable display, resistive touch, and a built-in graphics chip, which would make using the display much easier than if I had to render every part of the user interface in my own firmware.

    Still, even with built-in graphics, I would need a much more powerful microcontroller, as it needed to handle the display commands, as well as act as the central system controller – for the BlockBox v1, I offloaded that responsibility to the Bluetooth module, but with the touchscreen, that was no longer a viable option. Also, making my own central system controller would give me much more fine-grained control over everything going on, which was obviously desirable.
    With these considerations, I decided to use a microcontroller from the Microchip PIC32MZ EF family – it’s likely that I could have picked something lower-cost, but for a prototype project like this, it made the most sense to go with something really powerful, just in case I could use the extra performance.

    Another thing that was causing me trouble in the first version was the analog audio signal path. I realised that I was simply not experienced enough with analog circuit design to achieve a high-quality signal in such a way, so I decided to switch to a fully digital audio path for the BlockBox v2. This would also allow me to feed digital audio data to the system controller, for better music-synchronised LED lighting.
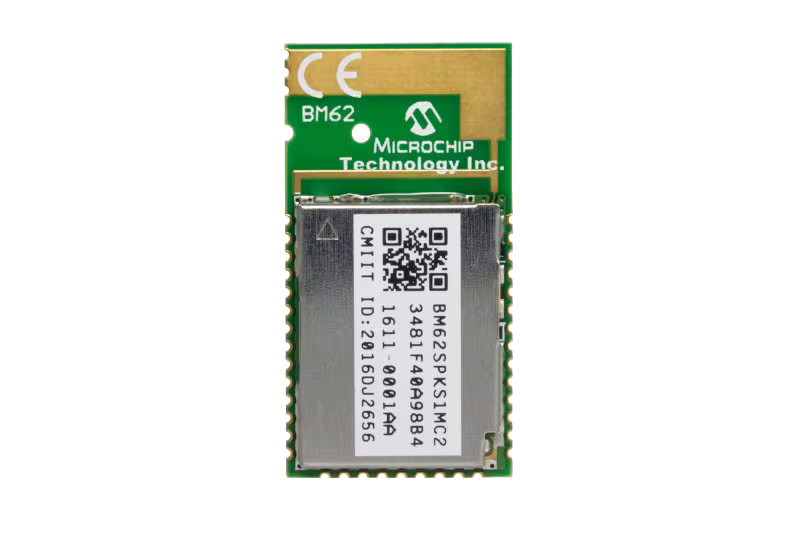
    The first problem with this plan was the Bluetooth module I had used for the first version – it only had an analog audio output. Therefore, I chose its slightly more advanced successor for this design, the Microchip BM83, which also features a digital audio output.

    Aside from that, this meant replacing my analog pre-amp and filter stage with a digital signal processor (DSP), and the amplifier with a digital one. Thankfully, Texas Instruments had a great solution for me, which would work as a relatively simple drop-in replacement for my existing circuit: The TAS5548 modulator with integrated DSP, as well as the TAS5634 PWM-input audio amplifier.
    This amplifier’s pinout and interface was nearly identical to the one I used for the BlockBox v1, allowing me to reuse most of the output stage design – just making sure to use bigger and better inductors, as well as film capacitors for low-distortion filtering this time.

    The rest of the circuit remained nearly unchanged. The battery management circuit seemed to work great in the first speaker, so I reused it exactly as it was, along with the choice of battery cells themselves and their 4s4p configuration.
    As for the voltage converters, I only made a few small modifications – adding a trimmer potentiometer to the power amplifier supply, to be able to lower its voltage for driver safety and efficiency, as well as making the 3.3V supply based on a switching converter as well (instead of just a linear regulator), since the new controller and display needed more power.
    Unfortunately, I still hadn’t understood the importance of power supply noise reduction in audio circuits, meaning the new power supply design would also be quite noisy – but I didn’t know that at the time.
    Also, just as with the BlockBox v1, I was still limited in my component choices by the abilities of a simple soldering iron.

    I created the modified PCB design based on these changes, deciding to keep the board dimensions and layout the same as in v1, just in case I ever wanted to replace the v1 electronics with the new version as well.

    As with the first version, the full schematics and PCB design files (for Autodesk EAGLE) are available on GitHub here.
    While this design is certainly better than the BlockBox v1, it is still not good overall, and not recommended for direct reuse. After all, it was still designed with some beginner mistakes and flaws.

    And with that, it was time to build this giant “portable” speaker!

  • BlockBox v1: The Build

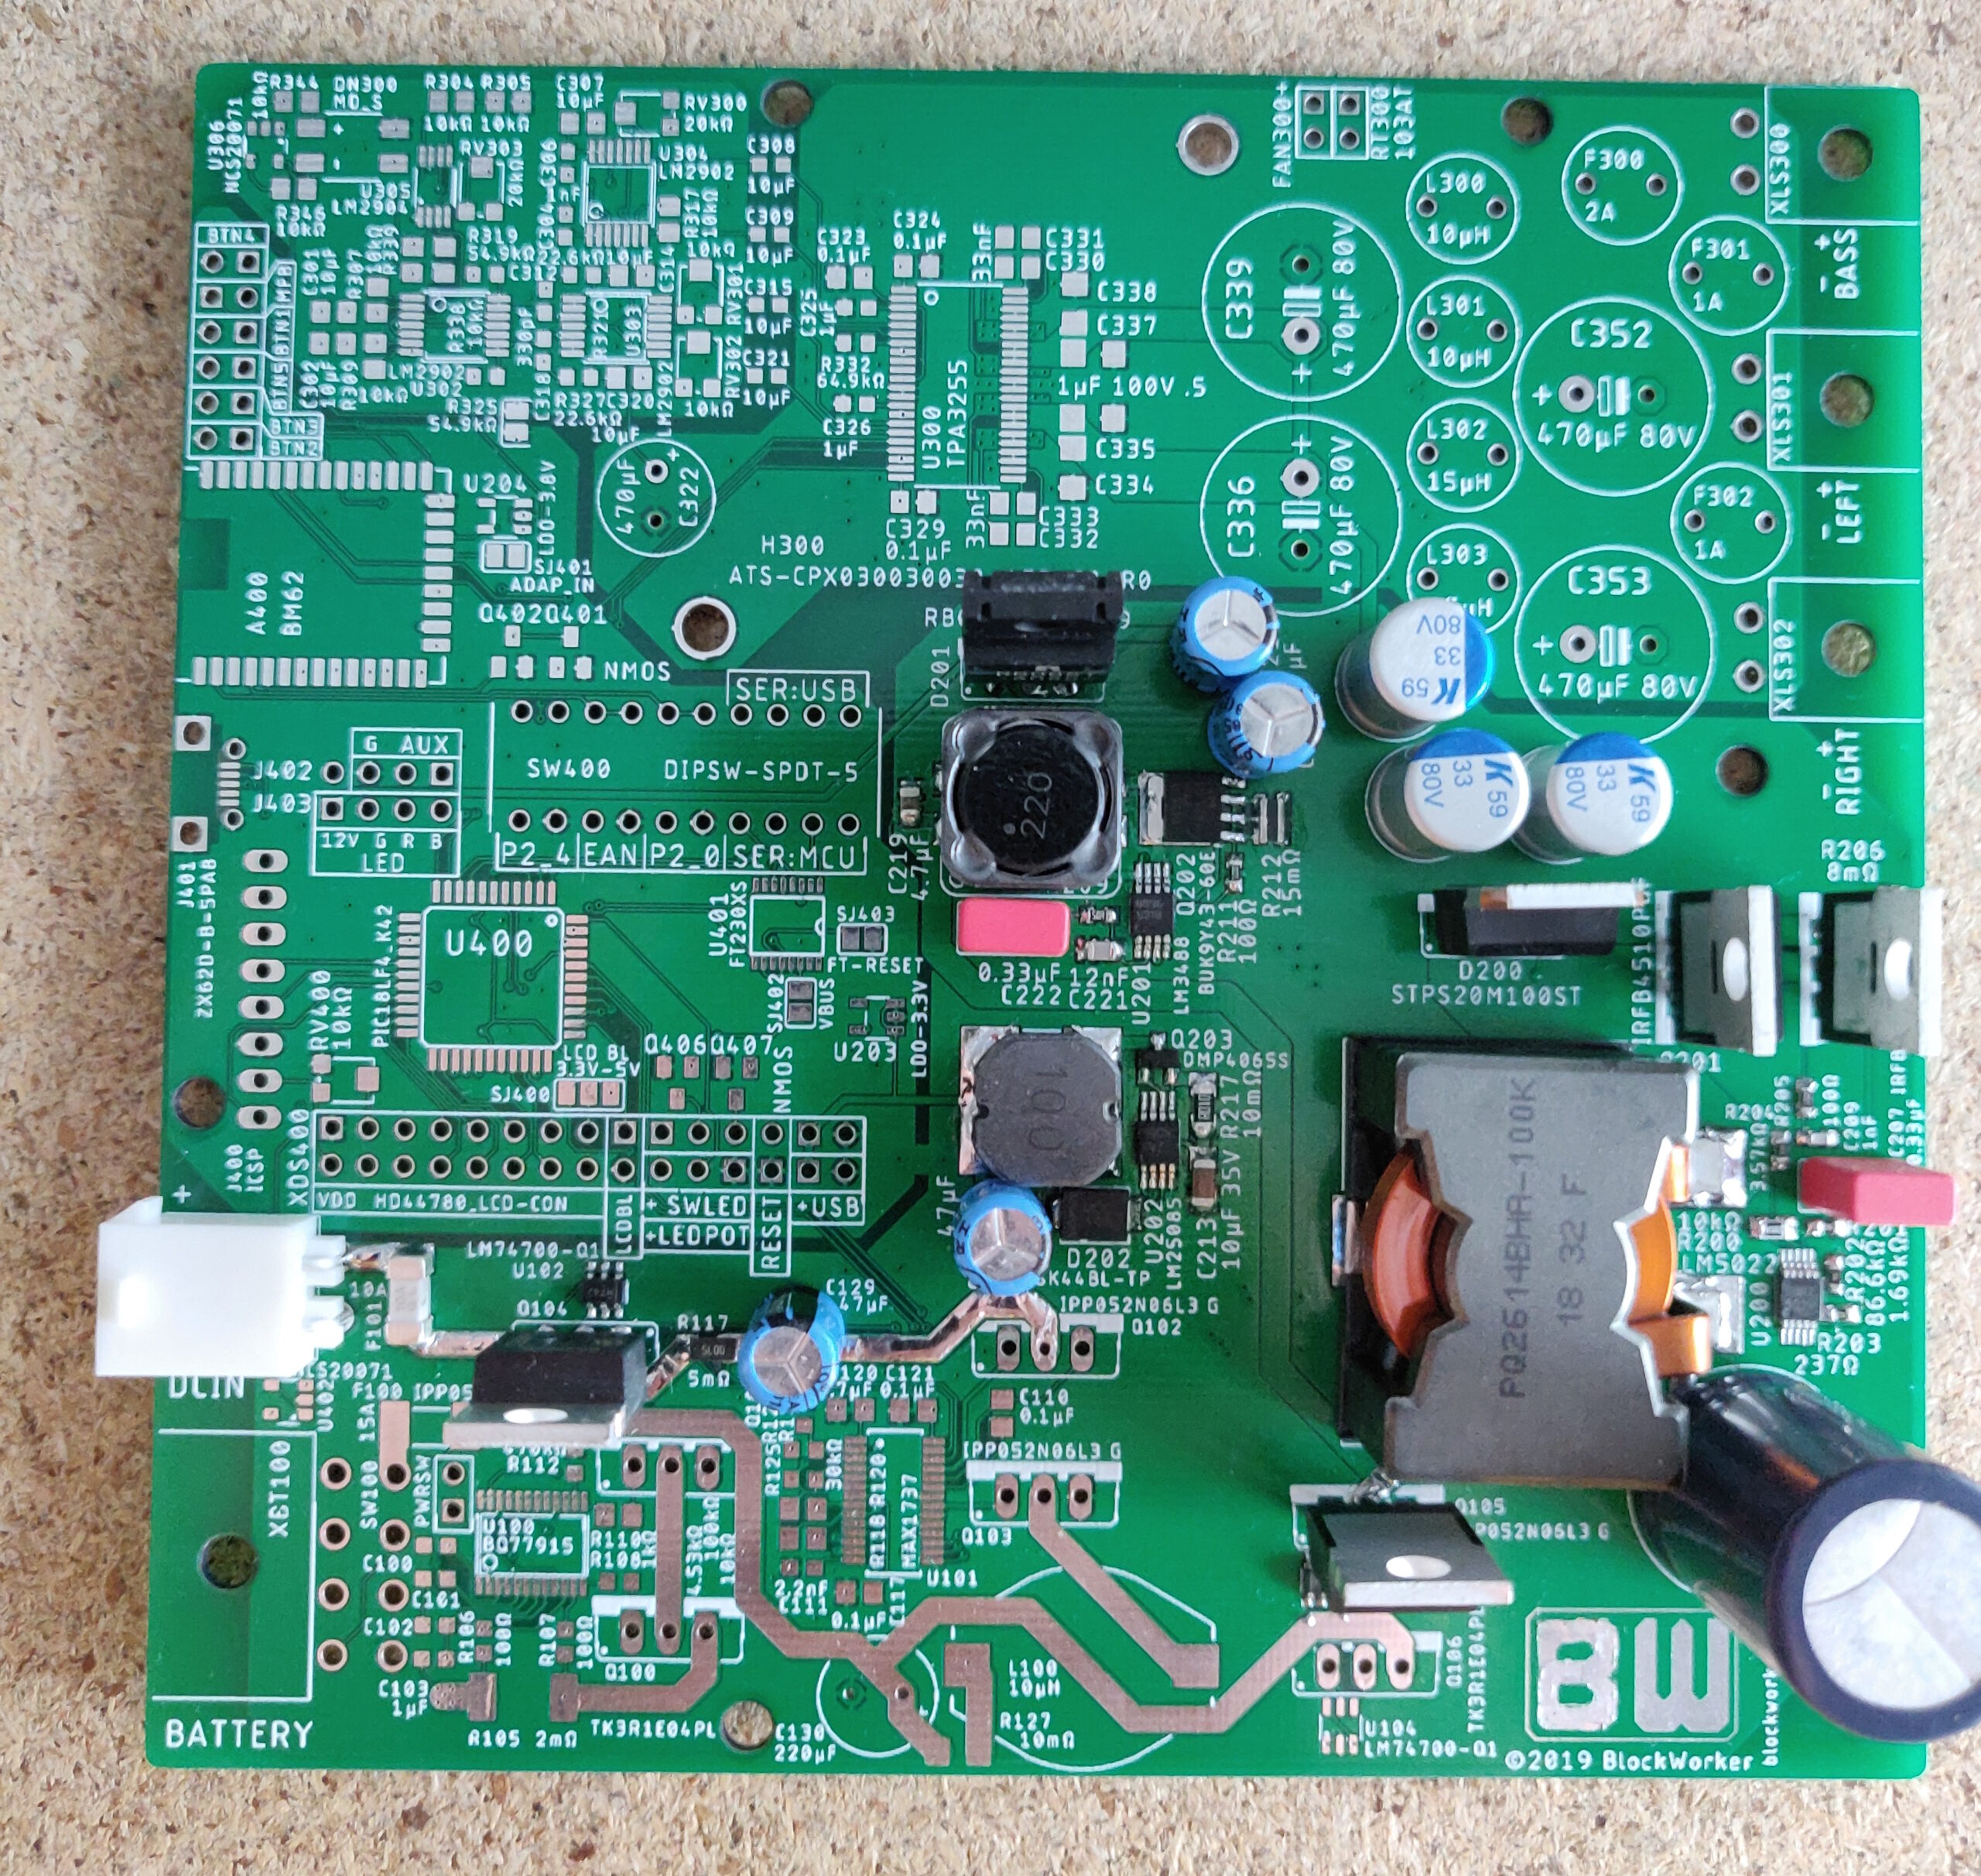
    The first part of the BlockBox build process was the circuit board. Once my custom boards arrived, along with the components for them, I decided it would be best to build and test the power supply circuits first.
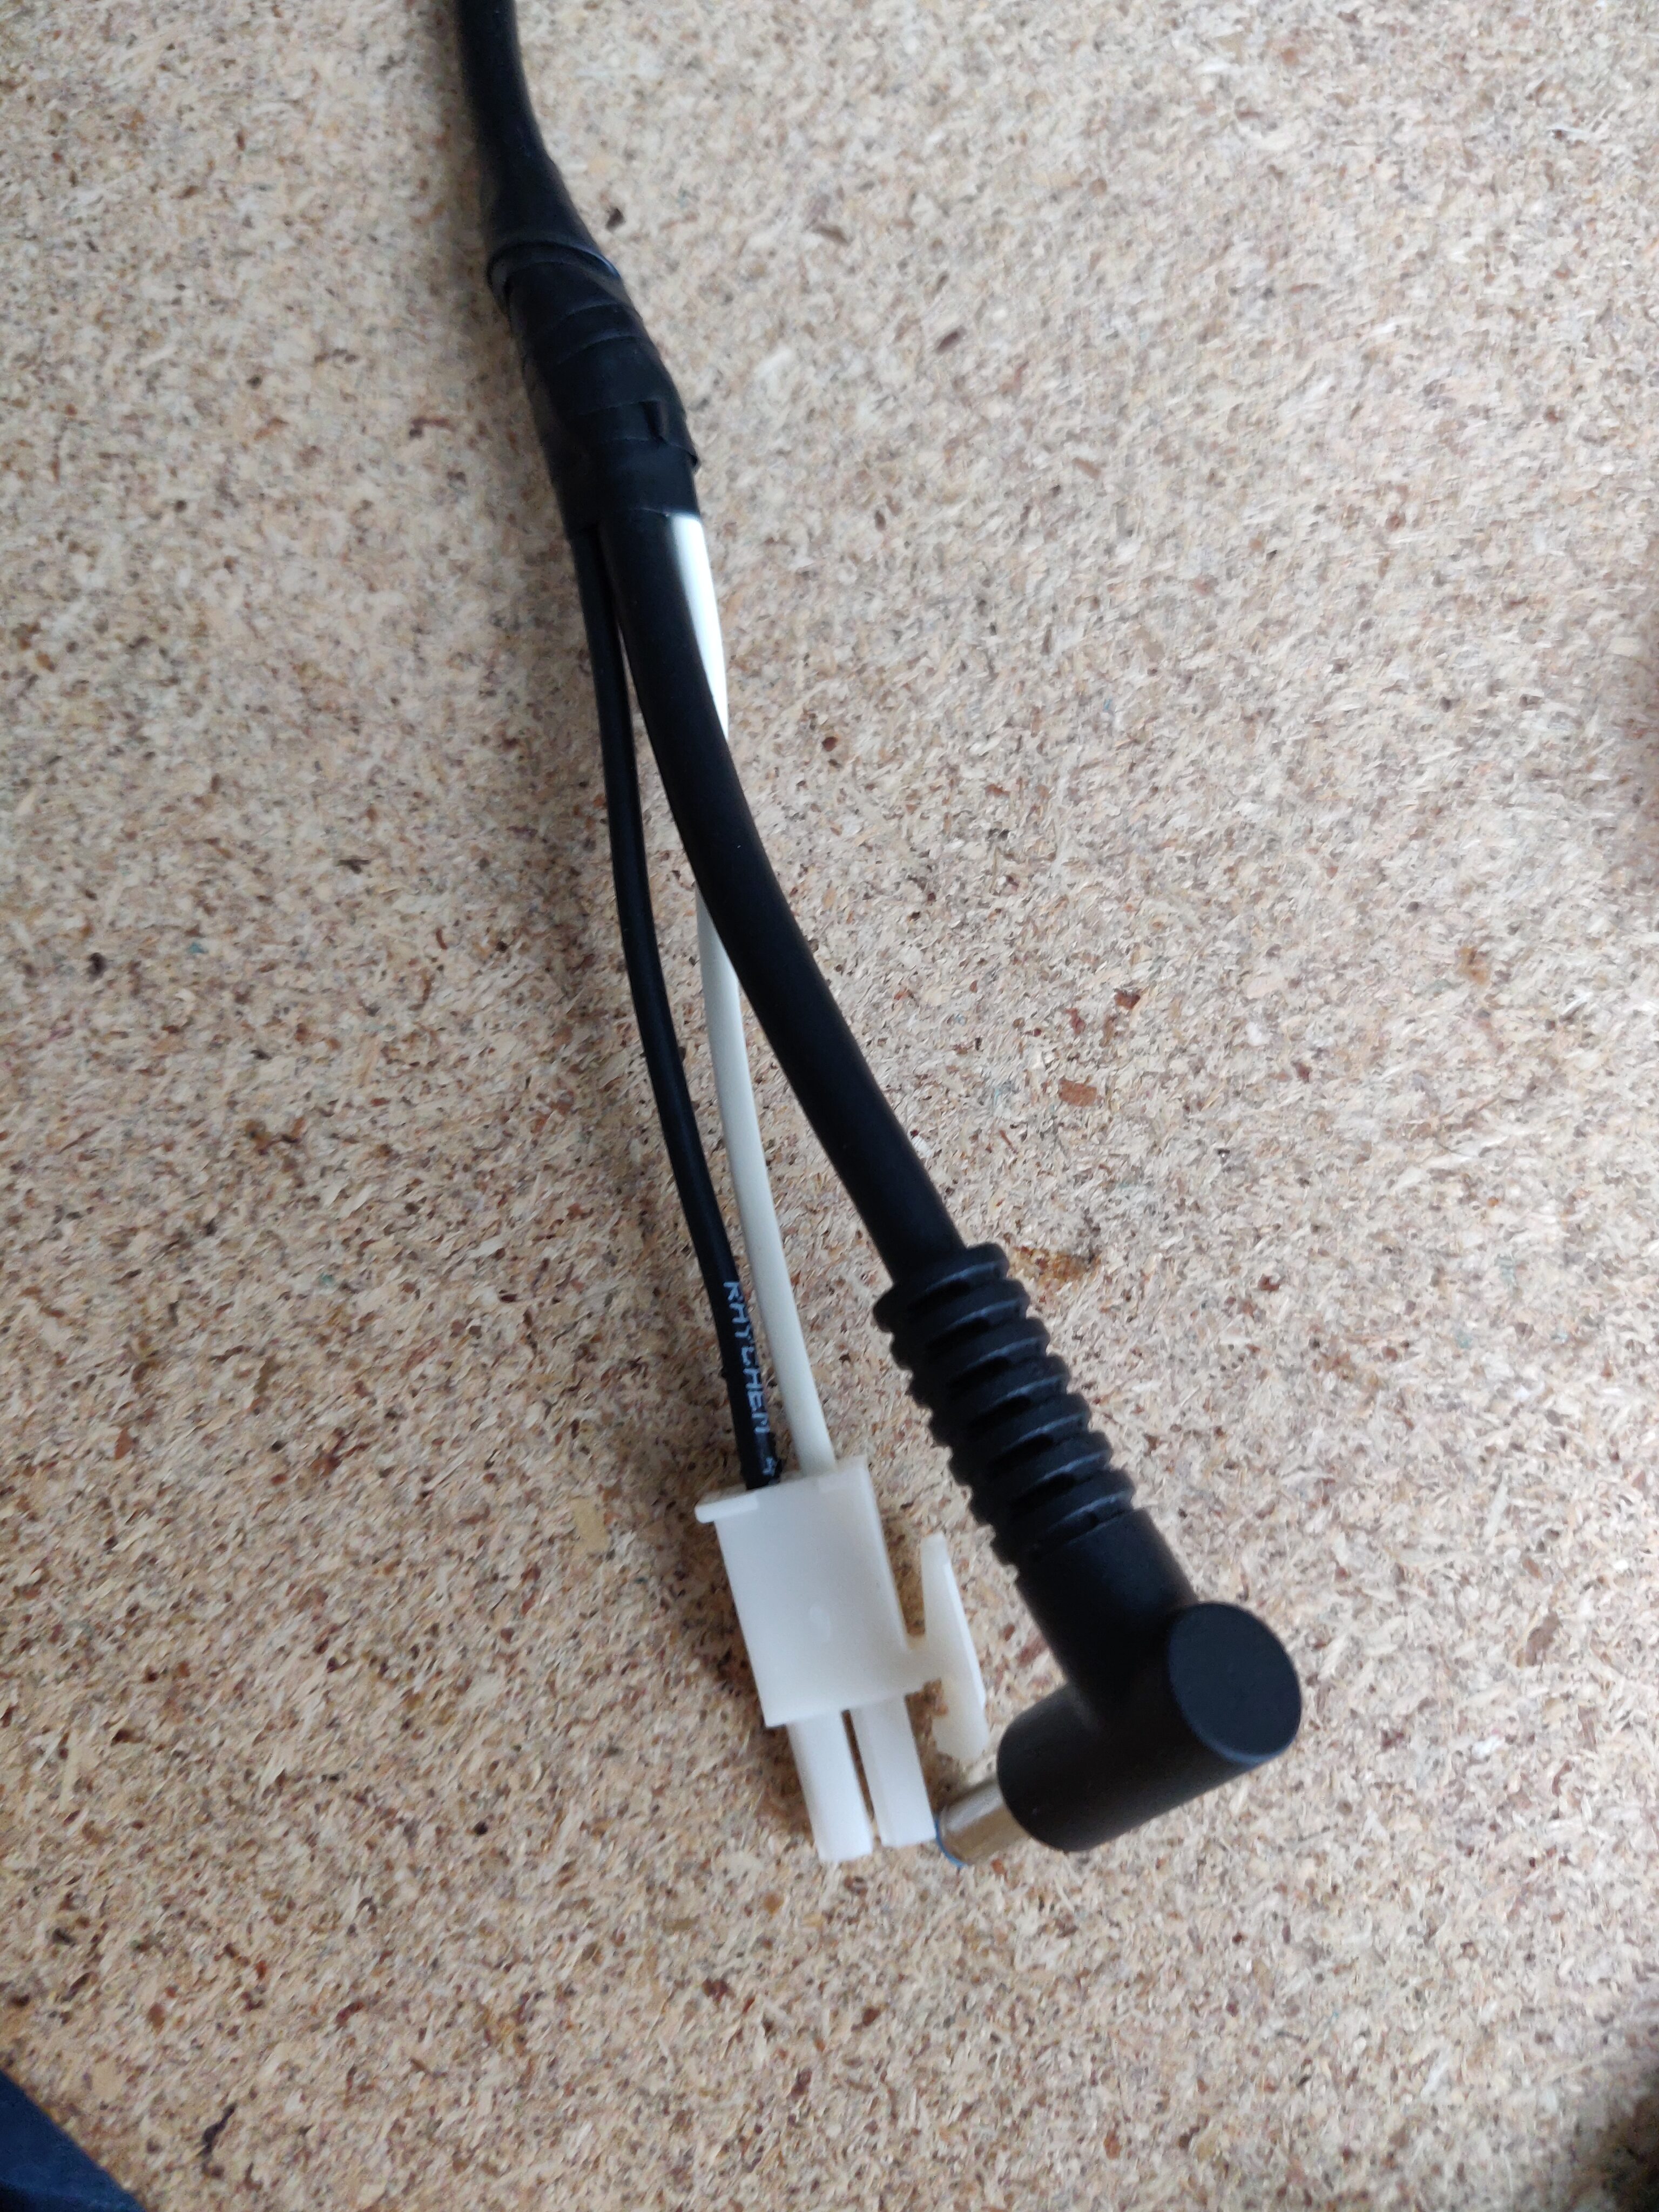
    Because battery management is not trivial in itself, I would start with external adapter power – which I needed to get from somewhere. So, it was time to modify my laptop power supply, adding a compatible connector.

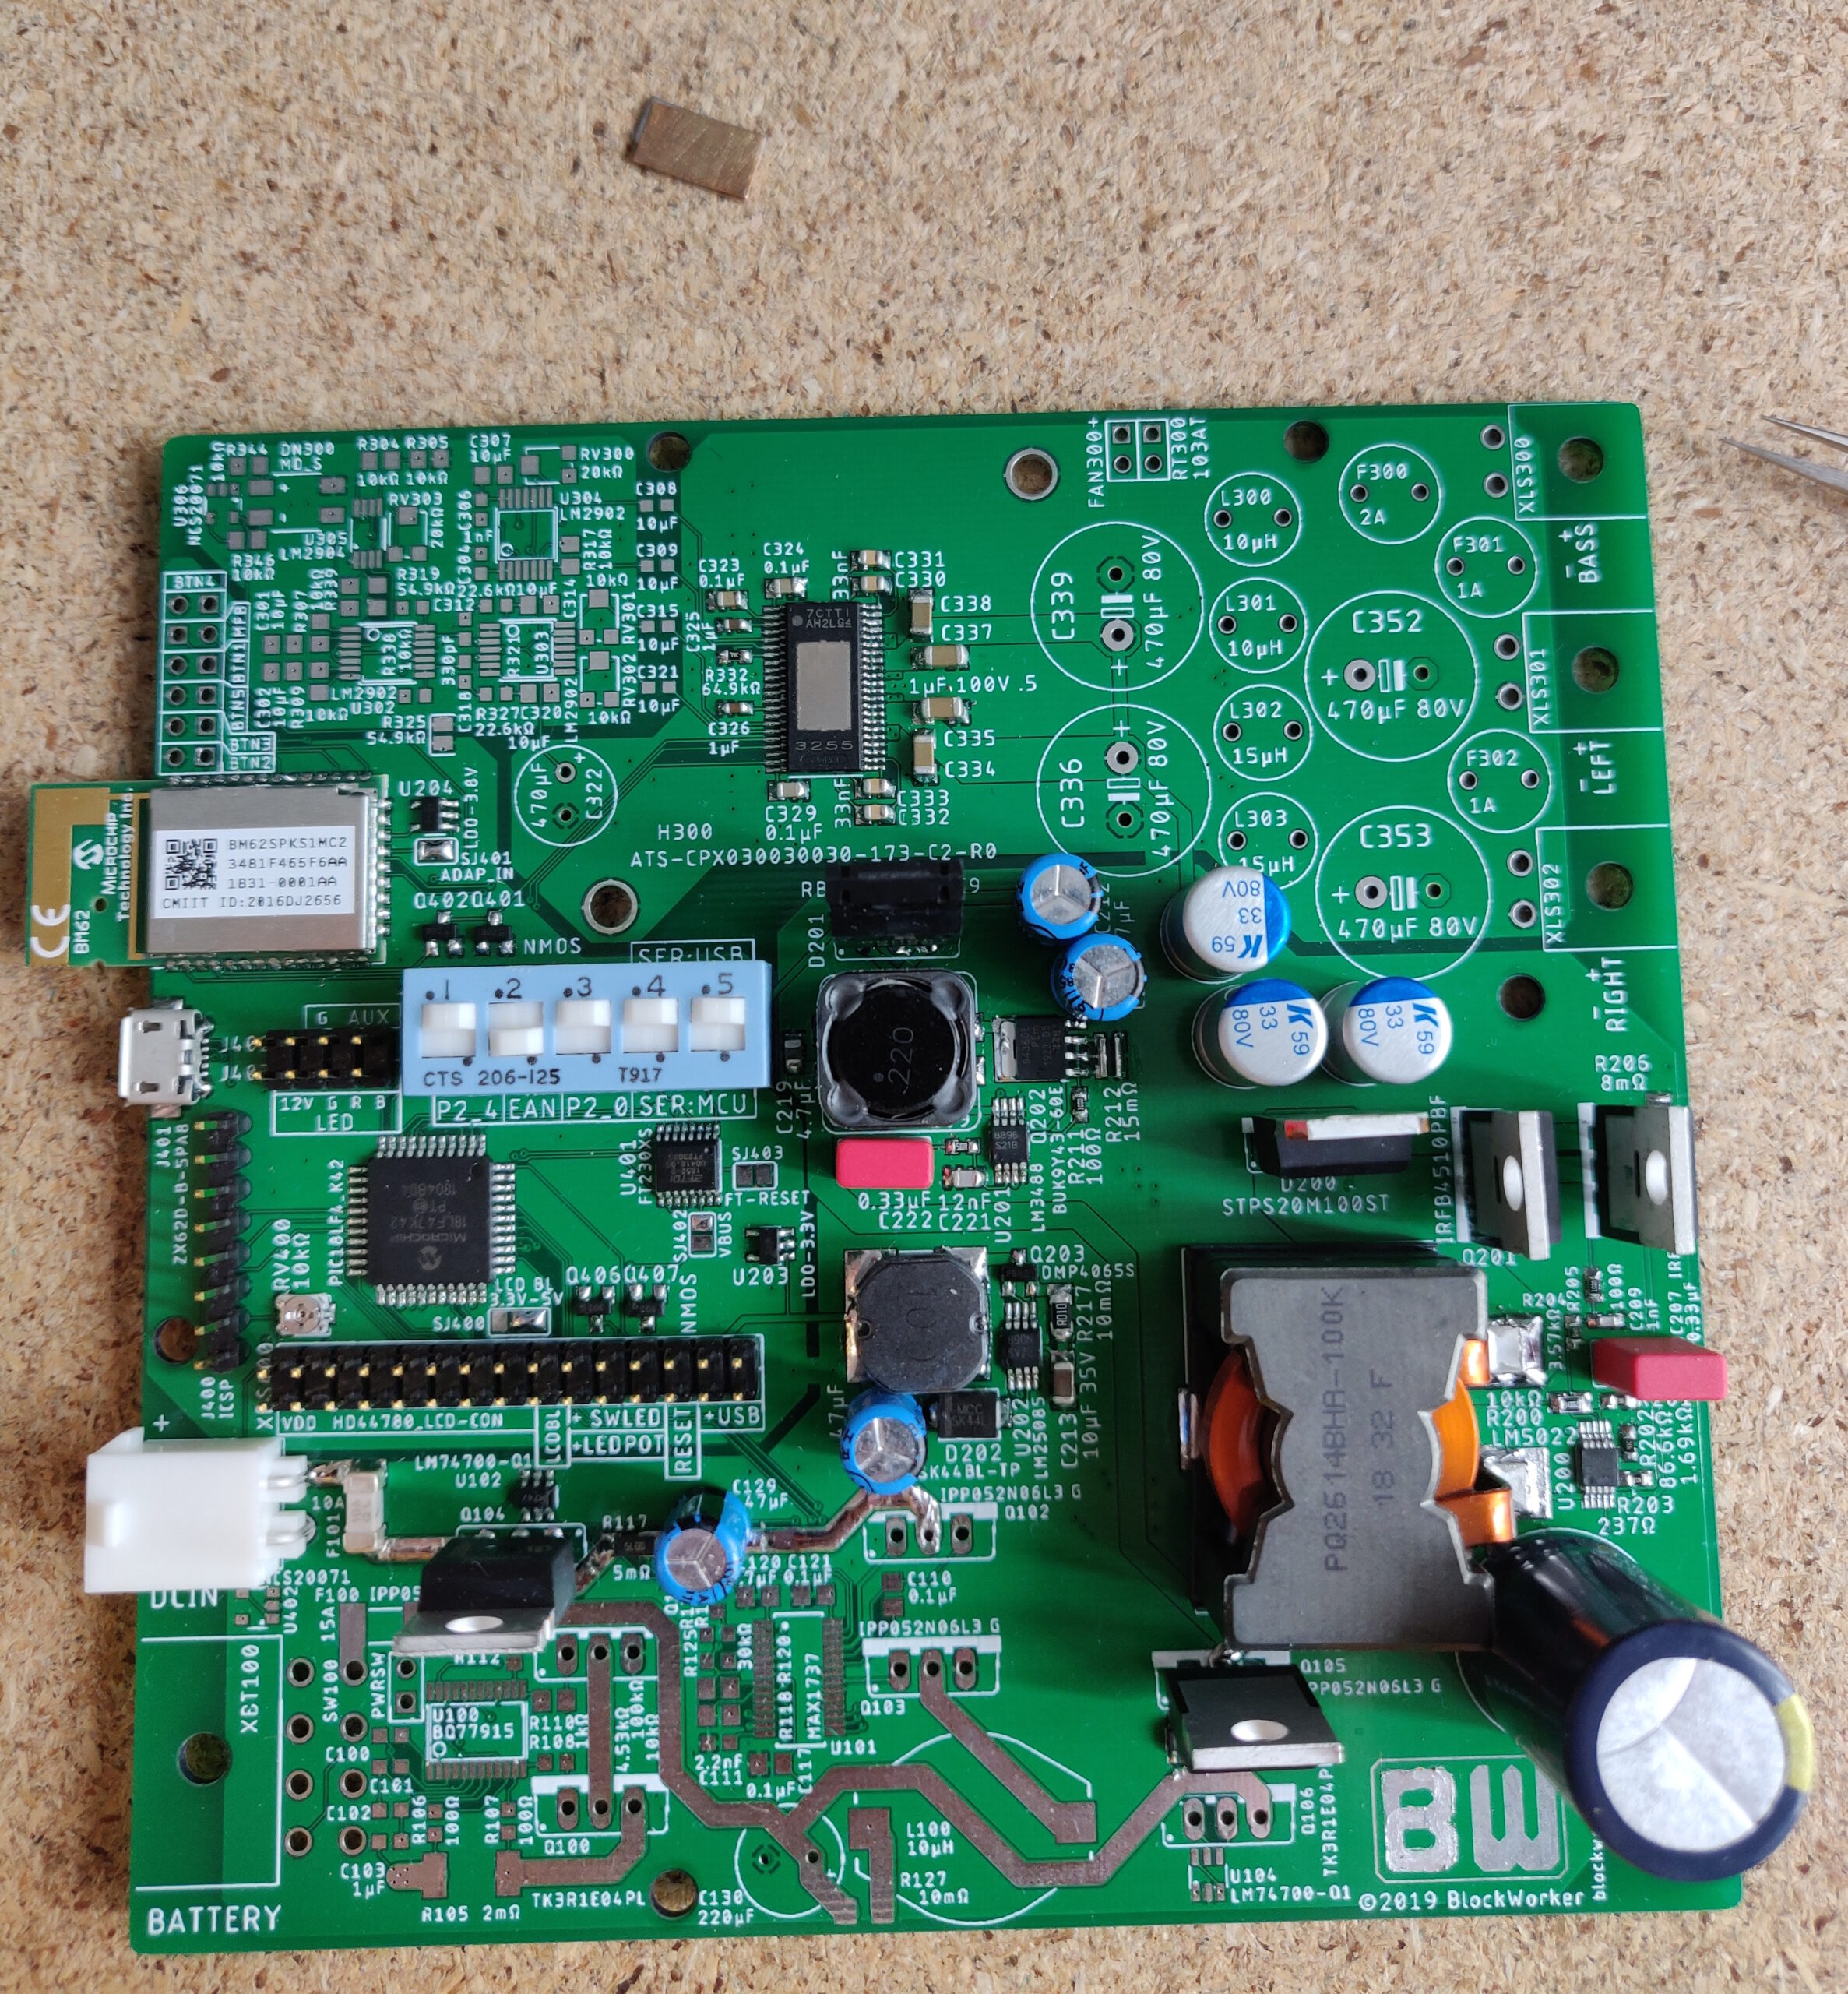
    With that done, I could solder the necessary components for basic power path.
    This was followed by constructing the main switching power supplies (52V, 12V, and 5V), allowing me to test that they work and produce the desired voltages.

    Next, I added the Bluetooth module and auxiliary controller, as well as the corresponding connectors and support components.
    I also soldered the power amplifier chip, since its small pin pitch would make it annoying to solder with more components in the way later.

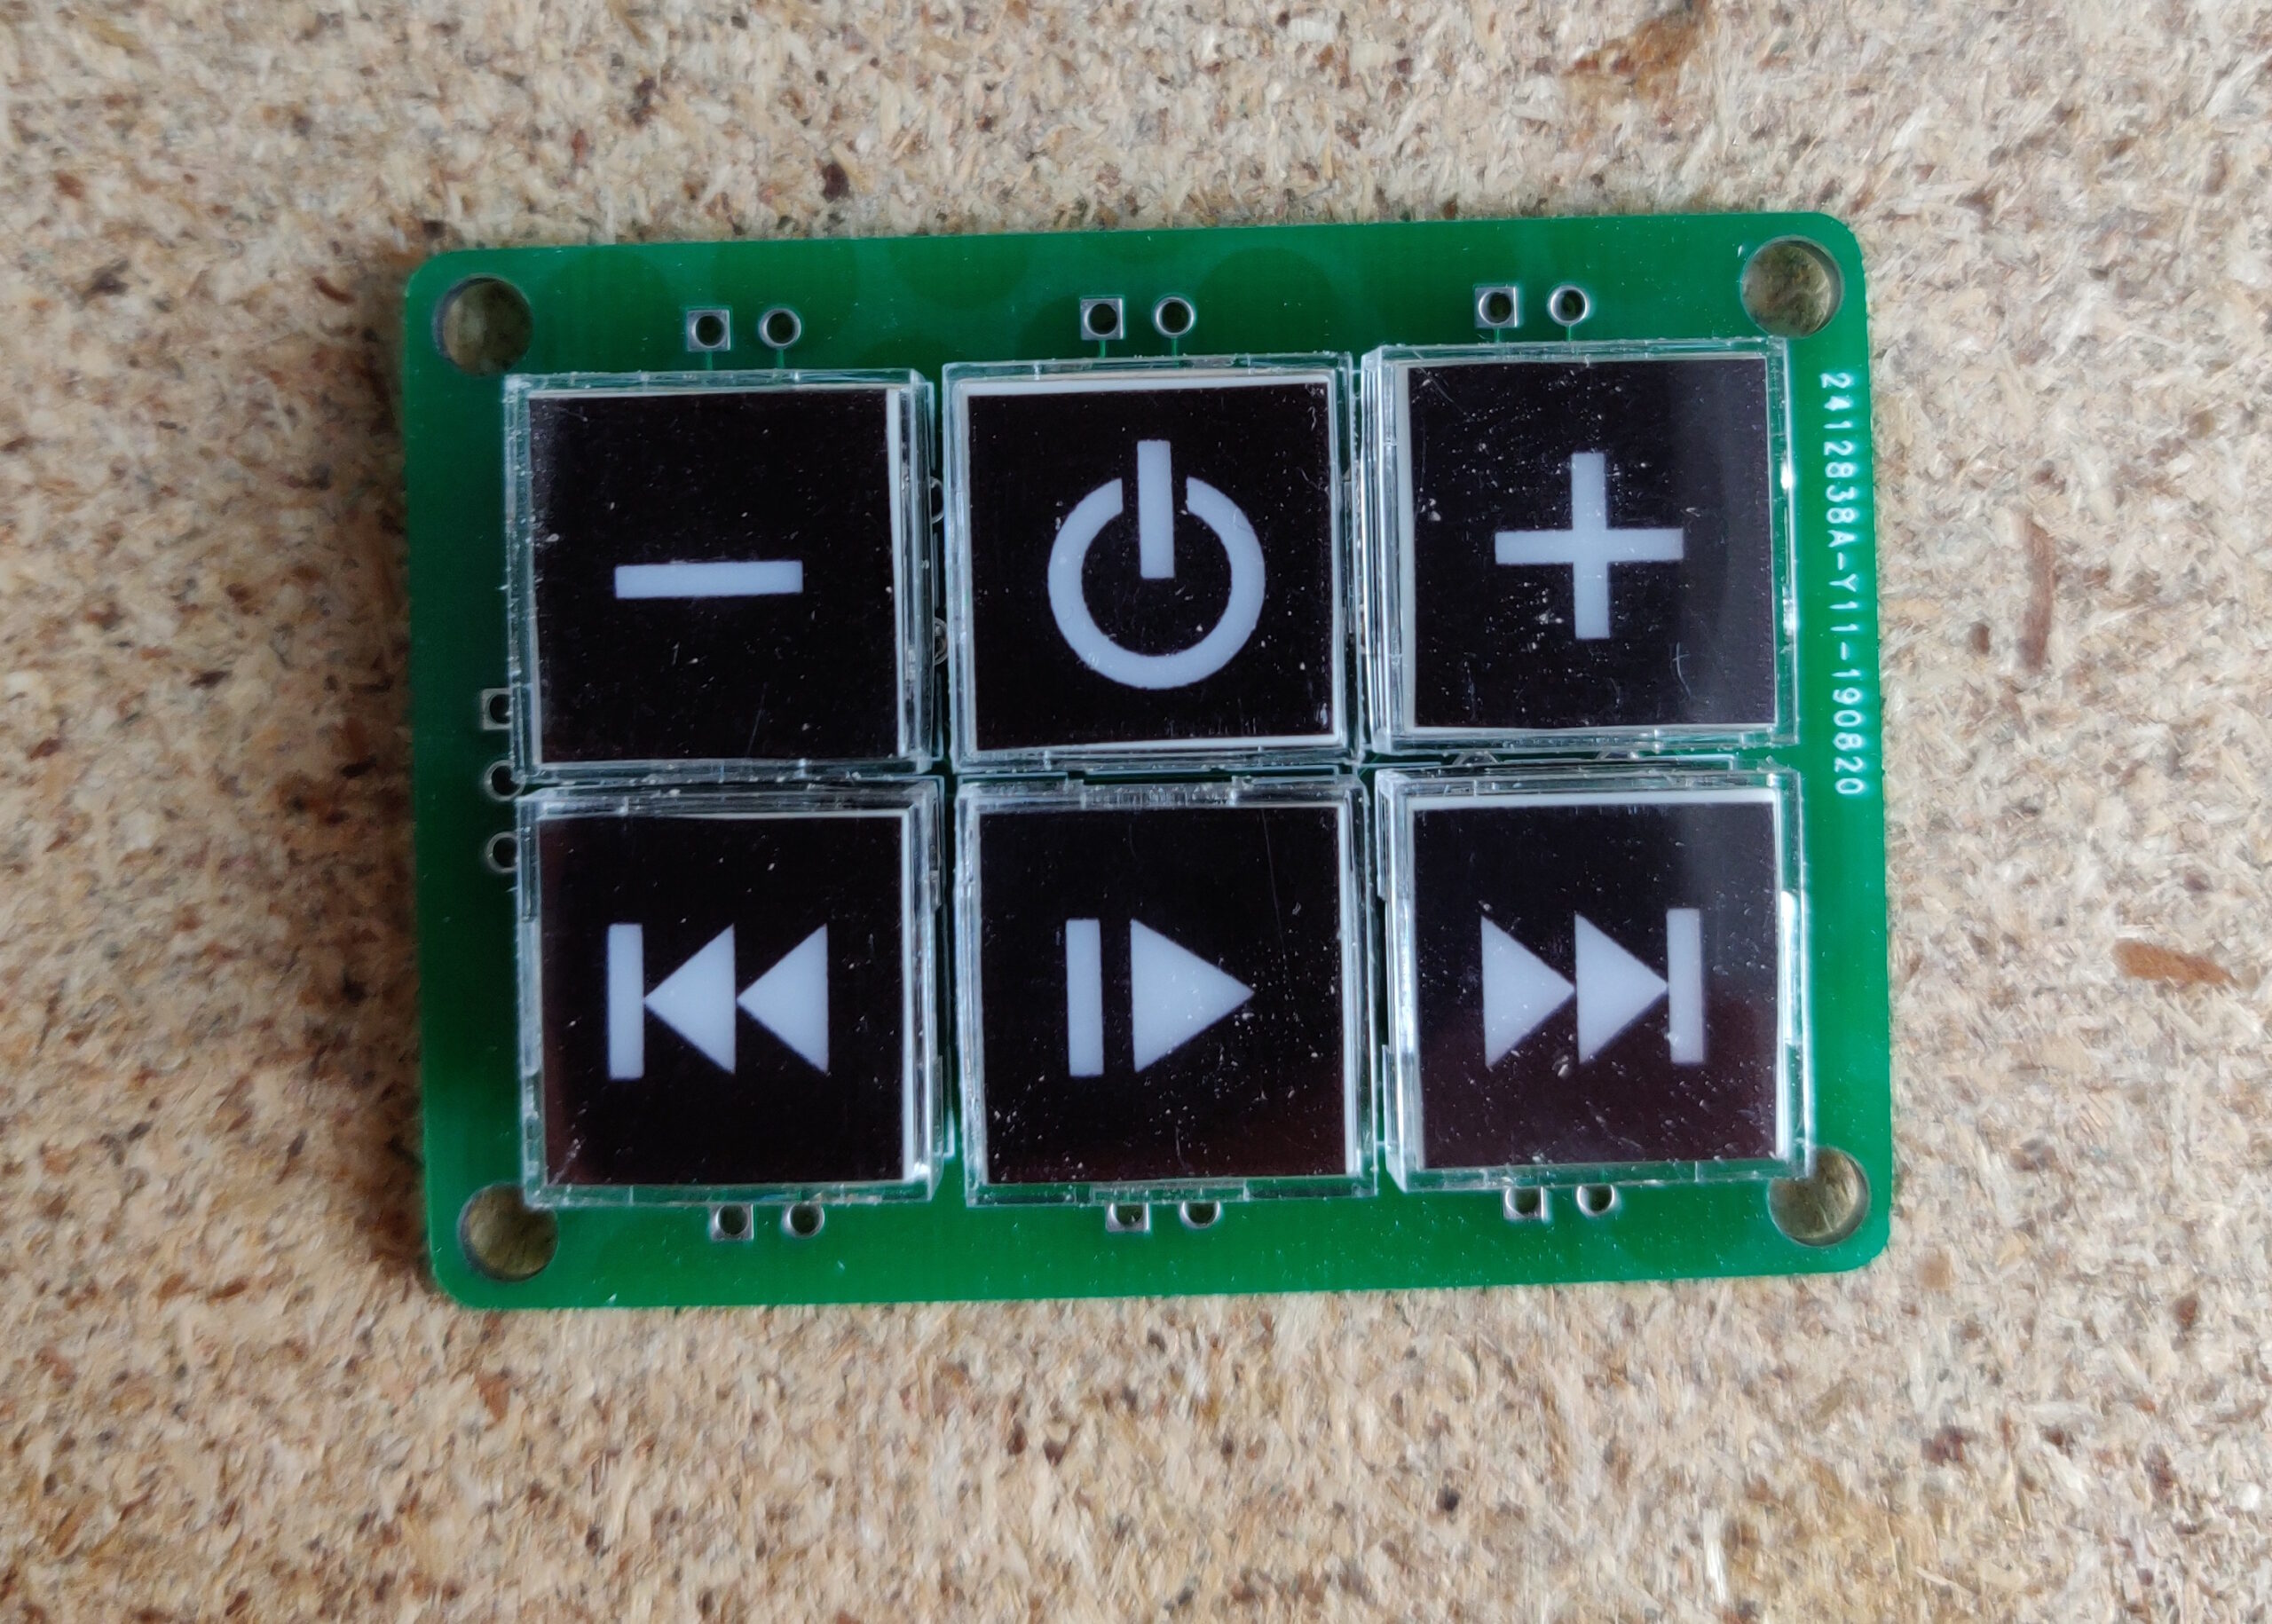
    To do any real testing, I would also need the user buttons mentioned in the previous post. They were soldered on a separate little board, to be inserted into the enclosure later.
    I chose some nice tactile buttons with LED backlights. They also support custom labels to be inserted into them, for which I took some printable transparent foil, resulting in presentable, self-explanatory buttons.

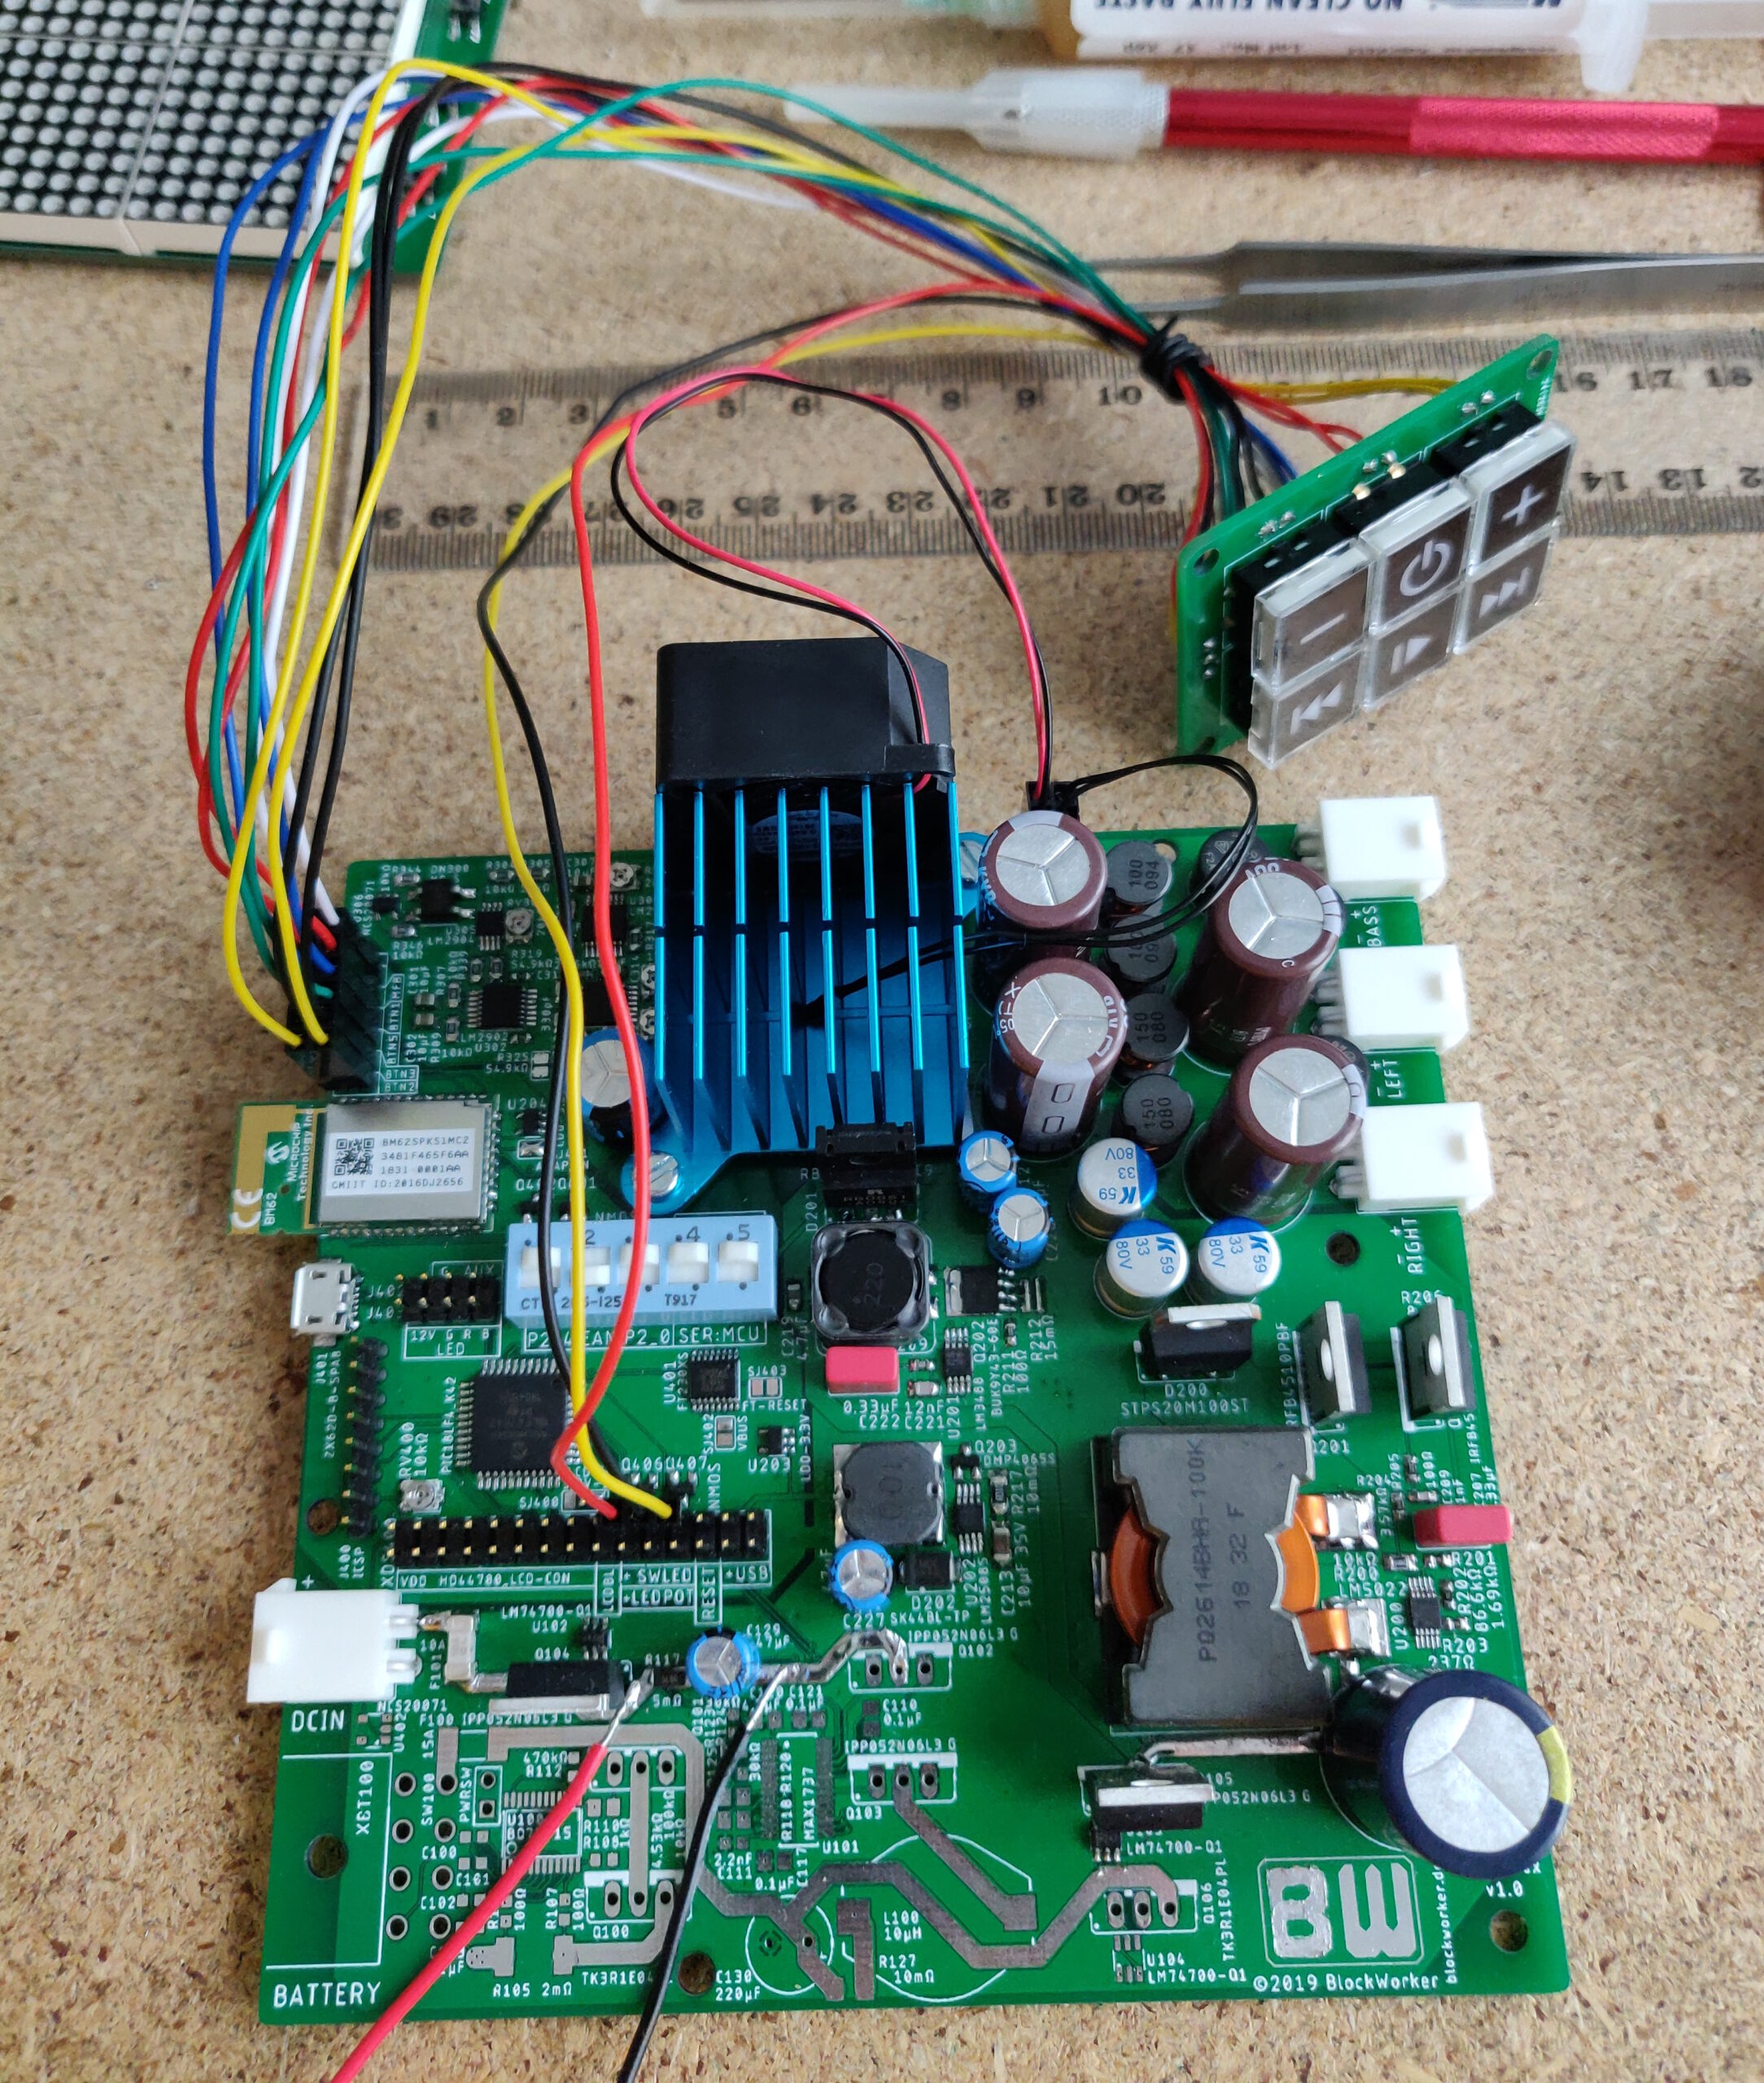
    After adding the rest of the analog audio path and amplifier output stage, the circuit was ready for testing and firmware development.
    And yes, some of the power amplifier output components (especially the inductors) were severely undersized in hindsight, leading to more distortion at high power.
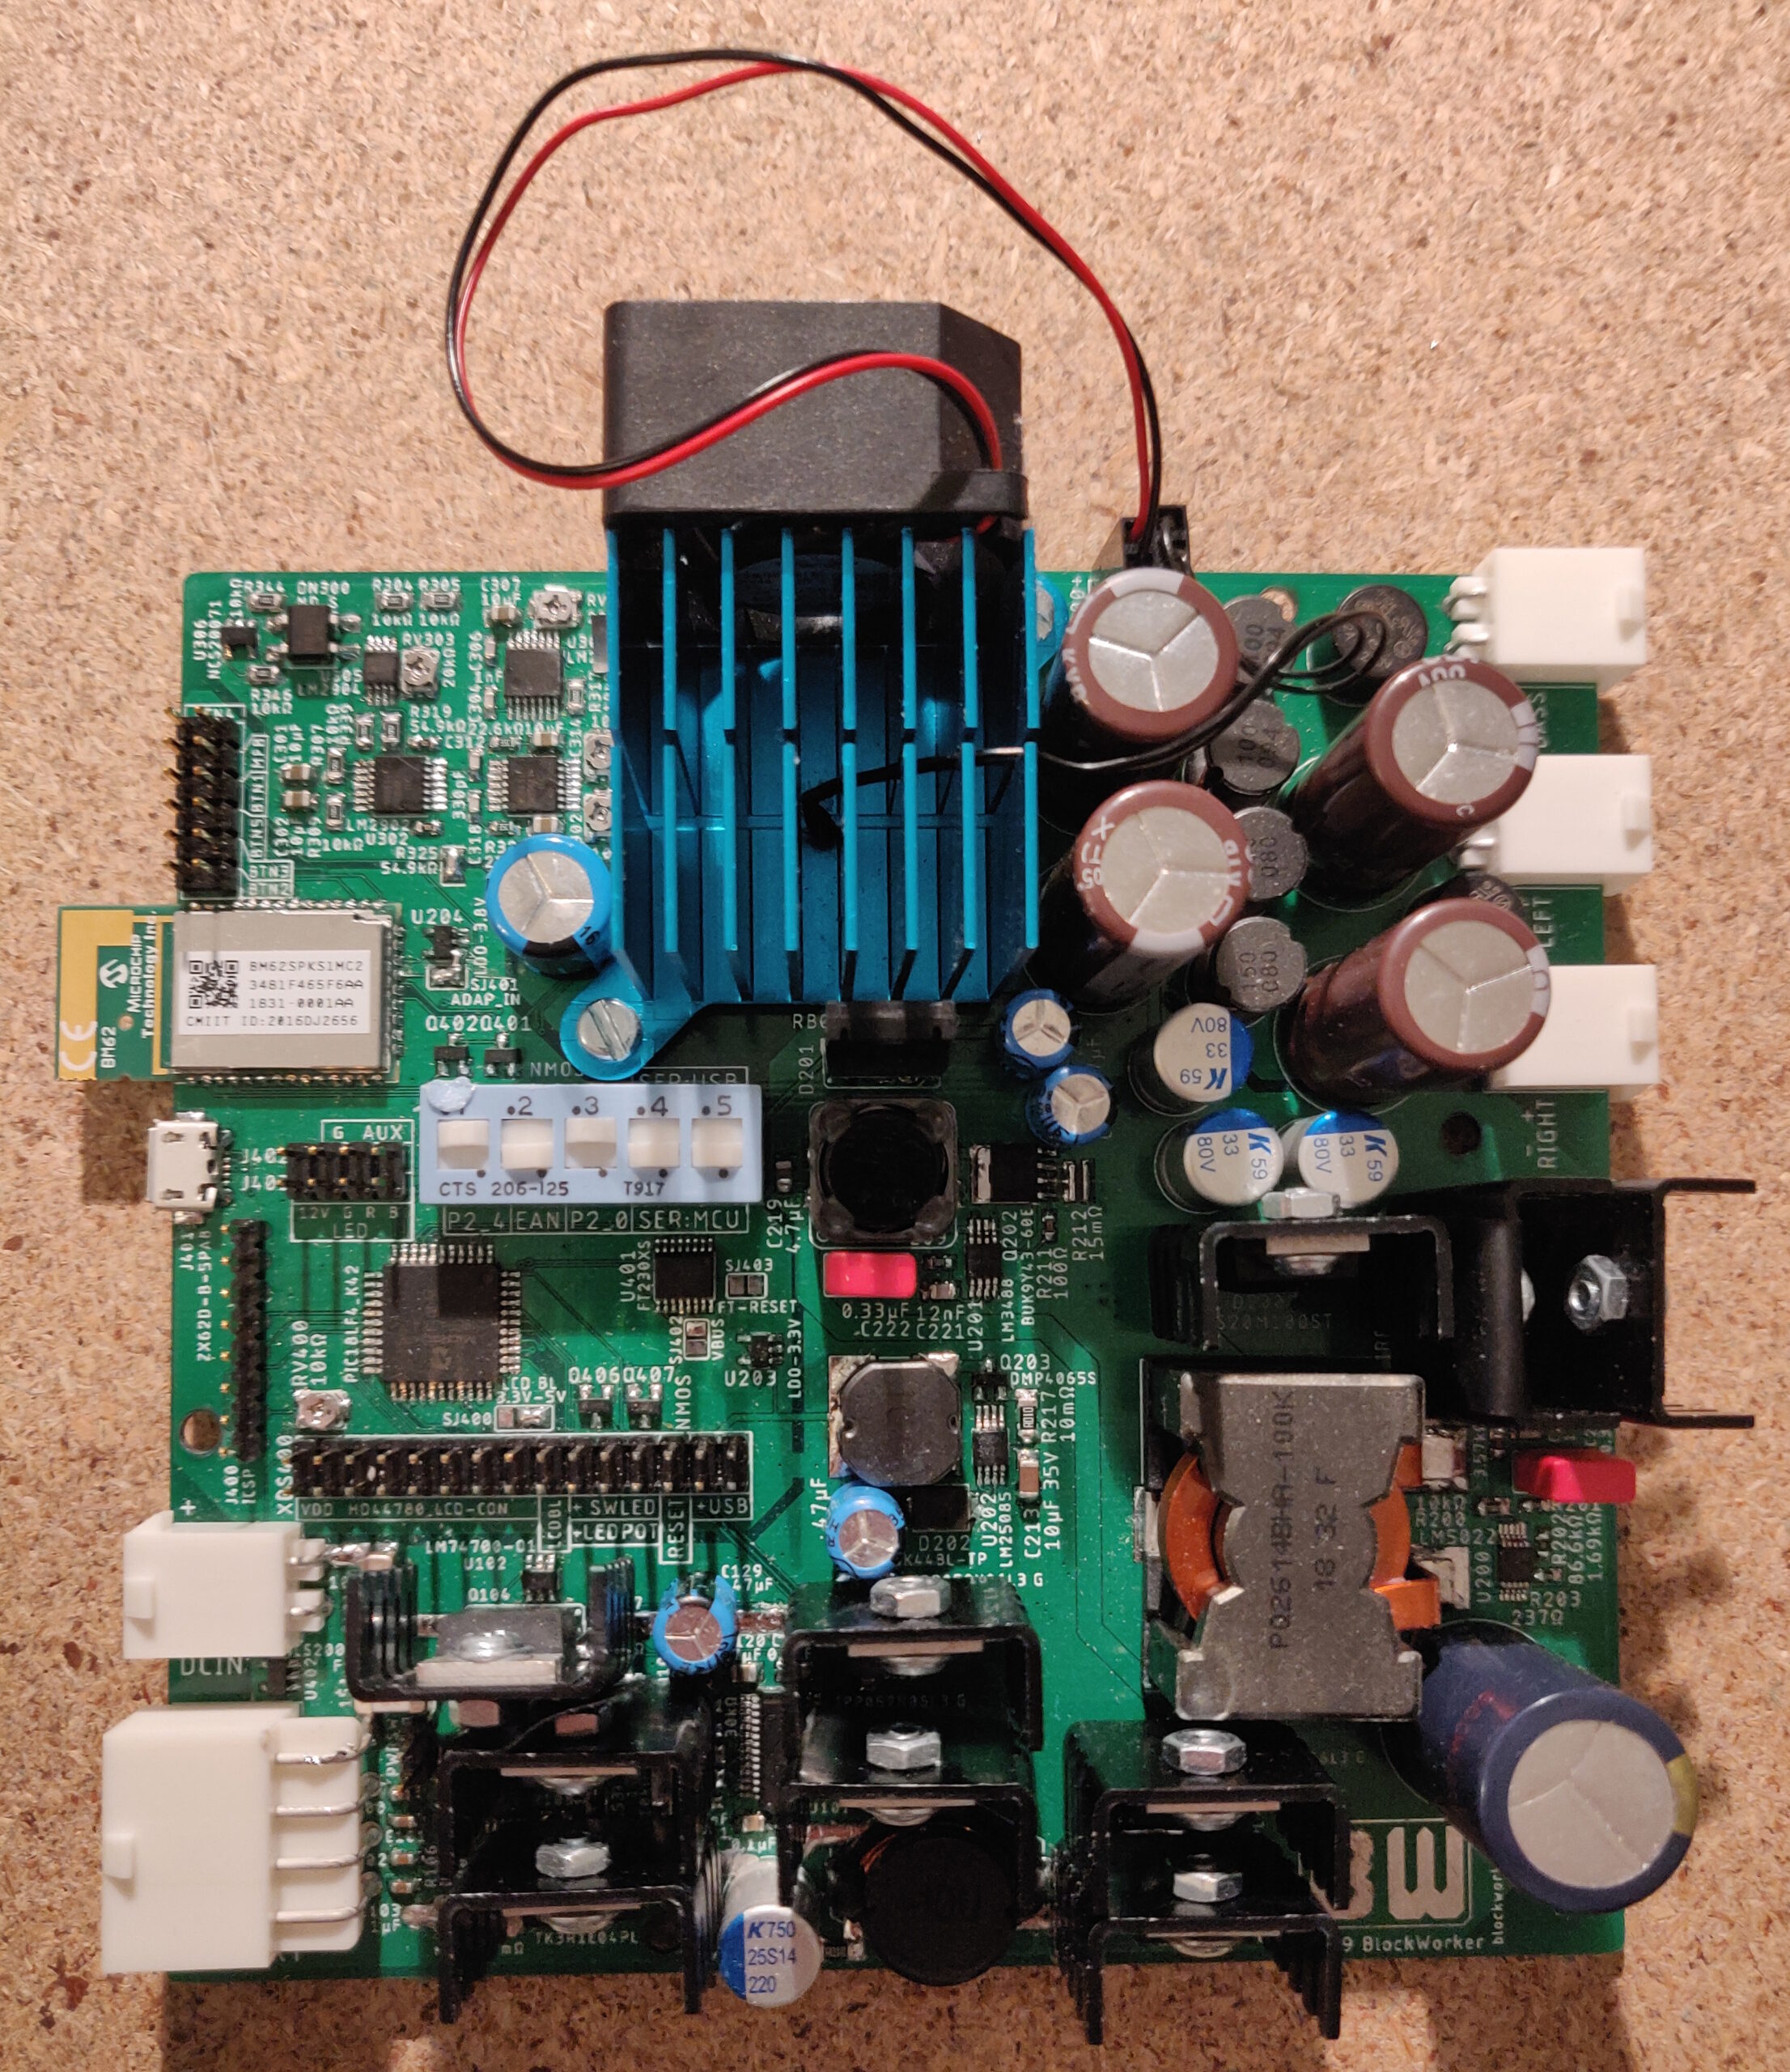
    As you can see, the amplifier also got a heat sink, along with a temperature sensor and a temperature-controlled fan, which worked quite well.

    During firmware development, I also realised that my initial idea for LED music synchronisation didn’t work – so I had to work around it, and the results were quite mediocre, but still did work somewhat.

    Finally, all that was left was the battery protection and charging circuit, as well as some transistor heat sinks, and we have a complete and working circuit board!

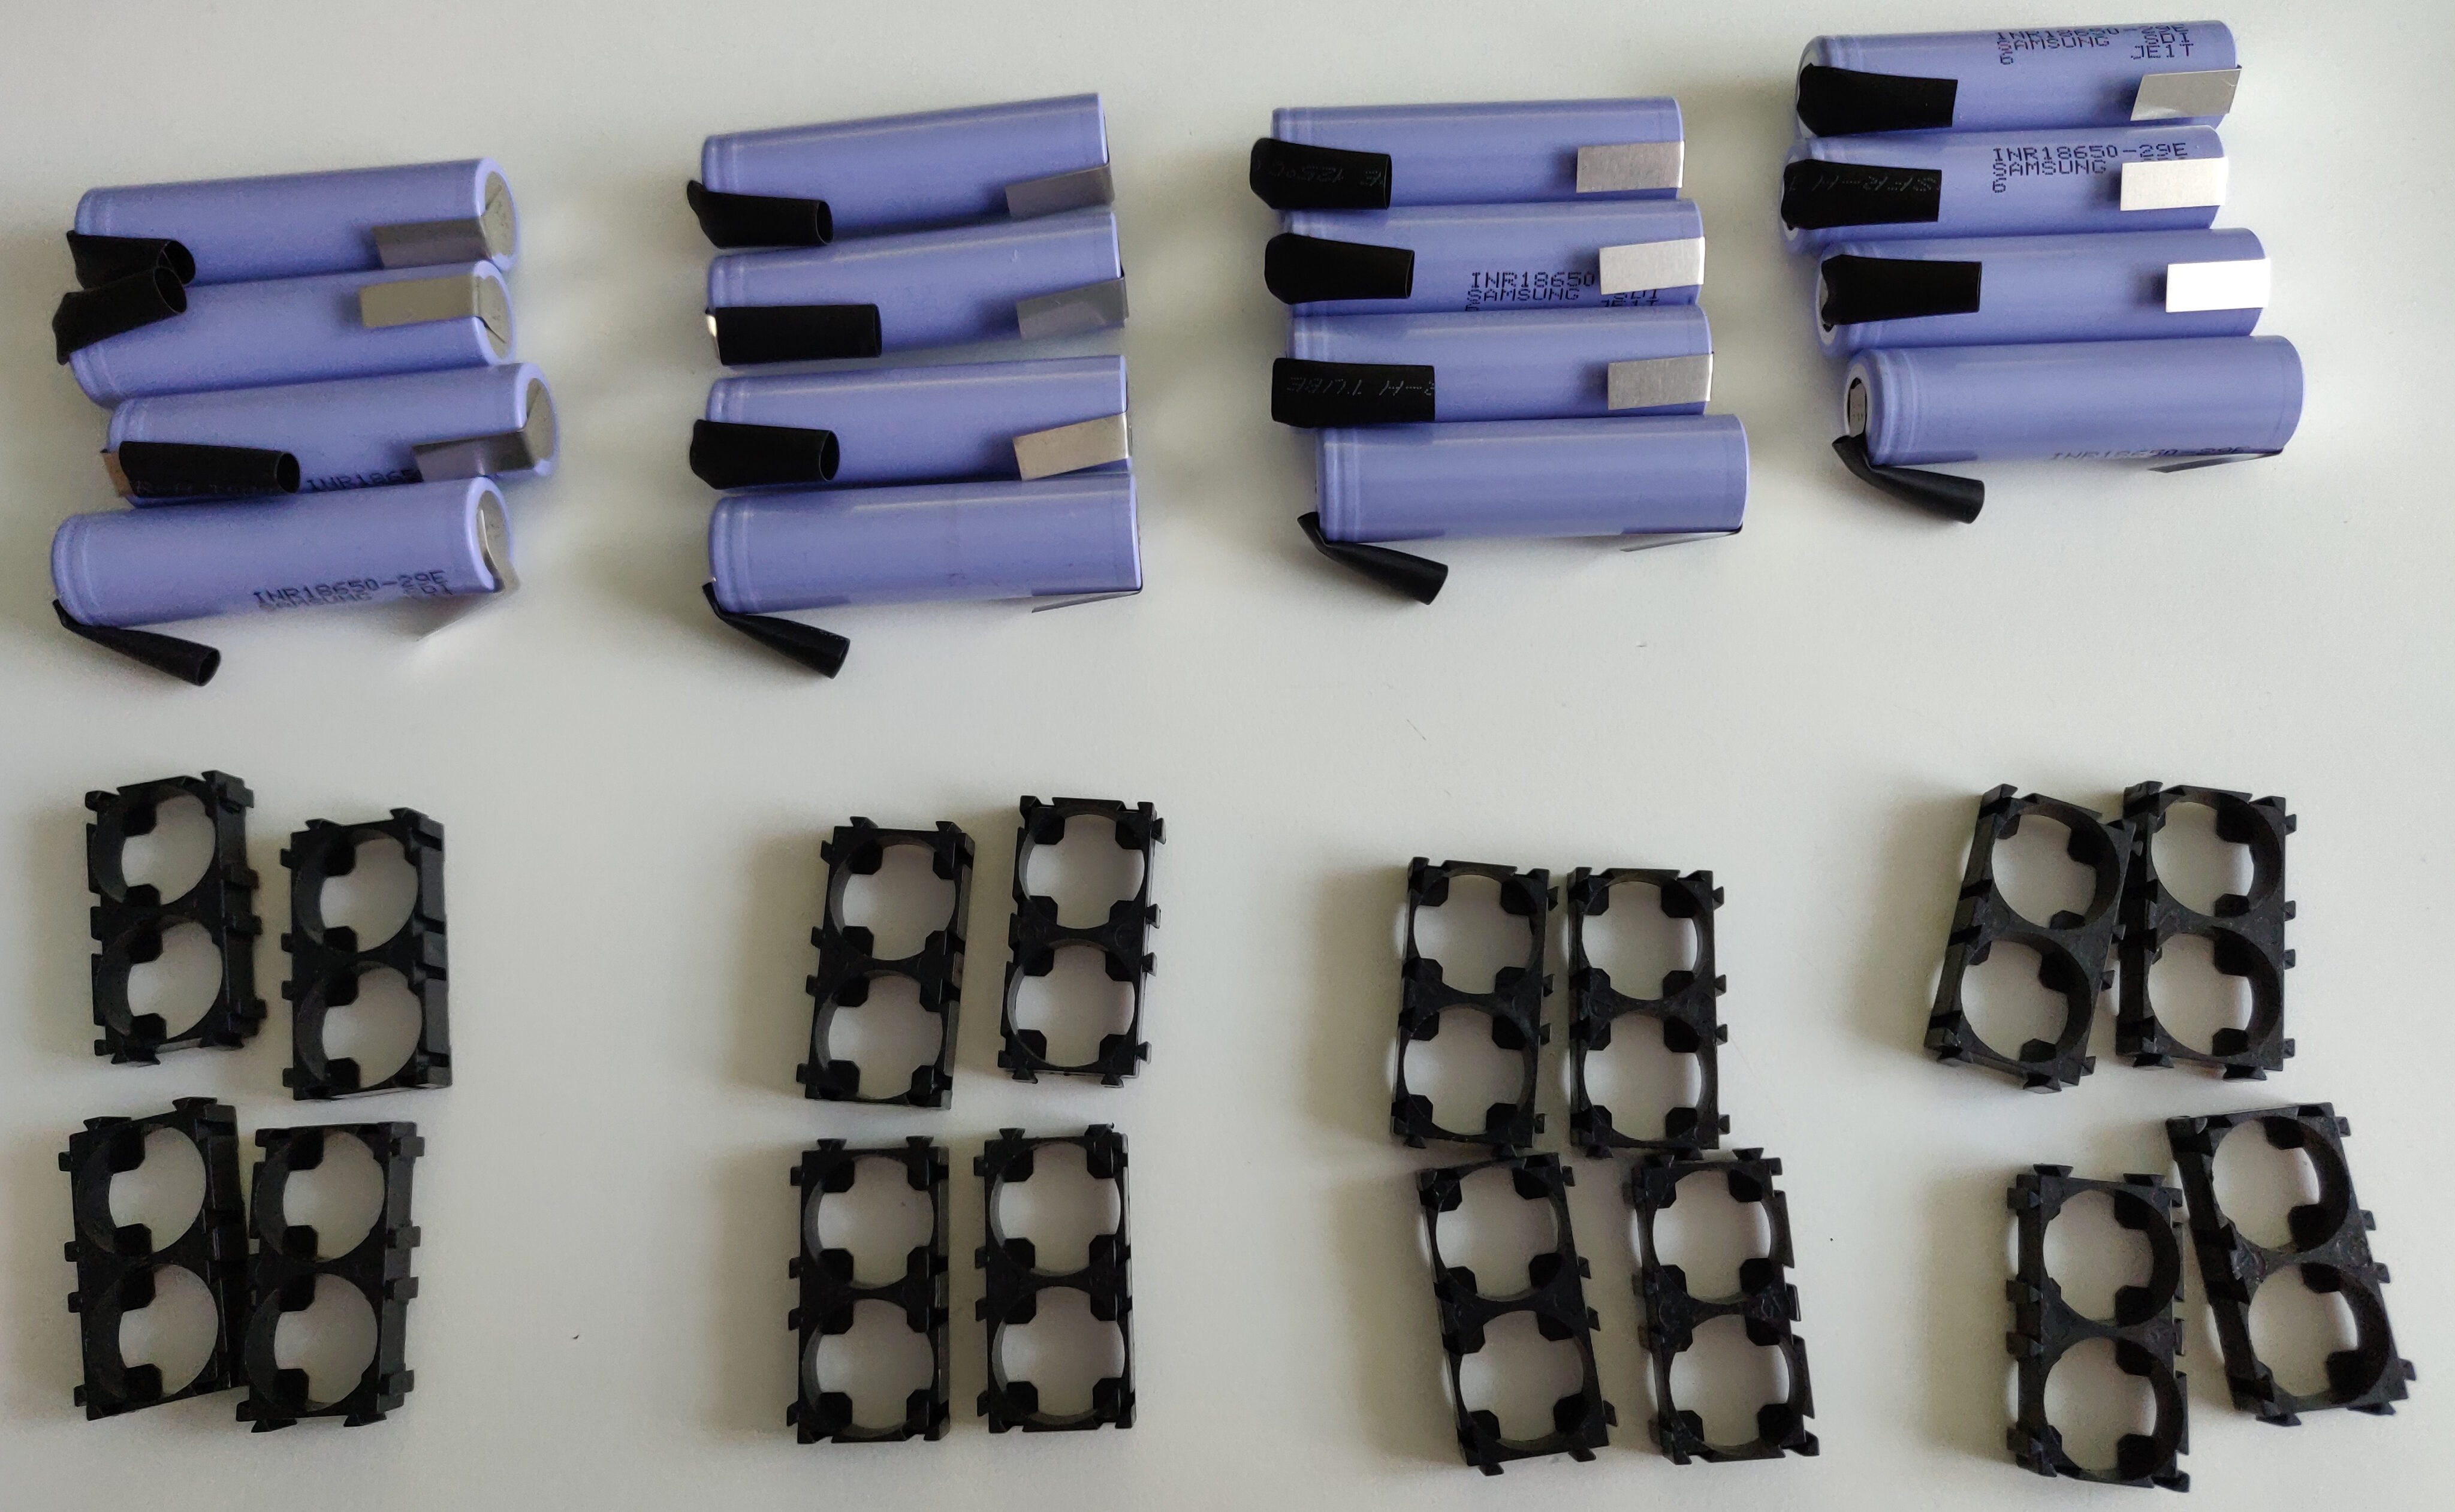
    Speaking of the battery – that needed some assembly as well. I ordered 16 Li-ion cells (in the standard 18650 size) with pre-installed spot-welded nickel tabs. To keep them arranged nicely and safely, I also got some plastic cell spacers.

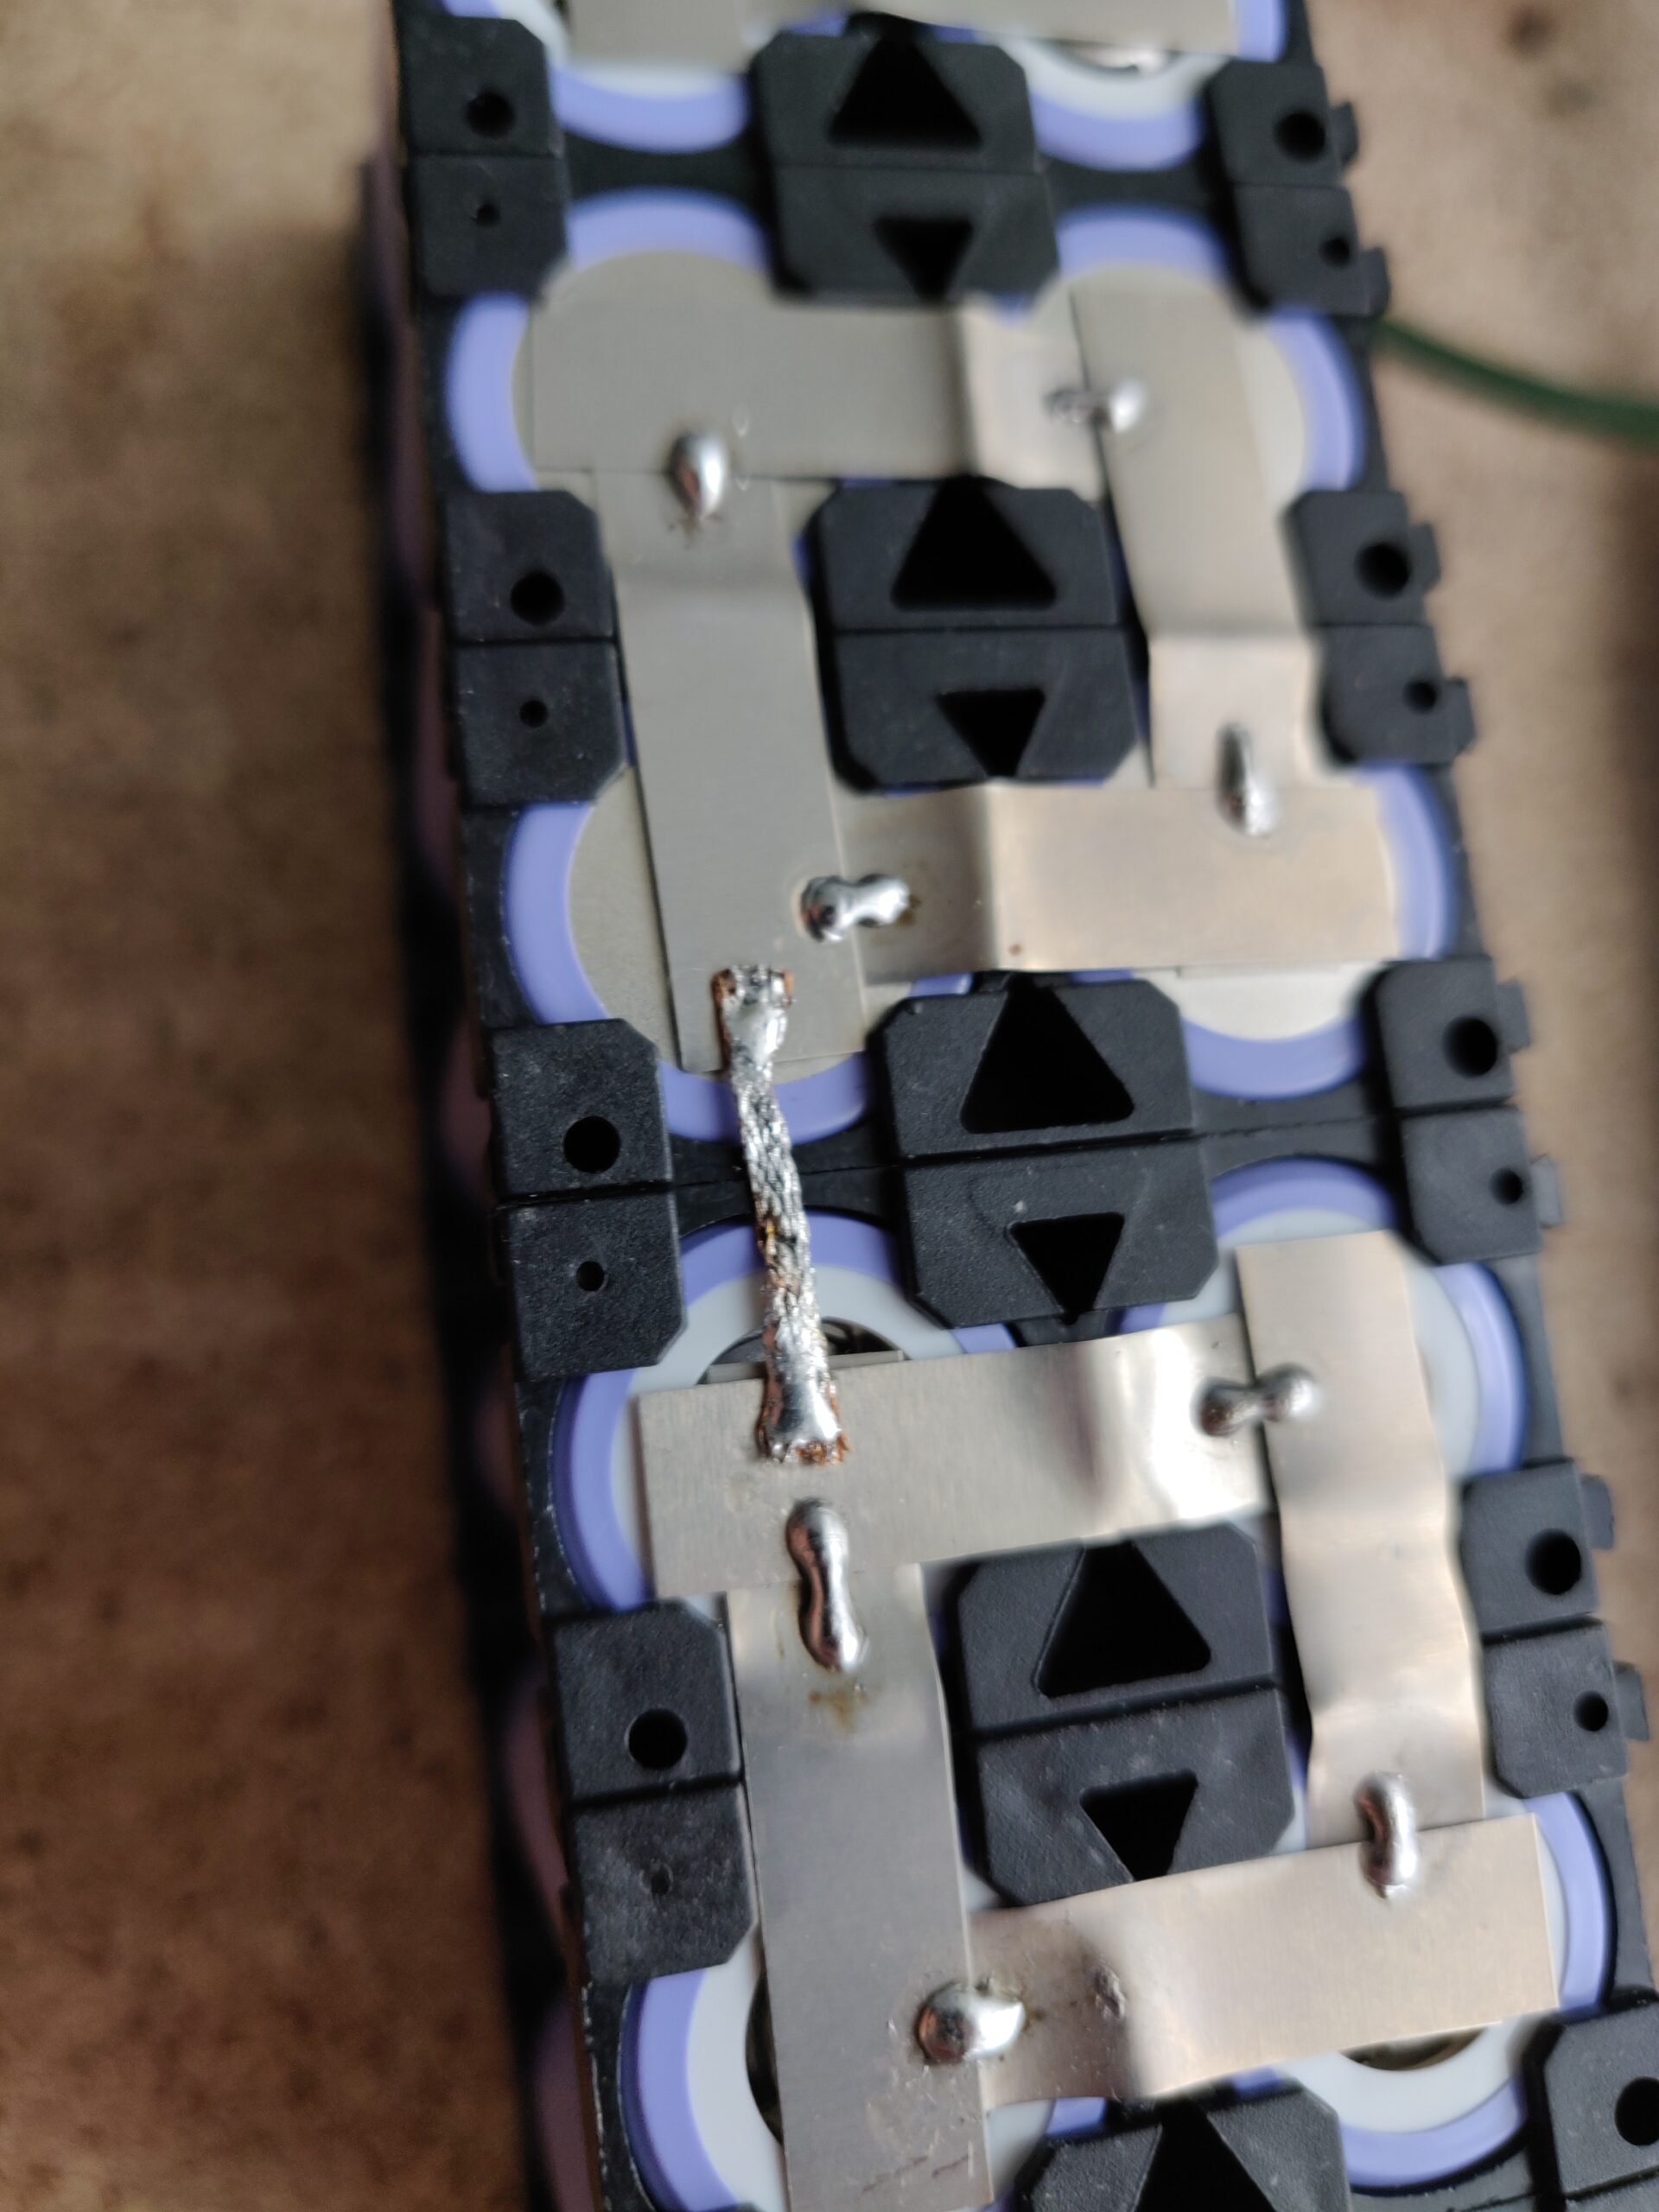
    These cells were then arranged into four groups of four, creating the desired 4s4p (four series, four parallel) configuration.
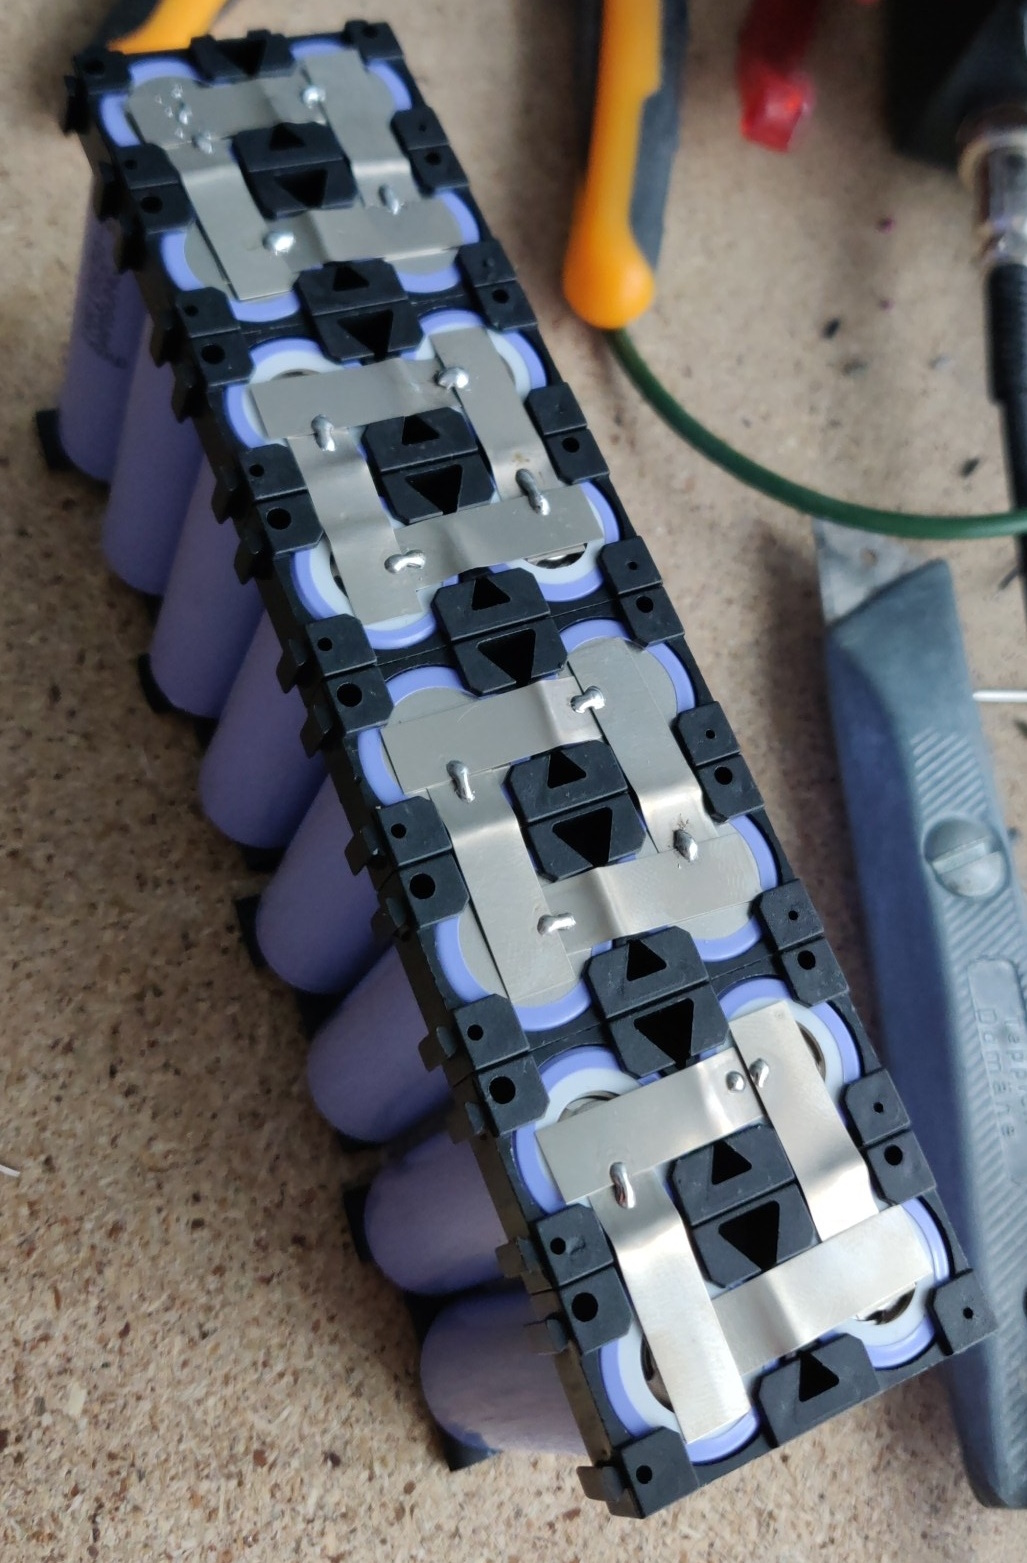
    I soldered the four parallel groups together, before using some solder wick to connect them in series.
    Soldering isn’t ideal, as it could overheat the cells – spot welding is the way to go, but needs tools I don’t have, so I just had to carefully solder the nickel strips – it ended up working out quite well.

    Now I could get to the last piece of the puzzle: The enclosure.
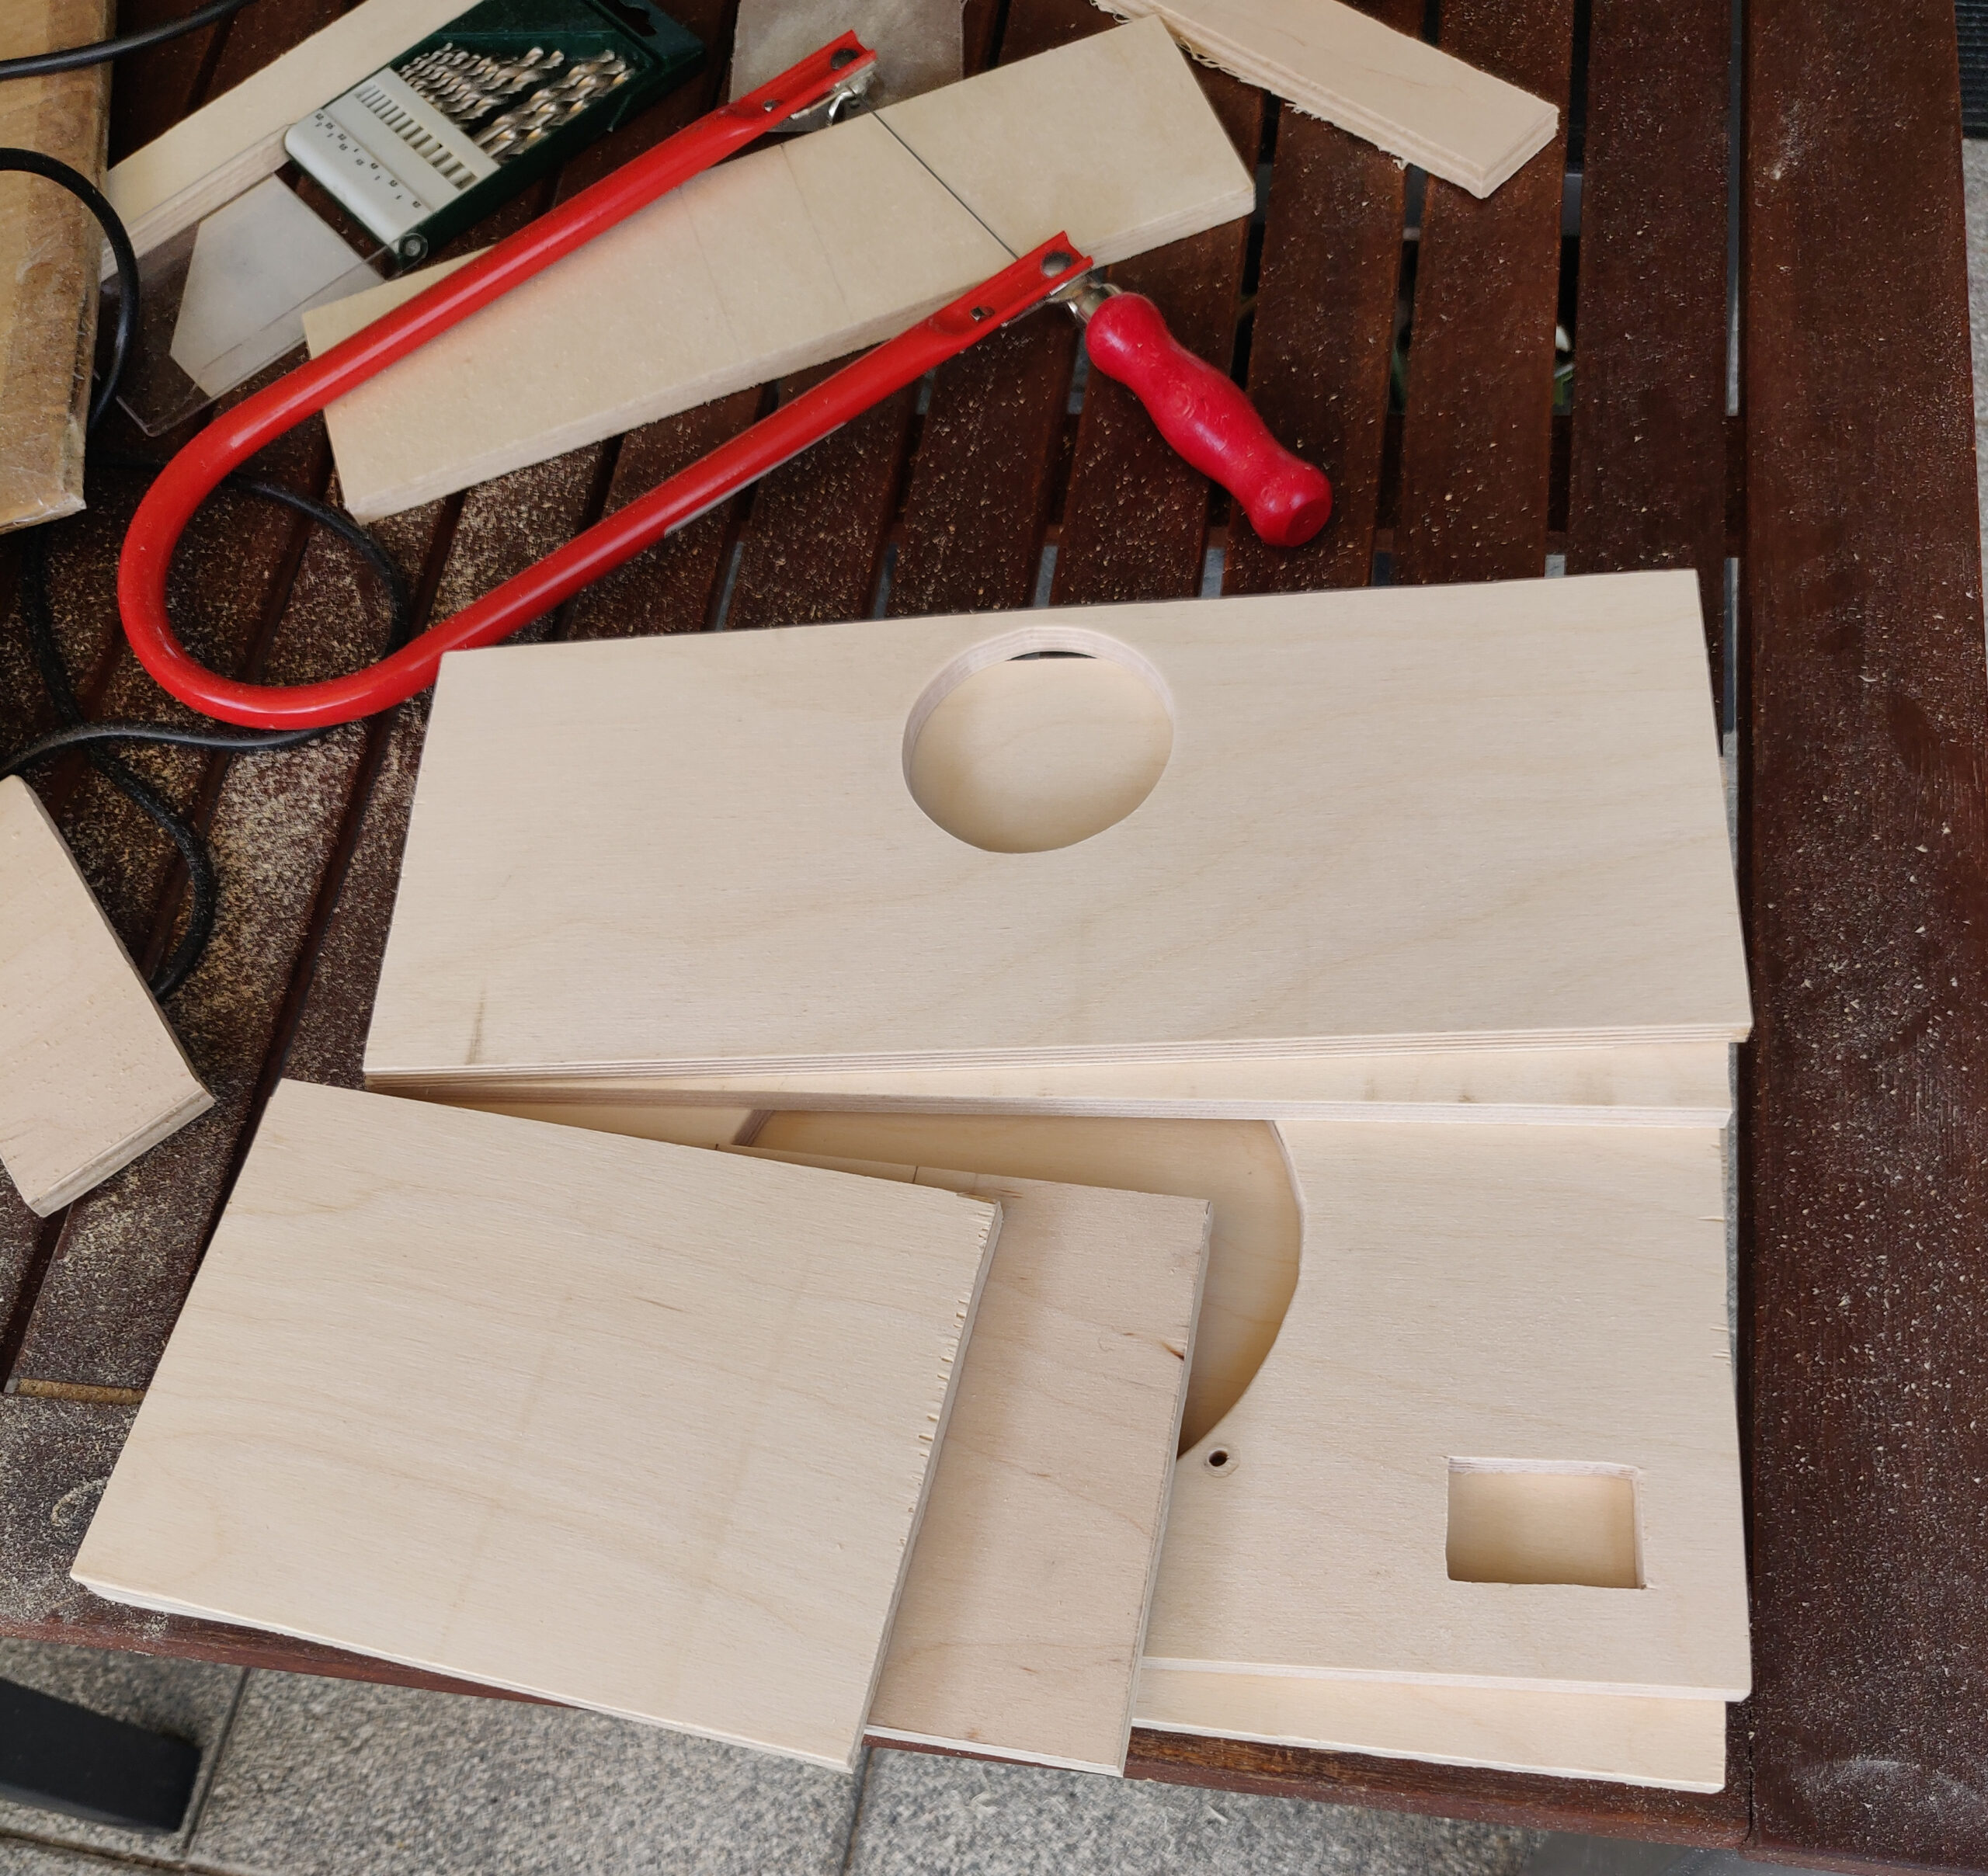
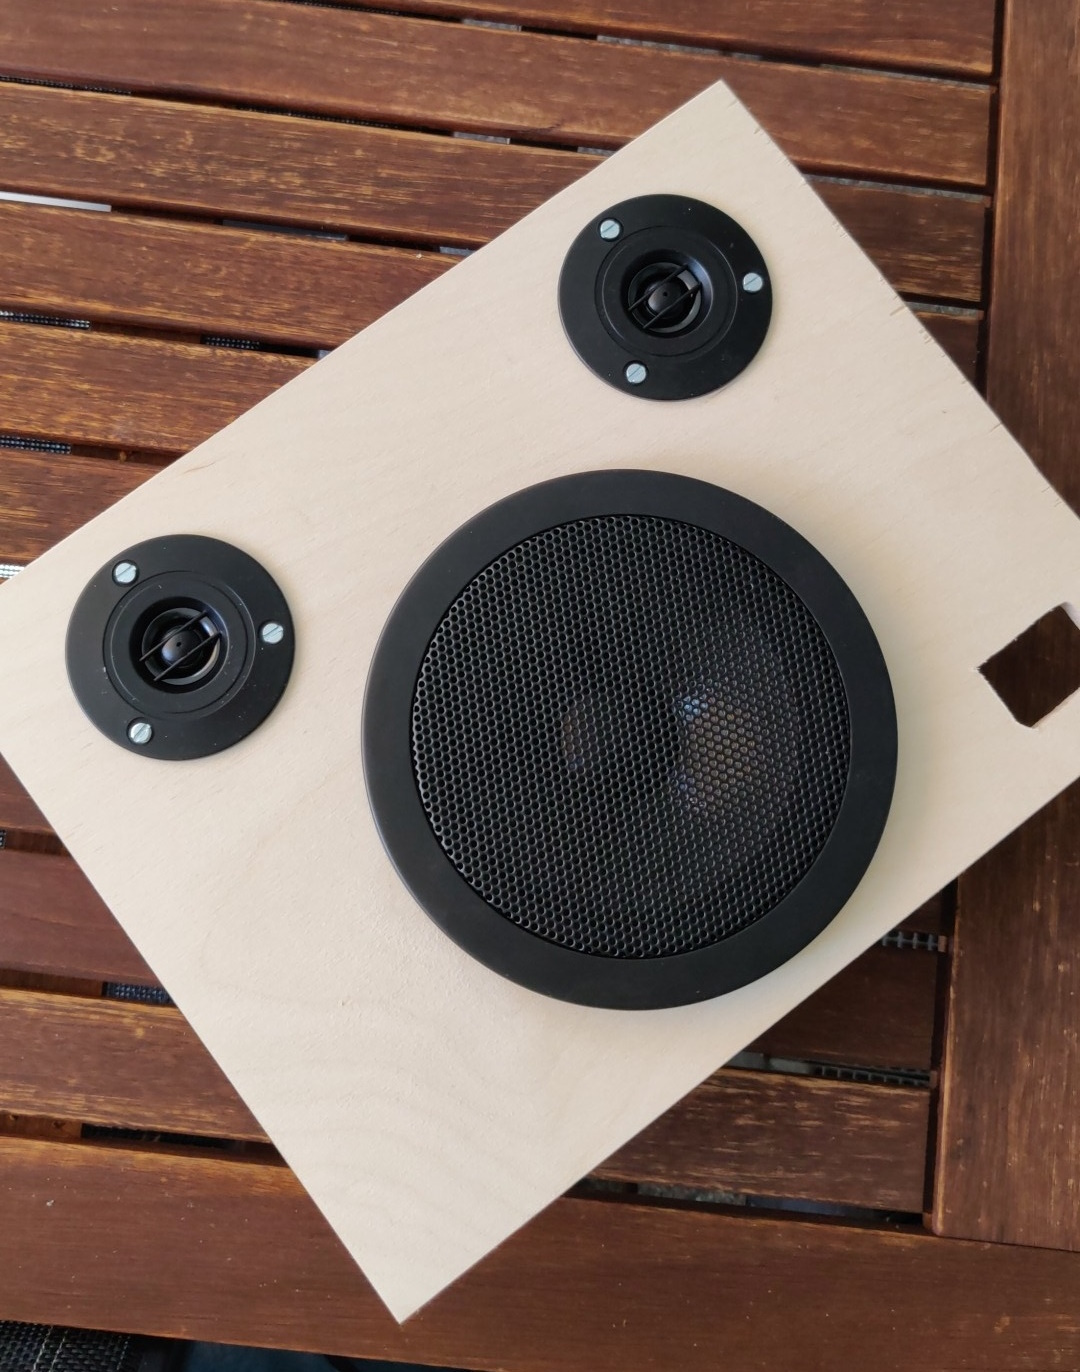
    I didn’t have access to the ideal tools for such a build (CNC mill, or at least woodworking power tools) – so I made everything by hand out of plywood stock, using a drill, various hand saws, files, and sandpaper. The resulting cuts were far from perfect, but good enough for this project.

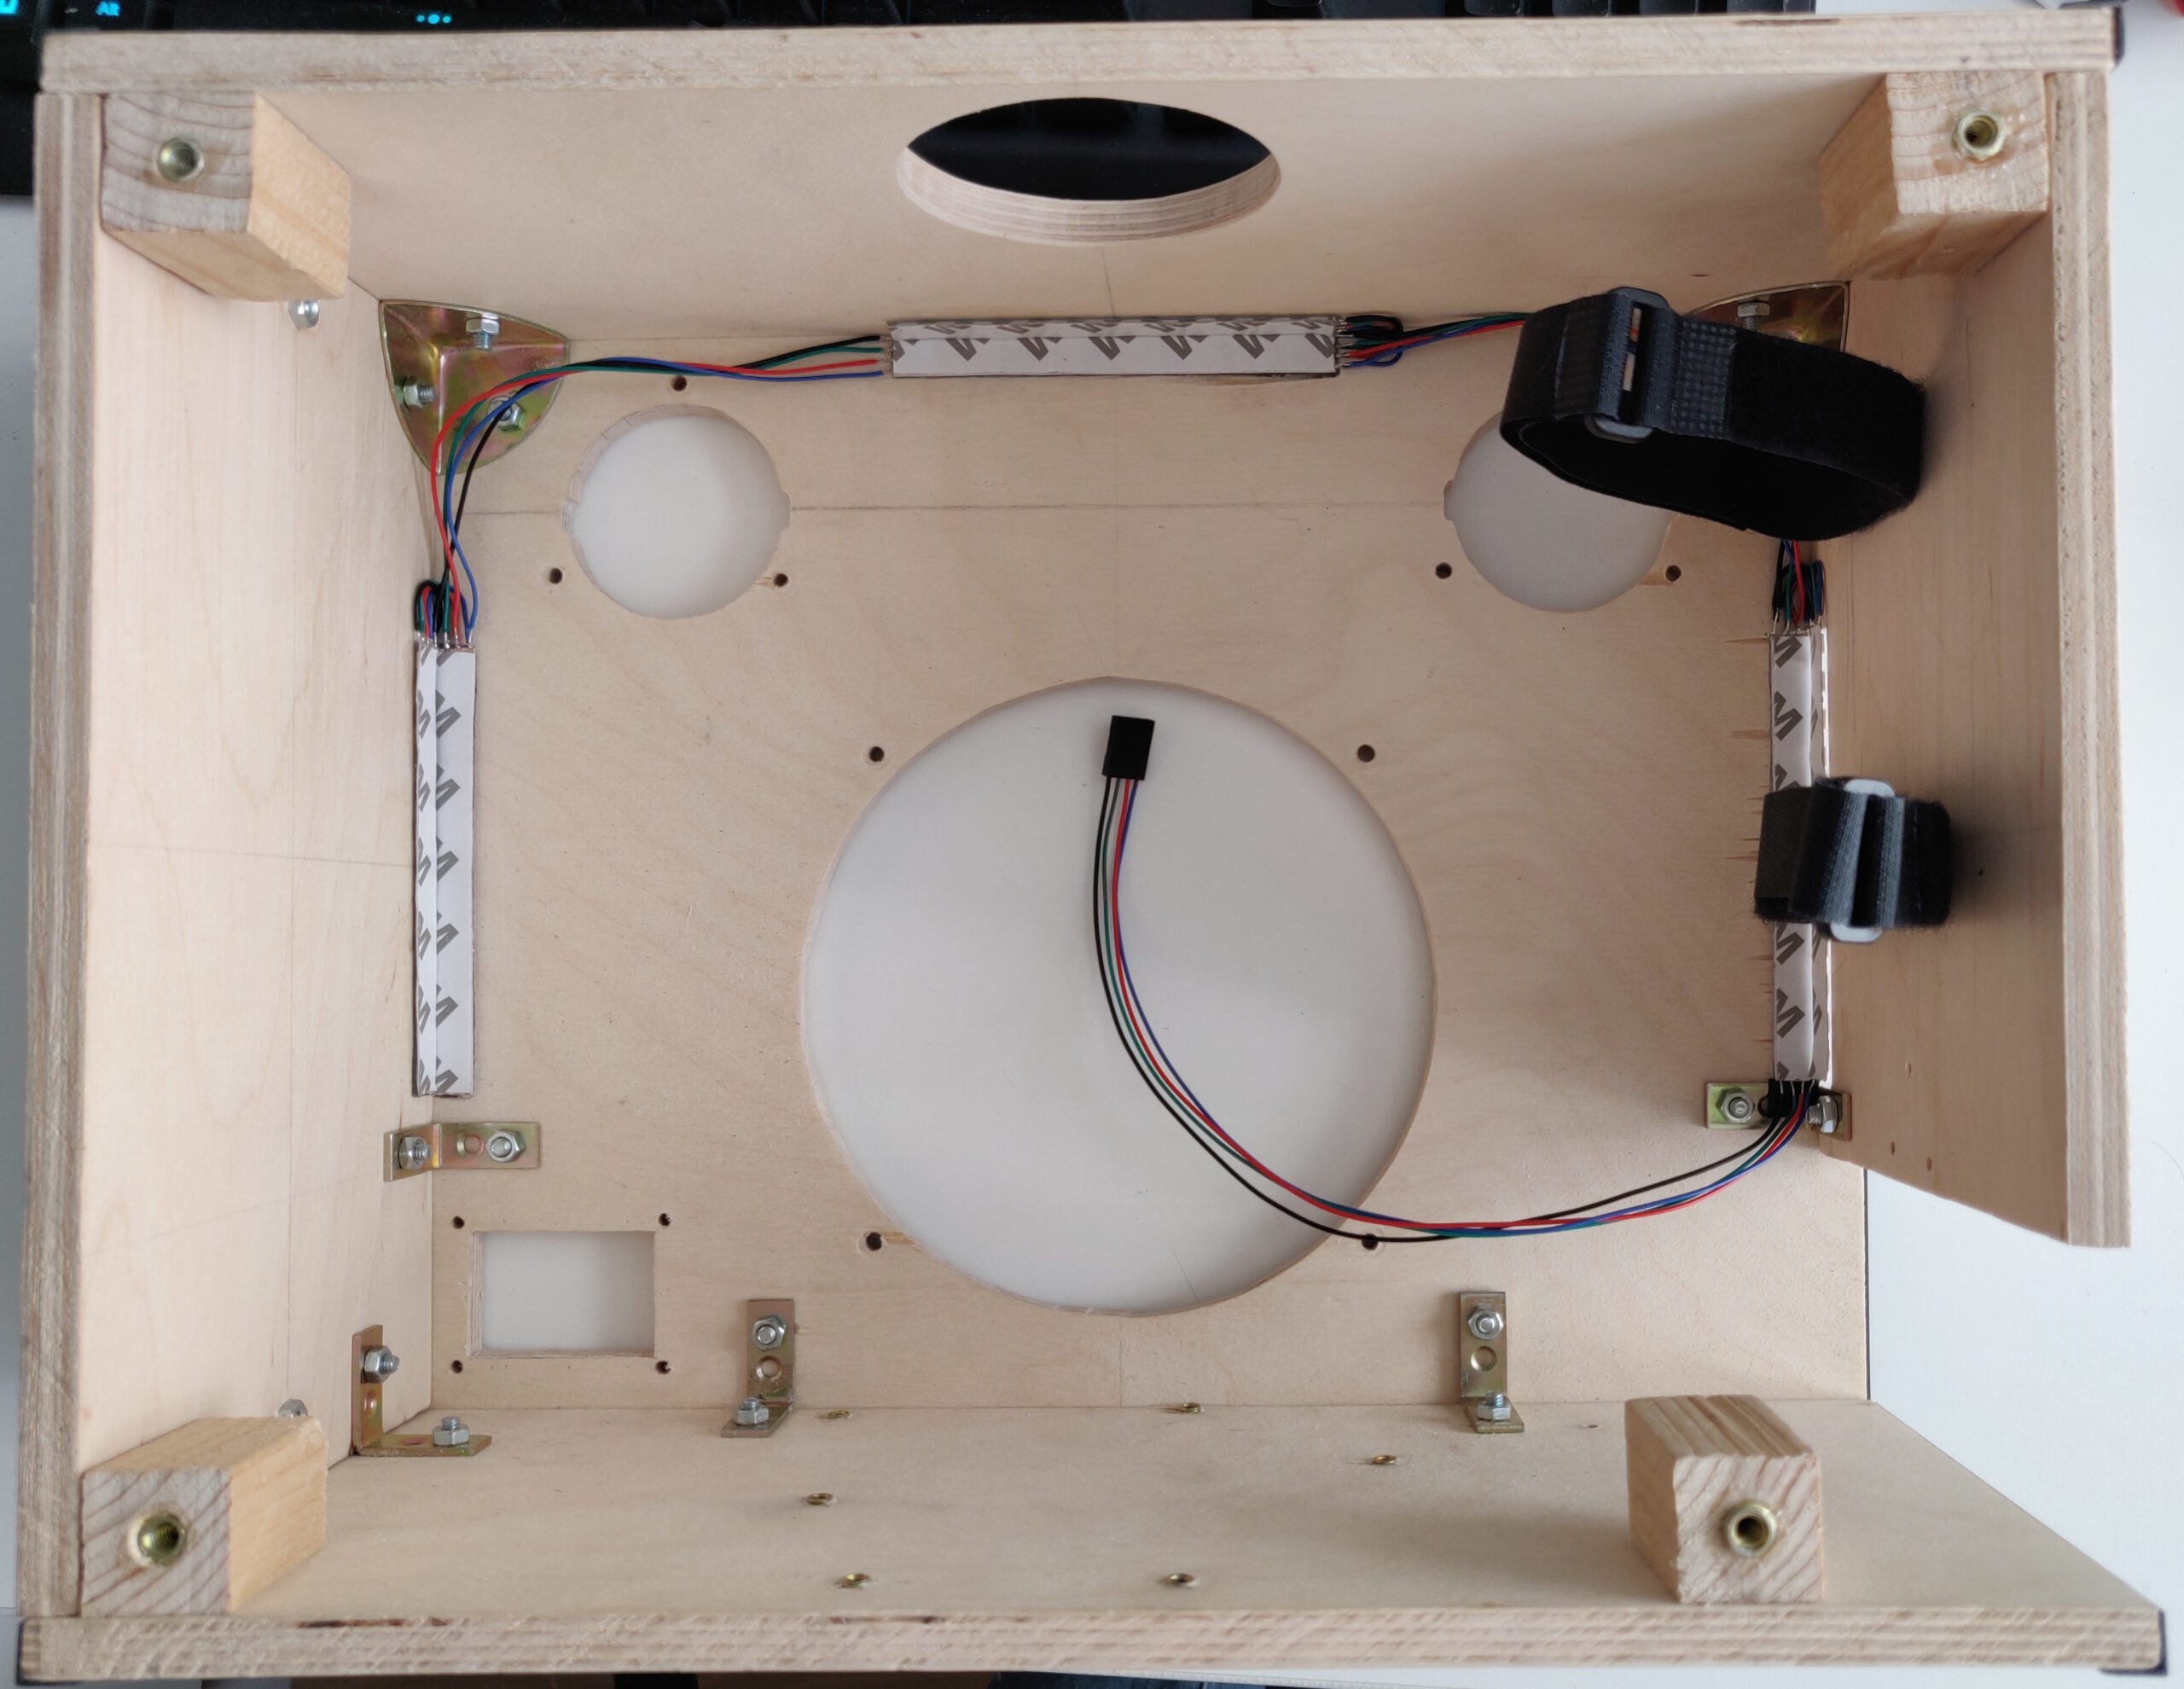
    For the RGB lighting, I glued RGB LED strips to some acrylic rods, before gluing everything (except for the back wall) together to create the enclosure (just missing the side compartment in this image).

    The only thing left to do now was to install all of the components inside it, and I had a complete BlockBox!

    This would be the time to say something along the lines of, “That concludes the BlockBox project, thank you for reading”.
    But… let’s not rush it.

  • BlockBox v1: Electronics

    One reason why I initially dismissed a Bluetooth speaker project as “too complicated” was, put simply, the Bluetooth part of it. At the time, I barely understood most conventional electronics, so the idea of getting involved with something as complicated as RF communication seemed completely out of my reach.
    Looking back, I was absolutely right about that feeling – trying to design my own Bluetooth receiver would have been a bad idea. Even years later, at the time of writing, I’m not sure I could succeed at that task, unless I spent many more hours researching the topic – and even then, it would be quite a lot of work for a single person, due to the hardware and software complexity involved.

    In light of this, there was only one thing that made me feel confident in pursuing this project anyway: Discovering the existence of Bluetooth audio modules – in particular, for this project, it was the Microchip BM62.

    I found that such a module struck the perfect balance: It satisfied my desire to have the system be “designed by me” to an acceptable degree, while abstracting away the complicated task of maintaining Bluetooth links and sending/receiving wireless audio data, instead providing a relatively simple interface.

    For simplicity, the module has an integrated digital-to-analog converter (DAC), directly outputting the raw audio signal. In my design, this signal would then pass through an analog pre-amplifier and filter circuit, conditioning the signal to the levels I wanted and implementing the driver cross-over (at around 5000Hz).
    The last amplifier stage included trimmer potentiometers, allowing me to adjust the maximum output levels, in order to not overdrive and damage the speaker drivers.

    Looking back at it, this was not a great design by any means – the op-amps I chose are quite noisy, I was using Class-2 ceramic capacitors (which cause distortion), the voltage supplies were not designed with noise reduction in mind at all (likely the biggest single mistake I made here), and so on. But, despite that, it did still work – which is all that mattered to me for this first design.

    The pre-amp/filter stage was followed by a power amplifier – namely, the Texas Instruments TPA3255. It was configured in 2.1 channel mode, with two single-ended channels for the tweeters and a differential high-power channel for the bass/midrange driver.

    Aside from the audio path, I needed a power supply. This was based on a large lithium battery (4s4p configuration), with corresponding battery protection, balancing, and charging ICs.

    With the base battery/adapter voltage available, I now needed multiple voltage converters to generate the various system voltages (3.3V, 5V, 12V), as well as a high-power voltage rail for the power amplifier (52V, which turned out to be overkill for these drivers).
    For the design of these converters, the Texas Instruments WEBENCH Power Designer proved invaluable, especially for a beginner without any switching power supply design knowledge.

    For controlling the speaker, I again decided to go with the easiest option, letting the Bluetooth module’s integrated controller operate on its own, controlled using a set of buttons.
    Aside from that, I just added a low-performance microcontroller (Microchip PIC18 K42 series), to handle auxiliary tasks like battery charge estimation, diagnostic display (using a text LCD), and controlling some RGB LEDs that I wanted to sync to the music.

    Since I only had a soldering iron available (no hot air or reflow tools), I ended up being quite limited in terms of component selection. Thankfully, I was able to find everything I needed in “soldering-iron-friendly” packages, but it did mean choosing suboptimal components in many cases.

    Some design work later, I placed and routed everything onto a single 12 x 12 cm PCB.

    The full schematics and PCB design files (for Autodesk EAGLE) are available on GitHub here.
    However, be aware that this design is NOT GOOD overall, containing many beginner mistakes, and the firmware code quality is likely bad for the same reason. Therefore, I do not recommend that anyone actually use these designs, but they may be useful for anyone who’s curious.

    With the electronics designed, it was time to begin the actual build!