Since the main source of my “disappointment” with the first BlockBox was the lacking low bass frequency range, that exact point became the springboard for the design of the second version.
Knowing that I wanted a lot more bass, I started looking into better speaker drivers for it. I found quite a few options that would offer a complete bass extension down to ~20-30Hz, but nearly all of them meant sacrificing quite a bit of efficiency. That would mean either increasing the maximum power, which is difficult on battery-powered systems and makes the circuit design harder, or making the speaker quieter.
But come on, there’s no way I would allow the second version to be quieter than the first version – that would just make it feel inferior from the start.
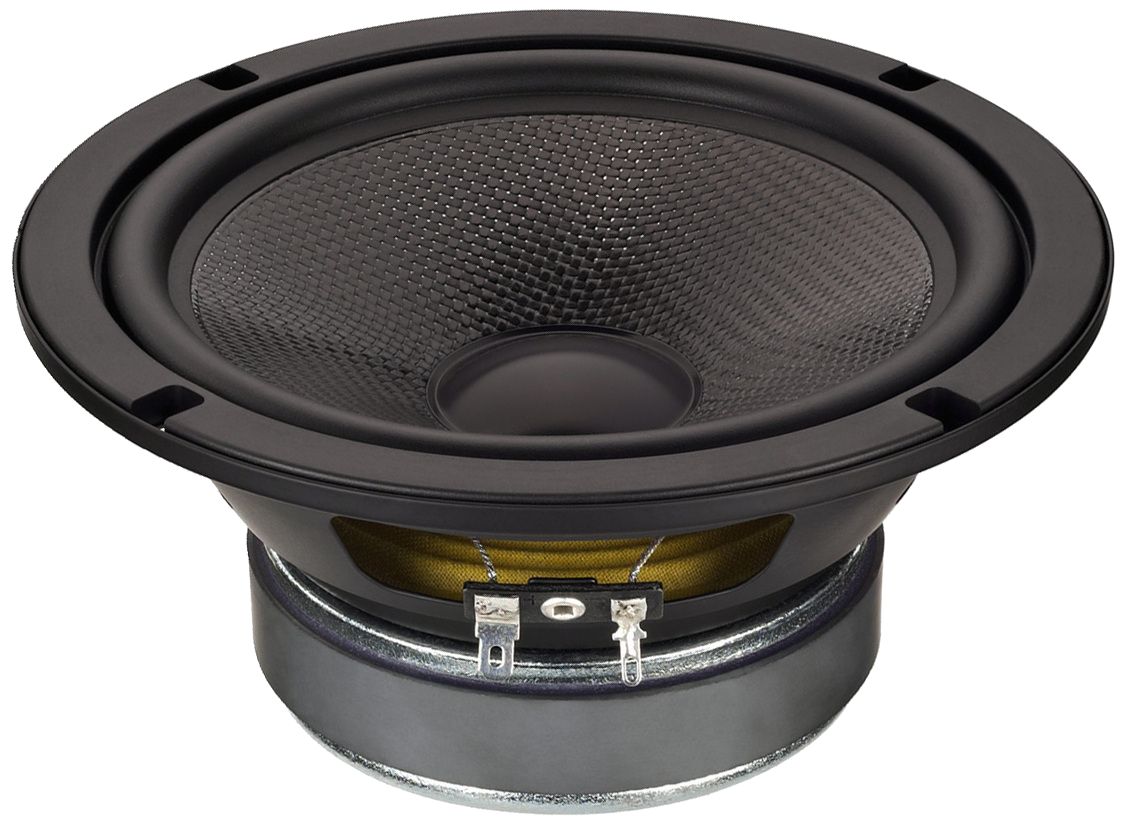
So high efficiency remained a very important consideration in my driver selection, and eventually I found a new low-frequency driver that looked great for my needs: The Beyma 10BR60V2.
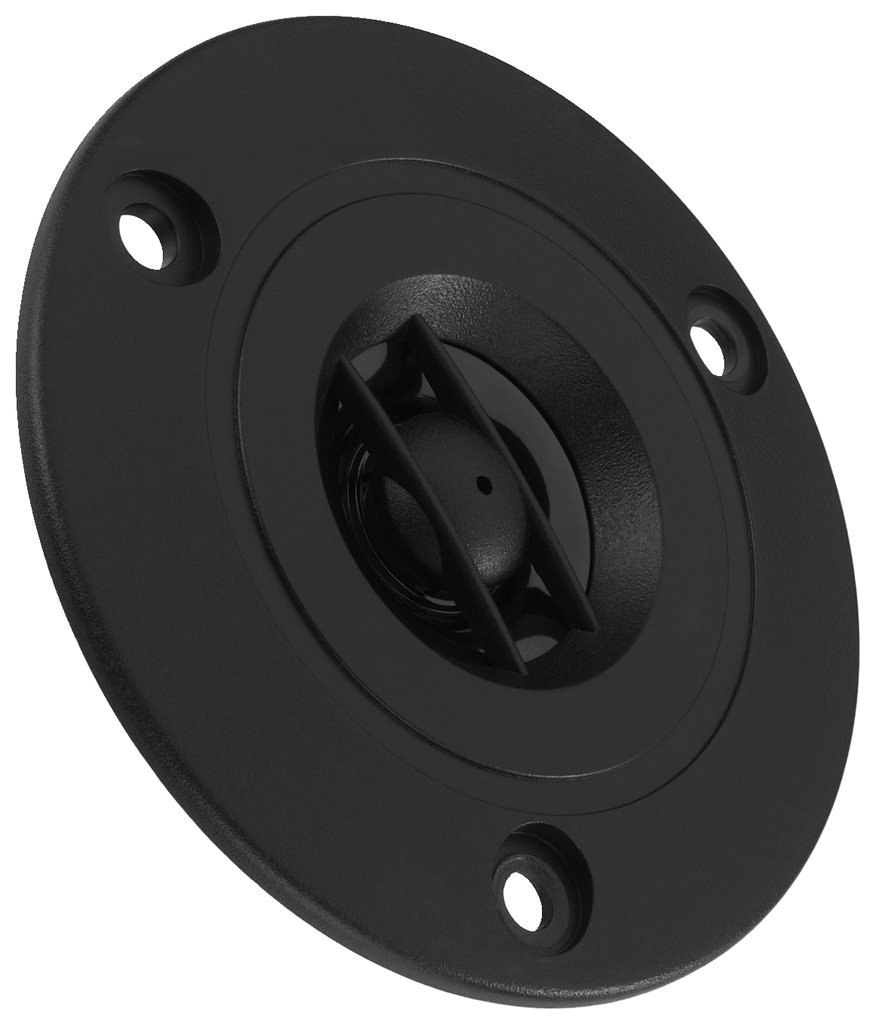
Since it had a lower effective frequency range than the BlockBox v1 driver, I also needed a new tweeter with the ability to pick up higher midrange frequencies. I ended up choosing the Monacor DT-28N, which was also just a higher-quality driver compared to the ones I used for the first version.


There was, however, a very significant difference from the BlockBox v1, with this driver choice: Size.
While the first speaker used a 6.5″ driver that could achieve good performance with an 8-9 litre enclosure, this new low-range driver was quite a lot larger at 10″, and according to SpeakerBoxLite, its optimal enclosure volume was somewhere around 61 litres. Yikes.
This prompted me to take a step back and think about it for a moment. Would such a huge speaker even make sense for what I wanted? It’d certainly be much more difficult to carry around.
However, I realised that with the right form factor, it may be possible to attach some straps to the speaker and carry it around like a giant backpack itself. The idea was certainly cool enough to make me want to try, so I continued with this choice of drivers.
The enclosure size I ended up deciding on was 55 x 40 x 35 cm, with a 10 cm vent port (Monacor BR-100HP), and walls made of 12mm plywood:

According to the SpeakerBoxLite calculations, with this design, I should be able to achieve a -3dB bass roll-off frequency of 38Hz – certainly a lot better than the first version. It wouldn’t be quite as “precise”, with a slight over-emphasis around 57Hz (+3dB), but I was willing to accept that, especially since audio pre-processing could fix that if it annoyed me later.
Based on this, I once again created a CAD design in Fusion 360, allowing myself to be a bit more ambitious with the features this time. The BlockBox v2 would have some protective rubber corners, hooks for backpack straps, much better LED lighting (including lit logos on the sides), a nice aluminium connector panel on the side, and even a touchscreen display for user interaction (instead of the basic buttons of the first version).

Of course, the electronics would need some changes to go along with these new features, as well as some upgrades to address some of the shortcomings I noticed with the first version. So, naturally, that was the next step of the design.


